
How To Make a Hairbrush in Procreate?

Have trouble with drawing hair? None of the brushes you gathered isn’t quite right for your project. Well, a custom hair brush can solve that problem. In this tutorial, we will teach you how to make a high-quality hair brush by yourself!
Quick note:
If you want to save time and download specific hair brushes, we suggest you check some of the best custom-tailored Procreate hair brushes.
How to make custom Procreate Hair Brush – Step-By-Step Guide
Creating a custom hair brush in Procreate is a fantastic way to add a personal touch to your digital artwork. Let me guide you through this process step by step:
Start with a New Canvas
Open Procreate and create a new canvas. I recommend a size like 2000×2000 pixels for good detail visibility.

Creating Your Brush Shape:
Access the Brush Library by tapping the paintbrush icon.
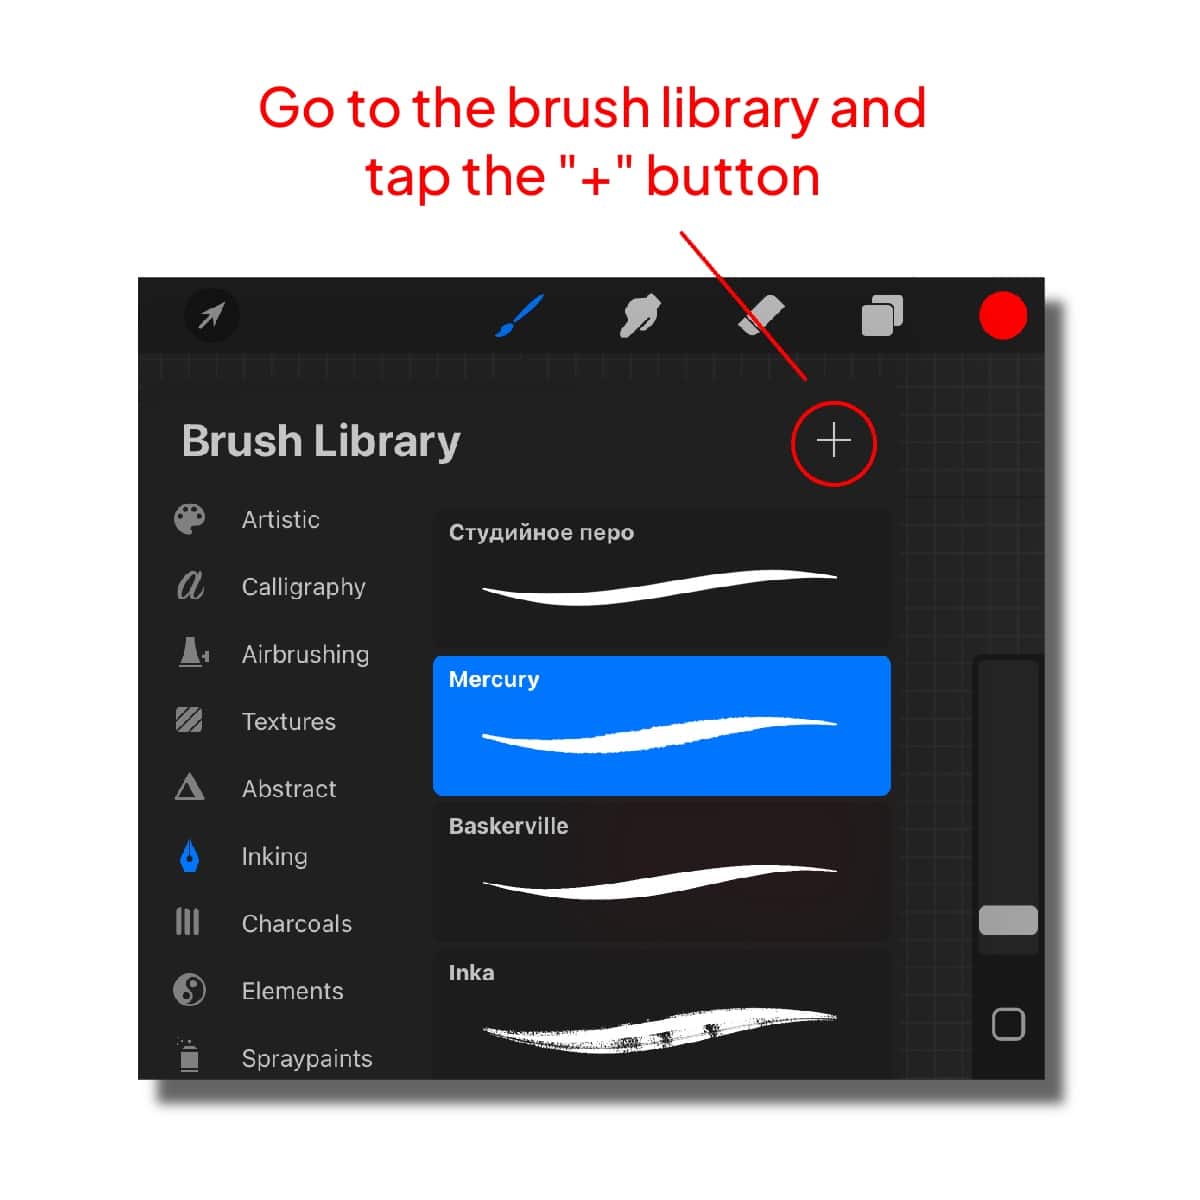
Create a new brush by tapping the ‘+’ icon.
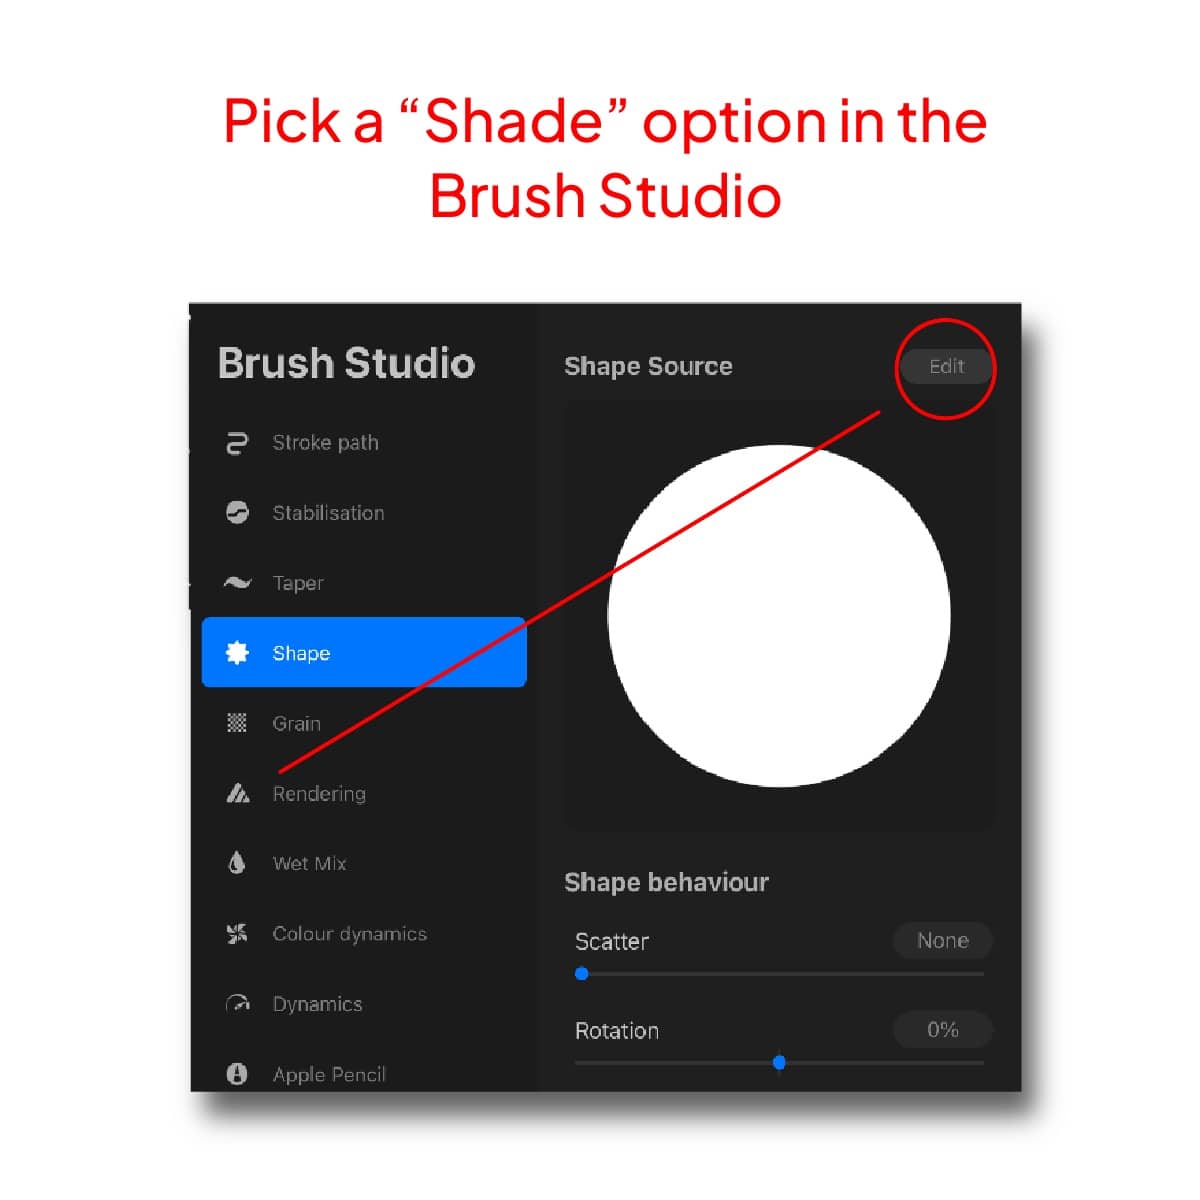
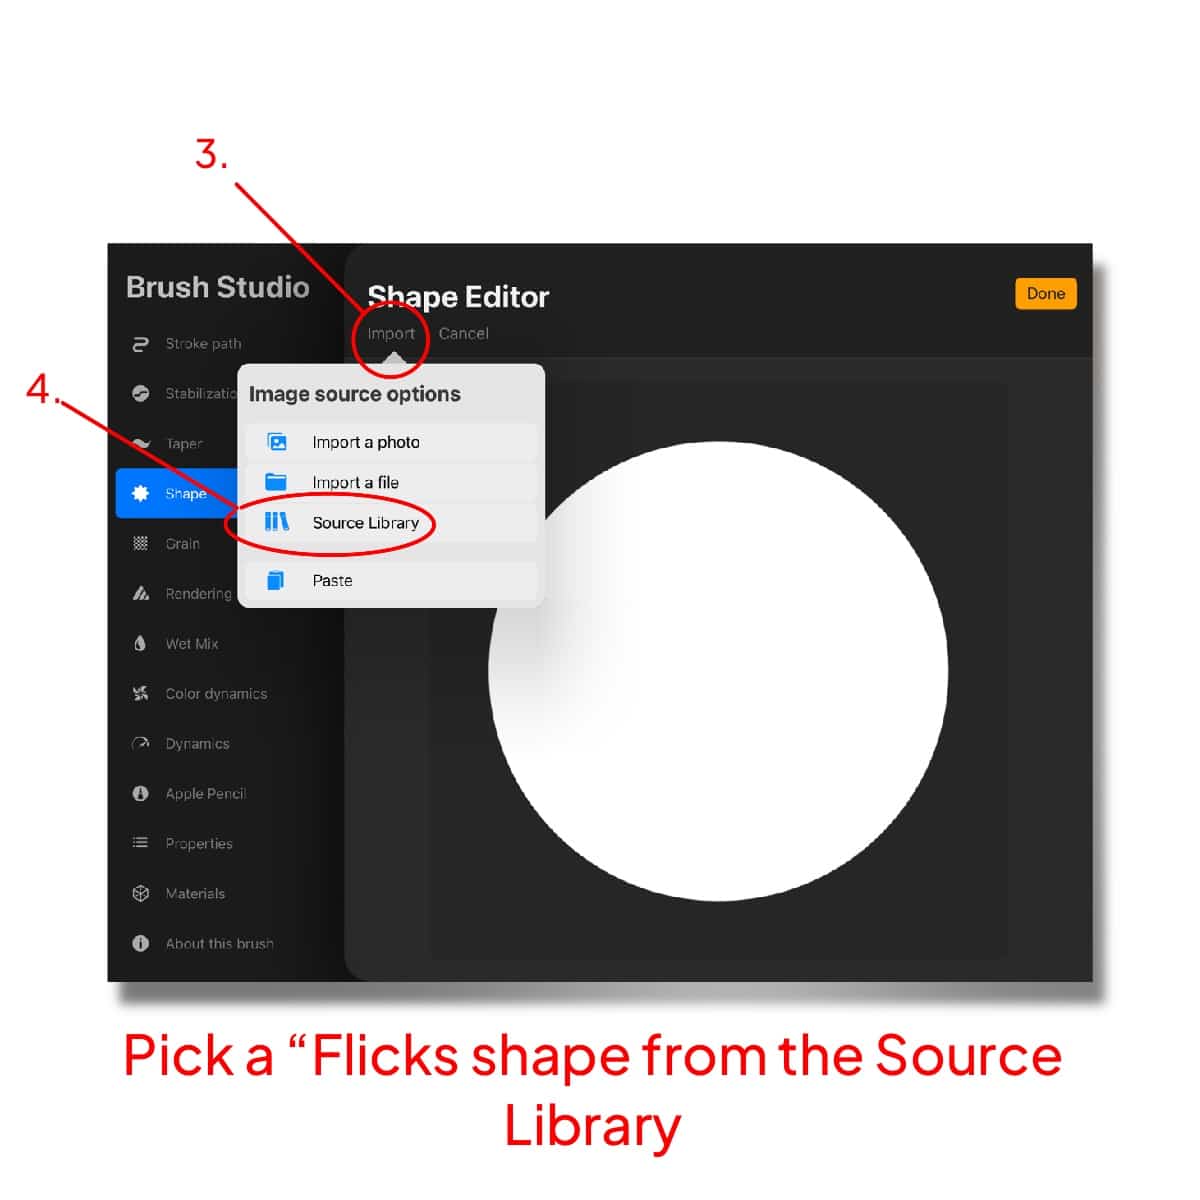
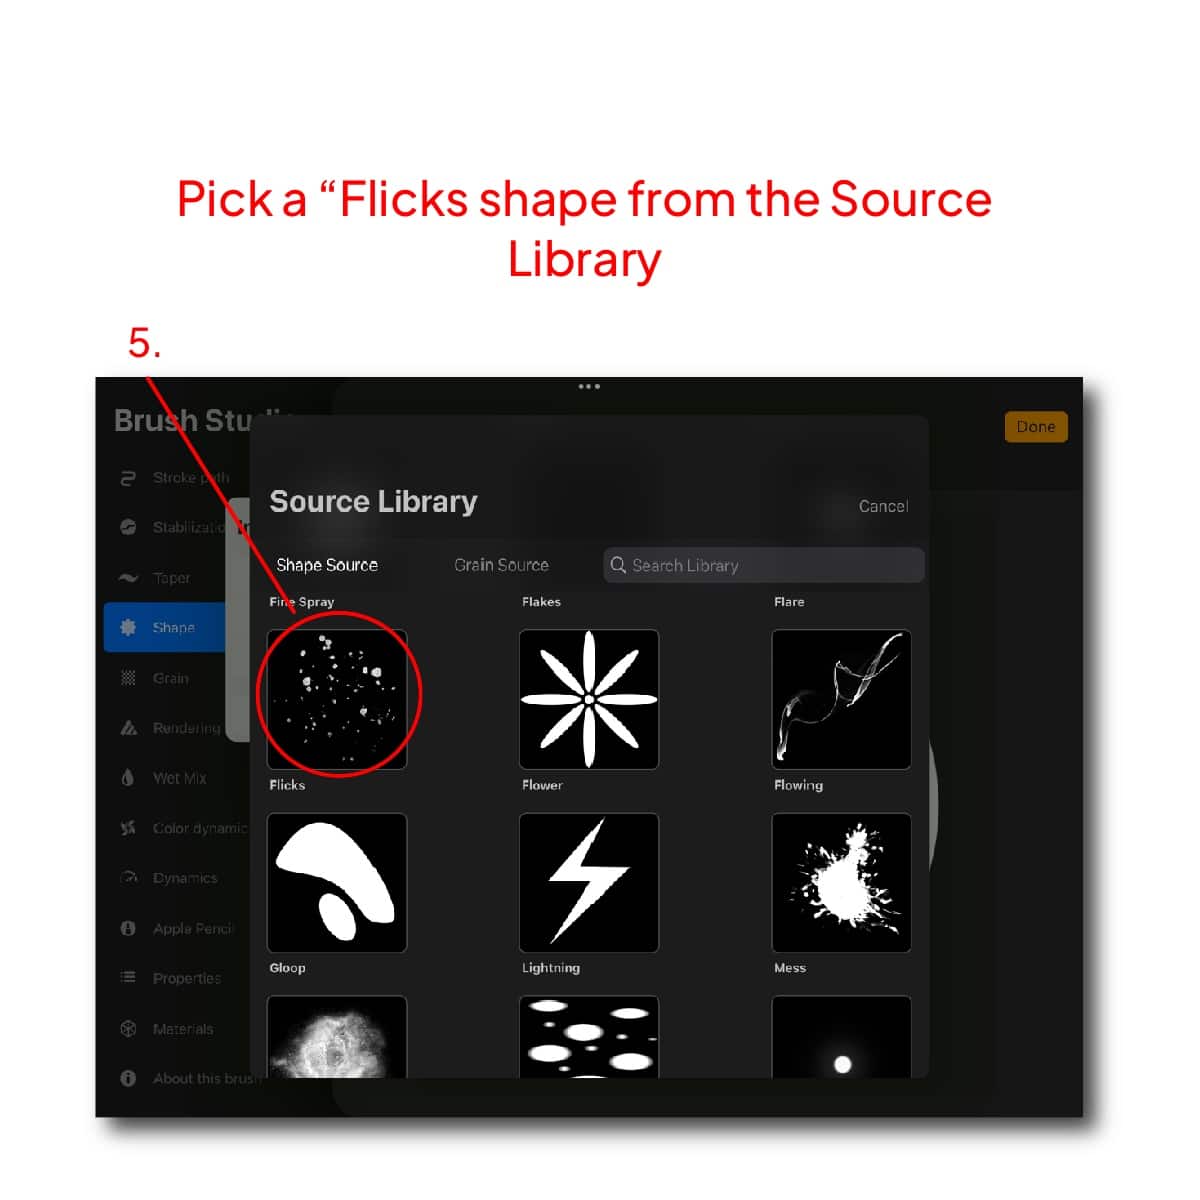
In the ‘Shape’ tab, you can draw your shape directly on the canvas or import an image. For hair brushes, a tapered or pointed shape often works best. This shape will act as the primary structure of each hair strand your brush creates.
Configuring the Grain
Under the ‘Grain’ tab, you can select a texture. This texture repeats along the stroke length. For a hair brush, consider a subtle grain to add a natural feel to the hair strands.
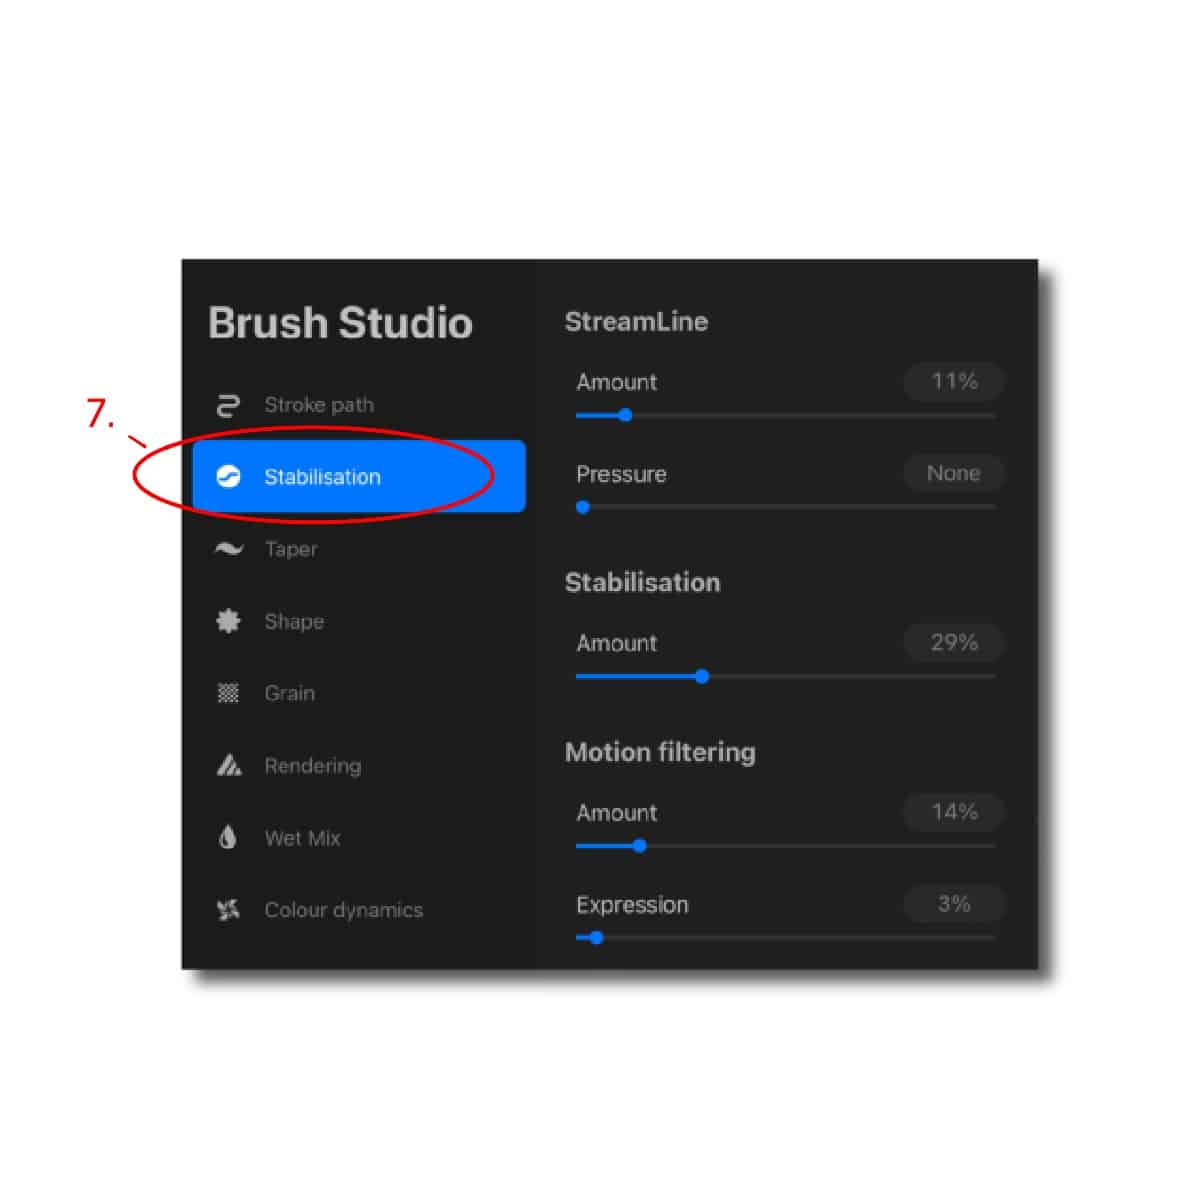
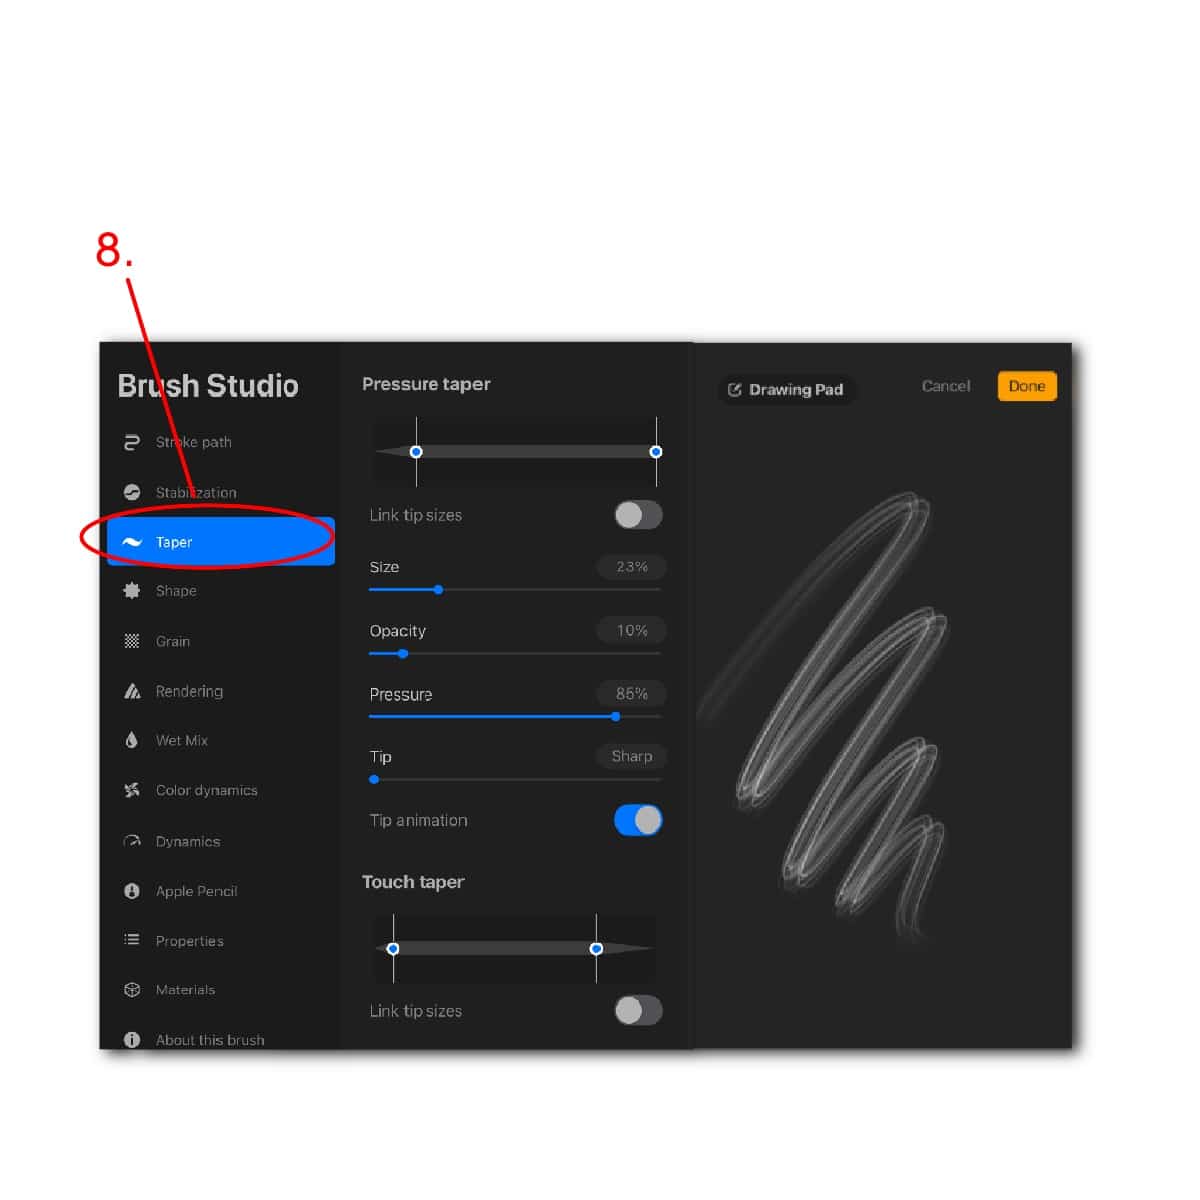
Adjusting Brush Settings
In the ‘Stroke’ tab, set the ‘Spacing’ to a lower value for continuous strokes.
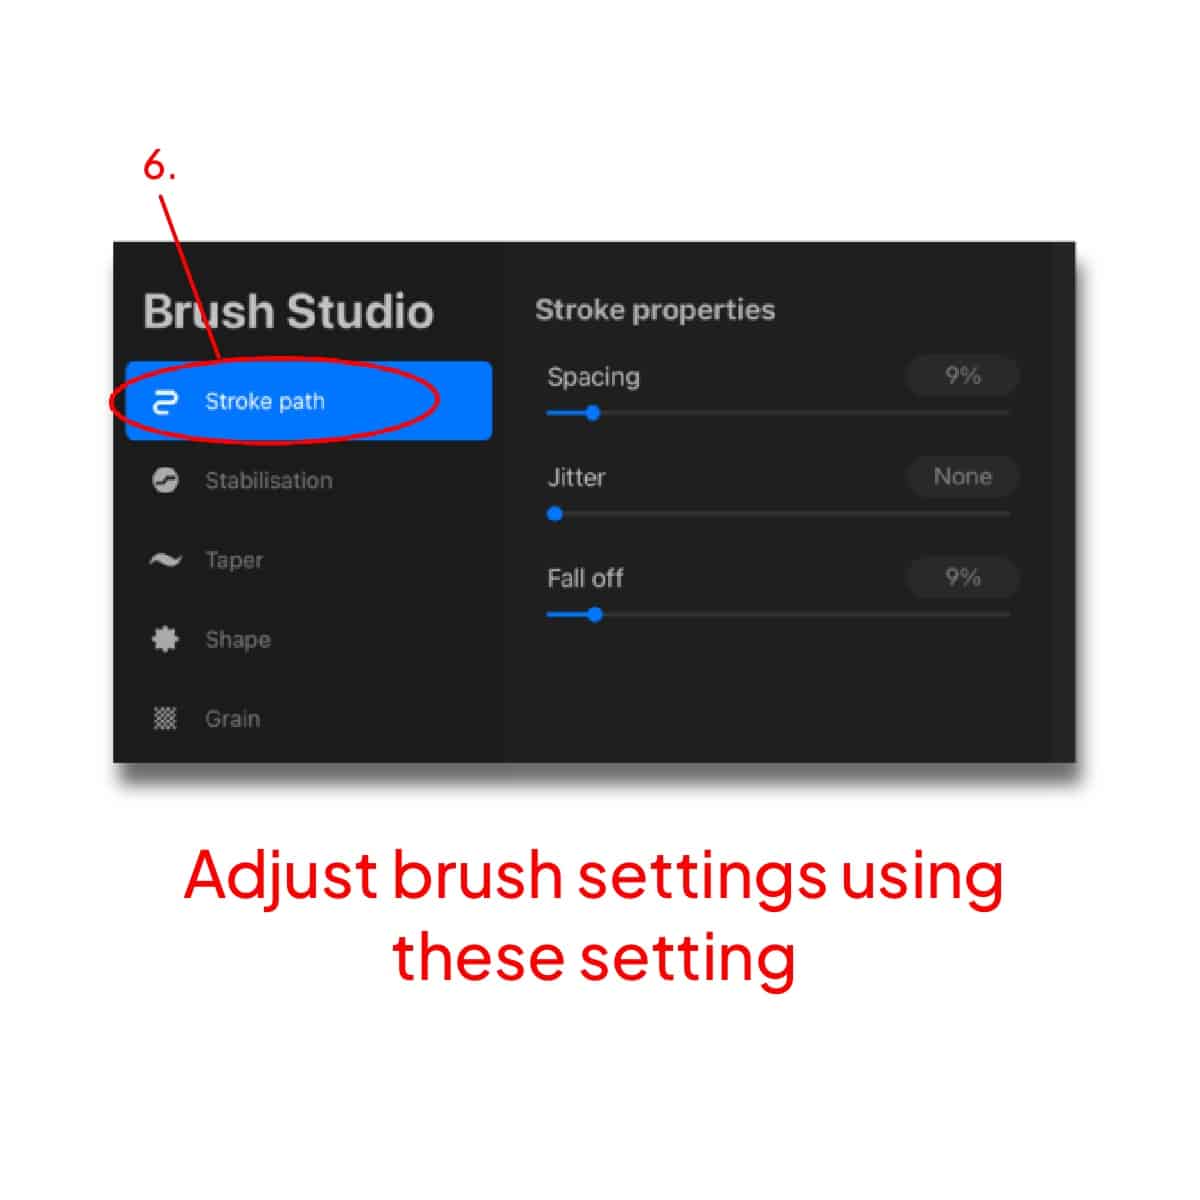
Adjust ‘Streamline’ to stabilize your strokes, which is particularly useful for smooth hair strands.
‘Jitter’ can add variation to your strokes, but for a hair brush, it’s often best kept low.
Explore the ‘Taper’ settings to give your strokes a natural start and end, like real hair.
For those looking to enhance their skills in rendering different hair types, exploring how to draw fluffy hair, how to draw braids, or even achieving the perfect shine with tutorials on how to draw shiny hair can be incredibly beneficial.
Fine-tuning Dynamics
In the ‘Dynamics’ tab, adjust the ‘Opacity’ and ‘Flow’ settings. This affects how the brush responds to pressure, which is critical for creating lifelike hair textures.
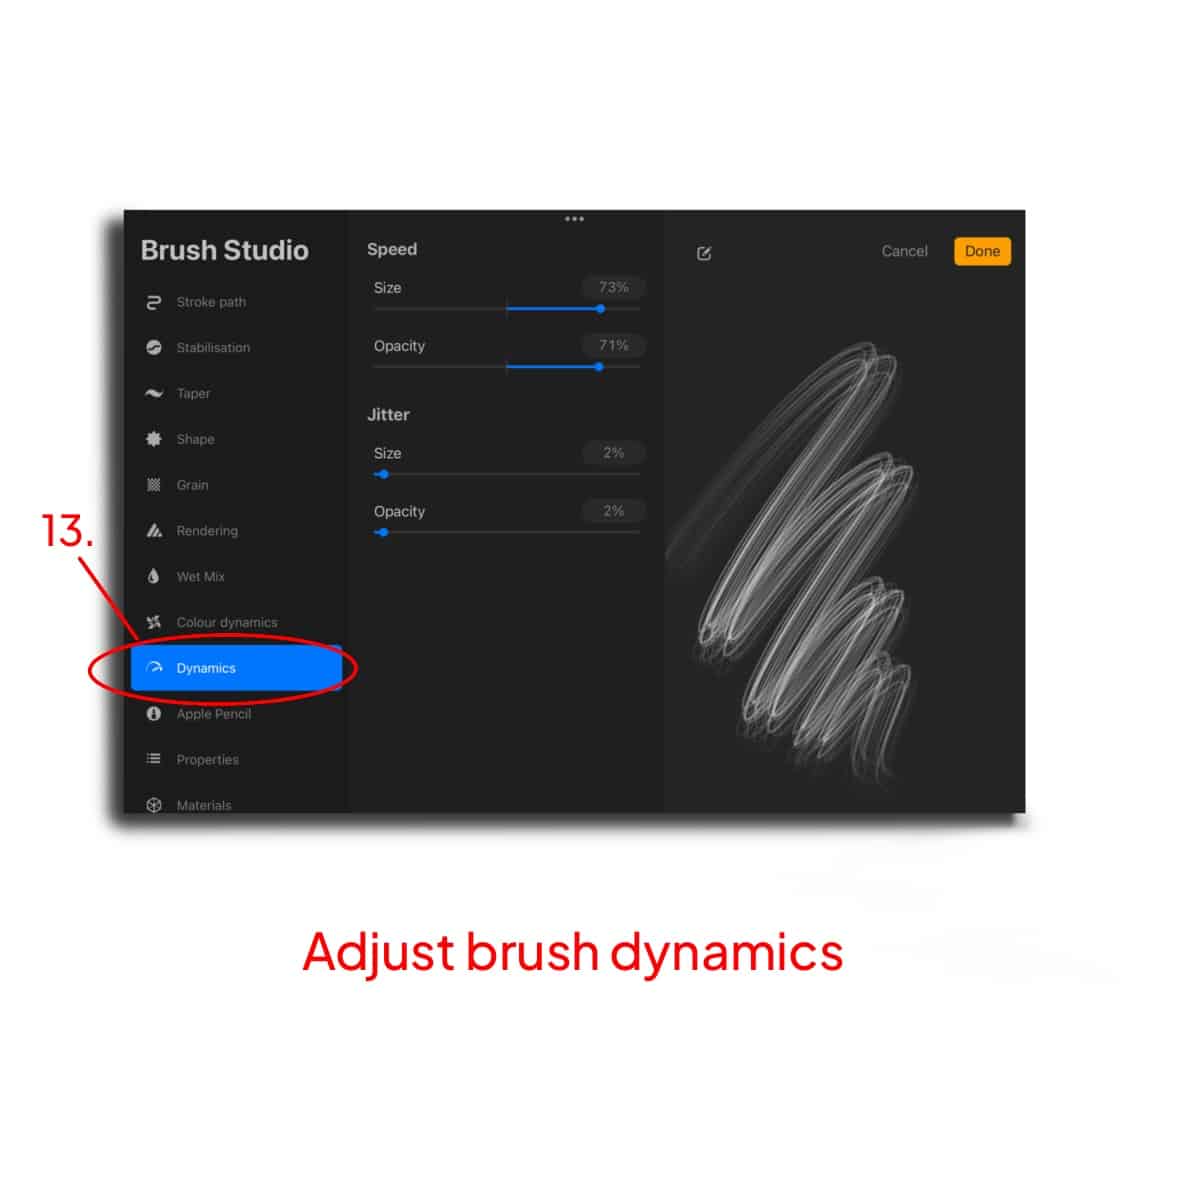
Experiment with ‘Size’ and ‘Opacity’ dynamics to make your brush respond more naturally to pressure changes as you draw. Size and opacity can help you create wavy hair if used correctly.
Testing and Refining Your Brush:
Draw various strokes to test your brush. You’re looking for a natural hair-like feel. If it doesn’t look right, go back and adjust your settings. This process might take a few tries to get perfect.
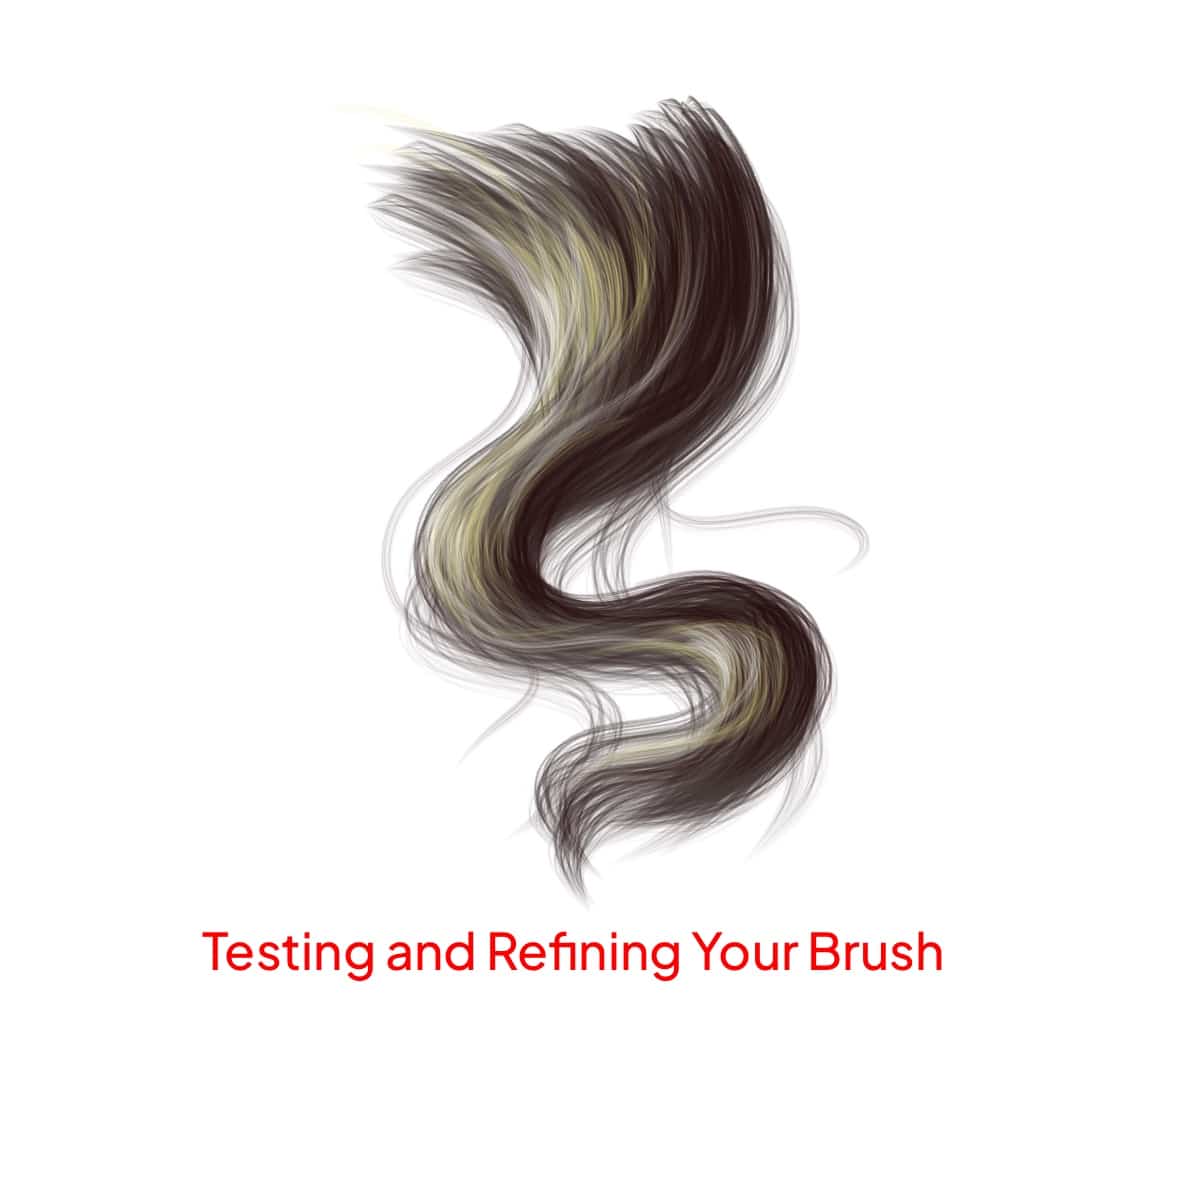
Try using your brush to draw different types of hair to ensure it works well under various conditions.
Saving Your Custom Brush:
Once satisfied, tap ‘Done’ to save your brush.
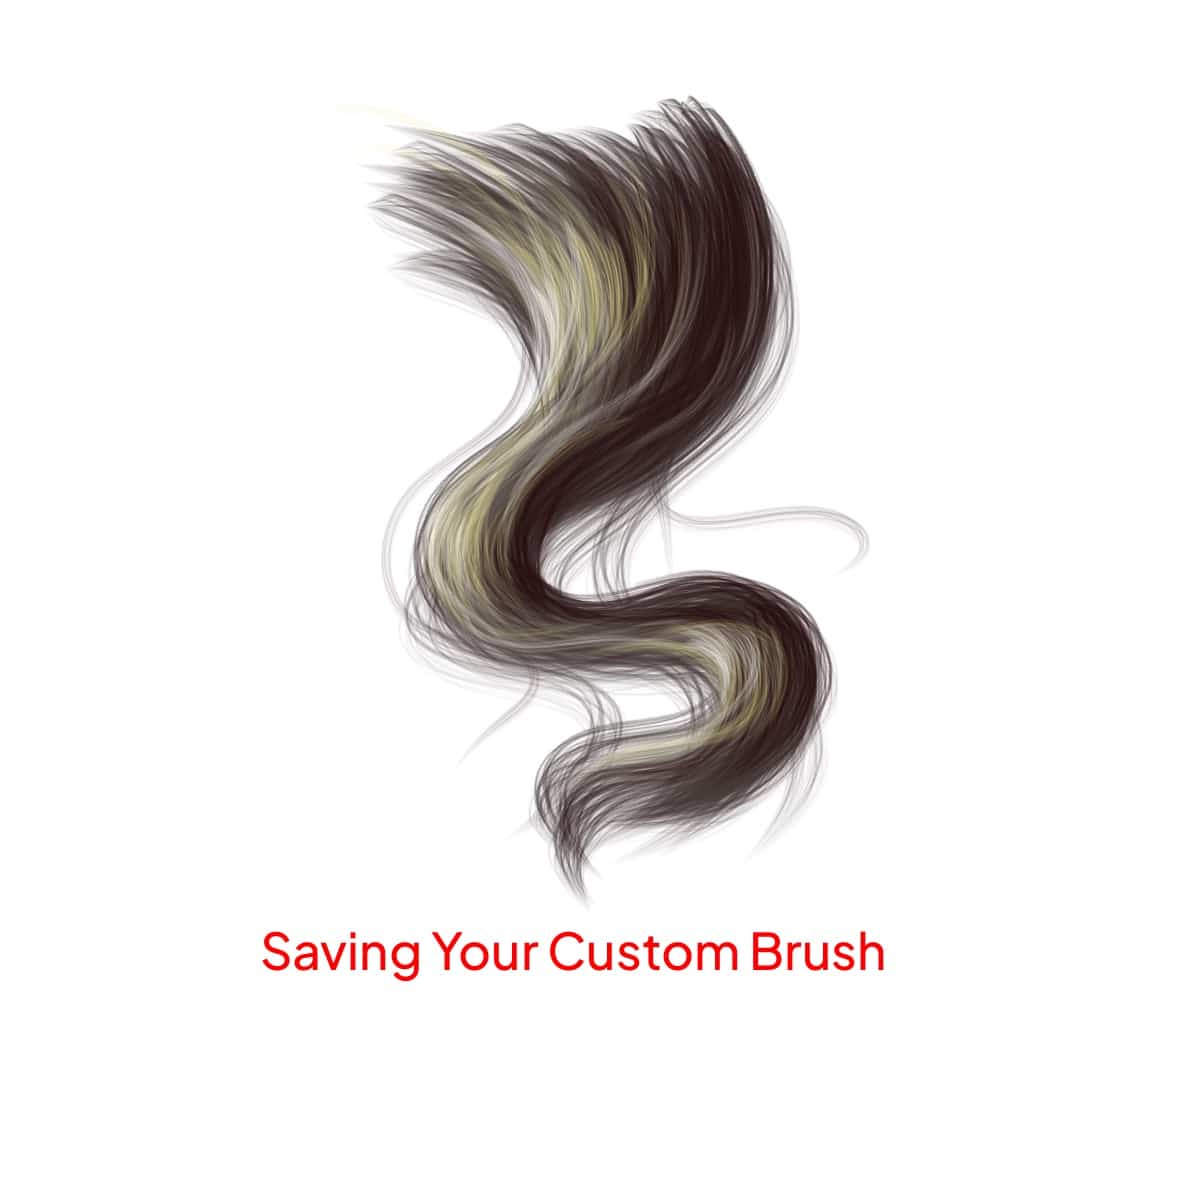
Name your brush something memorable. You might even want to create a new brush set for your custom hair brushes.
Creating your brush is a blend of art and science. It might take a few attempts to get it right, but the result is a personalized tool that can make your digital art stand out. Remember, Procreate allows for a lot of experimentation, so have fun with it!
For additional guides on enhancing your digital hair artistry, consider exploring how to easily render hair in Procreate, mastering the art of shadowing hair, and perfecting hair color with how to color hair in Procreate. For those interested in specific styles, our tutorials on how to draw anime hair and cartoon hair offer great insights.


Share this article


