
How To Easily Render Hair in Procreate

Rendering hair in Procreate generally involves drawing hair in a realistic or stylized manner.
This process includes creating a base layer of color, adding depth and texture through shading and highlights, and detailing with individual hair strands.
Okay, we all know what rendering hair means, but how do we do it correctly?
While it can be quite rewarding, rendering is usually the tricky part of hair drawing, and many artists tend to mess it up.
Rendering hair in Procreate requires a good understanding of hair’s flow, volume, and how light interacts with it.
Artists often use various brushes within Procreate to mimic the natural appearance and texture of hair, enhancing the overall realism or artistic style of the digital artwork. And you can do it too!
If you want to save your energy and time, we encourage you to use pre-made hair brushes that are ready for instant use.
If this sounds like a good idea to you, take a look at our collection of Procreate hair brushes, including straight, wavy, afro, short, curly, braid, lock, and many other styles of hair. For this tutorial, we used Sketching brushes and Fur Brushes.
You can always learn how to create a hairbrush yourself.
Rendering Hair in Procreate Process (Step-By-Step)
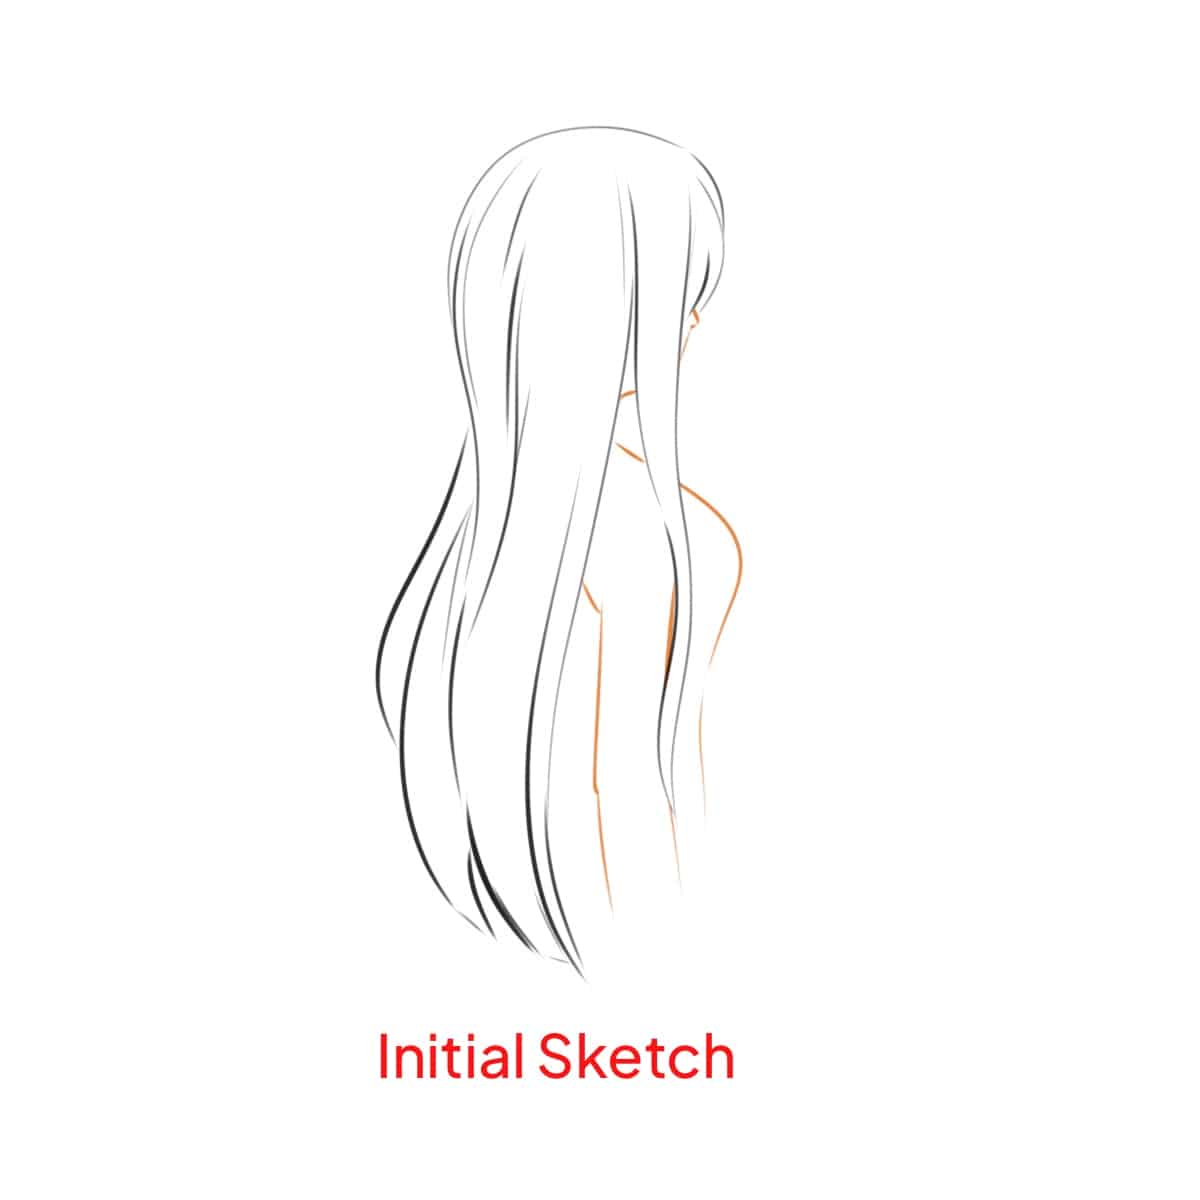
Step 1 – Initial Sketch
Start by sketching the overall shape and flow of the hair. Use a light hand and don’t worry about details yet. Think about the hairstyle and how it frames the face.
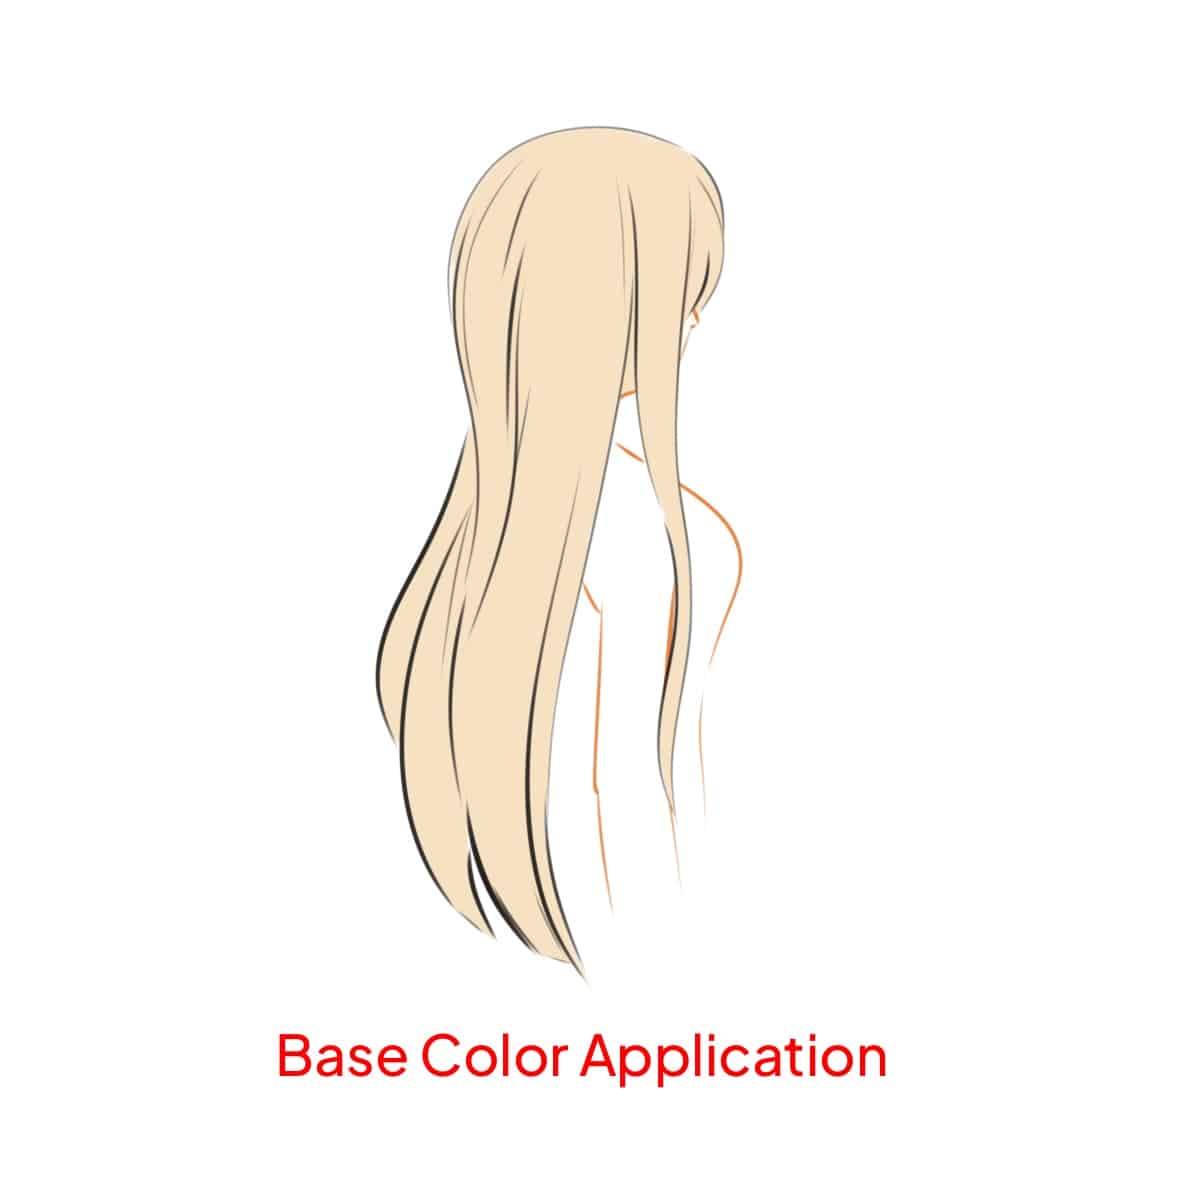
Step 2 – Base Color Application
Choose a base color that represents the mid-tone of the hair.
Fill in your initial sketch with this color. This layer is the foundation for your subsequent detailing.
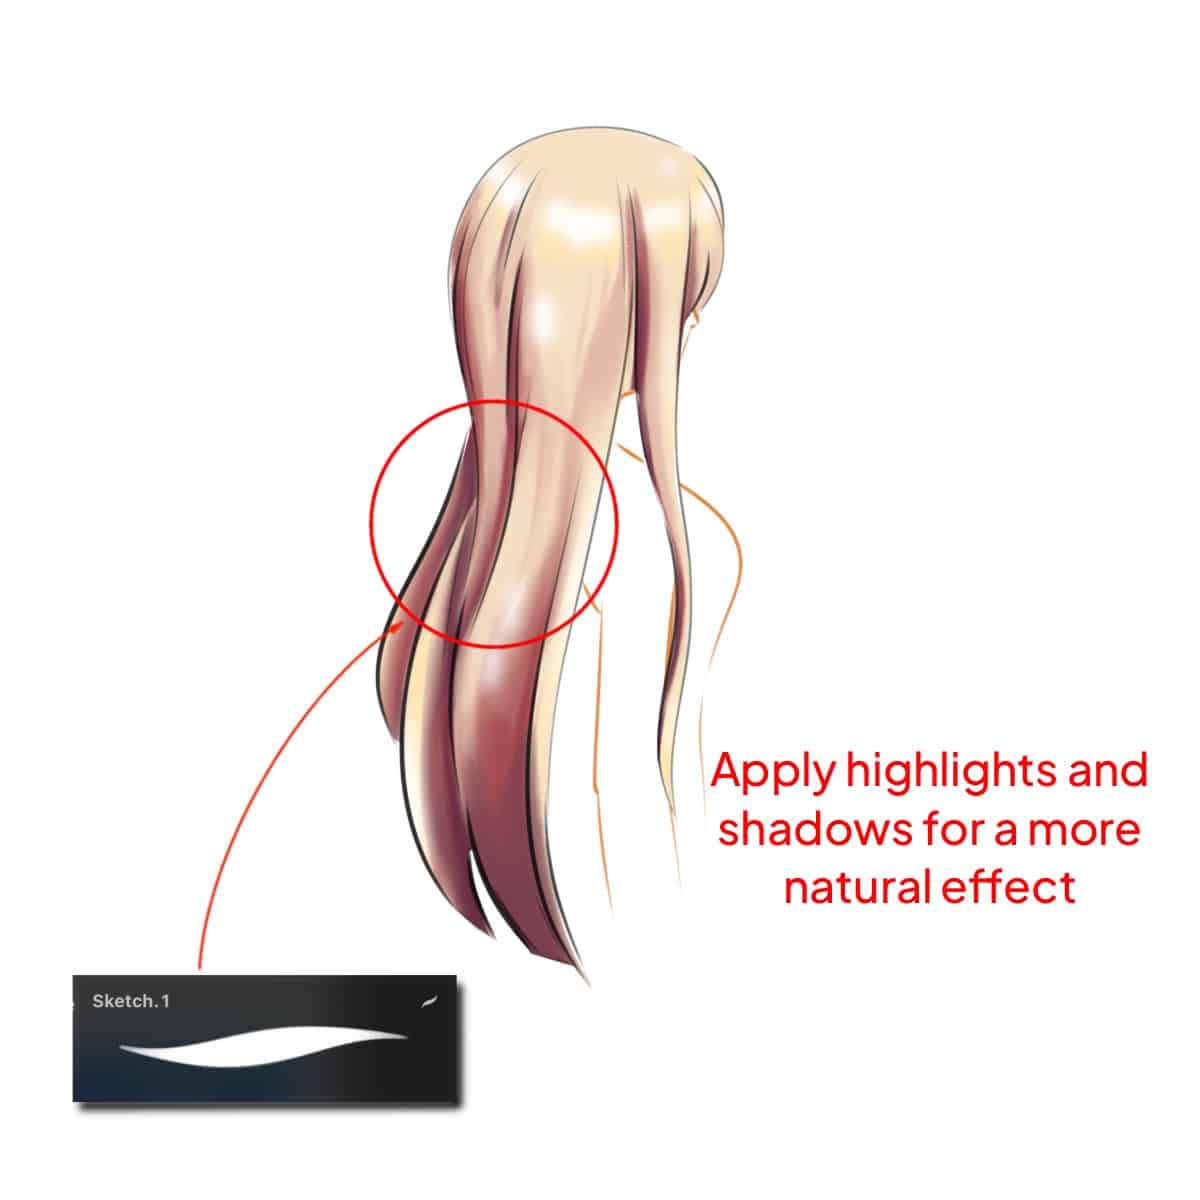
Step 3 – Building Shadows and Highlights
For shadows, pick a color slightly darker than your base. Paint in areas where light is least likely to hit, like under bangs or the lower sections of hair. Learn more about how to shadow hair in Procreate.
For highlights, use a lighter color. Apply it where the light naturally hits the hair, like on the crown or around the face. Keep your strokes light and flowing. Discover techniques for drawing shiny hair.
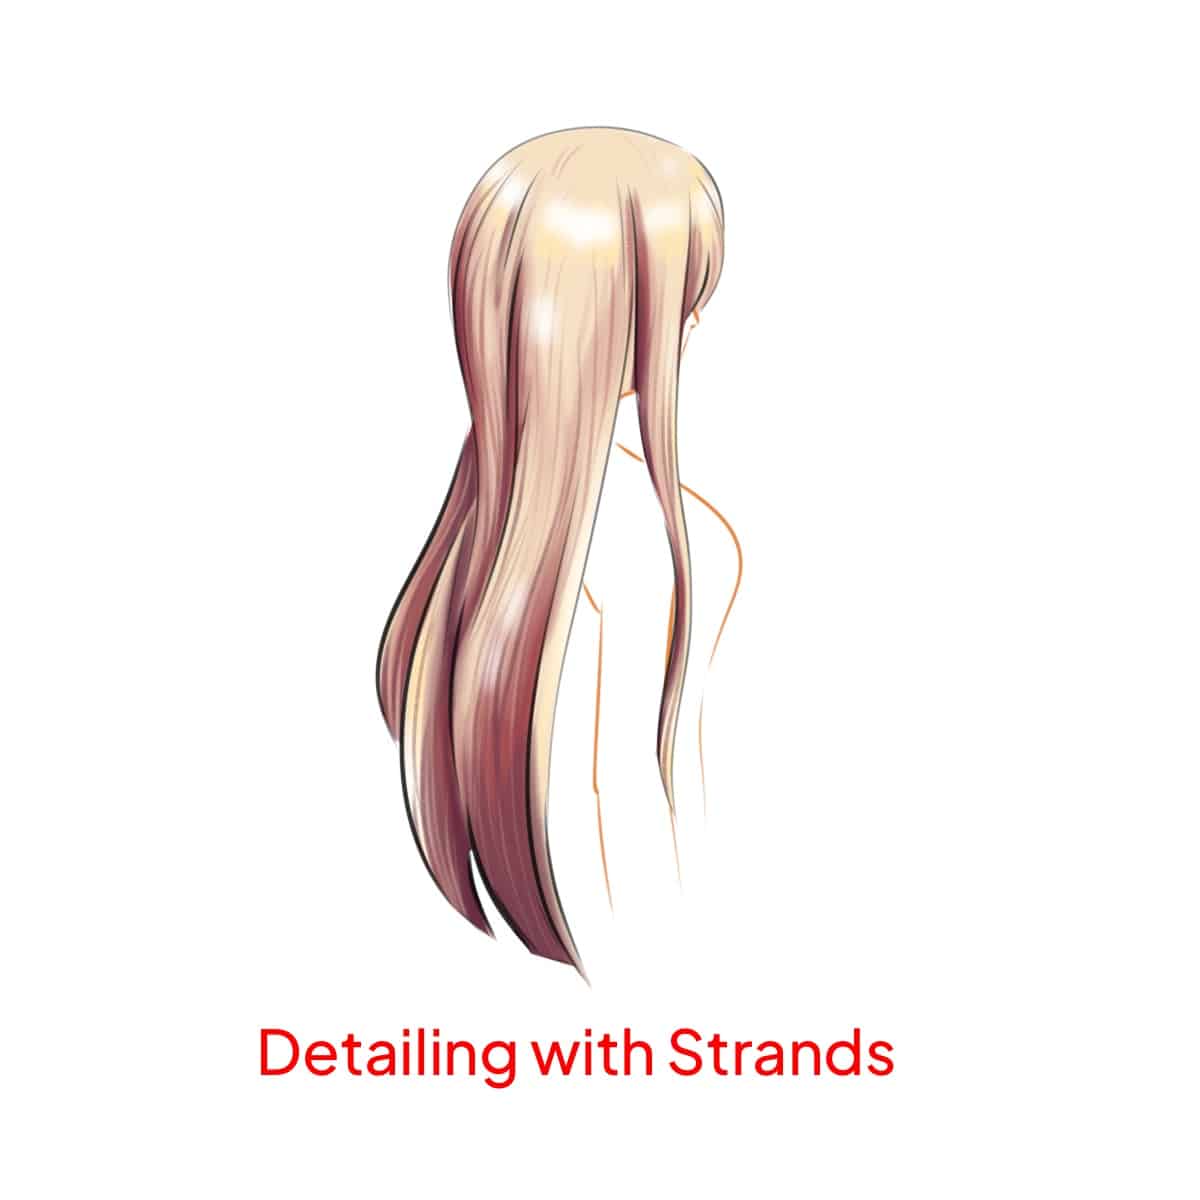
Step 4 – Detailing with Strands
Switch to a fine brush to add individual hair strands.
Vary the stroke pressure to create natural-looking variations in hair thickness.
Remember, hair isn’t perfectly straight or uniform, so add some curves and slight deviations.
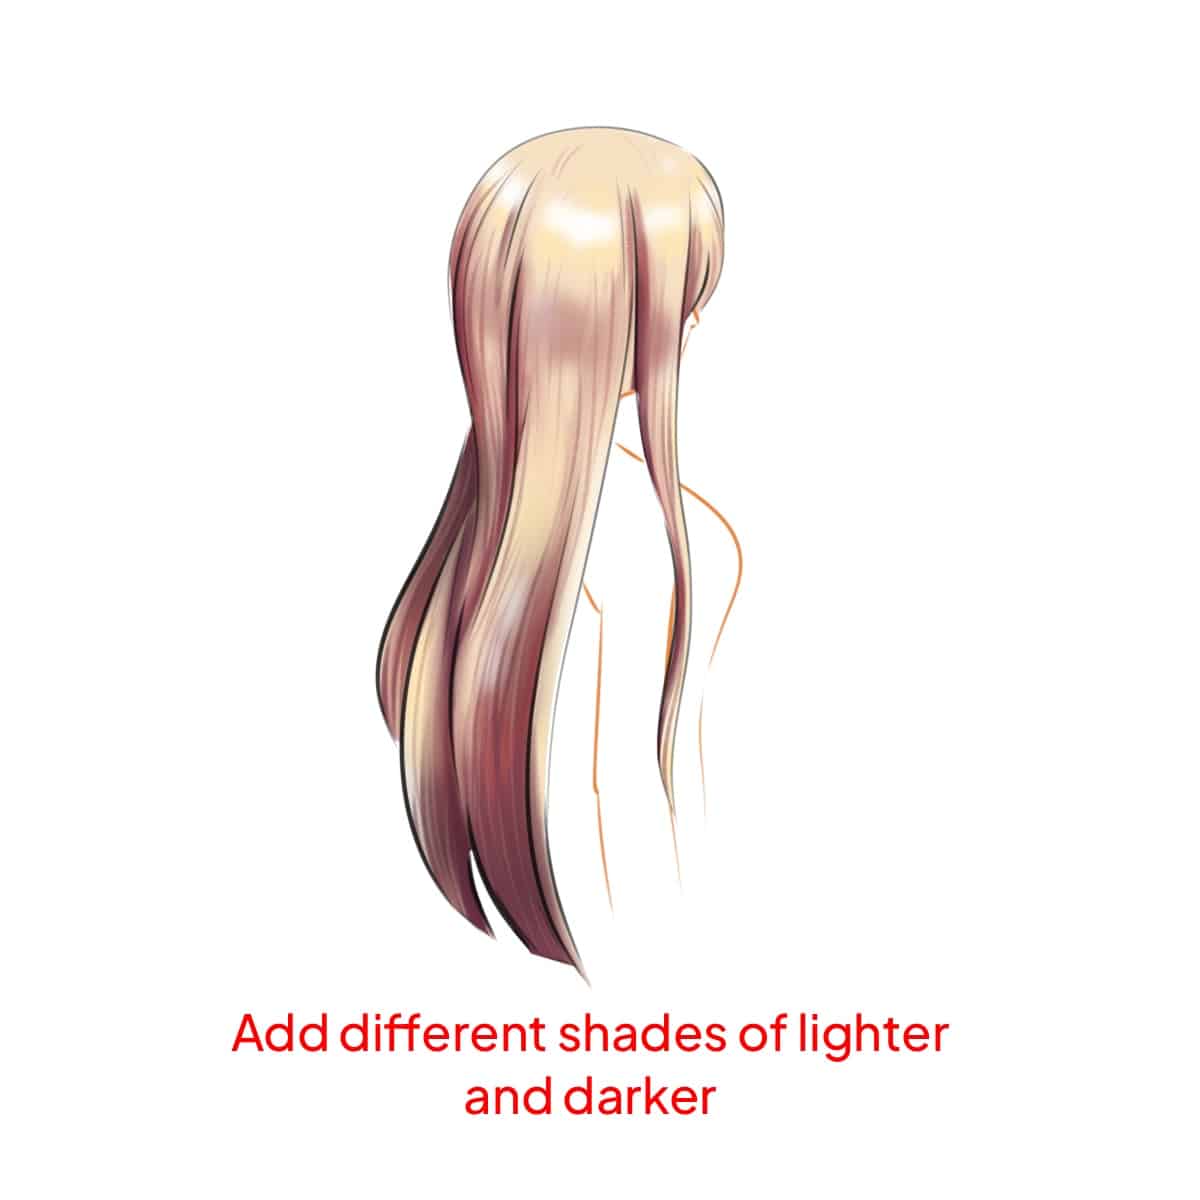
Step 5 – Layering for Depth
Introduce various shades, both lighter and darker, to build depth. This step is crucial for a realistic appearance.
Blend these layers slightly to avoid harsh lines, creating a smooth transition between colors. Master the art of blending hair in Procreate.
Step 6 – Adding Texture
Use a textured brush to give the hair more body and a natural feel.
This step can really bring your hair to life, making it look less flat and more dynamic. Find out how to draw fluffy hair or even wavy hair.

Step 7 – Final Adjustments
Reassess the overall look. Pay special attention to the balance between shadows and highlights.
You might want to add some flyaway hairs or increase the contrast to make the hair pop.
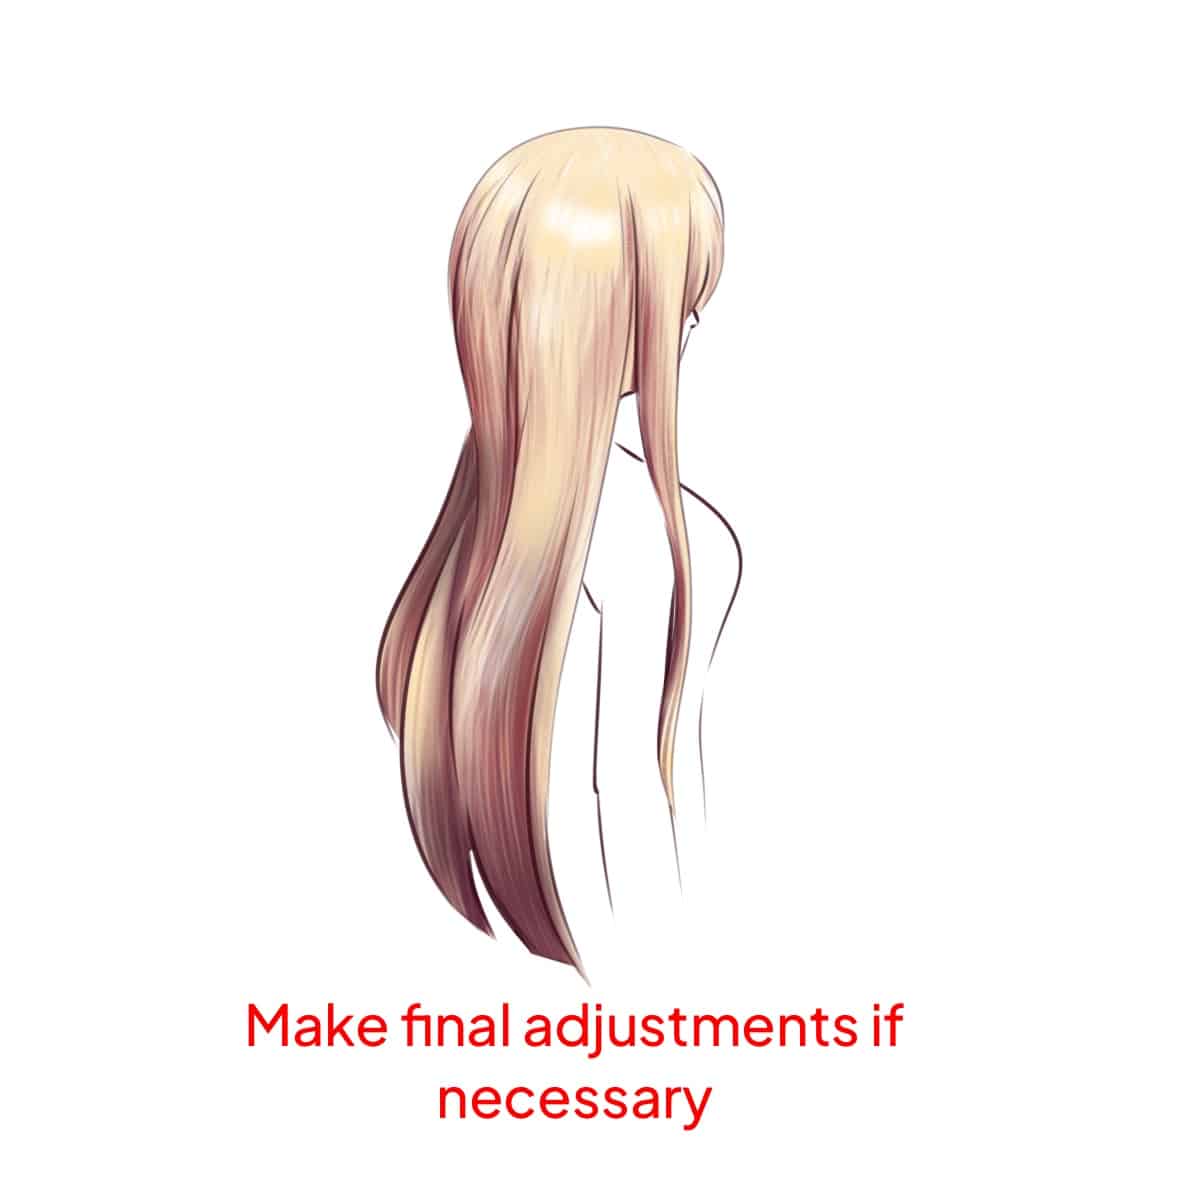
Step 8 – Reflect and Refine
Take a moment to step back and look at your work.
Make any final adjustments to ensure the hair looks as natural and integrated with the character as possible.
Throughout this process, remember that hair is dynamic and varies greatly in color, texture, and flow. Practice will enhance your understanding and ability to render hair more realistically in Procreate. Keep experimenting with different techniques and have fun with it! Interested in specific styles? Learn how to draw anime hair, how to draw cartoon hair, how to create braids, or how to easily color hair to enhance your digital art skills.”


Share this article


