
How To Shadow Hair in Procreate

Have you ever watched a horror movie and noticed how crucial shadows are to creating that eerie, suspenseful atmosphere?
Well, in the world of digital art, shadows are equally important, especially when it comes to hair. They’re not scary, but they are the secret ingredient to bringing your characters to life.
Let me guide you through the process of shadowing hair in Procreate – no fear factor involved, I promise!
In this tutorial, you’ll learn
- How to identify and understand your light source for shadow placement.
- Selecting the appropriate shadow color for hair.
- Techniques for layering shadows from mid-tones to darker shades.
- Applying shadows strategically at the roots and overlapping hair strands.
- Blending techniques for a natural transition between hair color and shadows.
- Refining shadow details for added texture and depth.
- Making final adjustments to enhance the overall look of the hair.
Before We Start
We suggest you check Brush Galaxy’s big collection of Procreate hair brushes, where you’ll find tons of different hairstyles.
For this tutorial, we used Sketch brushes and Smudge brushes. If you want to achieve similar results, we advise you to use them as well, although they are not crucial.
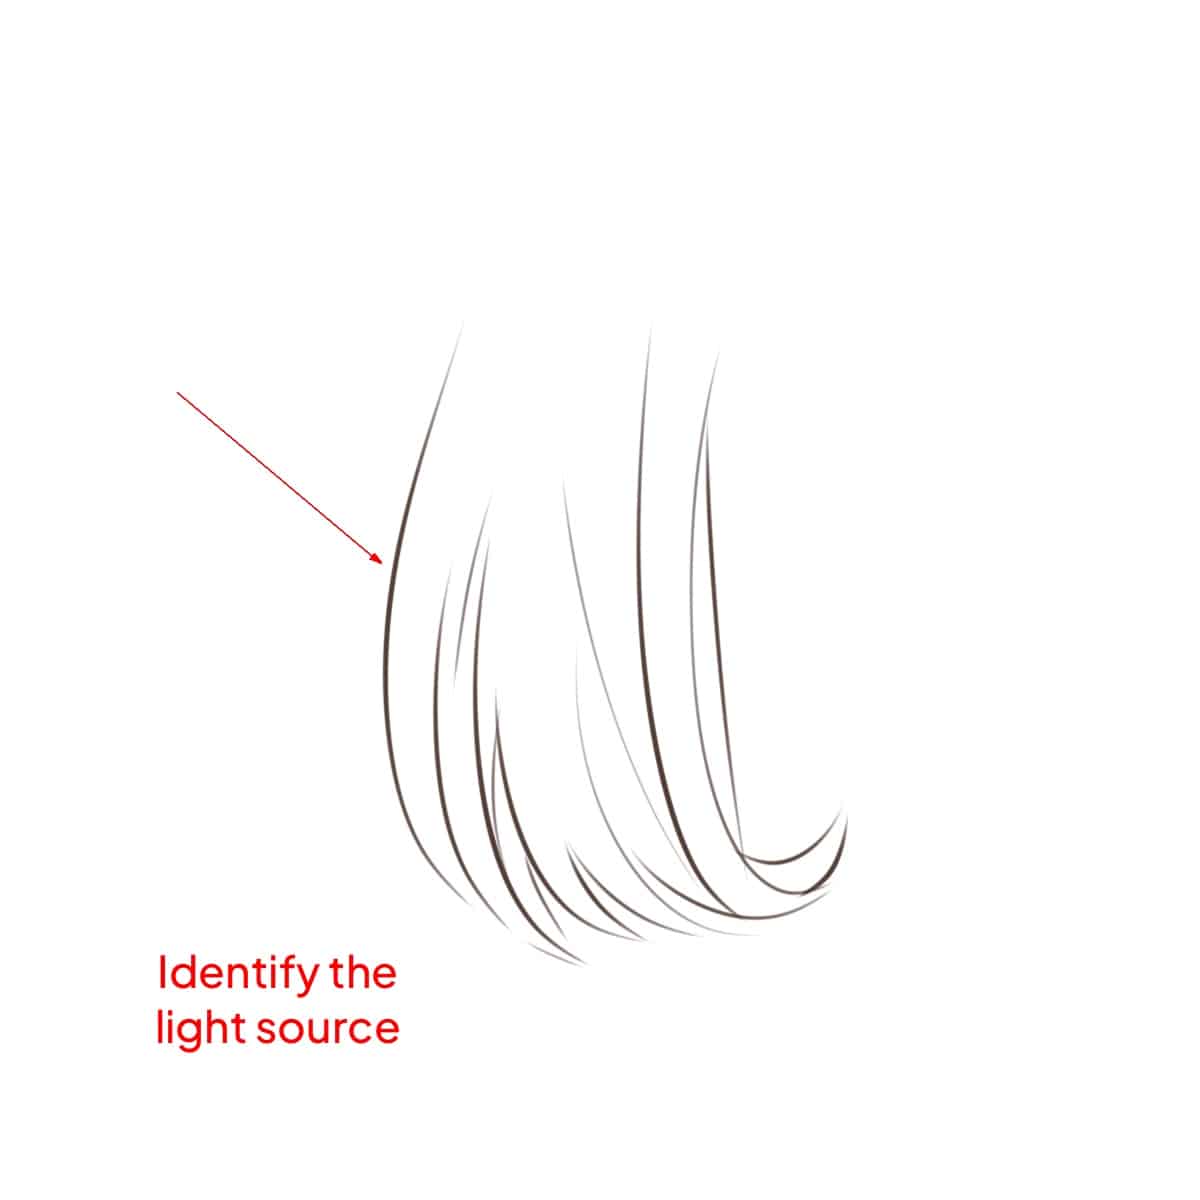
Step 1 – Understand Your Light Source
Before you start, decide where your light is coming from. This will determine where your shadows fall. Understanding light and shadow is crucial for rendering realistic hair, so you might also want to learn how to render hair in Procreate for more detailed techniques.
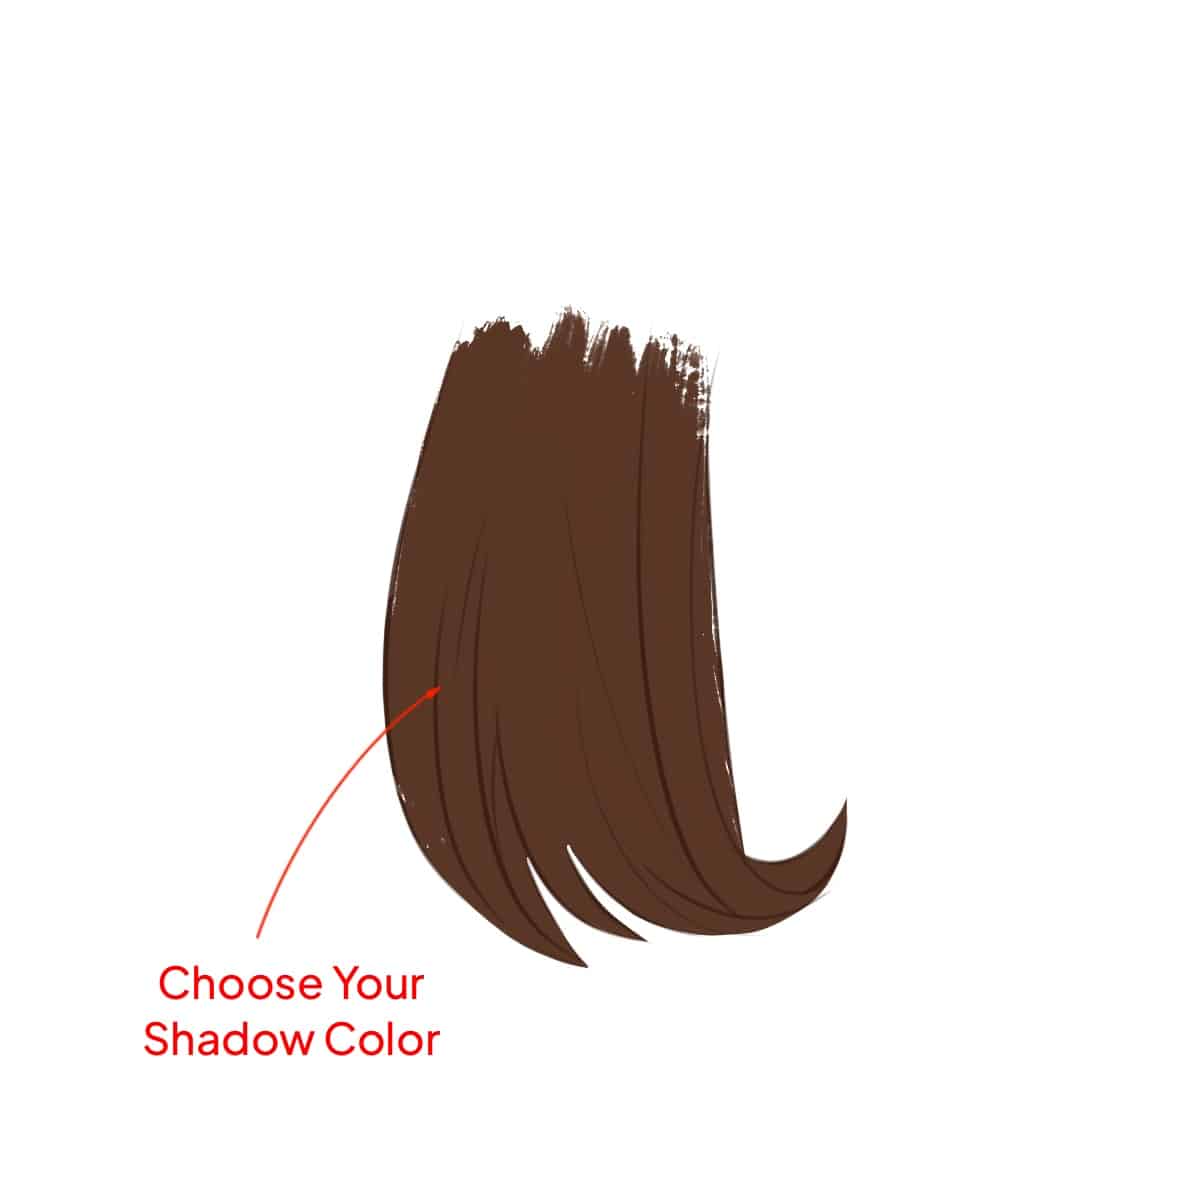
Step 2 – Choose Your Shadow Color
Go for a darker shade of your hair’s base color. Avoid black unless it’s absolutely necessary – natural shadows are rarely pure black. This step is essential in achieving a natural look, similar to drawing shiny hair, where understanding the base color and how light interacts with it is key.
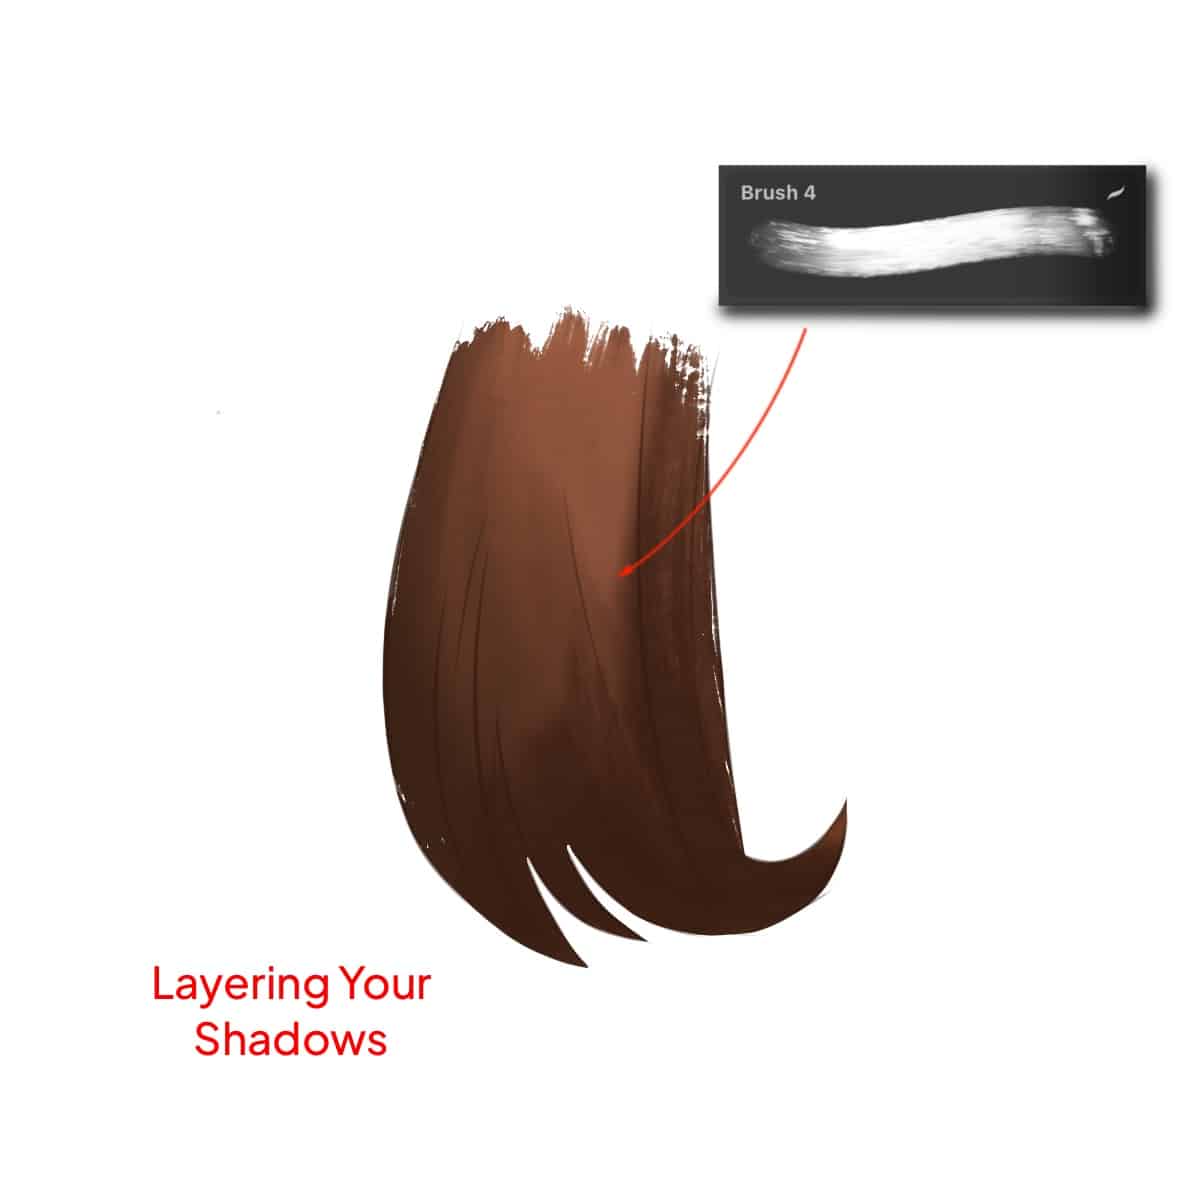
Step 3 – Layering Your Shadows
Start with a mid-tone shadow and build up to darker shades. This gradual layering creates a more natural look. If you’re interested in adding even more depth and texture, learning how to draw fluffy hair can offer additional insights.
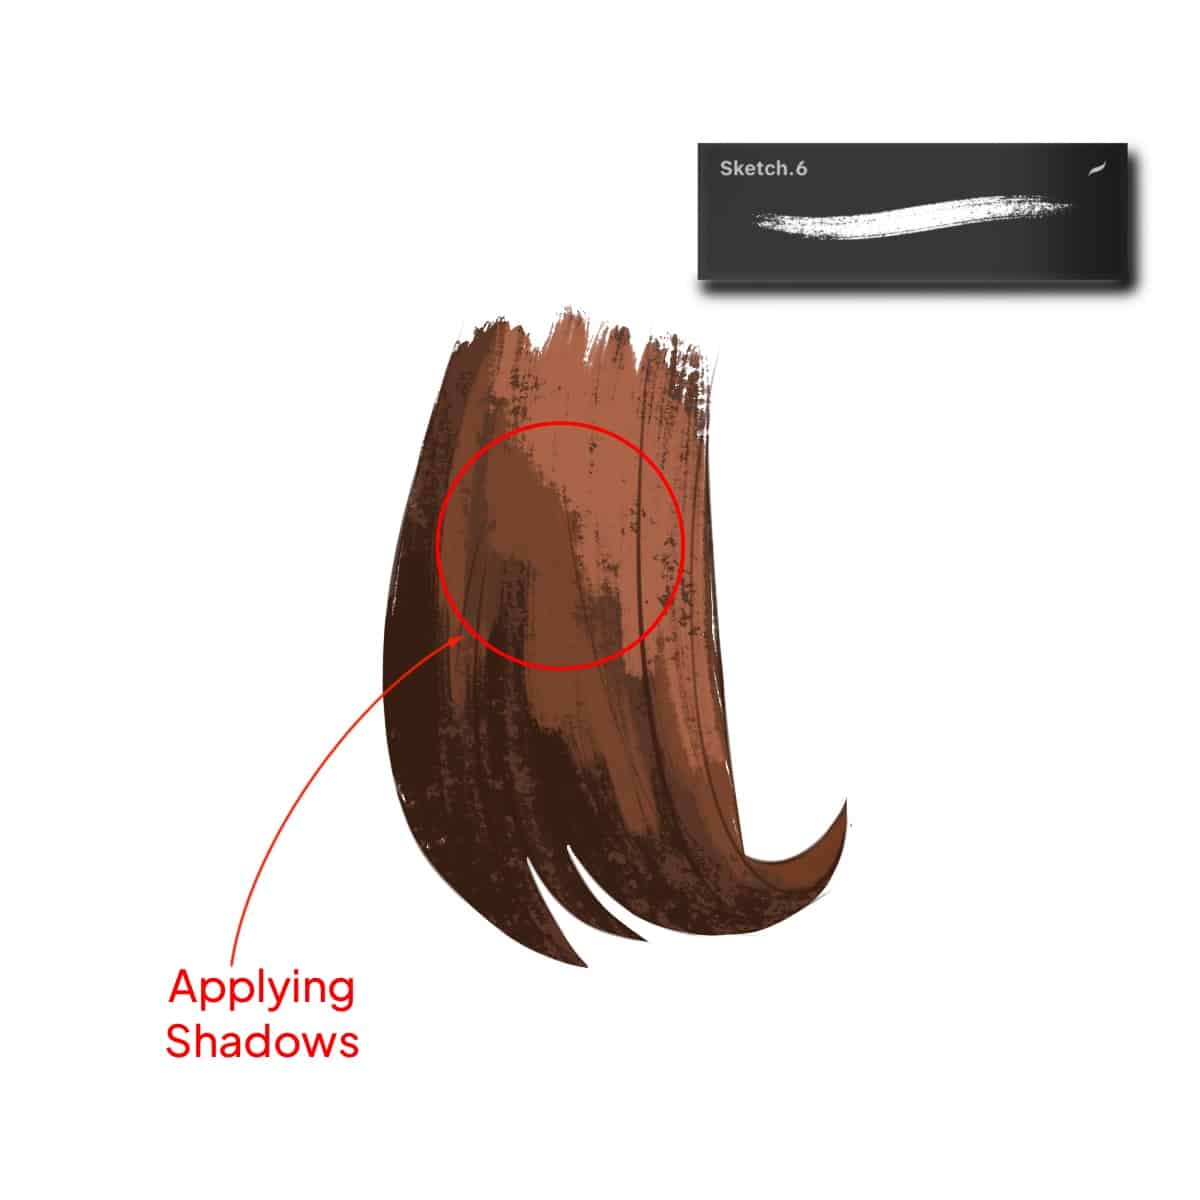
Step 4 – Applying Shadows
Use a soft brush to apply shadows at the hair roots and where strands overlap. Remember, less is more. You can always add more shadows later. For those looking to create more complex hairstyles, understanding how to draw braids in Procreate can significantly enhance your shadowing technique by adding depth and realism.
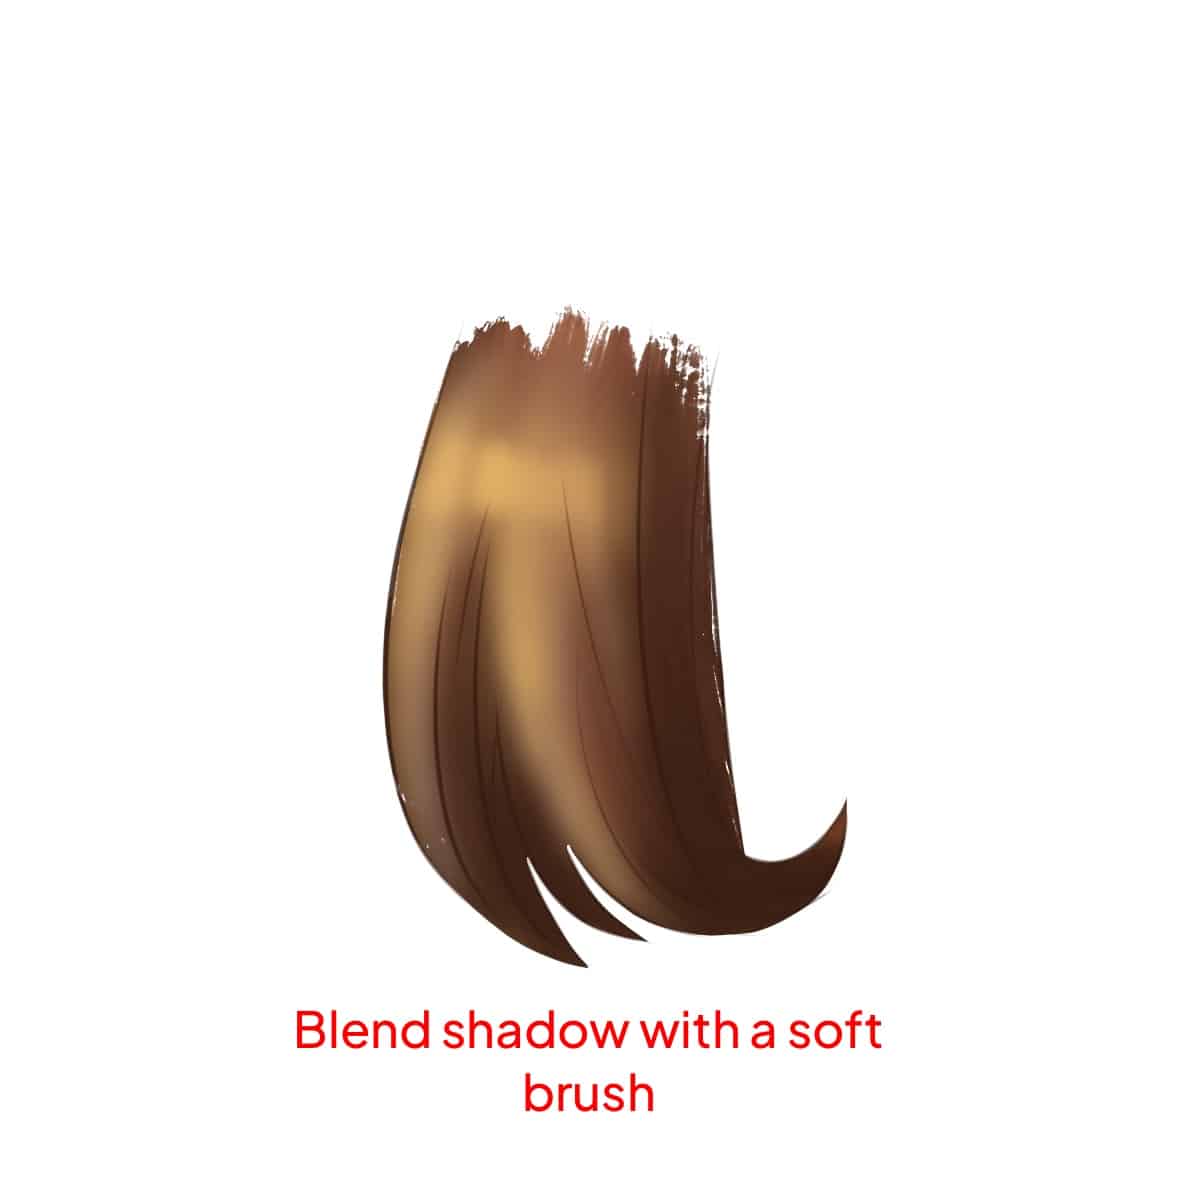
Step 5 – Blending
Blend your shadows gently. Procreate’s smudge tool is great for this. Your goal is to create a soft transition between the hair color and shadows. Mastering blending is also critical in blending hair in Procreate, where smooth gradients are essential for realism.
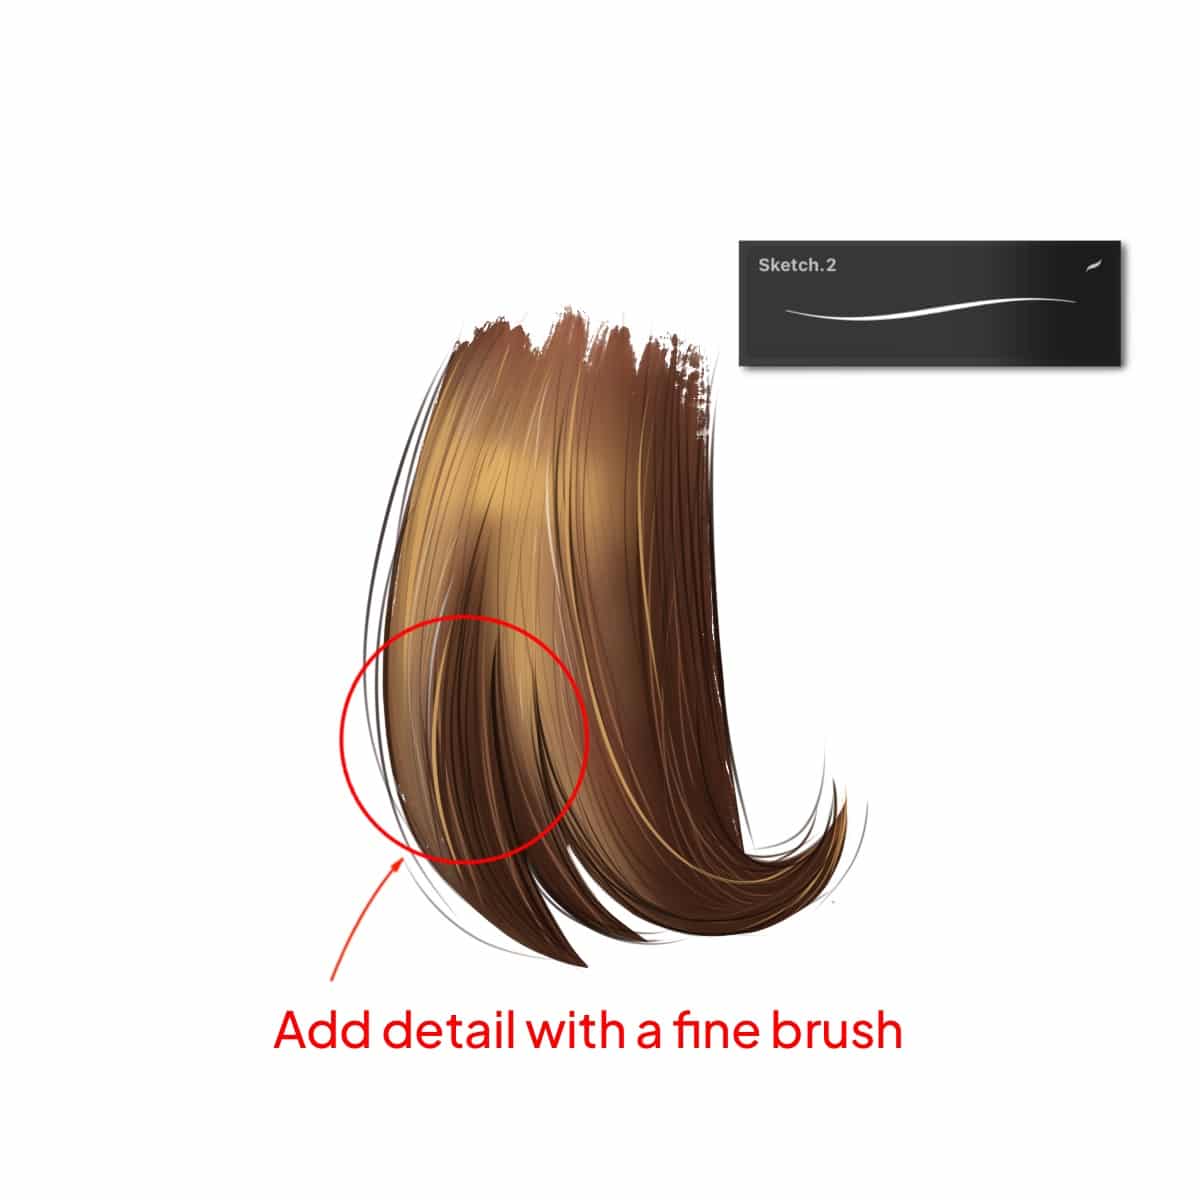
Step 6 – Refining Details
With a finer brush, add deeper shadows to create texture and depth. Pay attention to the hair flow and contours of the head. For those of you interested in capturing the unique challenges of specific hair types, tutorials on how to draw anime hair in Procreate and how to draw cartoon hair in Procreate can provide valuable techniques.
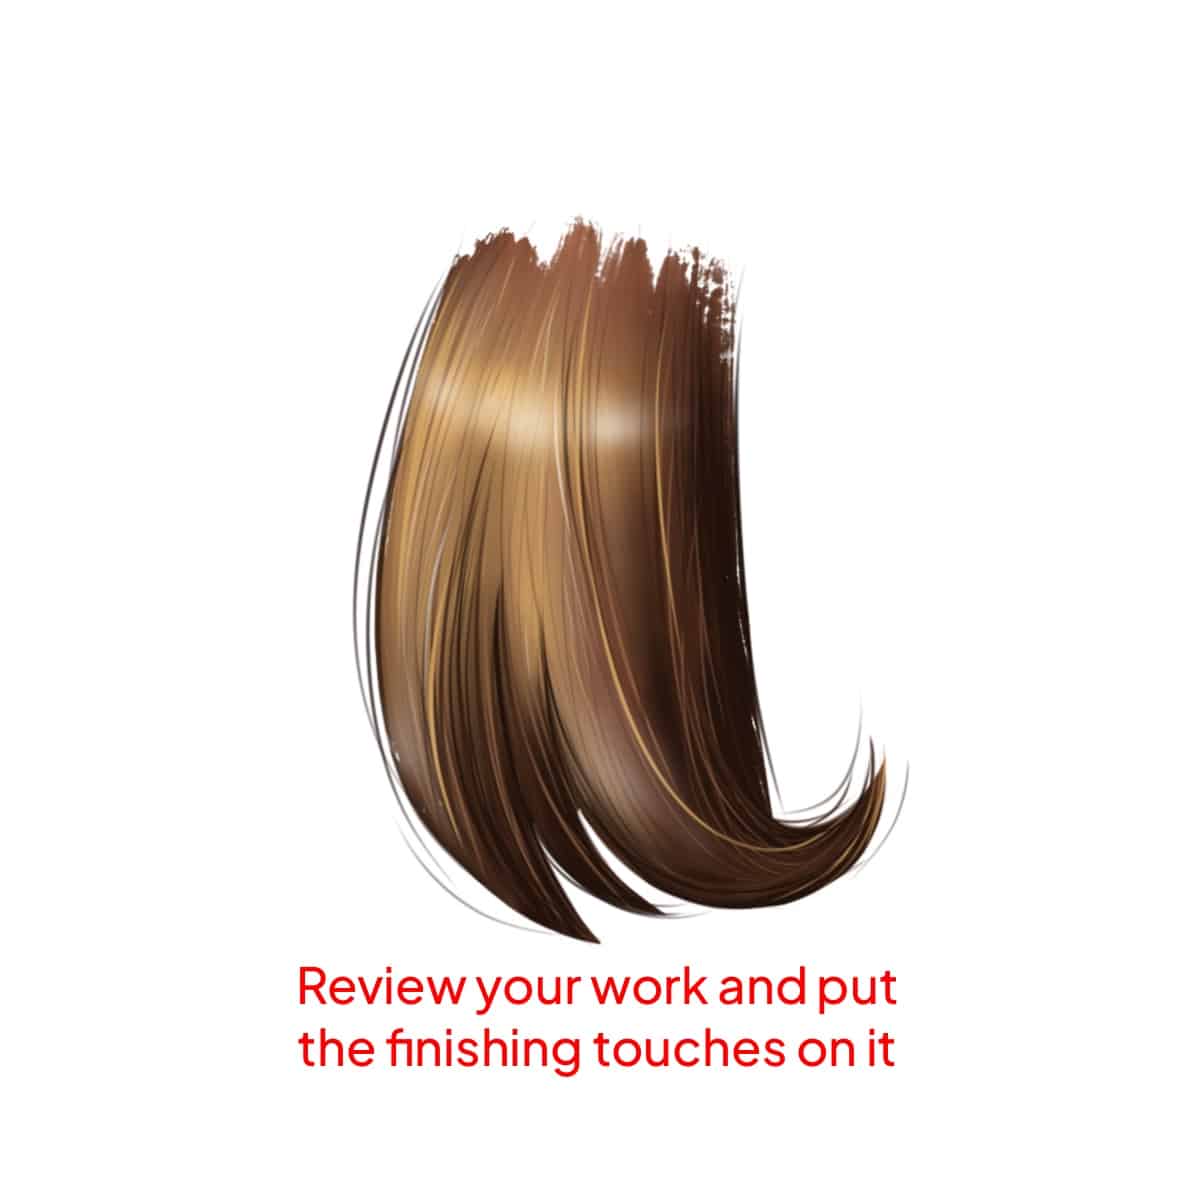
Step 7 – Final Adjustments
Step back and review your work. Adjust the contrast and saturation if necessary to make the hair pop. Now that you’ve mastered shadowing, consider expanding your skill set by learning how to color hair in Procreate in 5 minutes for a comprehensive understanding of hair coloring techniques.
And voilà! You’ve just added some beautifully shadowed hair to your digital artwork. Remember, practicing these steps will refine your technique over time. Happy drawing!


Share this article


