
How to Color Hair in Procreate in 5 Minutes

Have you ever looked at digital artwork and thought, “Wow, that hair color pops!” only to try it yourself and end up with something resembling a poorly mixed salad? Well, don’t worry.
Today, I’m going to guide you through the surprisingly not-so-scary world of coloring hair in Procreate.
Resources Used for the Tutorial:
You can also find amazing Procreate Hair Brushes for your next artwork projects!
In This Tutorial, you’ll Learn:
- How to start with a basic hair sketch in Procreate.
- Choosing and applying a base color for hair.
- Techniques for adding shadows to create depth.
- Applying highlights to give hair a realistic look.
- Refining hair details with individual strands.
- Adjusting colors for the perfect shade.
- Final touches to enhance overall hair appearance.
Coloring Hair in Procreate
Let’s break the coloring process into easy-to-follow steps.
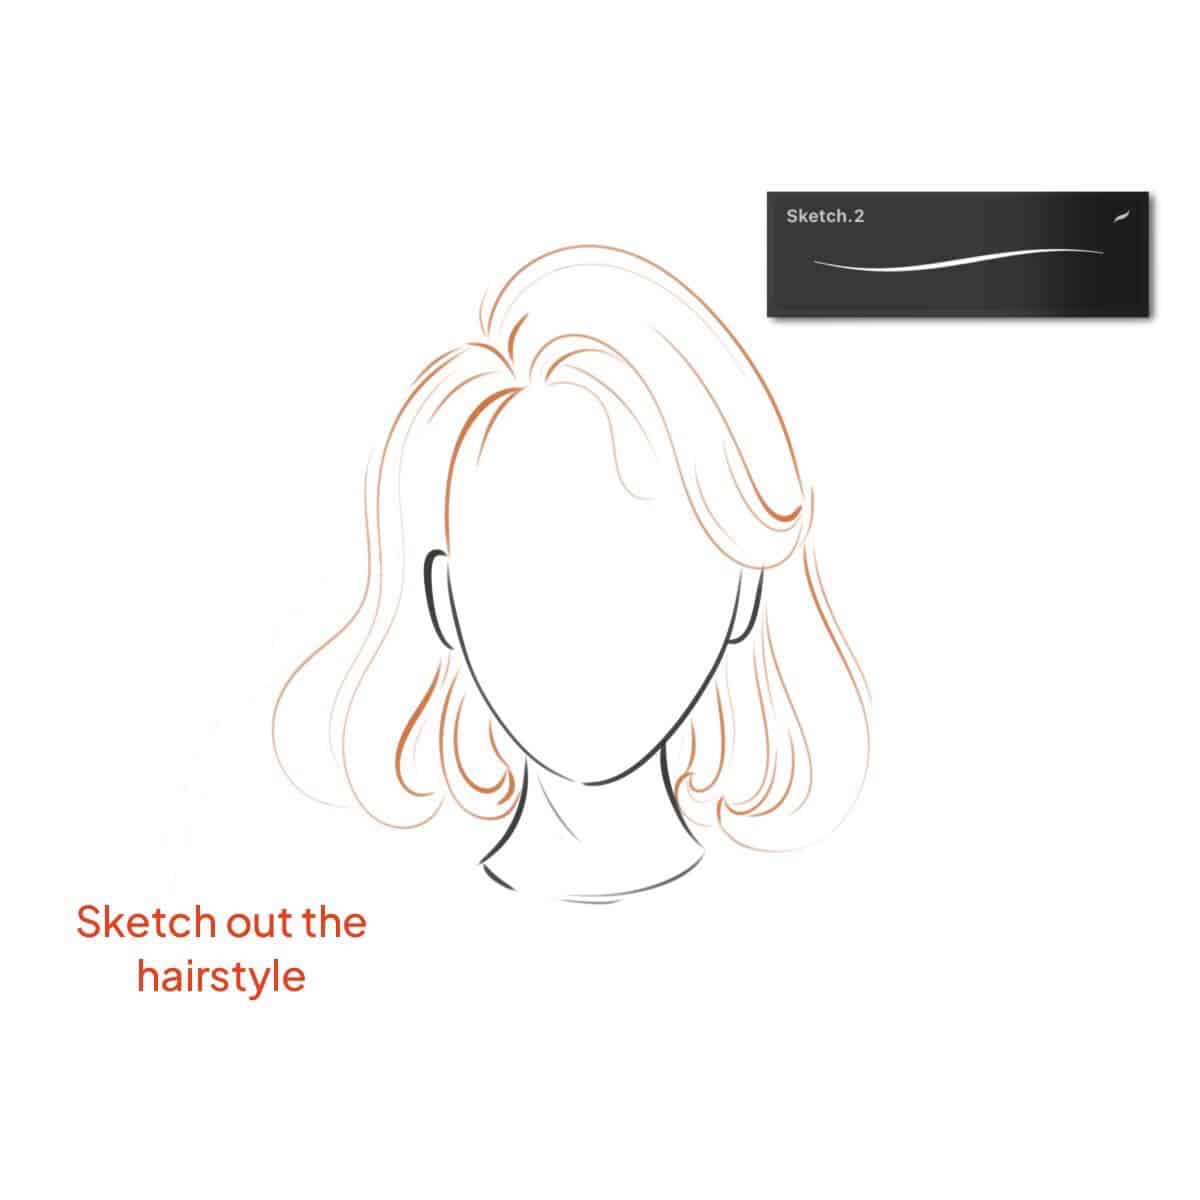
Step 1 – Start with a Sketch
First, sketch out the hairstyle on your canvas. This doesn’t have to be detailed; it’s just a roadmap for where the hair is.
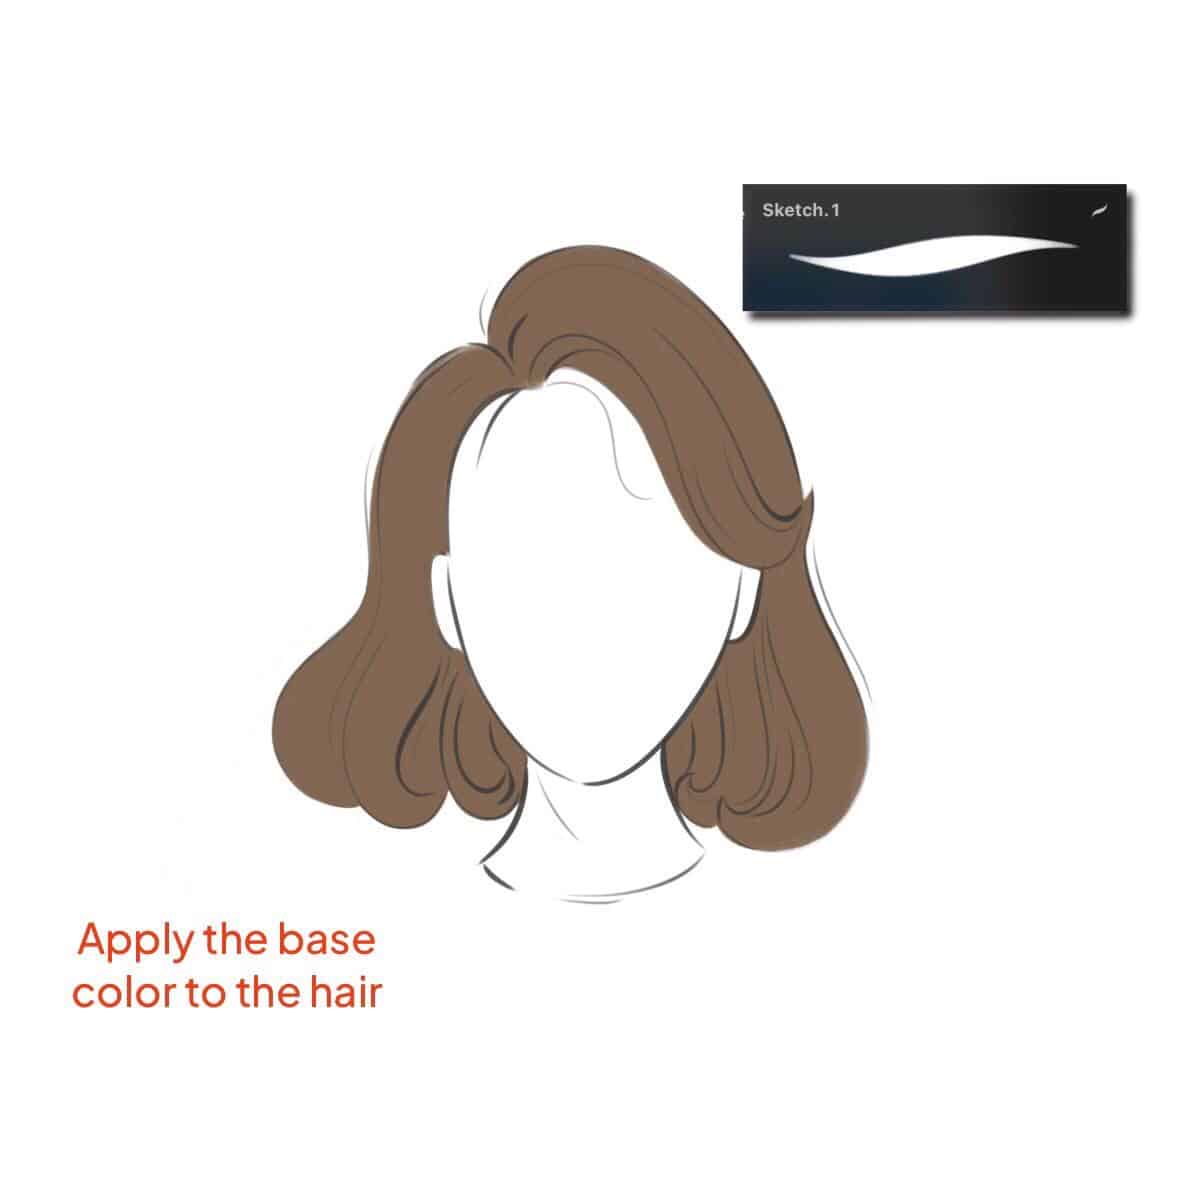
Step 2 – Base Color
Choose a base color for the hair. Don’t worry about getting the perfect shade right away; this is just the starting point.
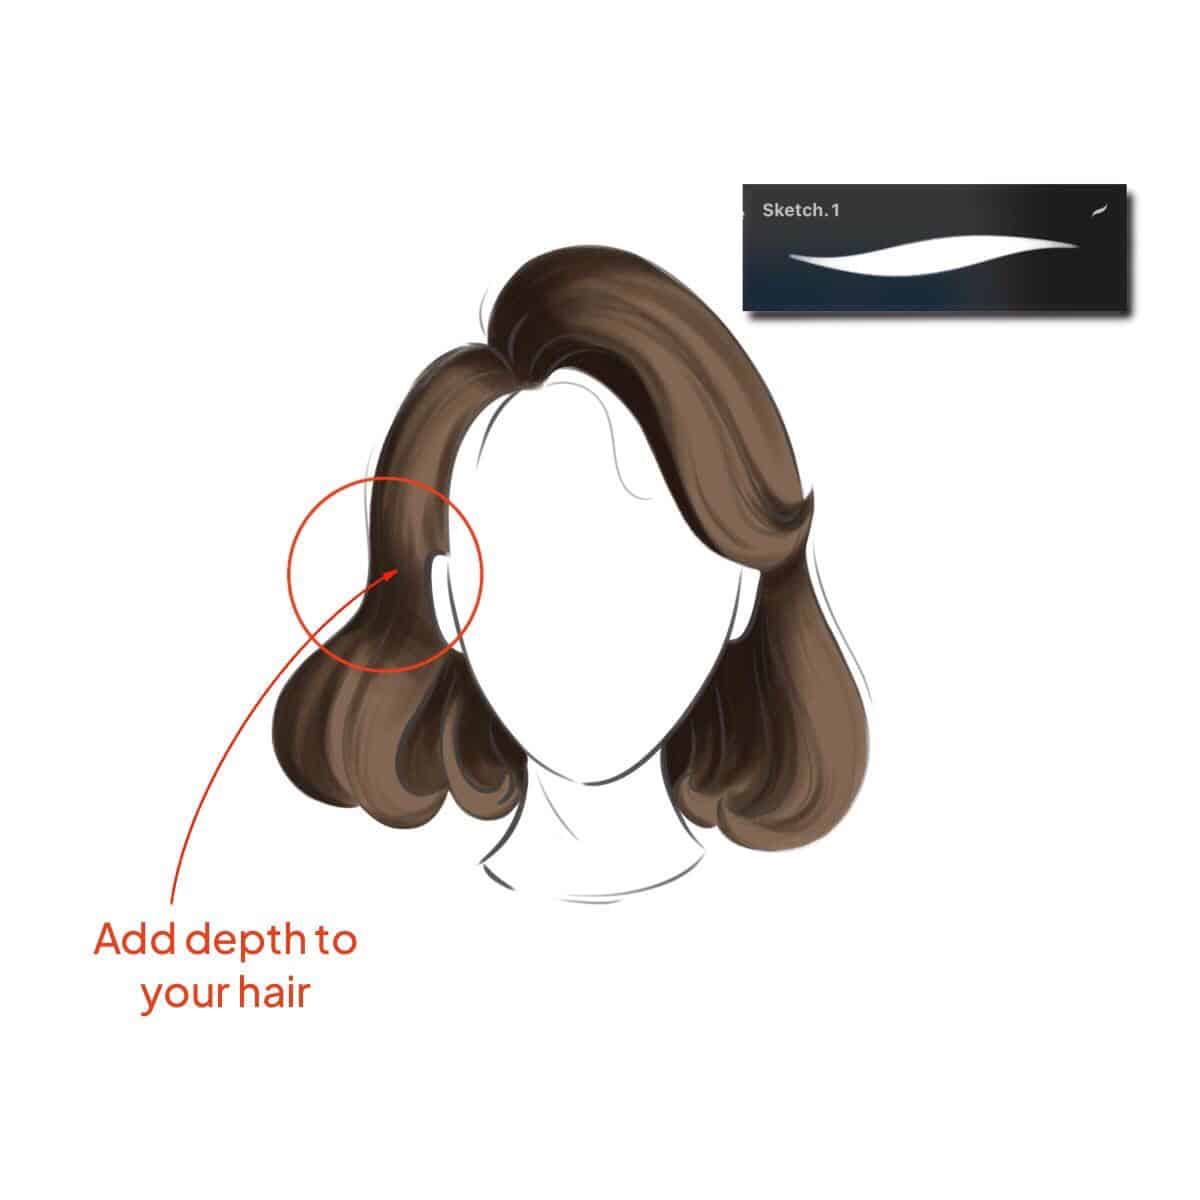
Step 3 – Adding Shadows
Now, let’s give the hair some depth. Choose a darker shade of your base color and apply it to areas where shadows naturally occur, like under bangs or at the roots.
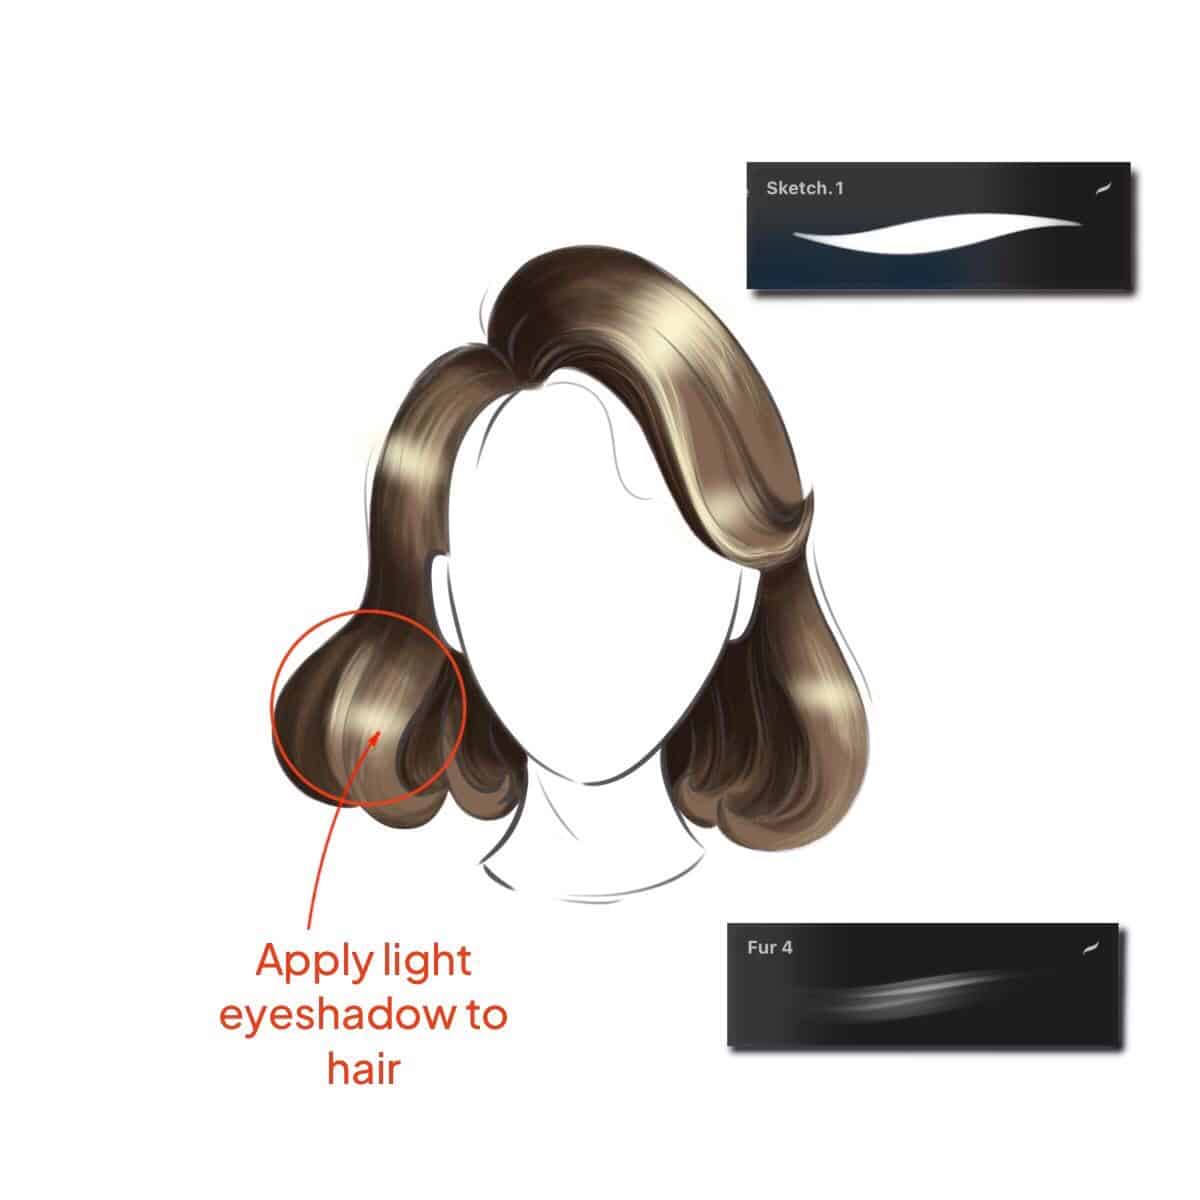
Step 4 – Time for Highlights
This is where the magic happens. Select a lighter shade and brush it onto areas where the light hits the hair, like the crown and around the face. Remember, highlights are usually more pronounced on the top layers of hair.
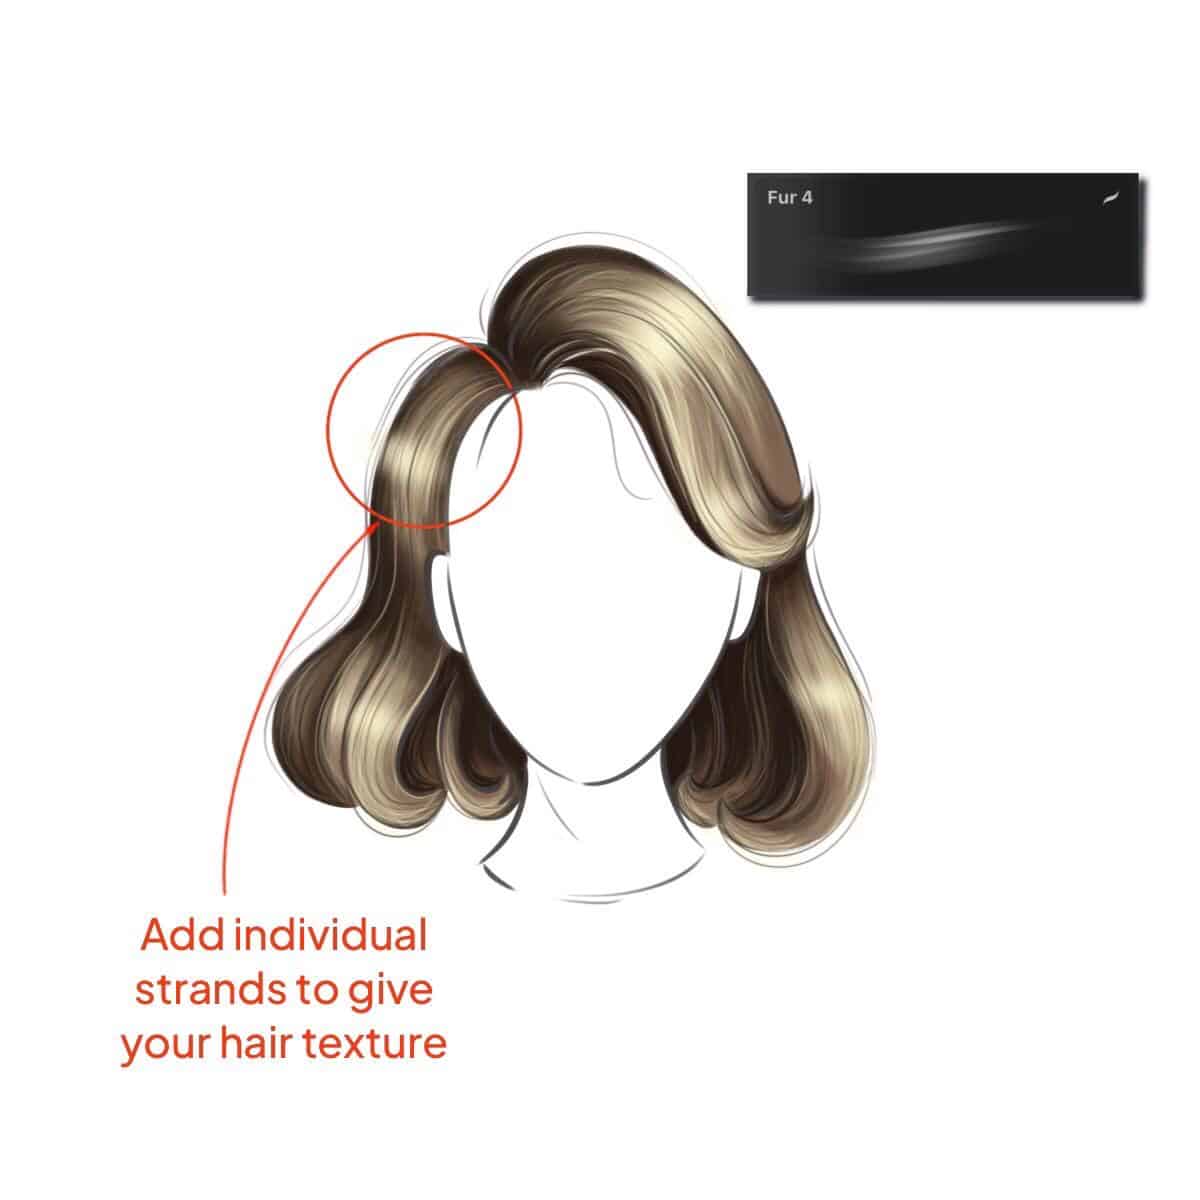
Step 5 – Refining Details
With a fine brush, add individual strands to give the hair texture and a more natural look. This step requires a steady hand and some patience. You can use XYZ brush from Brush Galaxy to help yourself out.
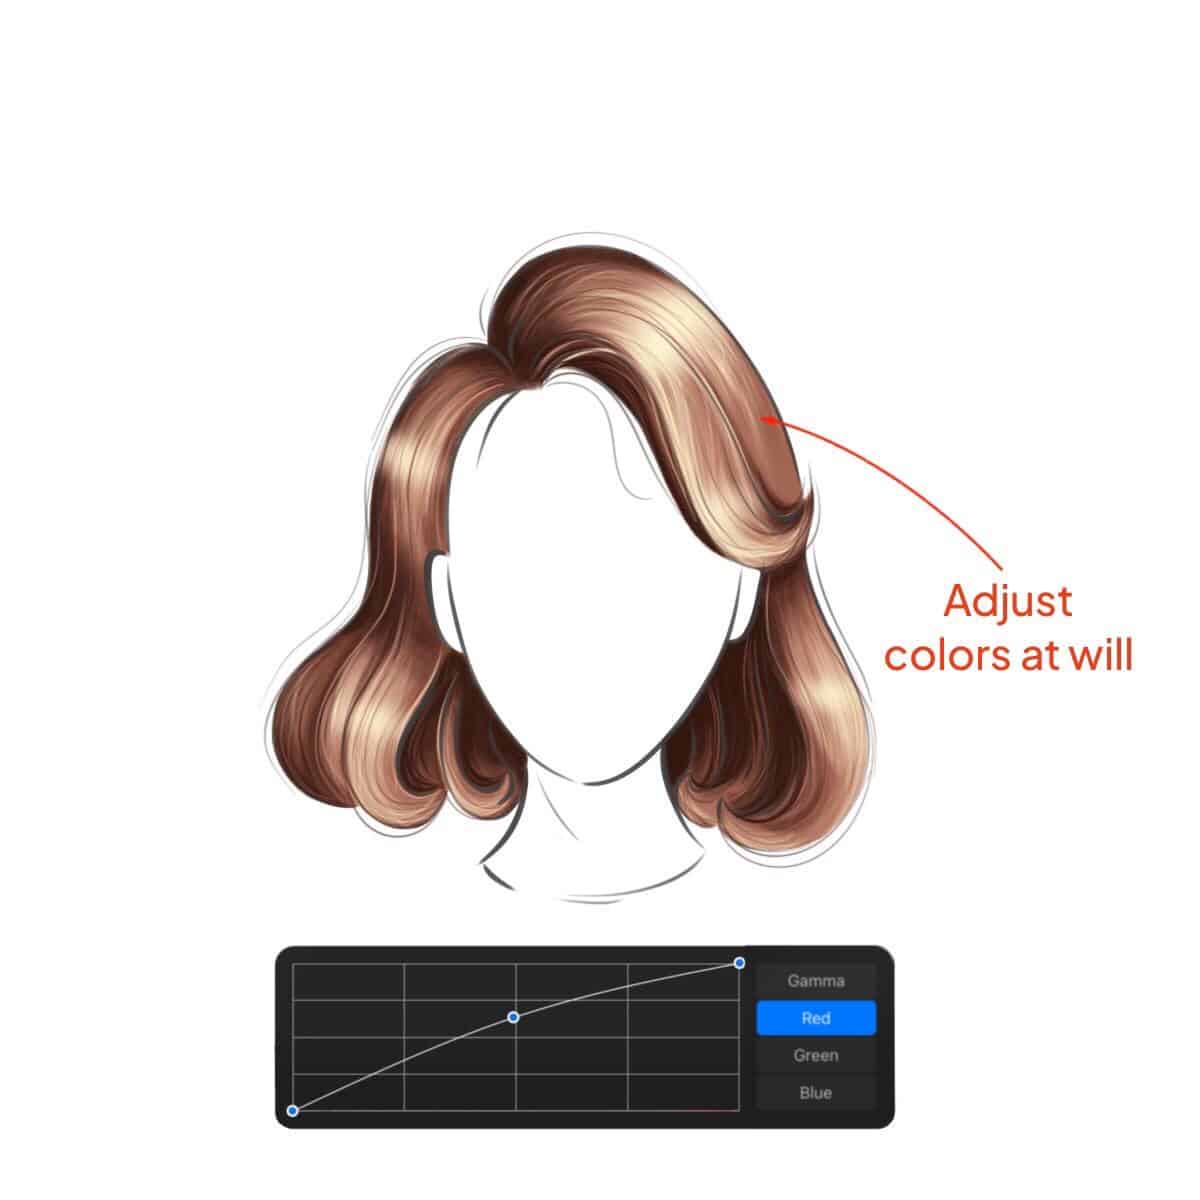
Step 6 – Adjusting Colors
If the colors don’t feel quite right, don’t be afraid to adjust them. You can add more shades or tweak the existing ones until you’re happy with the result.
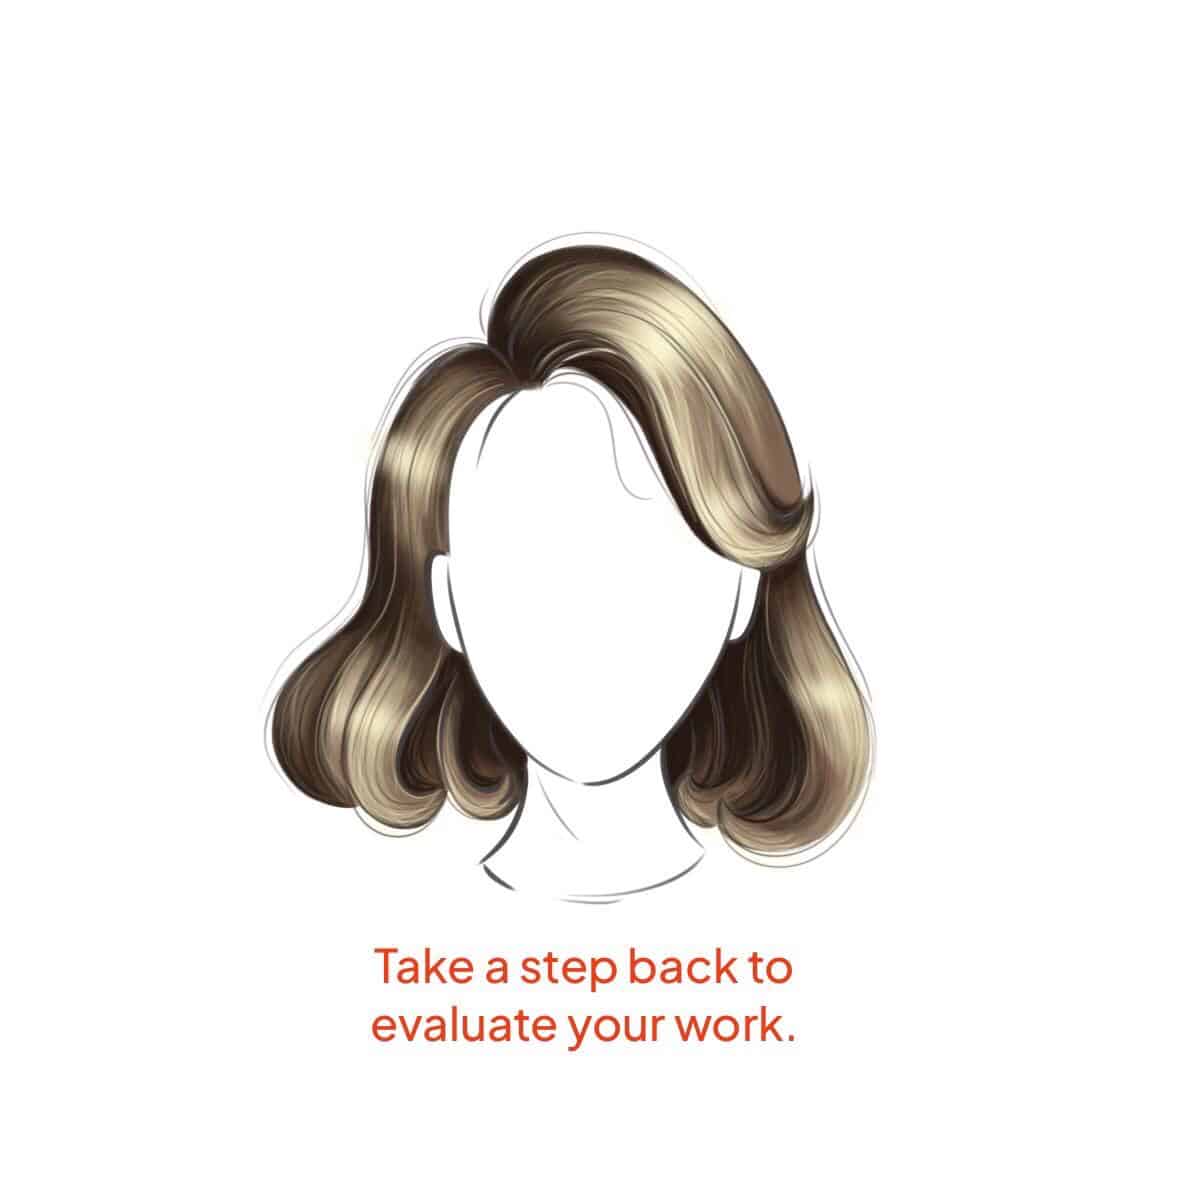
Step 7 – Final Touches
Zoom out and look at the overall picture. Sometimes, adjusting the contrast or saturation can make a big difference.
And there you have it! Remember, coloring hair in Procreate is an art, not a science. It’s okay to experiment and find what works best for you. Happy coloring!


Share this article


