
How To Make a Wavy Hair Brush in Procreate

Creating a wavy hair brush in Procreate can seem as daunting as surfing giant waves if you’re new to it.
But don’t worry, I’m here to guide you through this process, making it as smooth as a gentle ocean breeze.
This is what you’ll learn
- How to start with a blank canvas for brush creation in Procreate.
- Designing your own wavy line shape for the brush.
- Setting the grain to add texture to the brush.
- Adjusting brush dynamics, including spacing and taper settings.
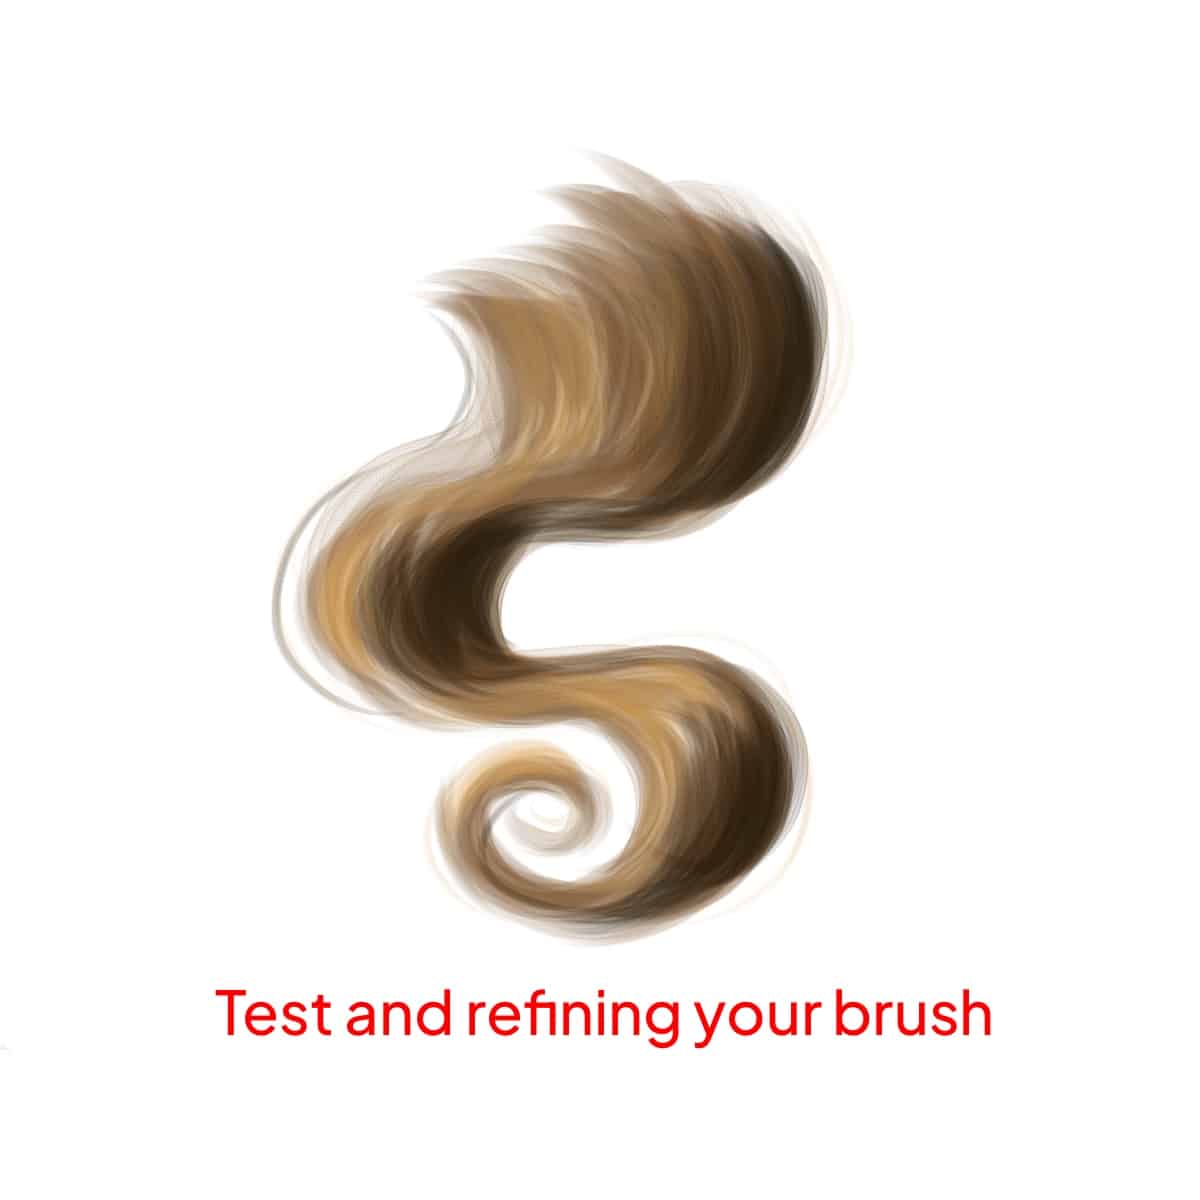
- Techniques for testing and refining the brush.
- Saving and naming your custom wavy hair brush.
Let’s Create a Wavy Hair Brush in Procreate
Without further ado, let’s dive into the process.
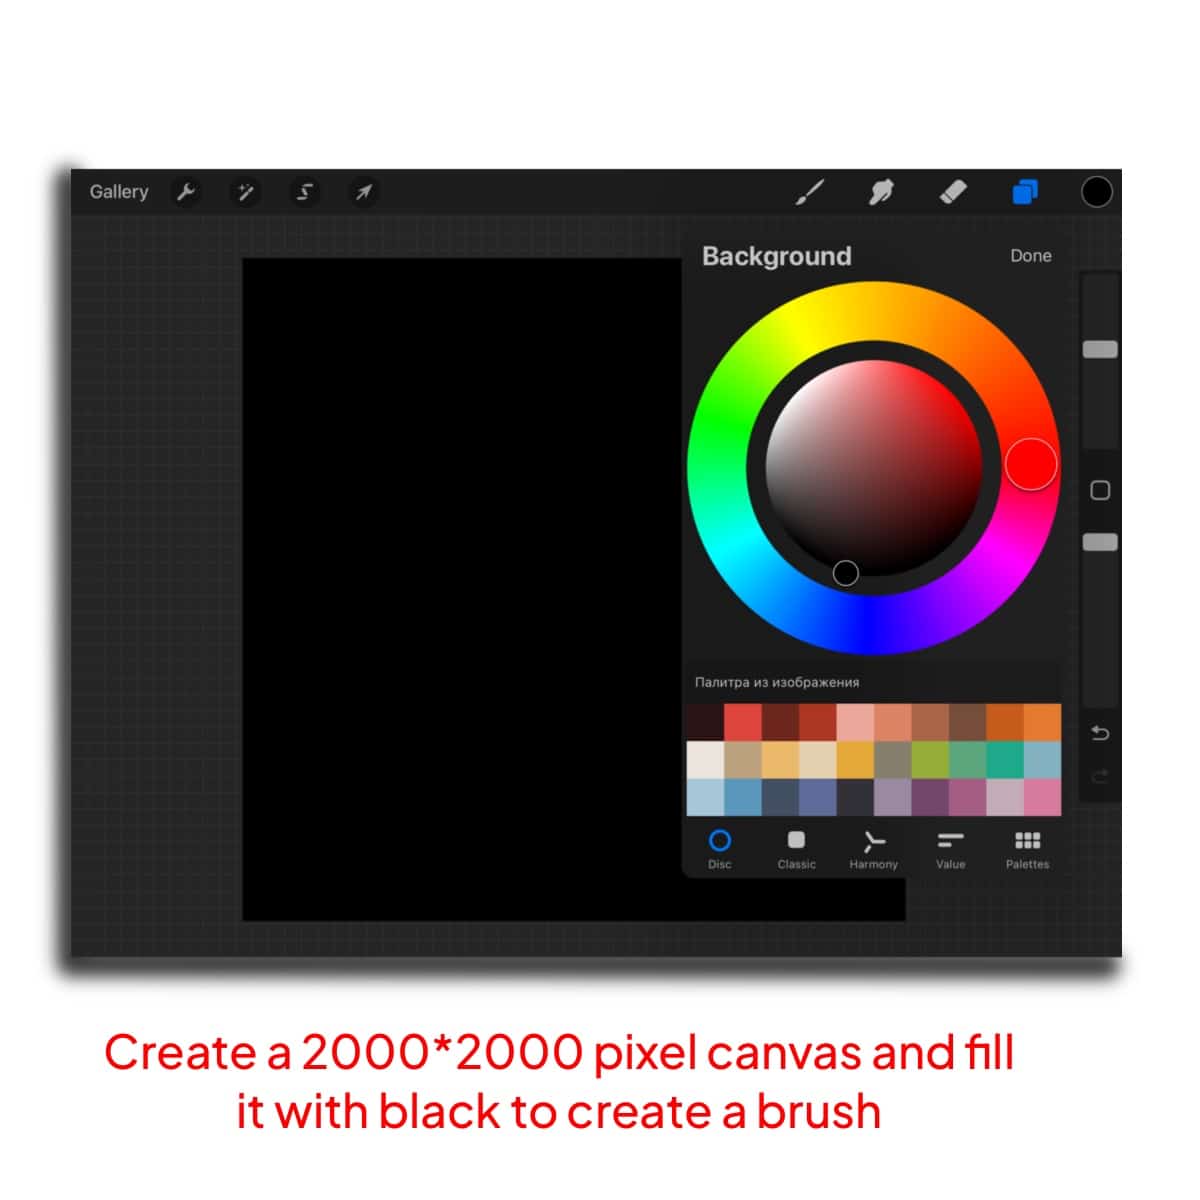
Step 1 – Begin with a Blank Canvas
Open Procreate and select ‘New Canvas‘. Choose a size that’s comfortable to work with, like 2000×2000 pixels. This gives you enough space for designing your brush shape.
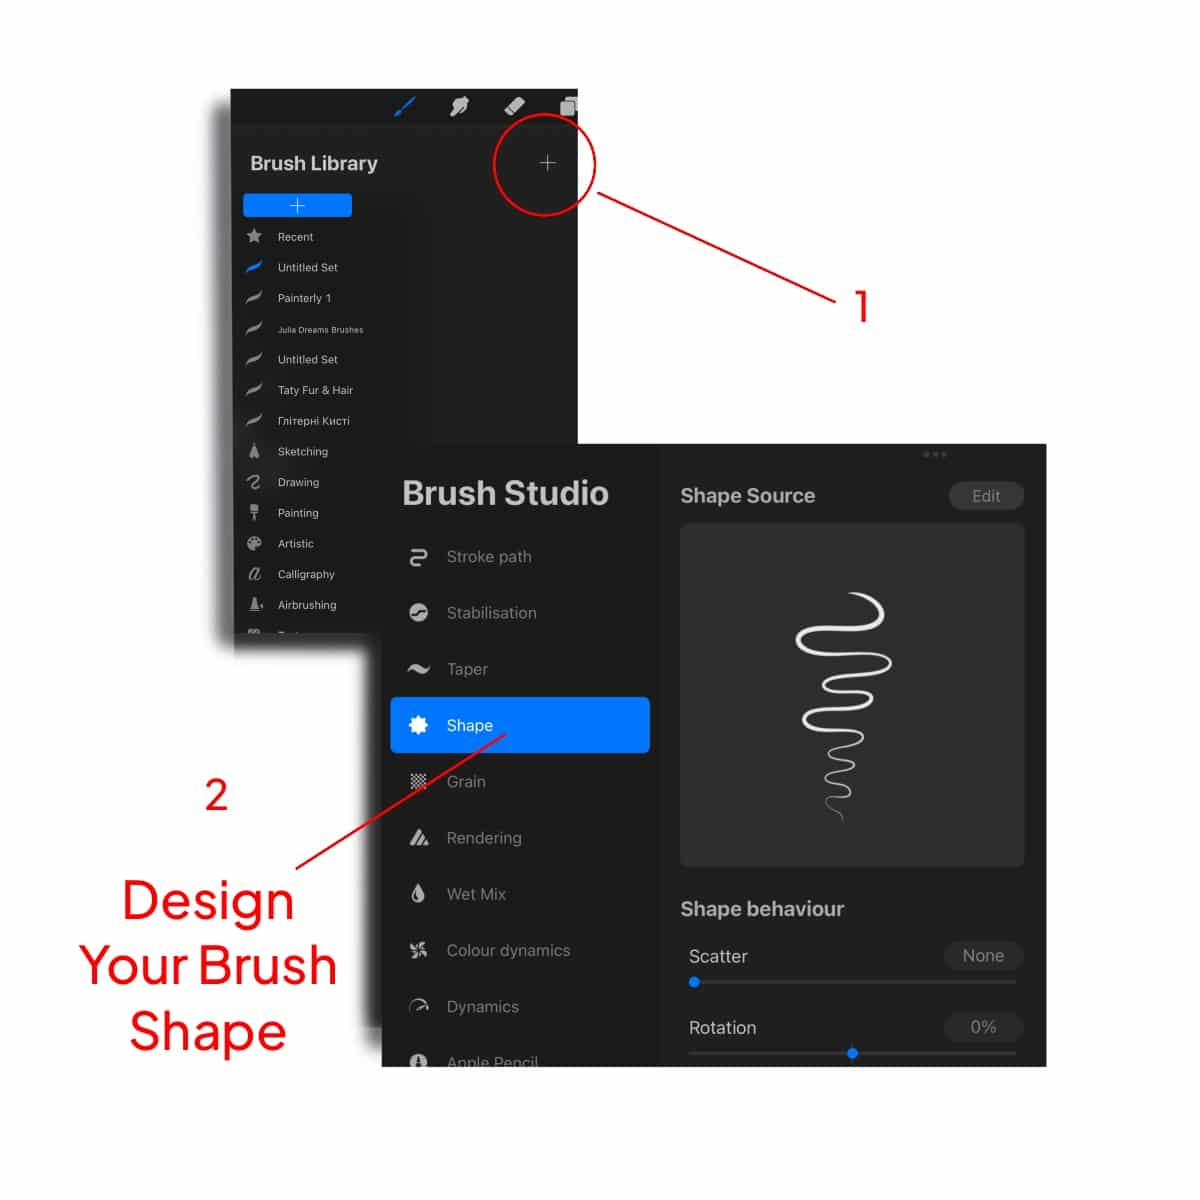
Step 2 – Design Your Brush Shape:
Tap on the brush icon to open the Brush Library.
Create a new brush by tapping the ‘+‘ at the top right.
In the ‘Shape‘ tab, use the canvas to draw a wavy line. This line will be the core of your wavy hair brush. Think of it as a single strand of wavy hair.
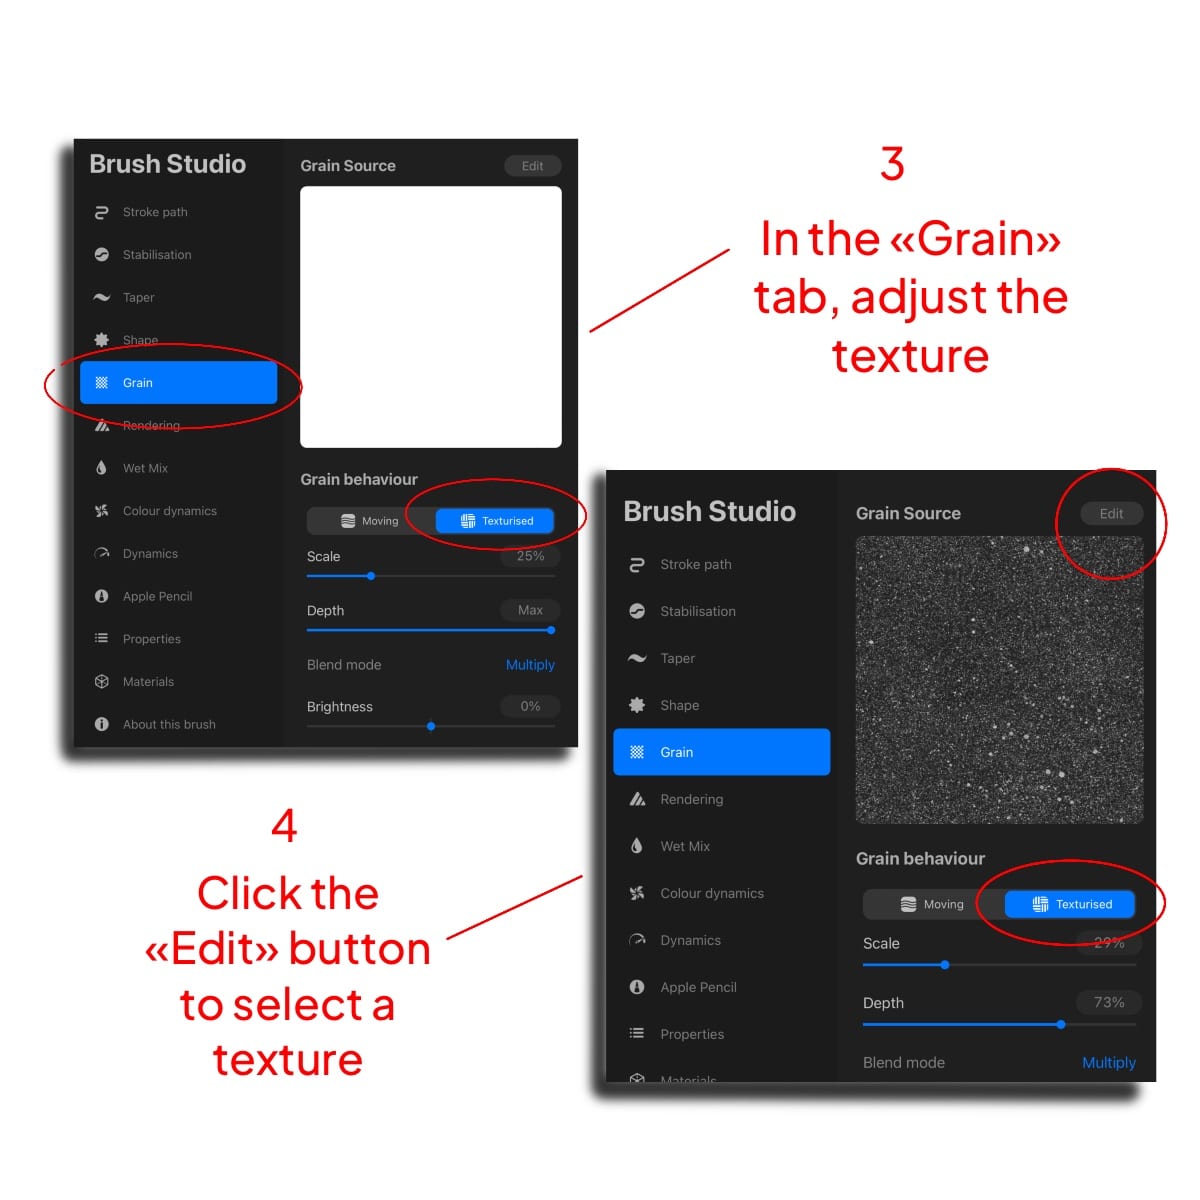
Step 3 – Setting the Grain:
Move to the ‘Grain‘ tab.
Select or draw a texture that complements your wavy line. For a wavy hair brush, a subtle grain adds a touch of texture without overpowering the wave pattern.
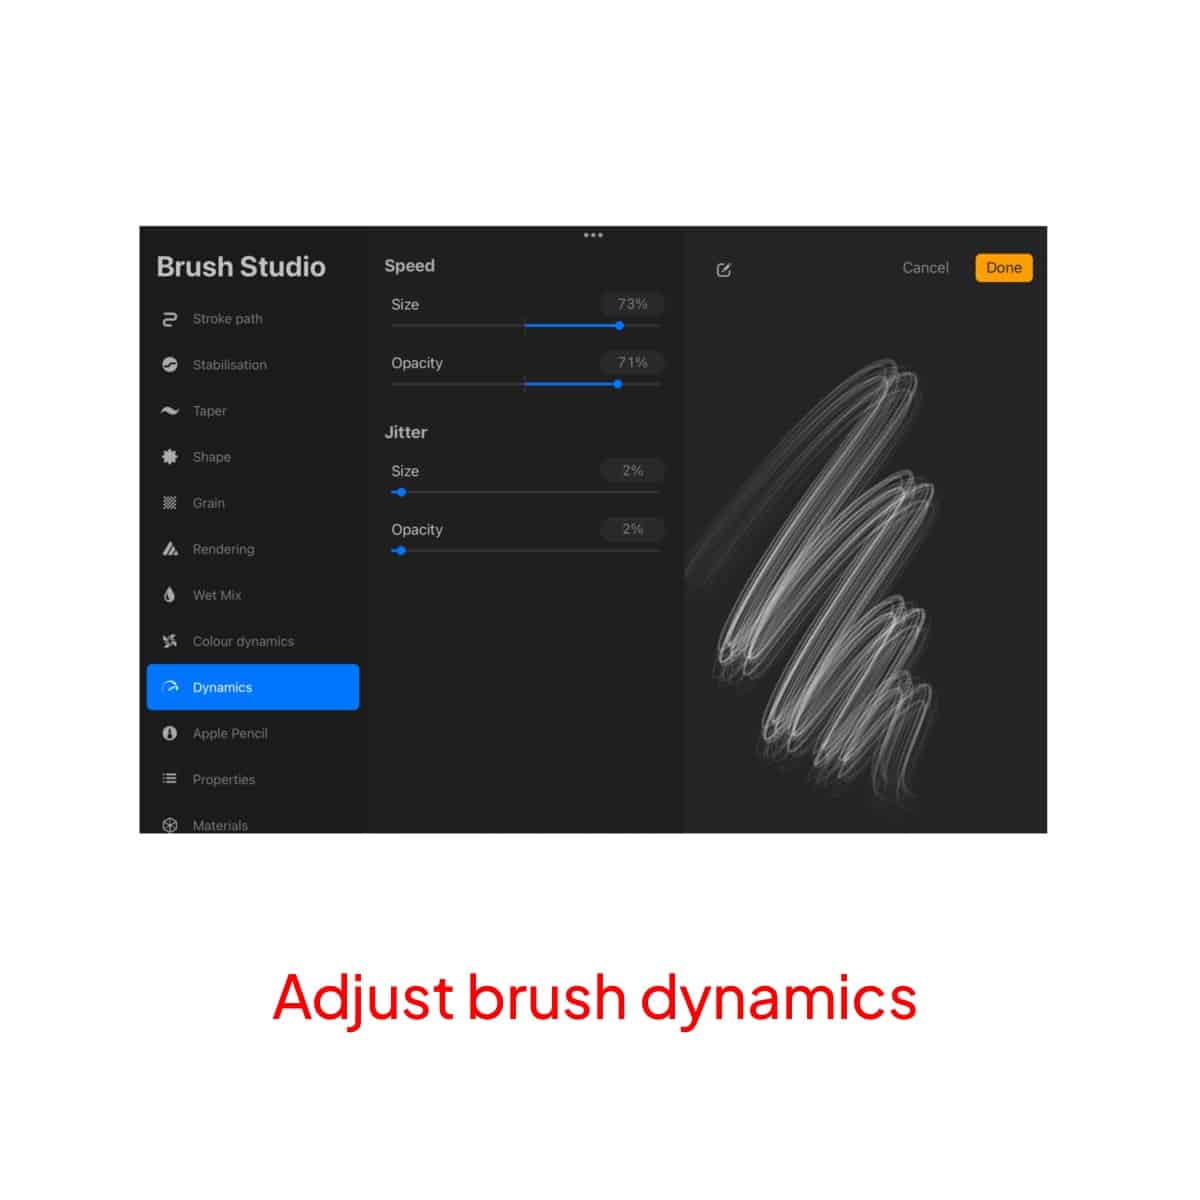
Step 4 – Adjusting Brush Dynamics:
Under the ‘Stroke‘ tab, adjust the ‘Spacing‘ slider. You want to space out the waves so they don’t overlap too much but are close enough to resemble natural wavy hair.
Use the ‘Taper‘ settings to give your brush strokes a natural start and end, just like real hair.
Step 5 – Testing and Refining:
Draw with your brush on the canvas. Your strokes should resemble wavy hair.
If the brush doesn’t perform as expected, revisit the settings and tweak them. This might include adjusting the shape, grain, or stroke properties until you achieve the desired effect The goal is to mimic the natural flow of wavy hair.
Step 6 – Save brush file:
Once you’re happy with the brush, tap ‘Done’ to save it.
Give your brush a descriptive name that reflects its style, like ‘Soft Waves’ or ‘Beachy Curls’, making it easy to identify later.
And there you have it! Your very own wavy hair brush in Procreate is ready to bring a touch of the sea to your digital art. Remember, the key to a great brush is experimentation and patience, so have fun with it!


Share this article


