
How To Make Skin Glow in Procreate

Hey there, digital artists and Procreate enthusiasts! Have you ever looked at a digital portrait and wondered how the artist achieved that almost ethereal skin glow? Well, you’re about to join the glow-getters’ club!
Today, I’m spilling the beans on making the skin in your Procreate projects glow like it’s lit by the softest, most flattering light imaginable. Before we dive into the techniques, ensure you’re equipped with the best Procreate skin brushes to achieve that perfect skin texture.
The Glow-Up Journey Begins
Creating a glow on skin in digital art is like finding the perfect lighting in a selfie – it makes everything look better. But in the digital world, we don’t need to chase the golden hour; we create it! So, let’s turn your portraits from flat to fabulous with some Procreate magic.
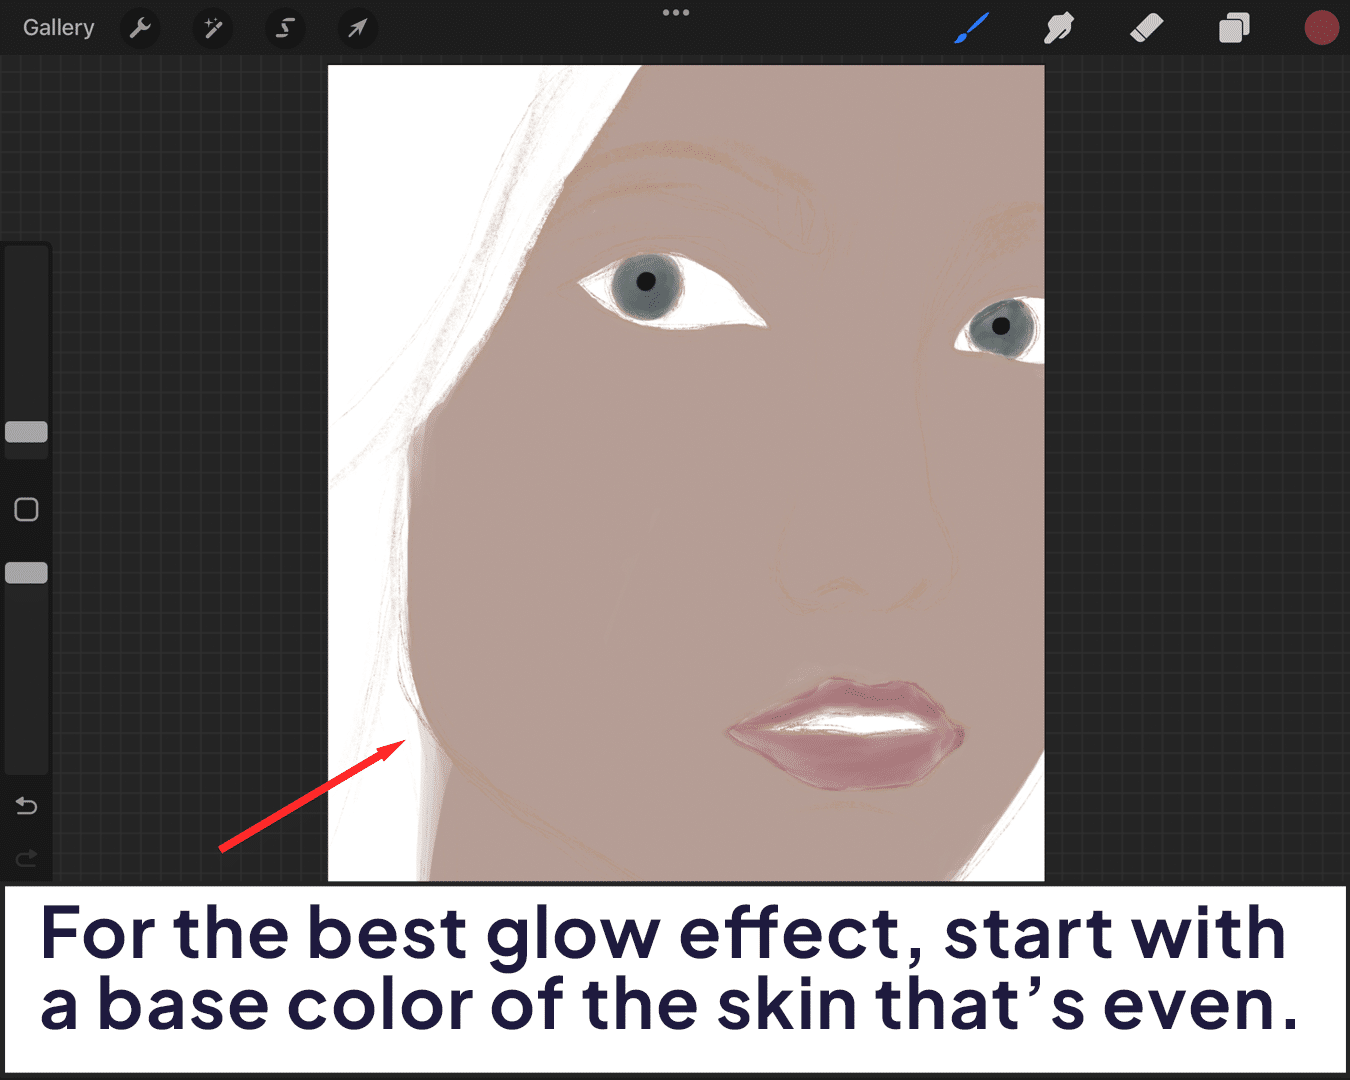
Lay the Groundwork
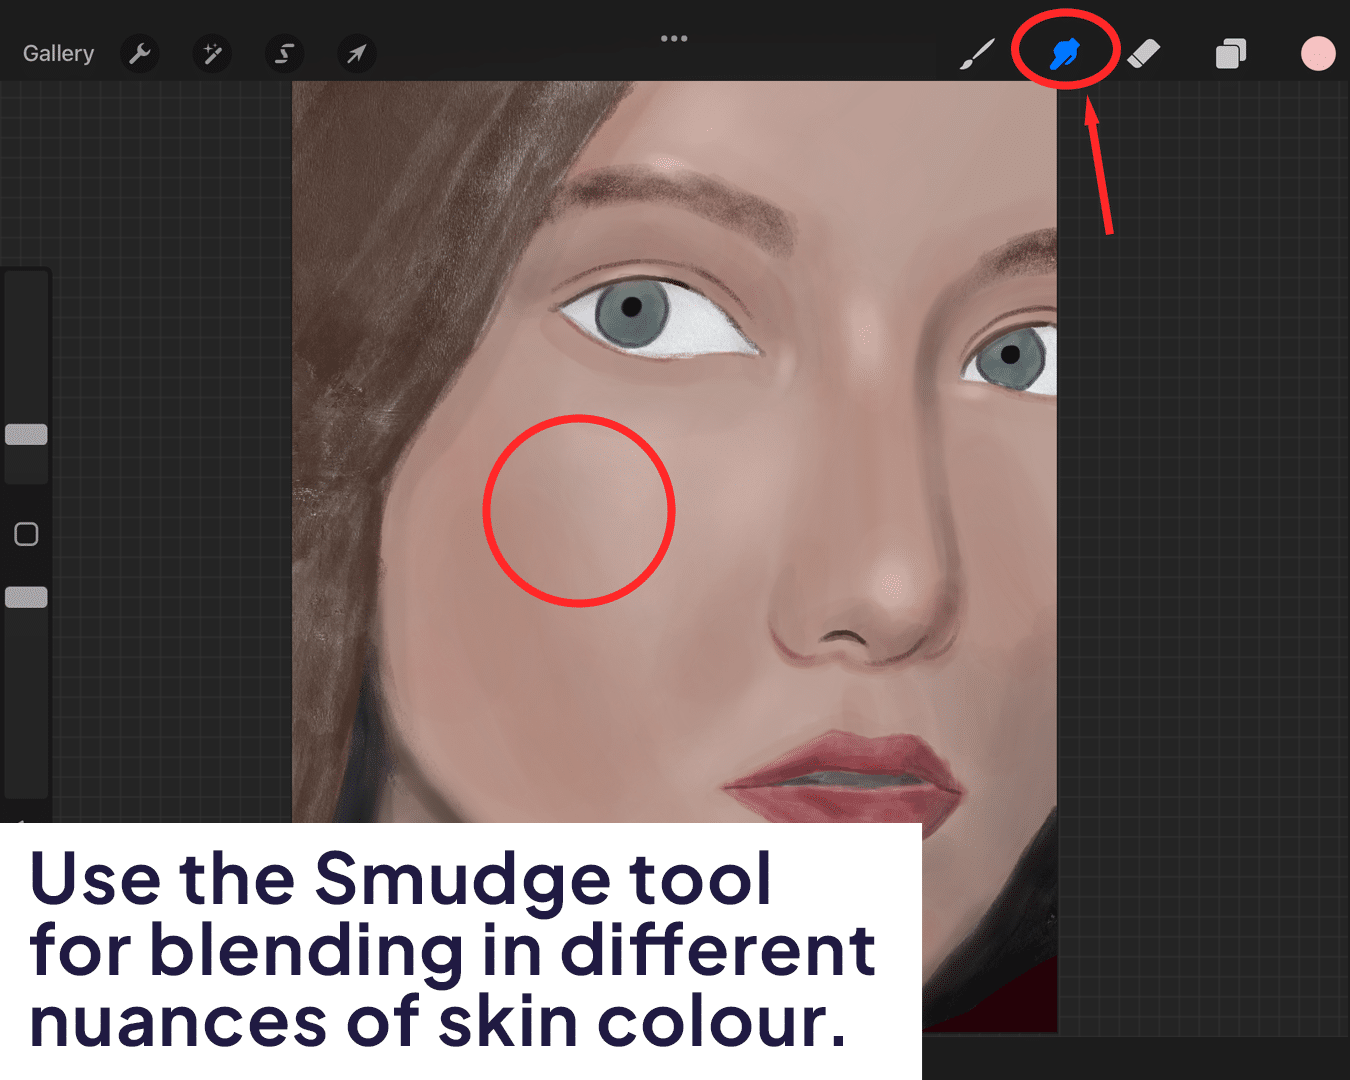
Start with a well-blended base. If the skin in your portrait isn’t smoothly blended, the glow effect will amplify imperfections. (Check out my previous post on blending skin like a pro!) Perfect your blending skills with tips on how to blend skin in Procreate.
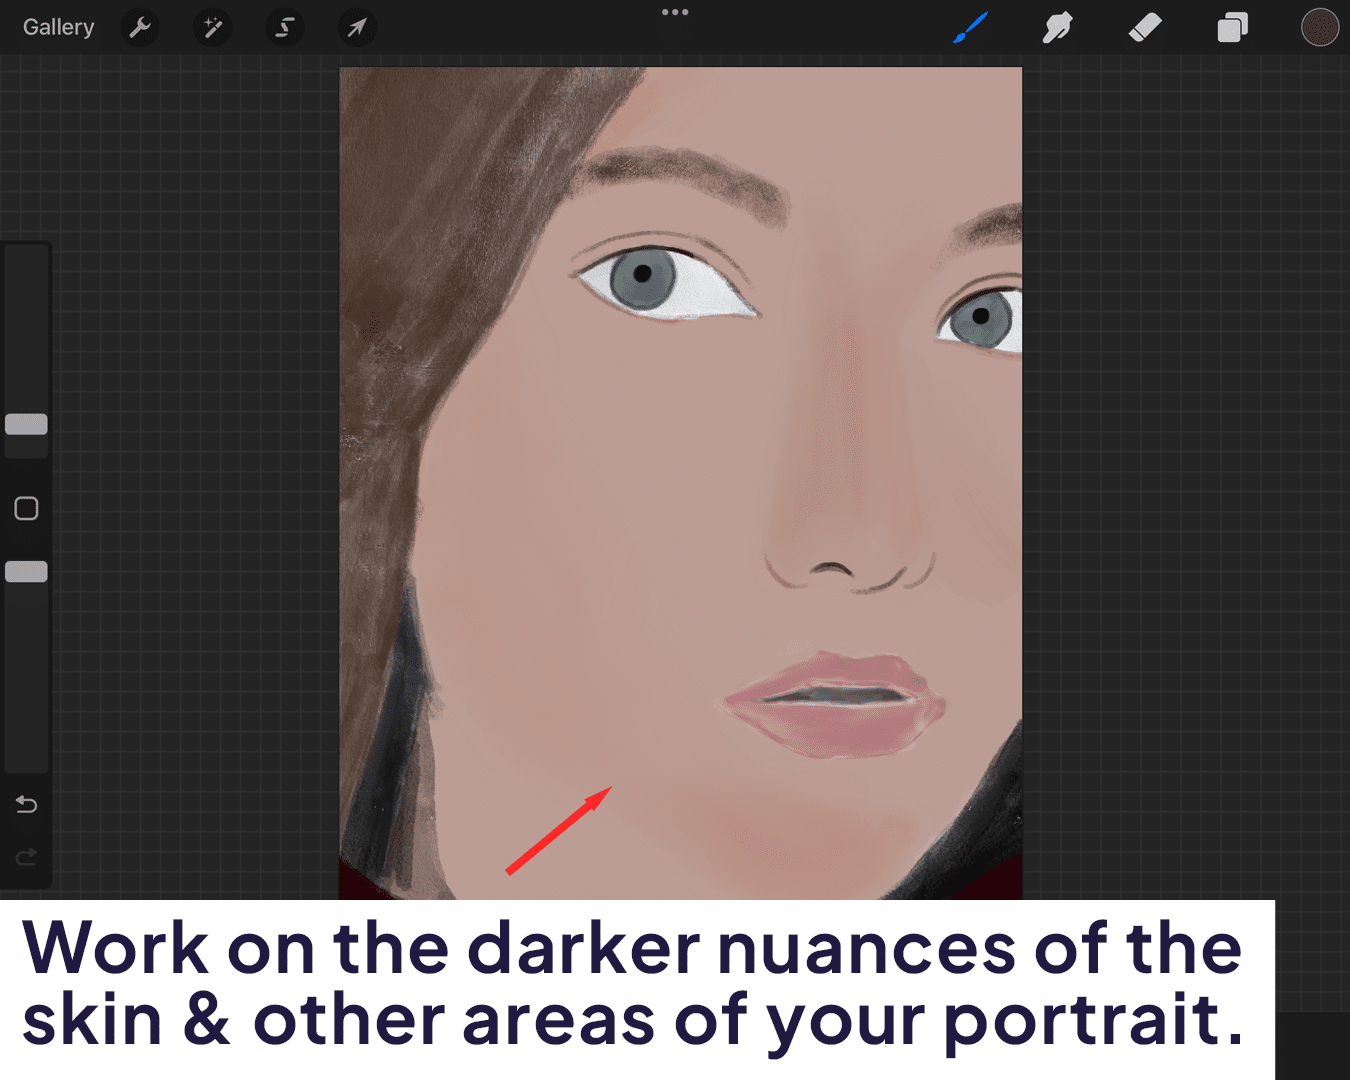
Understanding Light
The key to a natural glow is understanding how light interacts with skin. Identify where the light naturally hits the face – the forehead, cheekbones, nose, and chin. These will be your primary focus areas for the glow.
Enhance your understanding of light and skin by learning how to airbrush skin in Procreate, which can help achieve a soft, natural base for the glow effect.

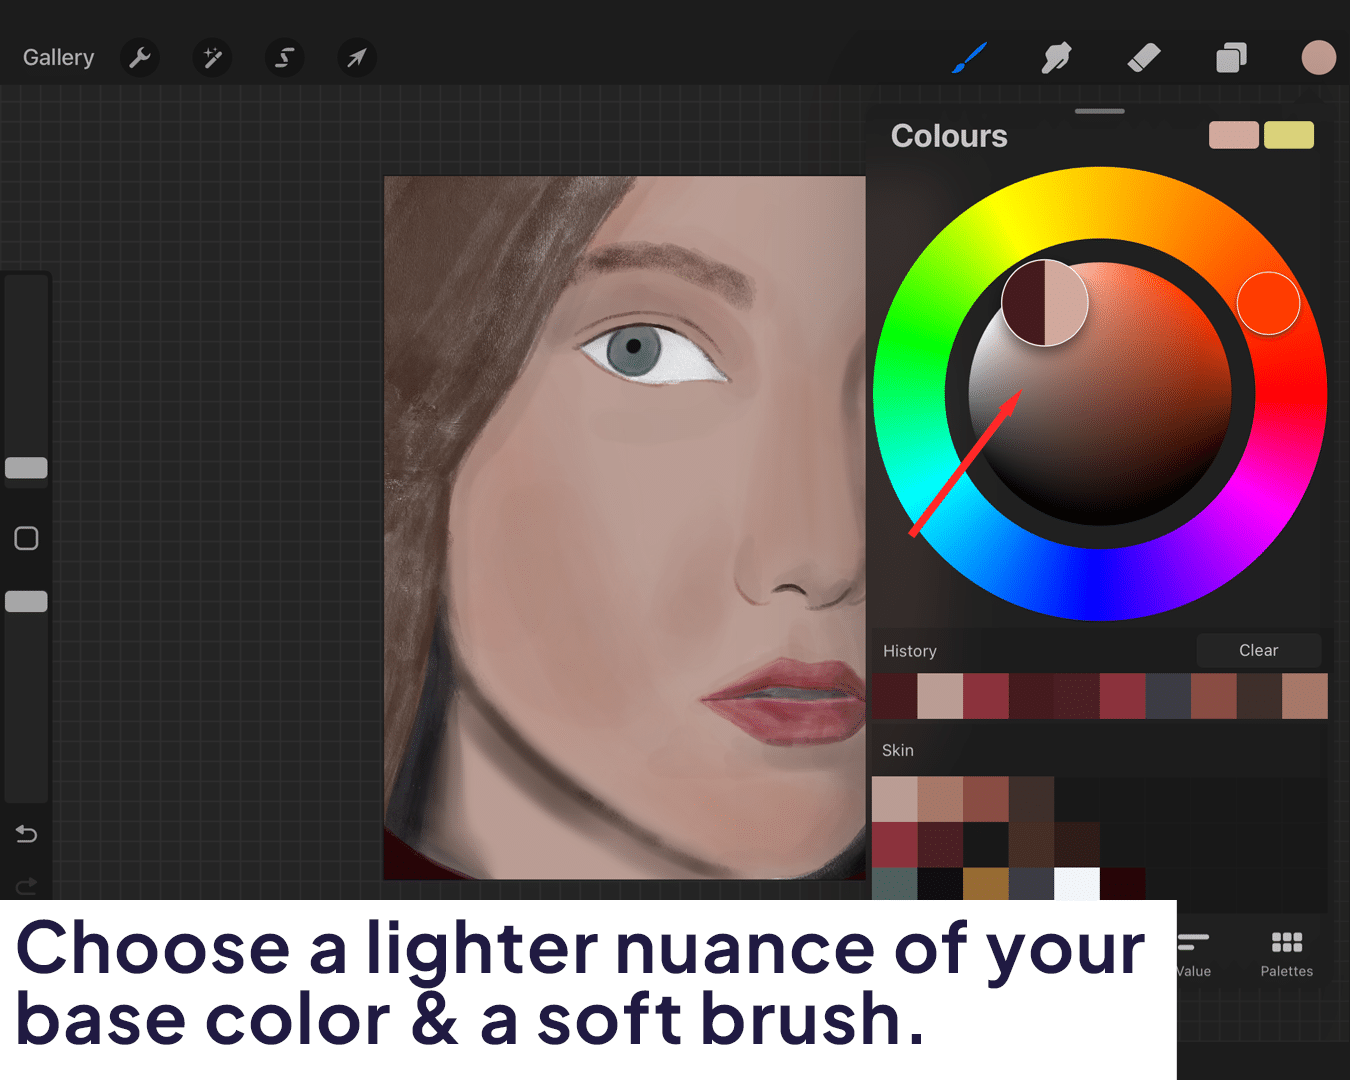
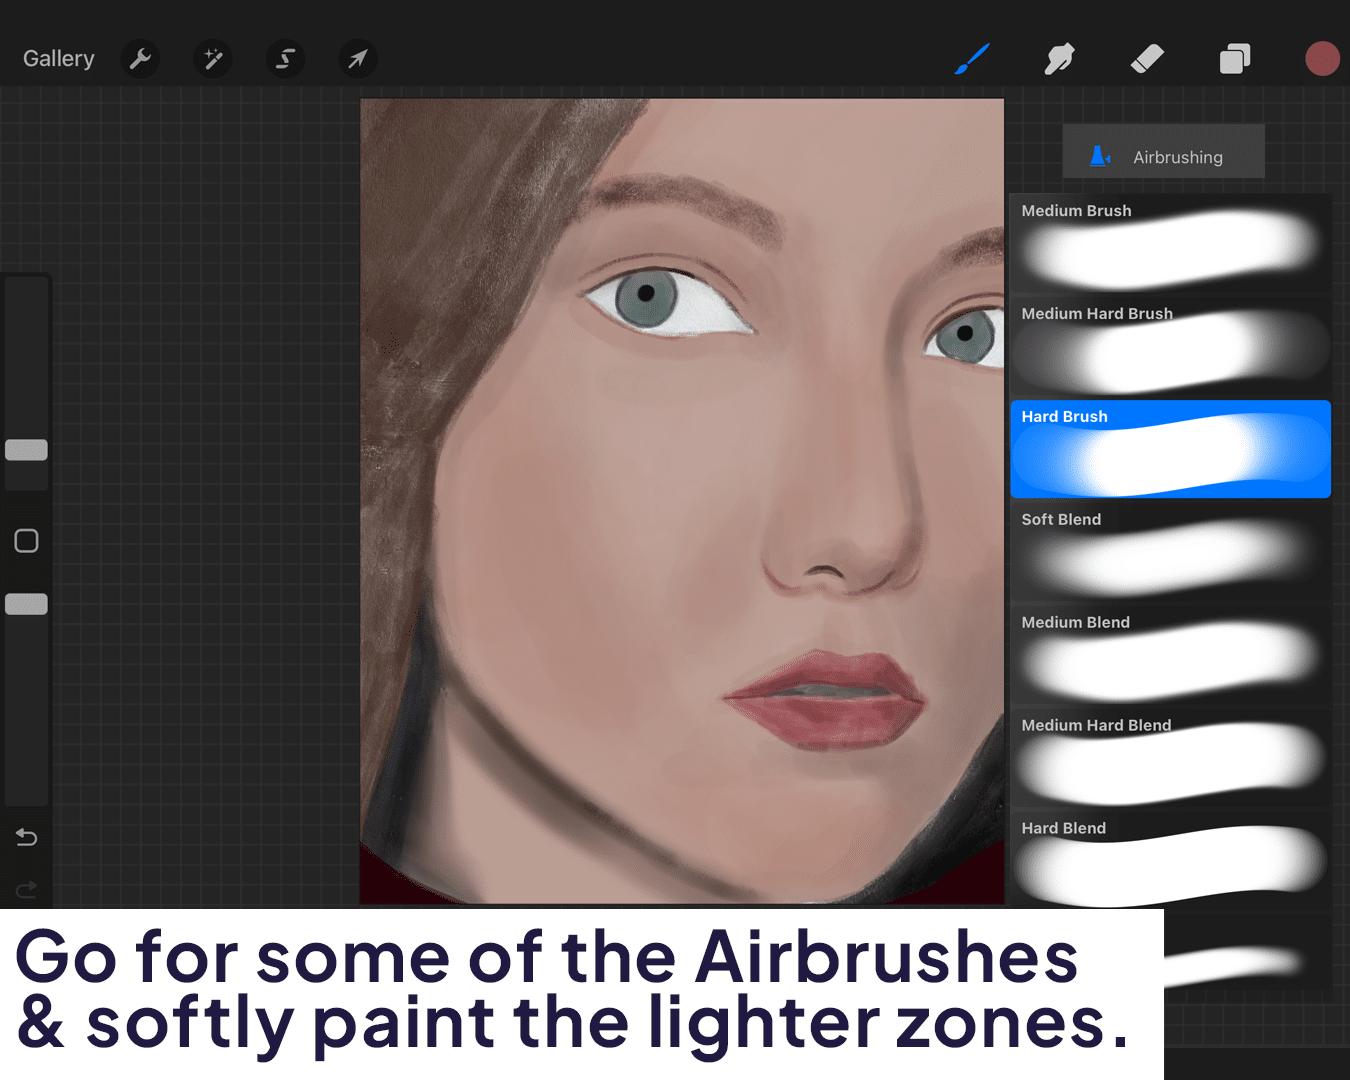
Adding the Glow
Choose a soft, light brush and pick a lighter shade of your base skin tone. Gently brush over the areas where light naturally hits. Remember, subtlety is your friend here. The goal is to build up a soft, radiant effect.
Amplify with Highlights
Now, for the real secret sauce – highlights. Select a near-white or very light color and gently apply it to the very peaks of the areas you just worked on.
This step is what really sells the glow effect. For more detailed instructions on choosing the right highlights, consider learning how to match skin tone in Procreate.
Blend for a Seamless Look
Use a soft brush to blend the edges of your highlights into the base skin tone. This step is crucial for a natural, seamless transition from light to shadow.
If you’re looking for techniques to ensure your transitions are flawless, how to use onion skin in Procreate might offer some valuable insights.
Final Touches
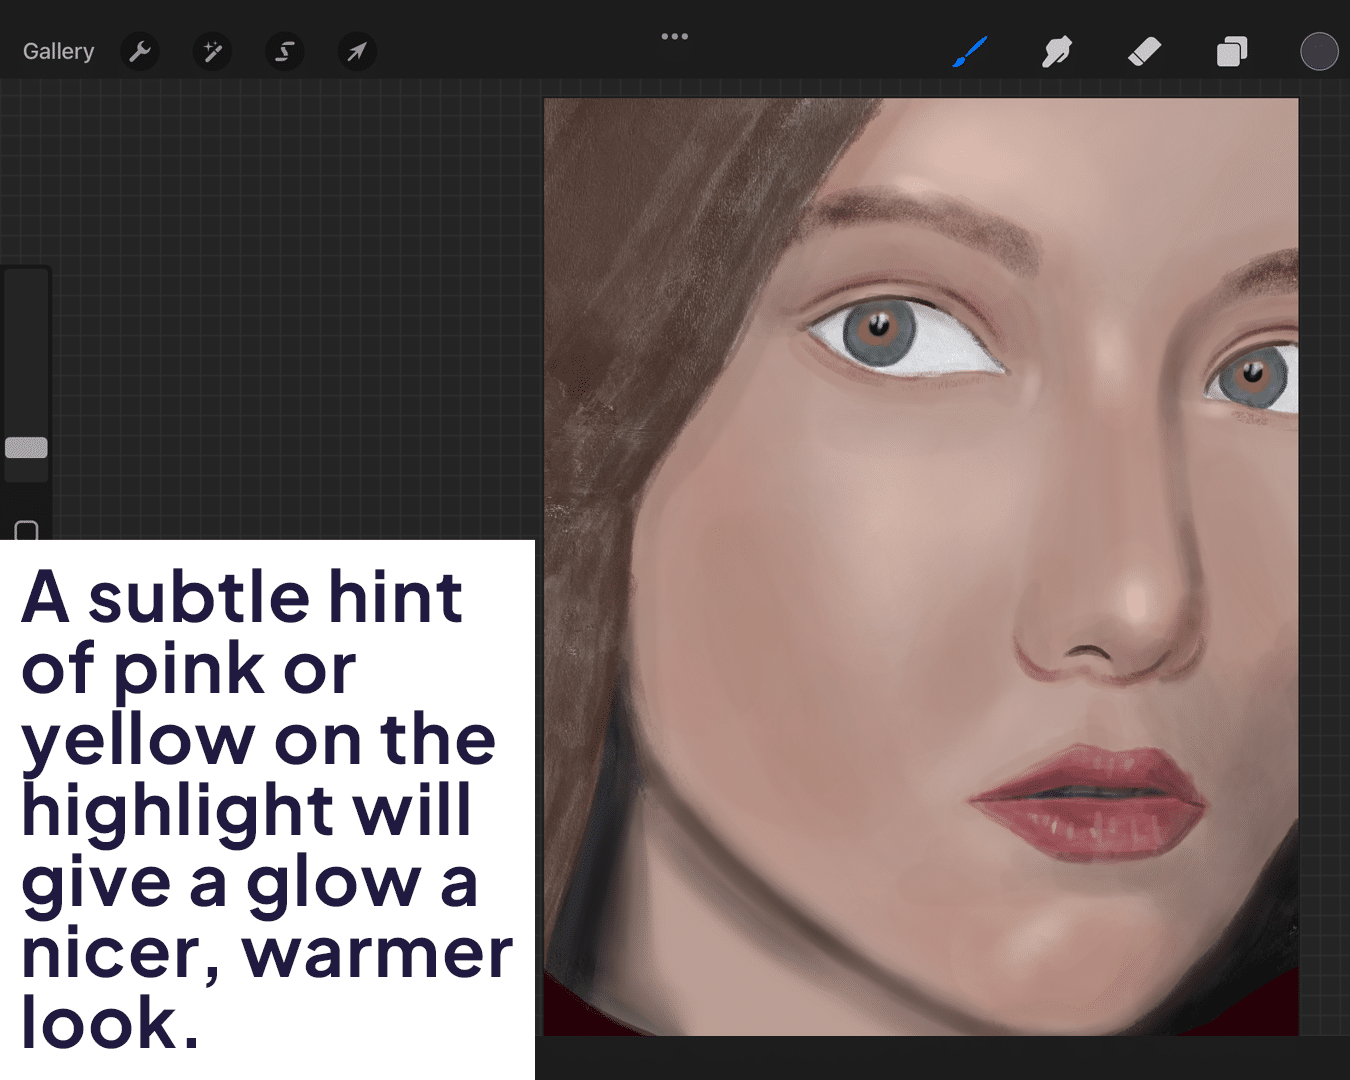
Consider adding a subtle color to your glow. Sometimes, a hint of pink or yellow can warm up the complexion and enhance the glow.
Conclusion: Practice Makes Perfect
Like all art, mastering the skin glow in Procreate takes practice. Experiment with different light scenarios and skin tones.
Soon, you’ll be adding that perfect glow to all your digital portraits, making them stand out with an almost magical radiance.
FAQ: Creating Skin Glow in Procreate
What brush should I use for adding glow in Procreate?
A soft, light brush like an airbrush is perfect for creating a glowing effect. It allows for gentle, gradual application of color.
How do I choose the right color for the glow?
Start with a lighter shade of your base skin tone. For highlights, a near-white or very light color works best. Adjust the color based on the lighting and skin tone you’re working with.
Can I add glow to any skin tone?
Absolutely! The key is to adjust the intensity and color of the glow to complement the skin tone. Lighter skin may require subtler highlights, while darker skin can handle more vibrant glows.
How do I avoid making the skin look oily instead of glowy?
The secret is in the blending and the placement of the highlights. Focus on areas that naturally catch light and blend thoroughly to avoid harsh lines.
What’s the difference between adding glow and just using lighter colors for highlights?
Adding glow involves creating a soft, radiant effect, not just lightening the skin. It’s about creating the illusion of light reflecting off the skin.
Can I add glow in post-processing?
While it’s best to integrate the glow during the painting process, you can enhance it in post-processing by adjusting brightness and saturation.
Is it necessary to understand real-life lighting for digital glow?
Yes, understanding how light interacts with skin in real life can significantly improve your ability to create a realistic glow in digital art.
How can I make the glow look natural in different lighting scenarios?
Study how light behaves in various environments and adjust your glow accordingly. The color and intensity of the glow should match the overall lighting of your scene.


Share this article


