
How To Airbrush Skin in Procreate

Hey digital artists, do you ever feel like a makeup artist when you’re airbrushing skin in Procreate? Only, instead of brushes and powders, your tools are pixels and layers. It’s like being a beauty guru but in the digital world!
Today, I’m going to share some tips on how to airbrush skin in Procreate, turning your digital portraits from plain Jane to glamorous in just a few taps and swipes, starting with choosing the right Procreate skin brushes.
The Power of Airbrushing
Airbrushing skin in digital art is like wielding a magic wand. It can smooth out imperfections, even out skin tones, and give your subjects a flawless finish.
But the trick is to keep it looking natural because nobody wants their portrait to look like it’s wearing a digital mask, right?
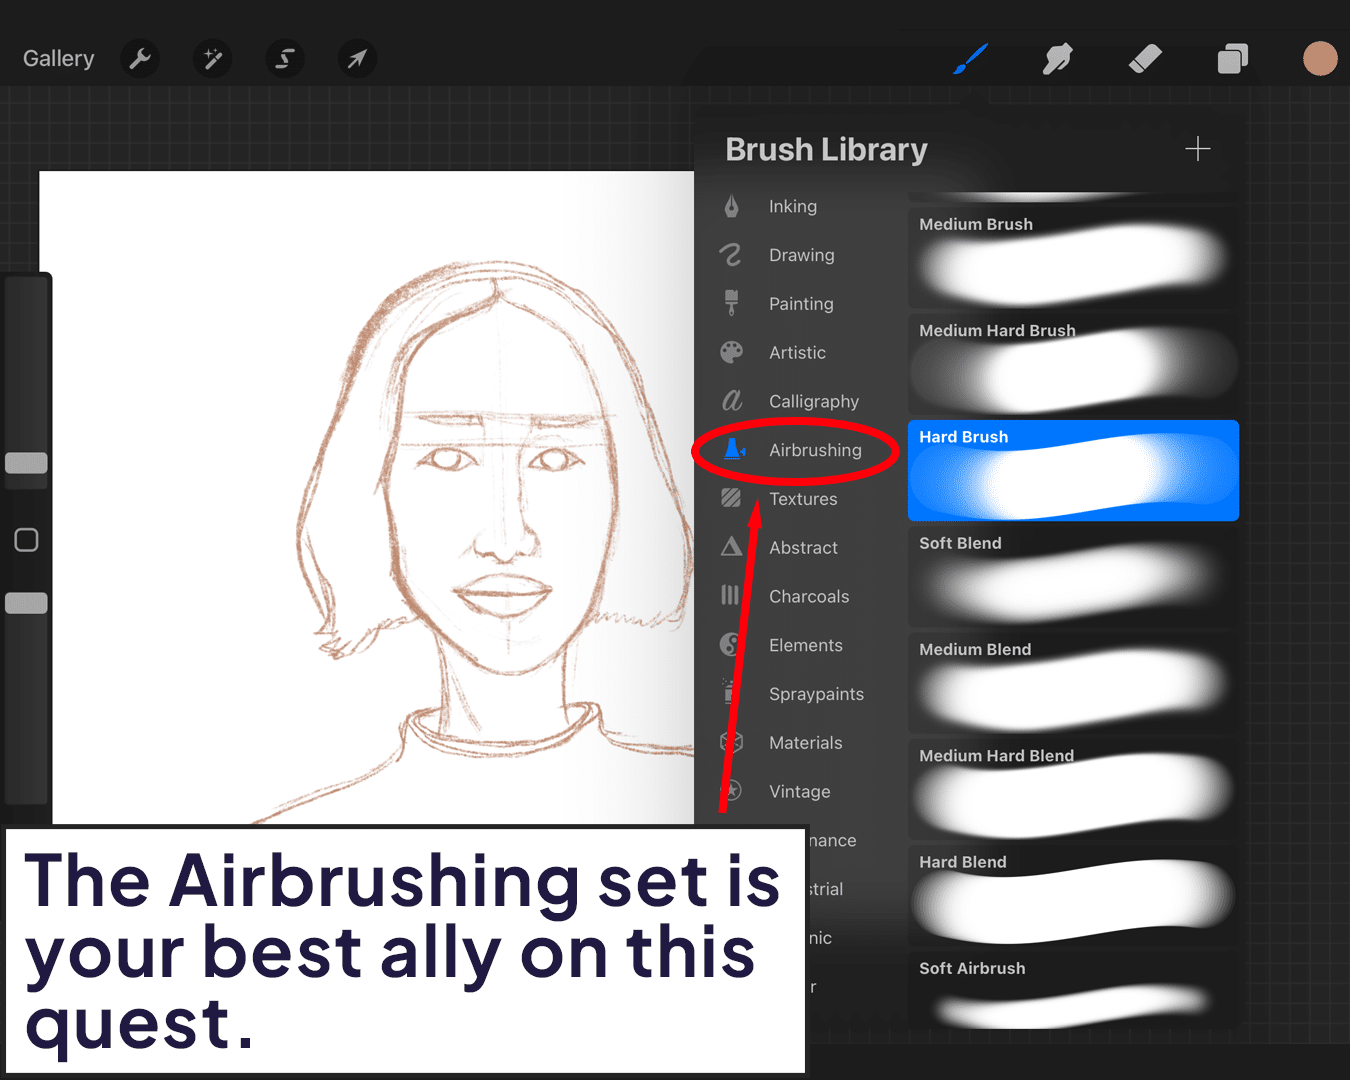
Choose Your Brushes Wisely
In Procreate, the Airbrushing set is your best friend for this task. The Soft Airbrush is perfect for a gentle touch, while the Hard Airbrush can be used for more defined areas.
Remember, the key to good airbrushing is subtlety.
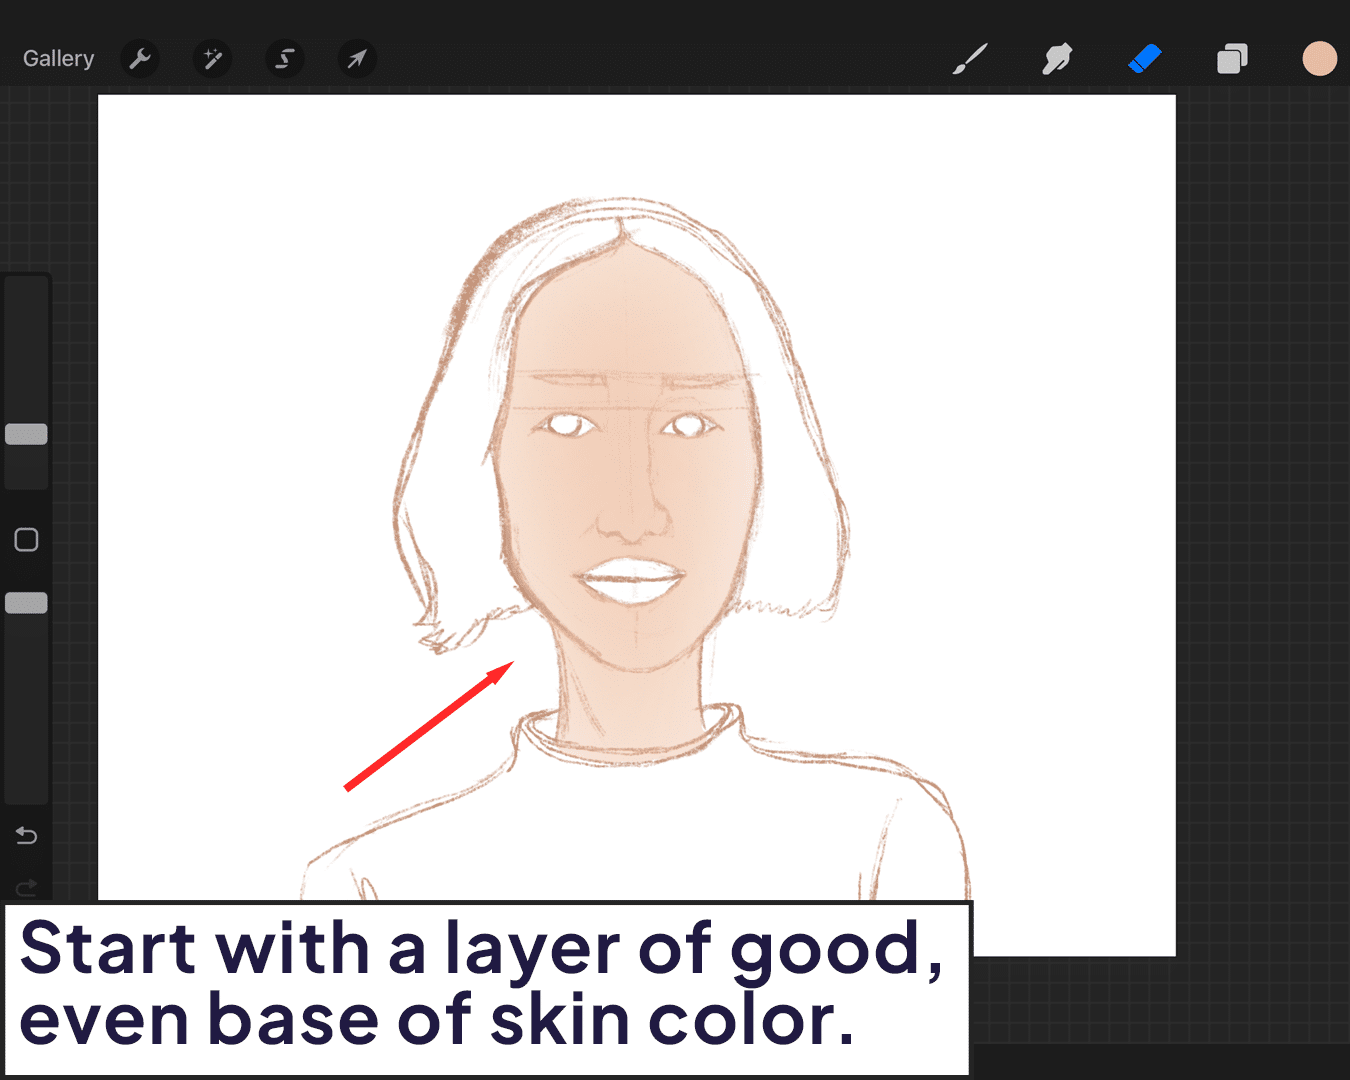
Start with a Good Base
Before you start airbrushing, ensure your base layer is well done. This means a smooth, evenly colored skin tone. Think of it like priming a wall before painting – it makes all the difference.
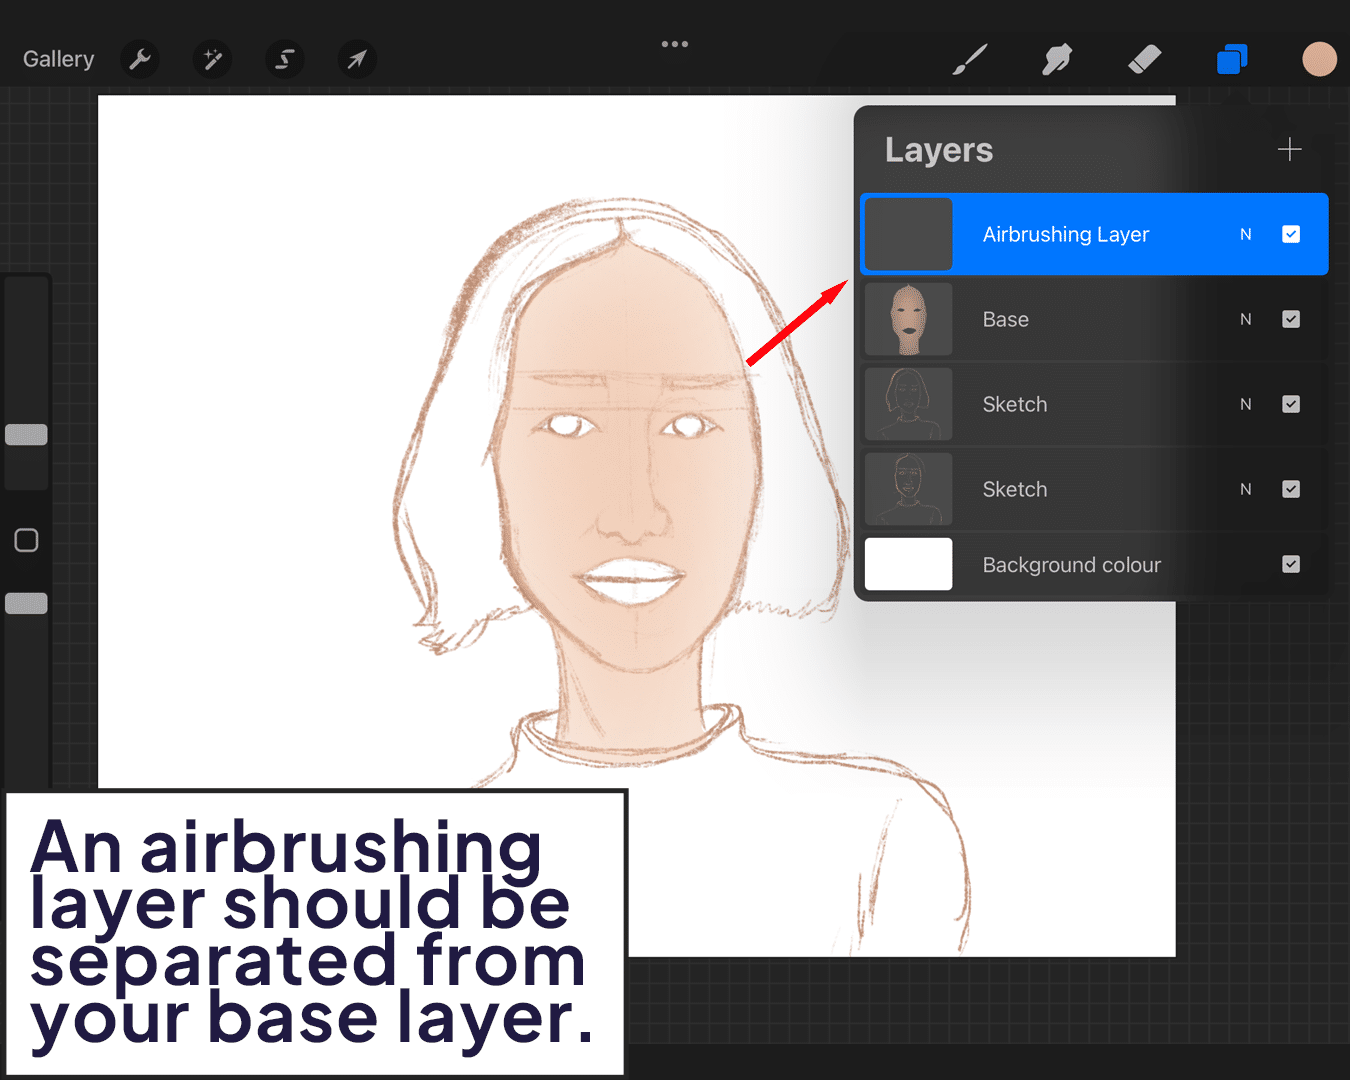
Layering is Key
Create a new layer on top of your base. This will be your airbrushing layer. By working on a separate layer, you maintain control and can easily adjust the intensity without affecting the original image.
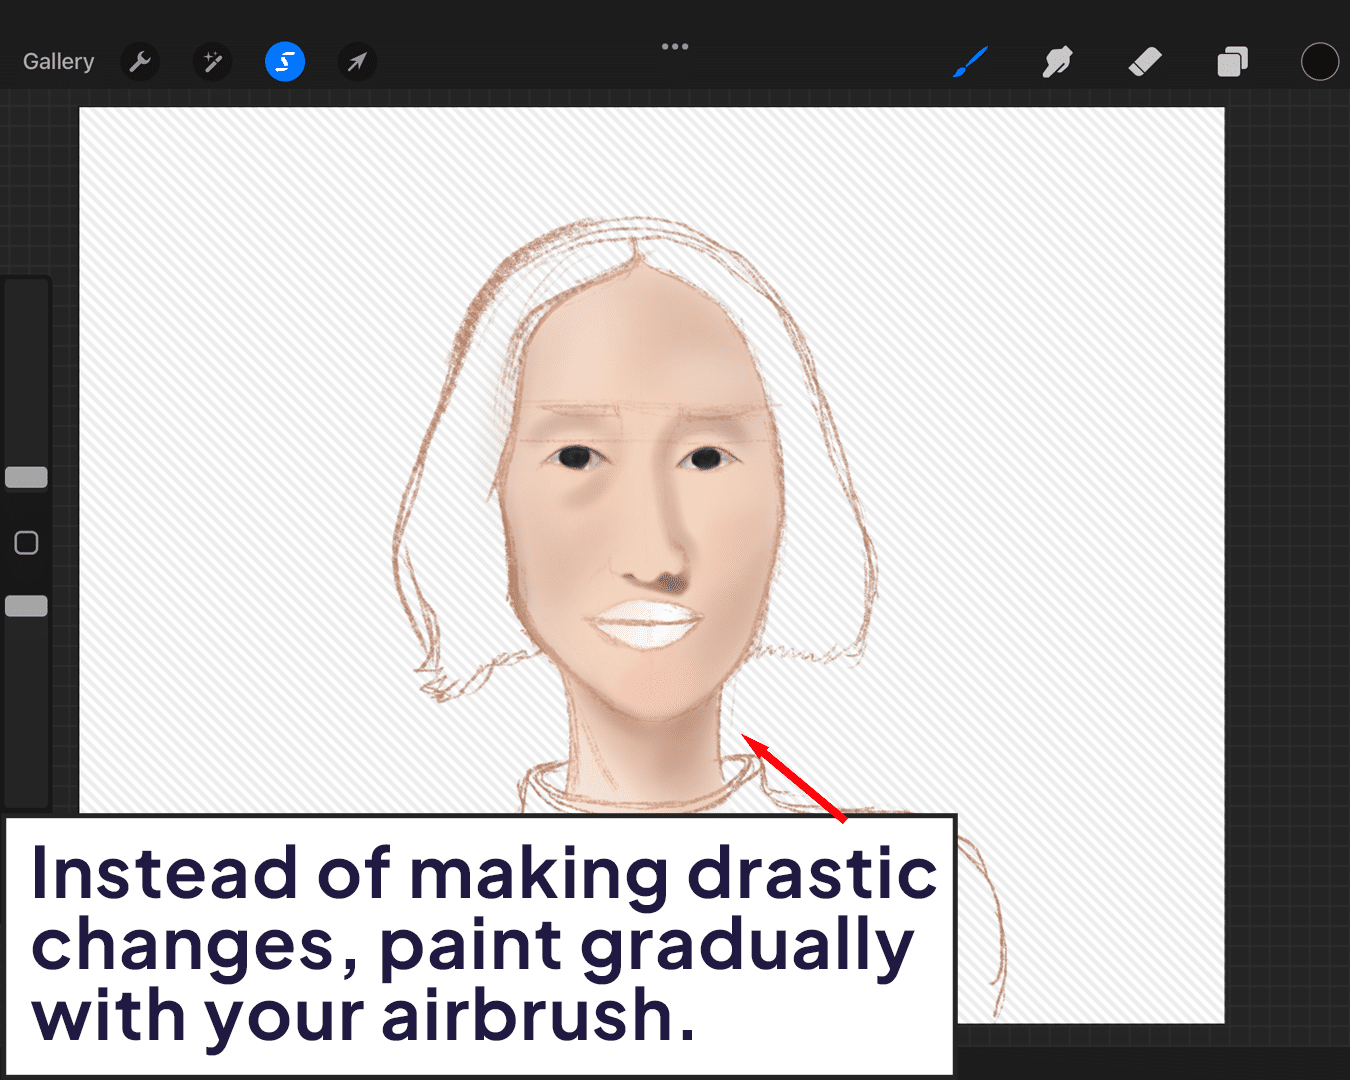
Play with Opacity
When airbrushing, you don’t want to go in with all guns blazing. Start with a lower opacity and gently build up the effect. This helps maintain a natural look and prevents the ‘plastic’ look.
For more on blending techniques, see how to blend skin in Procreate.
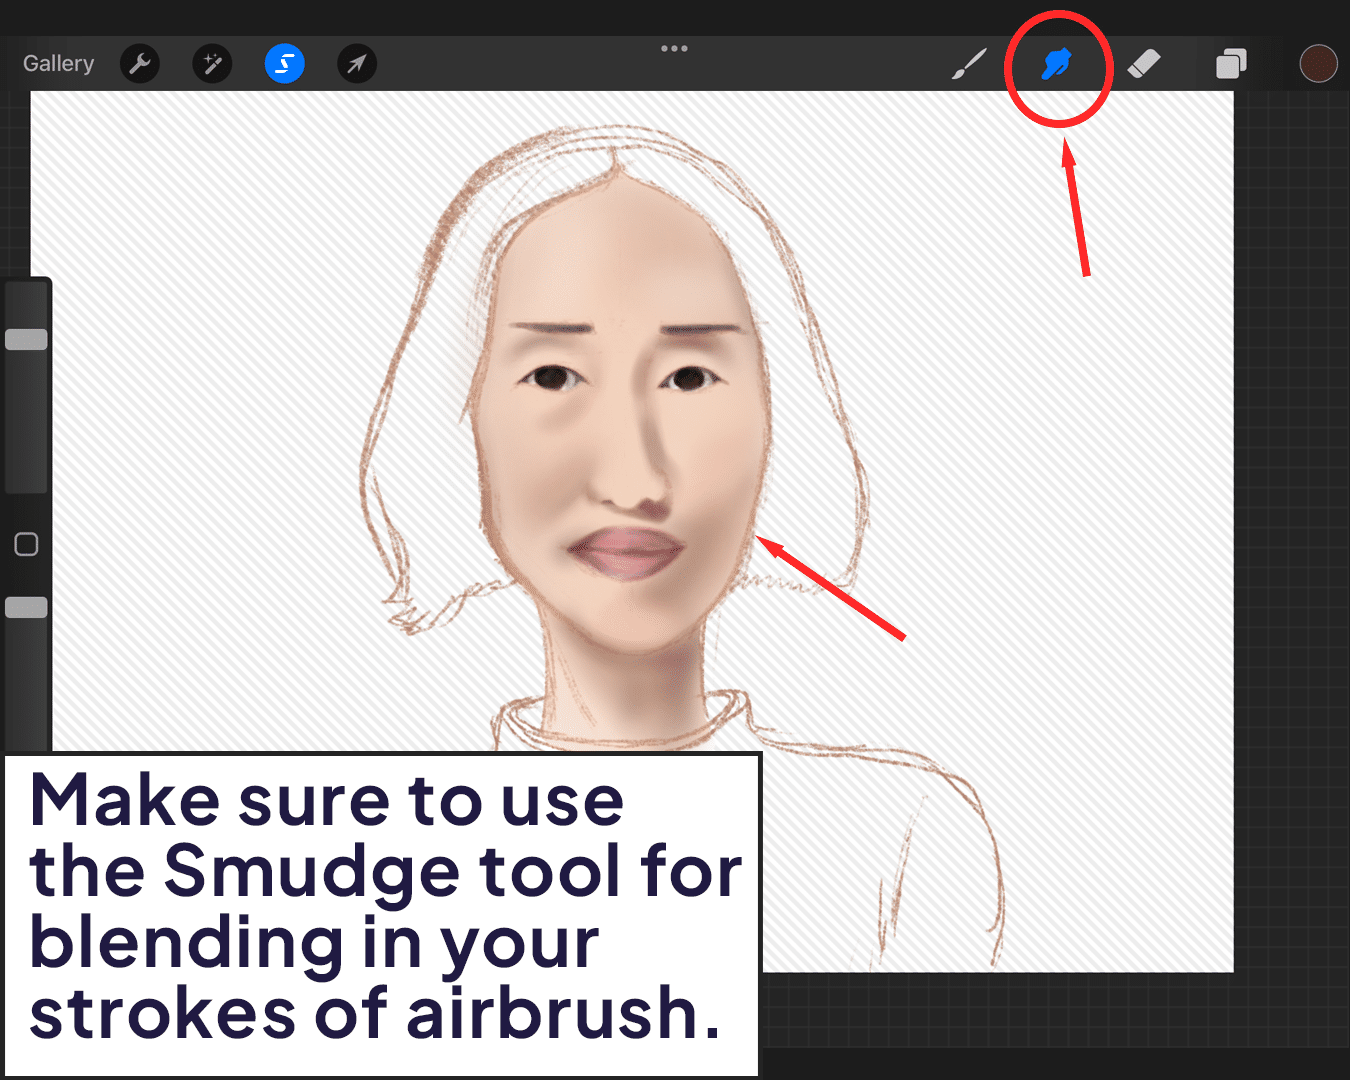
Blend, Blend, Blend
After applying your airbrushing, use the Smudge tool to blend it seamlessly with the base. Blending is what makes the airbrushed skin look natural and not like a layer slapped on top of another.
For achieving specific effects, like animation, you might find how to use onion skin in Procreate helpful.
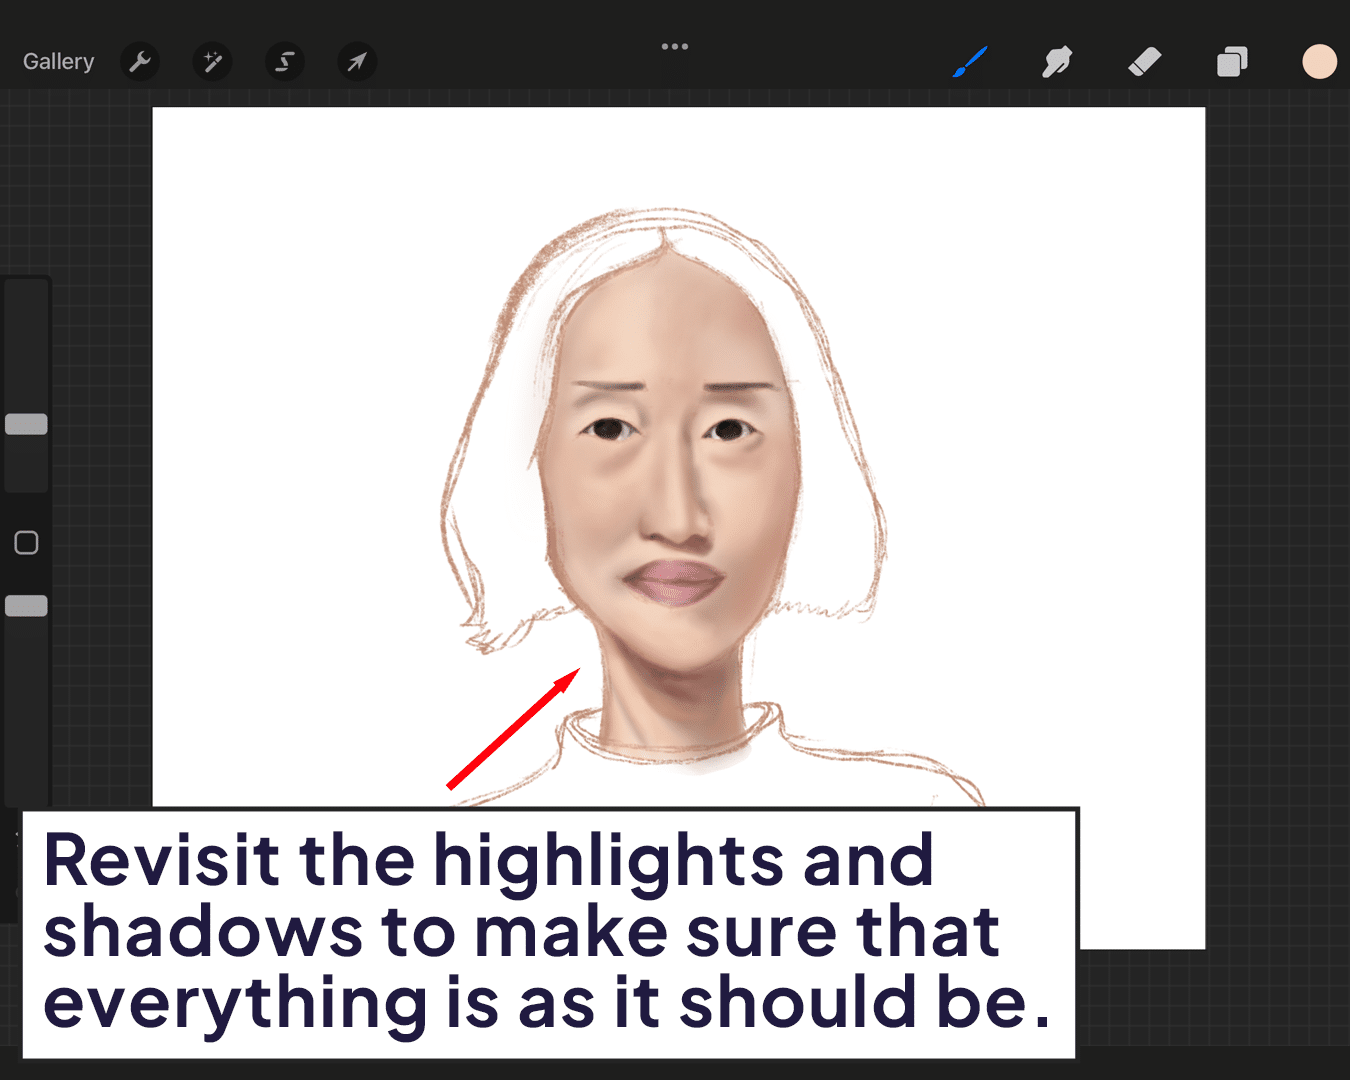
Highlights and Shadows
Don’t forget to reapply highlights and shadows after airbrushing. This step brings back the depth and dimension to the face that might have been lost during airbrushing.
Learn how to make skin glow in Procreate for adding that radiant finish.
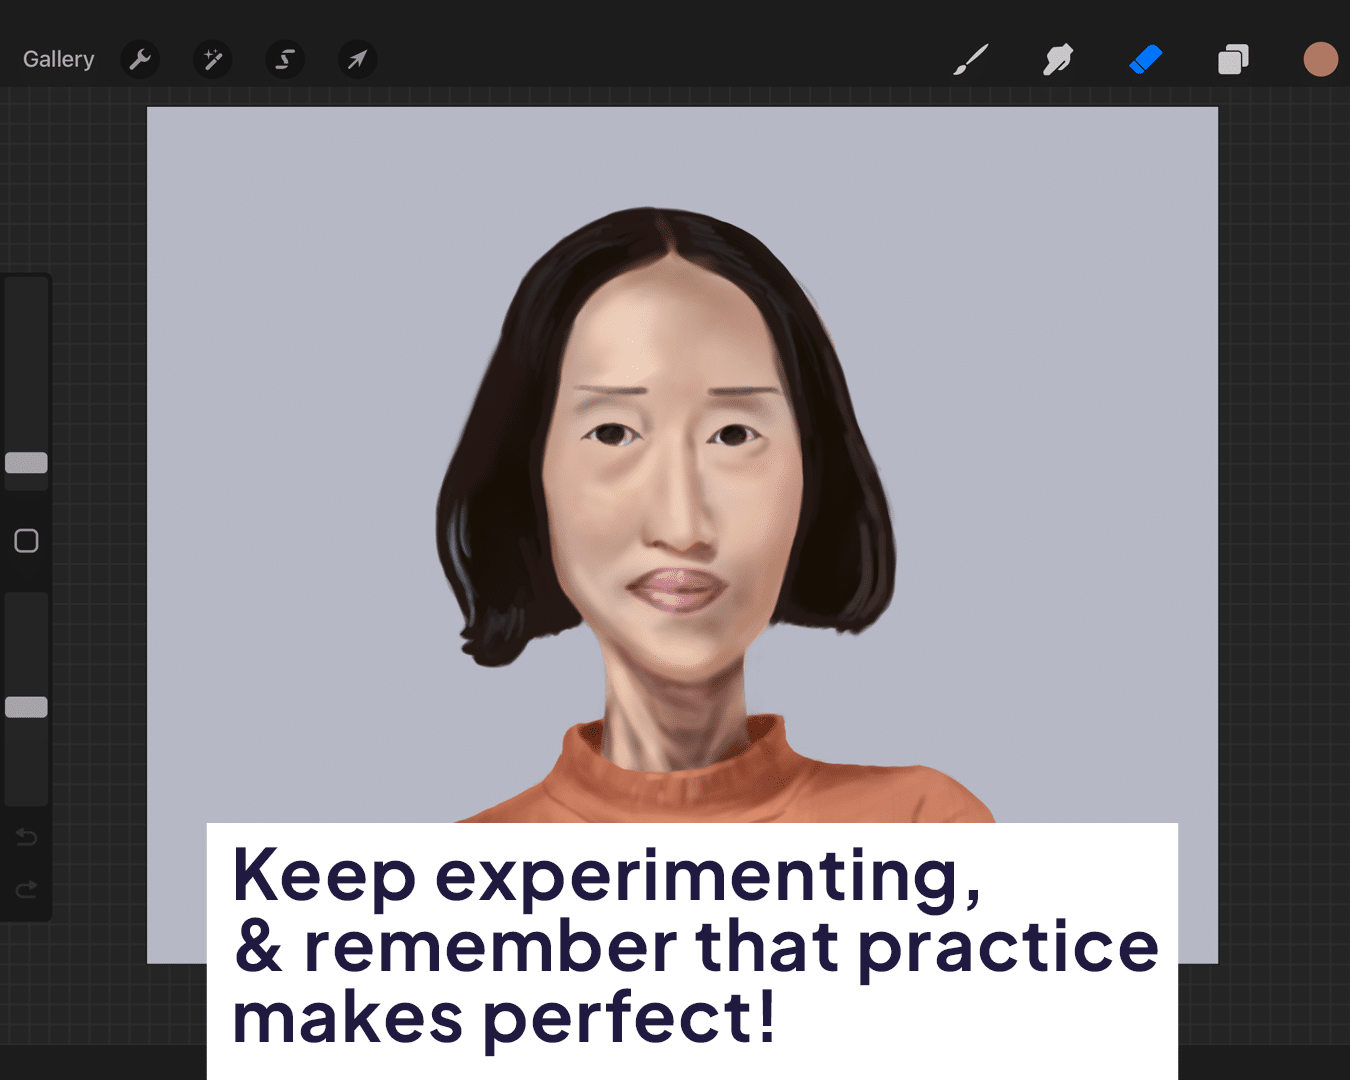
Practice Makes Perfect
Like all digital art techniques, mastering airbrushed skin takes practice. Don’t be discouraged if it doesn’t look perfect on your first try. Keep experimenting, and you’ll find the right balance to achieve that perfect, airbrushed look.
For more on color accuracy, explore how to match skin tone in Procreate.
FAQ: Airbrushing Skin in Procreate
Can I airbrush skin on a single layer?
While you can, it’s recommended to use a separate layer for airbrushing. This gives you more control and flexibility to adjust the airbrushing without affecting the underlying layers.
How do I choose the right color for airbrushing?
Pick a color that’s slightly lighter than your base skin tone for highlights and a bit darker for shadows. It’s important to maintain the natural color variations in the skin.
What’s the best way to avoid over-airbrushing?
Start with a low opacity and build up gradually. Constantly toggle the visibility of your airbrush layer to compare it with the original and ensure you haven’t gone overboard.
How important is blending when airbrushing skin?
Extremely important! Blending is what makes the airbrushing integrate seamlessly with the base layer, giving a more natural and realistic appearance.
Can airbrushing be used for all skin types in Procreate?
Yes, airbrushing can be adapted to suit all skin types. The key is to adjust the intensity and color to match the specific characteristics of each skin type.
How can I make sure the skin doesn’t look too ‘smooth’ or ‘fake’?
Maintain some of the natural texture of the skin. Don’t eliminate every imperfection; a few slight irregularities can make the skin look more realistic.
Happy airbrushing! 🌟✨


Share this article


