
How To Blend Skin in Procreate?

Hello fellow artists and digital enthusiasts! Let’s talk about a common dilemma in the digital art world: blending skin in Procreate. Ever felt like your portrait looks less like a Renaissance masterpiece and more like a patchwork of color swatches gone rogue? You’re not alone.
I’m here to guide you through the mystical art of skin blending that can turn your digital portraits from “meh” to mesmerizing, using the amazing Procreate skin brushes.
Understanding the Basics
Before we dive into the nitty-gritty of blending, it’s important to understand why blending skin in Procreate is such a big deal. Skin isn’t just a single color; it’s a symphony of shades, tones, and subtle nuances. Getting it right can be the difference between a flat, lifeless portrait and one that seems to leap off the screen.
Choosing the Right Brushes
Procreate offers a plethora of brushes, but for skin, you want something that mimics the soft, seamless nature of real skin.
I personally love using the Airbrushing set for initial layers and then switching to the Soft Brush for blending. Remember, the key here is subtlety.

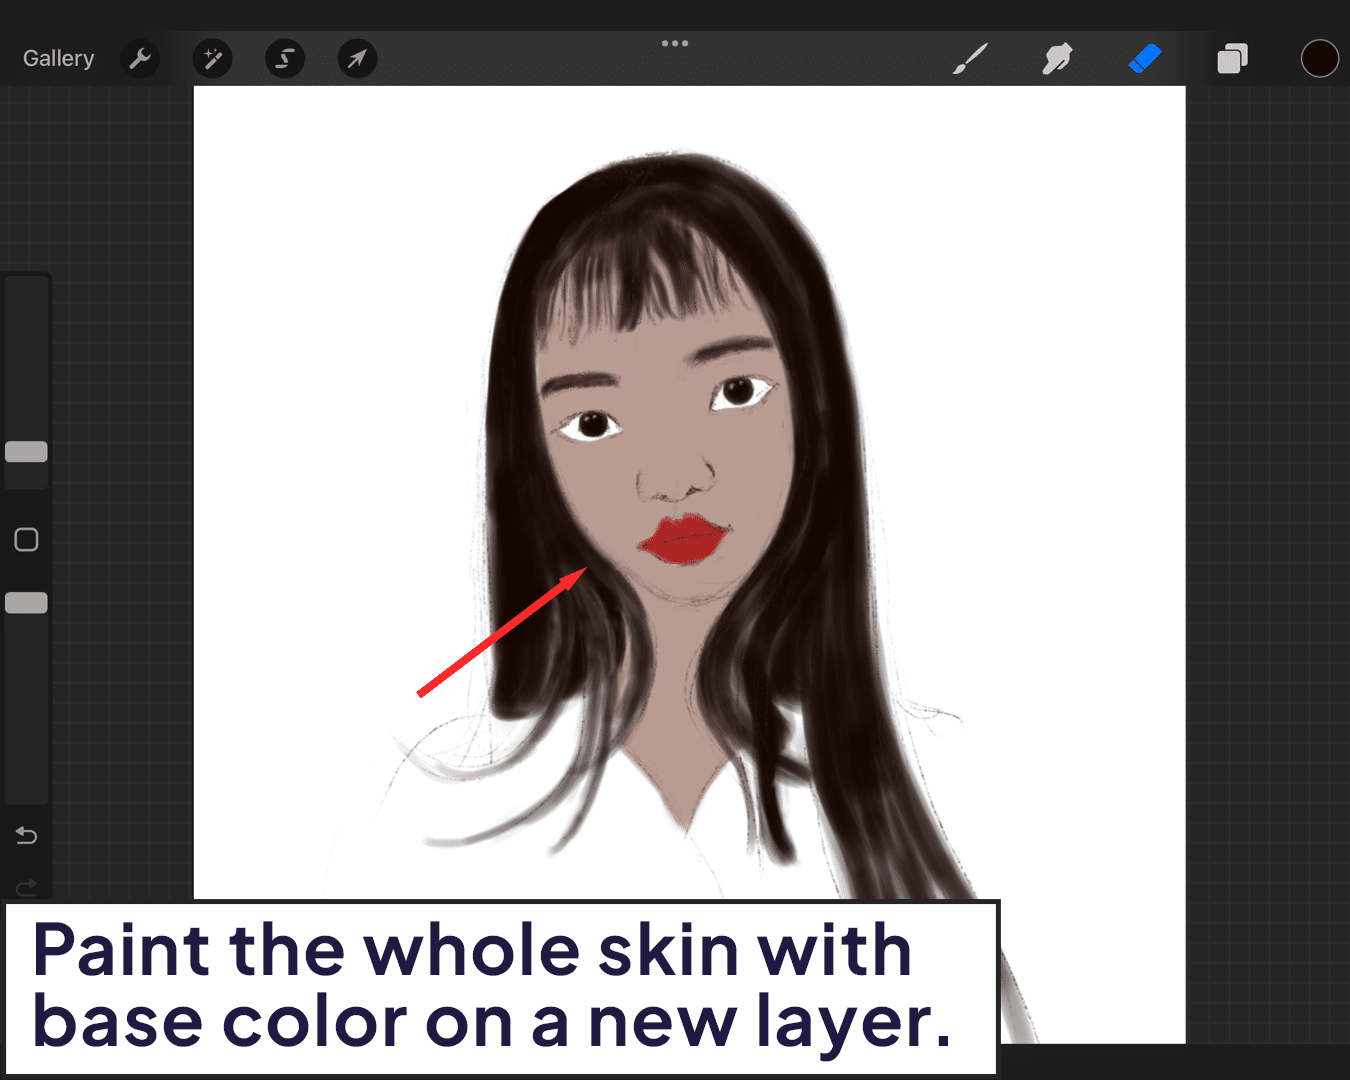
Laying the Foundation
Start with your base color. This isn’t your final skin tone; think of it more like the canvas you’re going to build upon. Lay down a flat layer, ensuring it’s even and devoid of streaks. This will be the foundation upon which you’ll build the intricate layers of your skin tones.
For more on airbrushing techniques that can aid in creating this base, check out how to airbrush skin in Procreate.
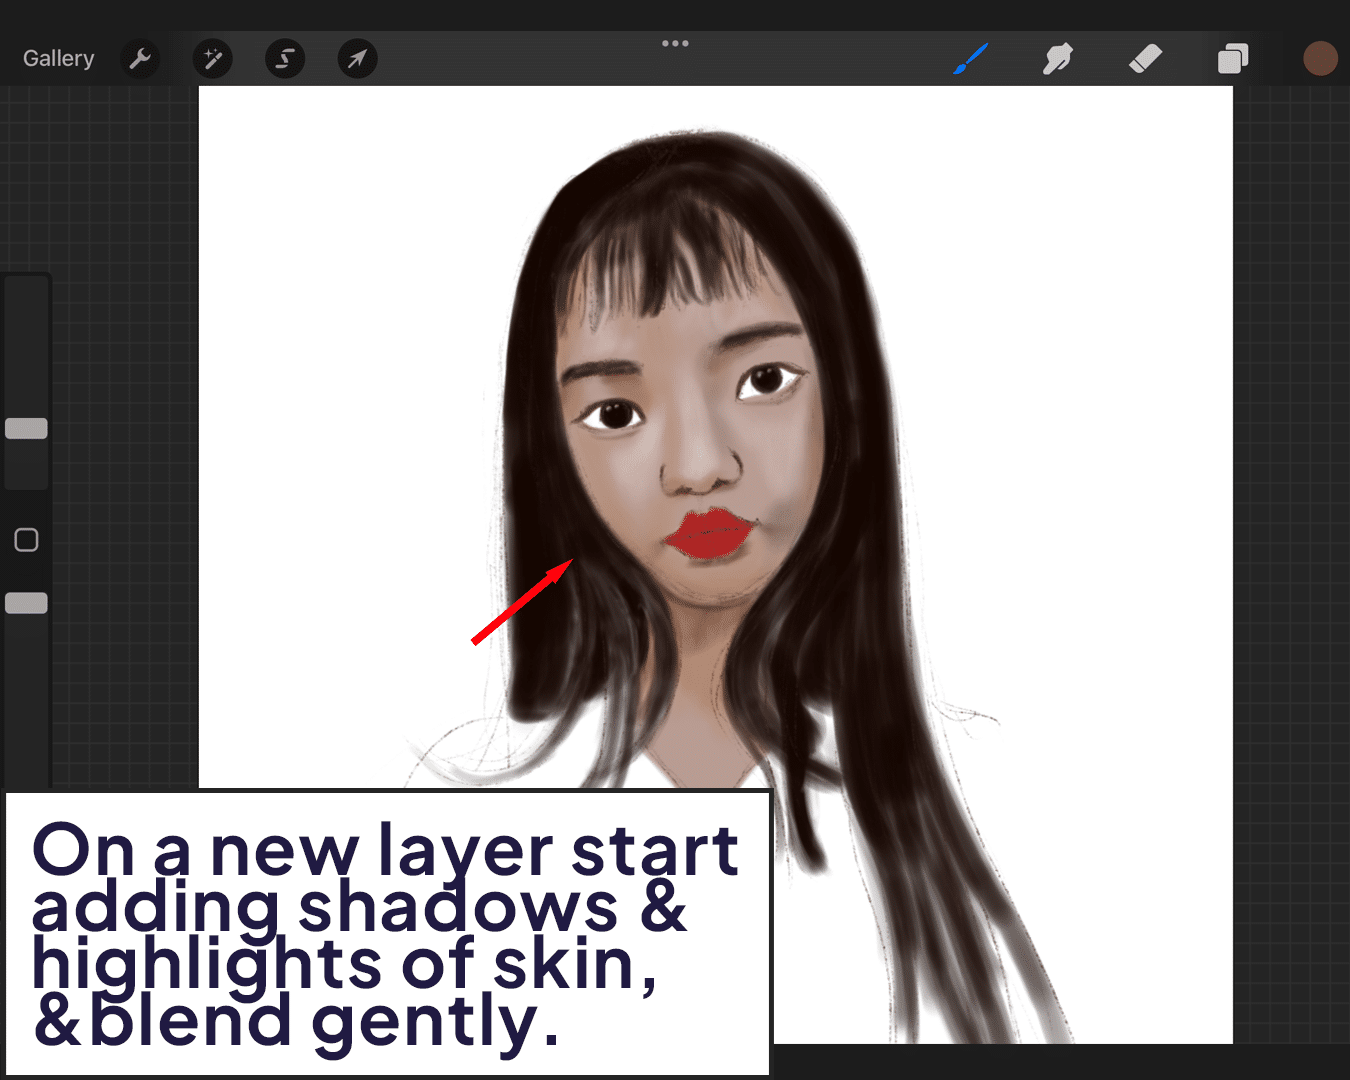
Building Up Layers
Now, the fun part! Begin adding layers of different skin tones. Add lighter tones where the light naturally hits the face (like the forehead, nose, and cheekbones) and darker tones for shadows (like under the chin and around the sides of the nose).
Blend these layers gently. Imagine you’re a magician softly coaxing the colors to merge and mingle.
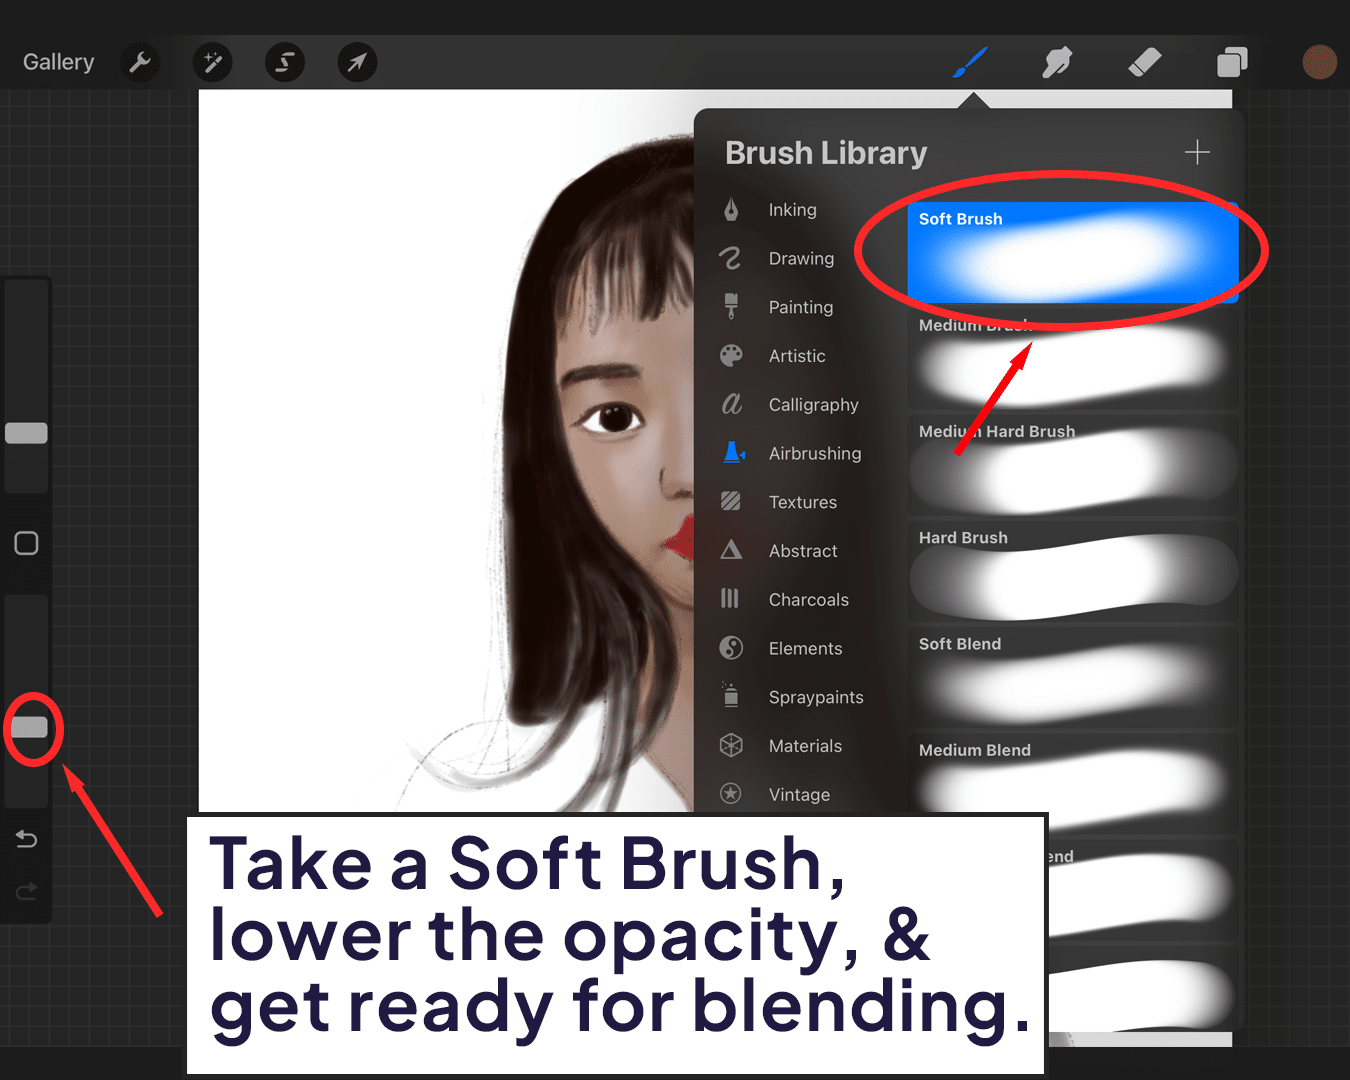
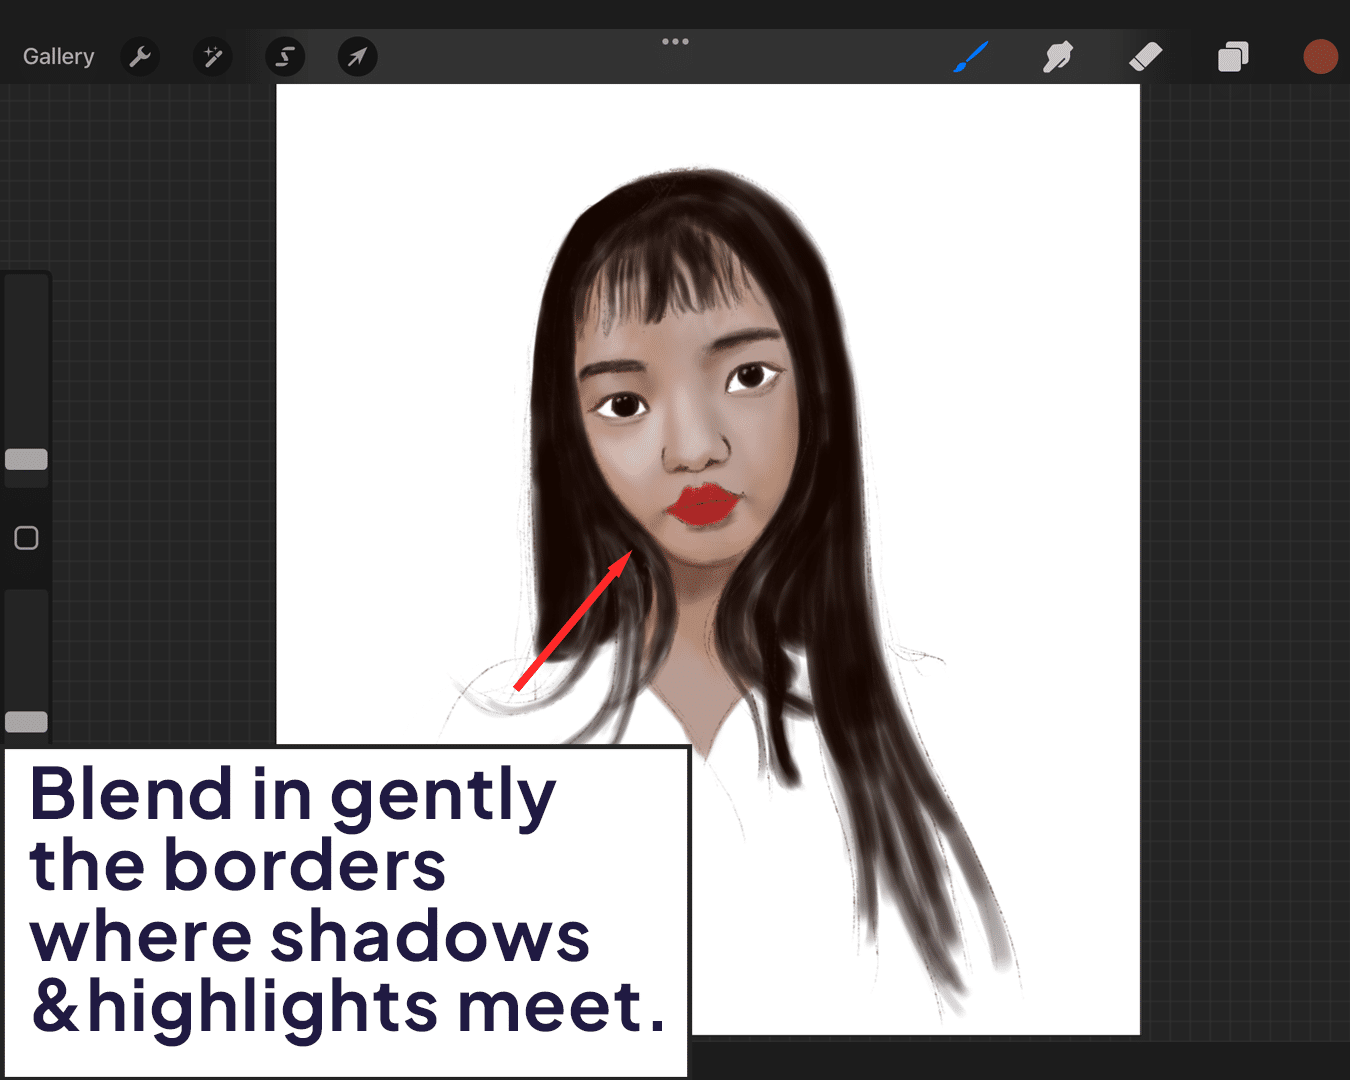
The Art of Blending
Here’s where the magic happens. Select the Soft Brush, lower the opacity, and gently blend the edges where your different skin tones meet. Think of blending like making a good cocktail; it’s all about mixing the ingredients seamlessly.
Use circular motions and a light touch. Be patient; great blending is a labor of love.
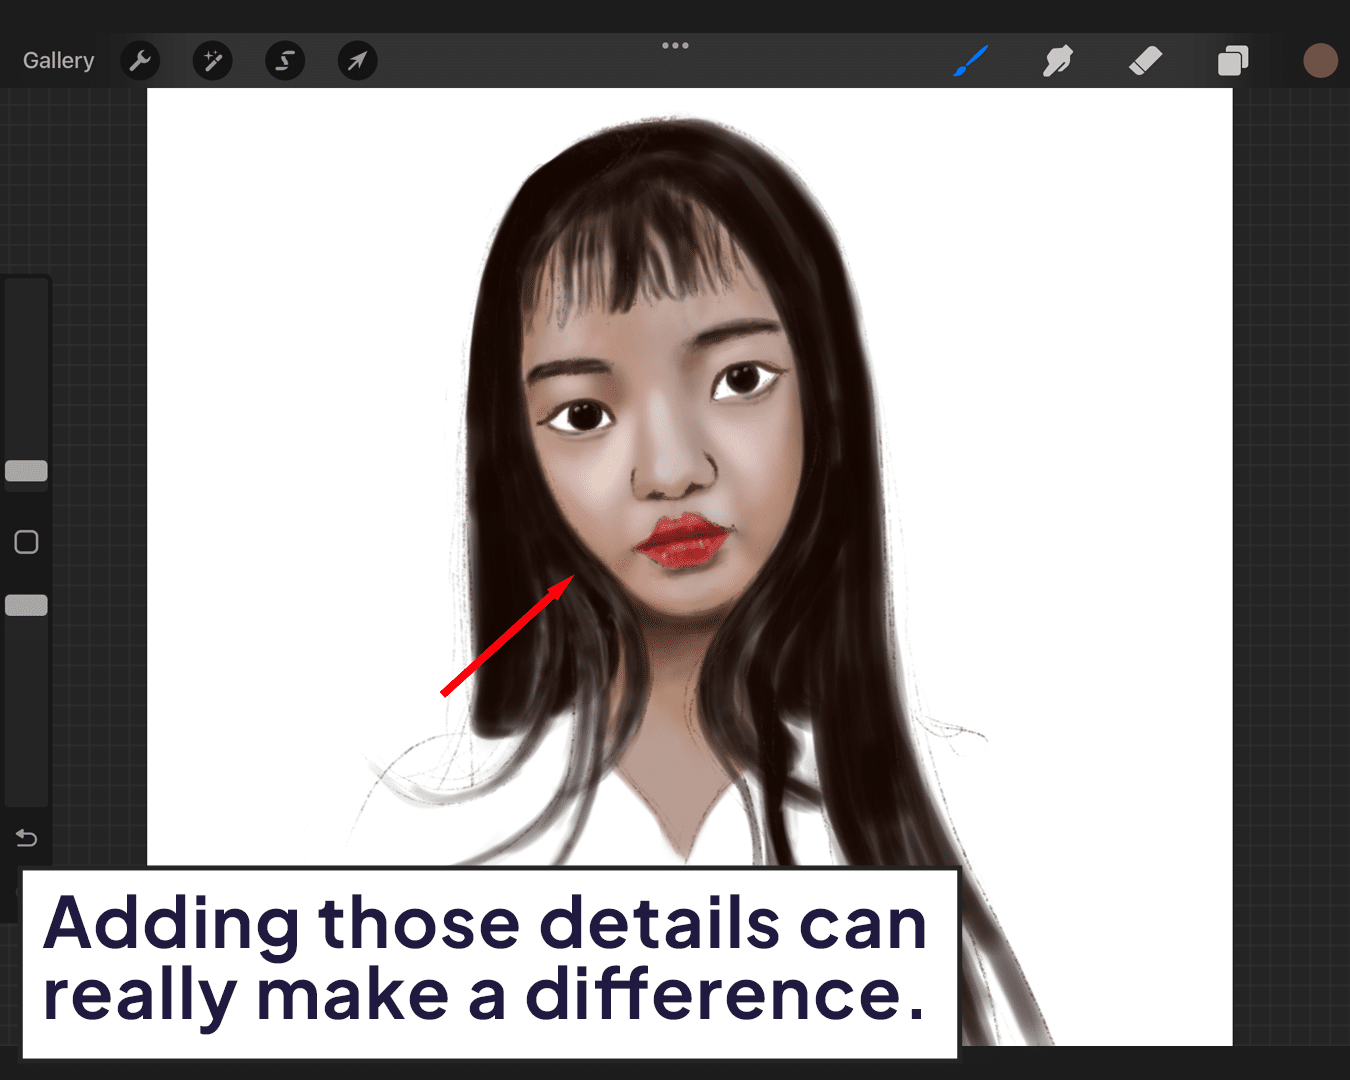
Adding Details and Texture
Once you’re happy with your blending, add details like freckles, pores, or wrinkles. These small touches can bring a portrait to life. Use a fine, sharp brush for this.
Details should be subtle, like a whisper across the skin.
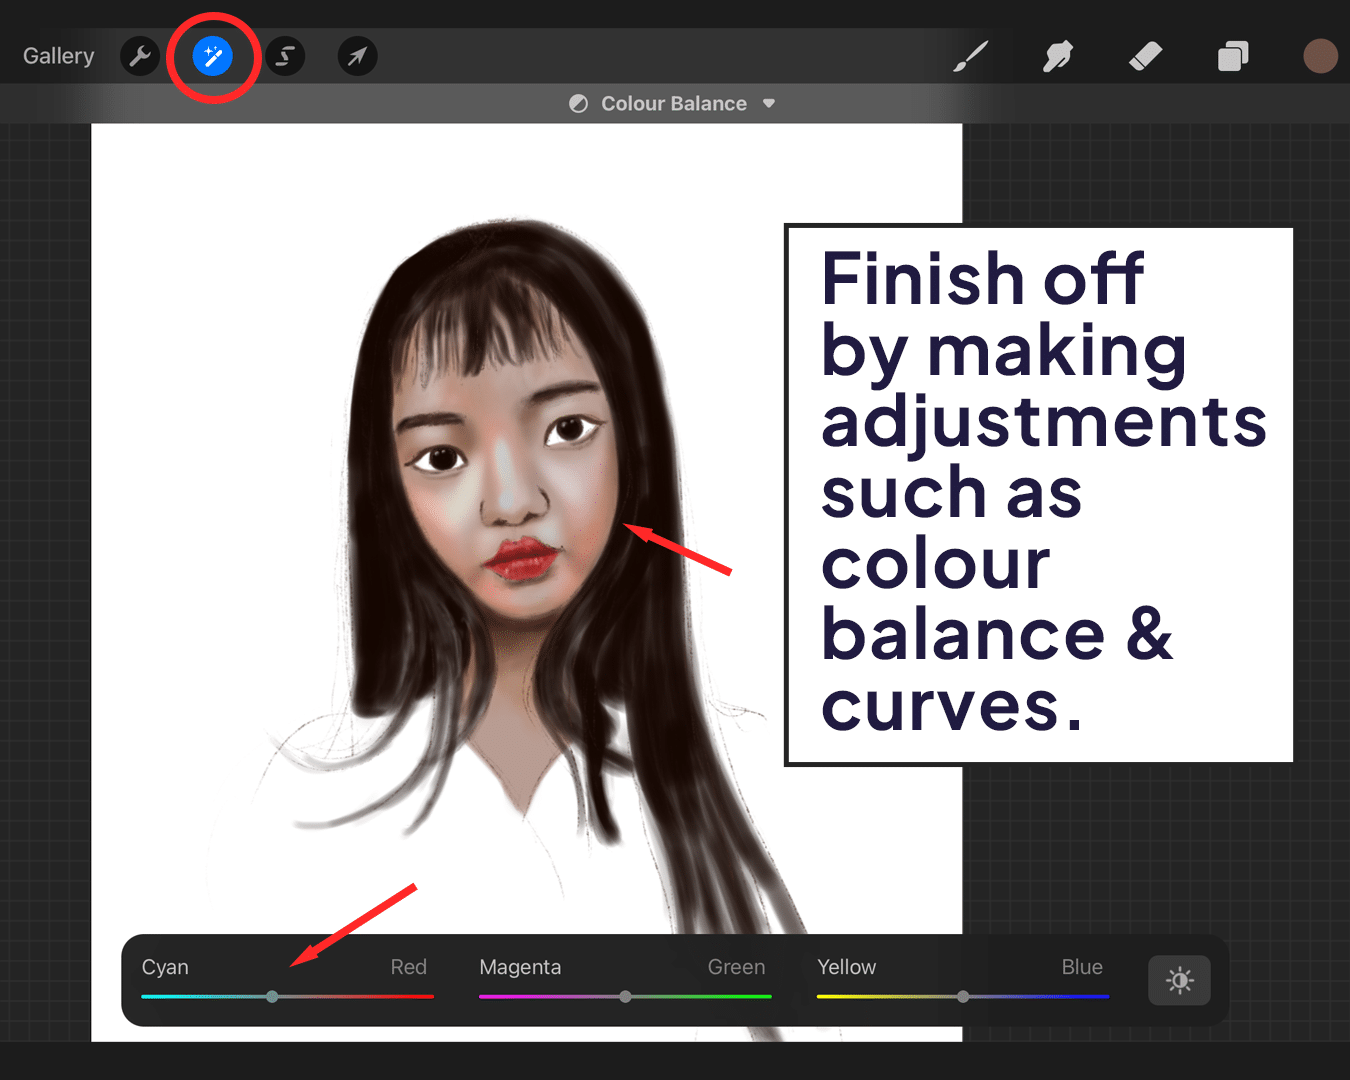
Final Adjustments
Step back (figuratively, of course). Examine your work. Adjust contrasts, brightness, or saturation if needed. Sometimes, it’s these final tweaks that really make your portrait pop.
For animations, how to use onion skin in Procreate can be an invaluable resource.
FAQ
What are the best brushes to use for blending skin in Procreate?
The Airbrushing set is excellent for initial layers, and the Soft Brush is ideal for seamless blending. These brushes mimic the soft, natural feel of skin.
How do I choose the right skin tones for my portrait?
Start with a base color that acts as your canvas. Then, add layers of lighter tones for highlights (like on the forehead, nose, and cheeks) and darker tones for shadows (like under the chin). Your choice of tones will depend on the lighting and the natural color of the skin you’re depicting.
For more tips on getting the perfect skin tone, discover how to match skin tone in Procreate.
Can I blend skin using my fingers, or do I need a stylus?
While a stylus, like the Apple Pencil, offers precision and pressure sensitivity, you can also blend with your fingers. It might be less precise but can still produce good results, especially for broader blending areas.
How do I prevent my skin tones from looking muddy when blending?
Use a light touch and blend gradually. Over-blending or using too much pressure can muddy the colors. Also, ensure your layers aren’t overly saturated – subtlety is key.
How important is layering in skin blending?
Extremely important! Layering is what gives skin its lifelike depth and dimension. Start with a base layer and gradually build up the highlights and shadows before blending.
What’s the best way to practice skin blending?
Practice by creating various portraits with different skin tones and lighting scenarios. Experiment with different brushes and blending techniques to see what works best for you.
How can I add texture to the skin after blending?
Use a fine, sharp brush to add subtle details like freckles, pores, or wrinkles. These should be delicately applied to avoid overpowering the overall skin texture.
Are there any specific settings or adjustments in Procreate that can help with blending skin?
Adjusting the brush opacity and size can be very helpful. Lower opacity allows for softer blending, and a smaller brush size helps with precision in detailed areas.
How do I fix areas where I’ve overblended or lost definition?
You can use the Eraser tool to gently remove excess blending or reapply color with a fine brush to regain definition.
Any final tips for beginners trying to master skin blending in Procreate?
Be patient and don’t be afraid to experiment. Skin blending is a skill that improves with practice. Also, studying real skin tones and how light affects them can be incredibly helpful. Happy blending!
Conclusion
Remember, blending skin in Procreate is an art, not a science. It takes practice, patience, and a bit of experimentation. But with these steps, you’re well on your way to creating digital portraits that are rich, lifelike, and truly captivating. So go forth, blend bravely, and let your digital artistry shine! 🎨✨
For that extra radiant finish, learning how to make skin glow in Procreate can add the perfect touch to your digital portraits.


Share this article


