
How To Make Tattoo Stencil in Procreate

Making a tattoo stencil in Procreate is a simple task if you know the right features in the software. Think of Procreate as your new secret weapon. It’s all about transforming your kickass designs into stencils with a few taps and swipes. No more tedious hand-tracing, we’re going high-tech.
Before diving into the process, it’s essential to have the right tools at your disposal. For this task, the Procreate tattoo brushes are indispensable. They offer precision and versatility, making your design process smoother and more efficient.
I’ll walk you through each step – from sketching to printing – so you can get those designs from your screen to the skin in no time. Let’s get cracking and turn your digital art into tattoo masterpieces!
Creating Tattoo Stencil in Procreate
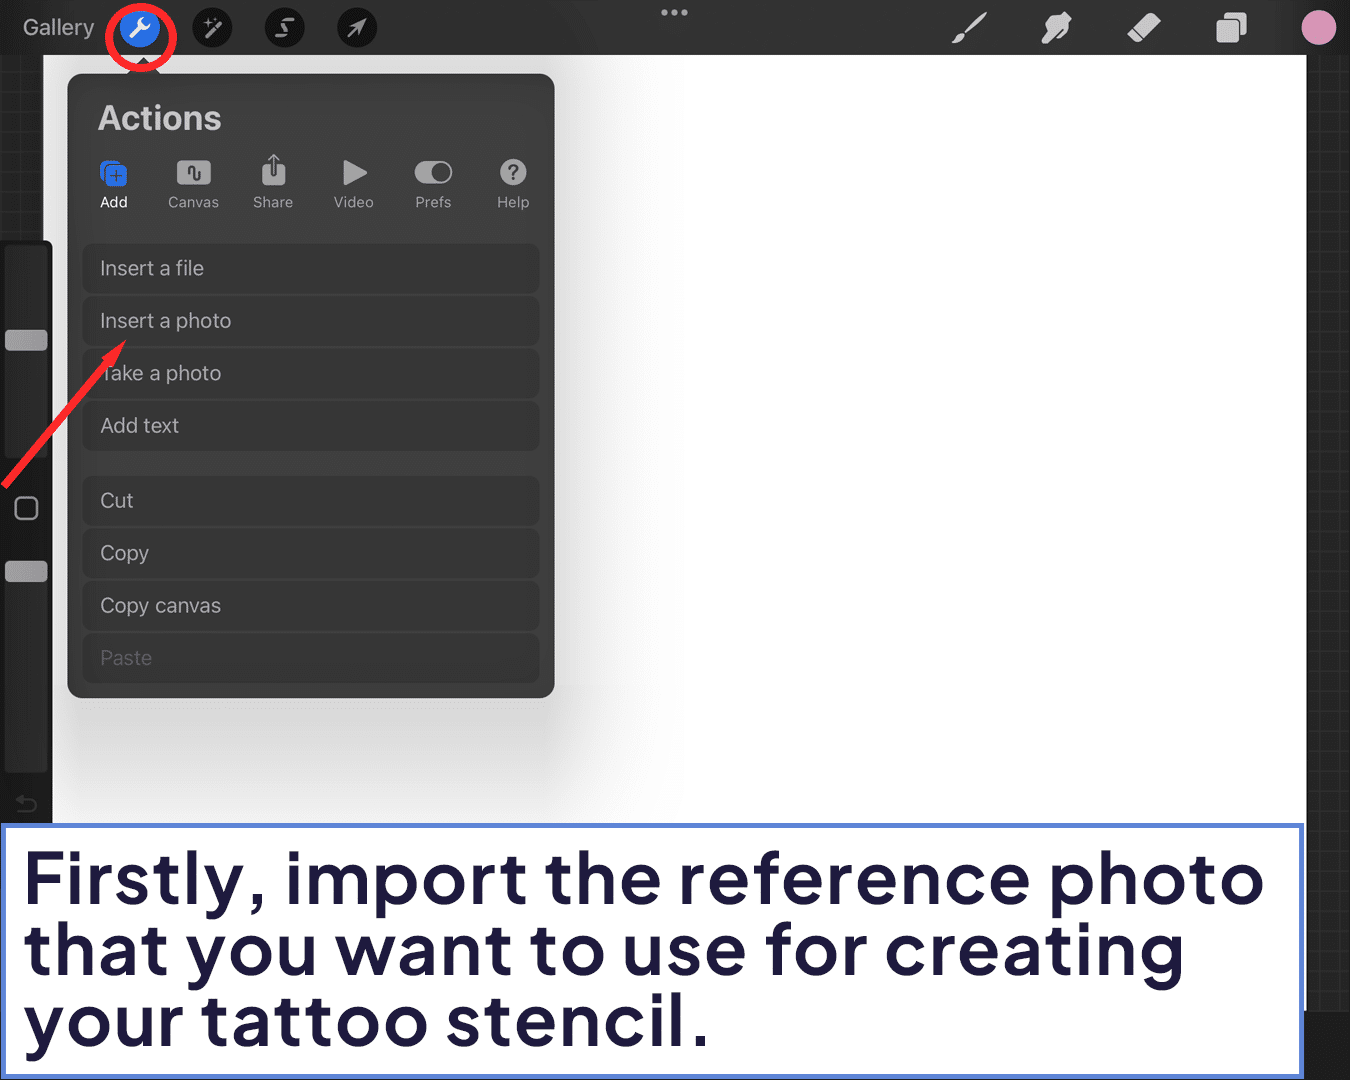
Step 1: Importing the Image
Open Procreate and create a new canvas.
Go to the ‘Actions’ menu, choose ‘Add,’ and then ‘Insert a photo’ to import your desired image.
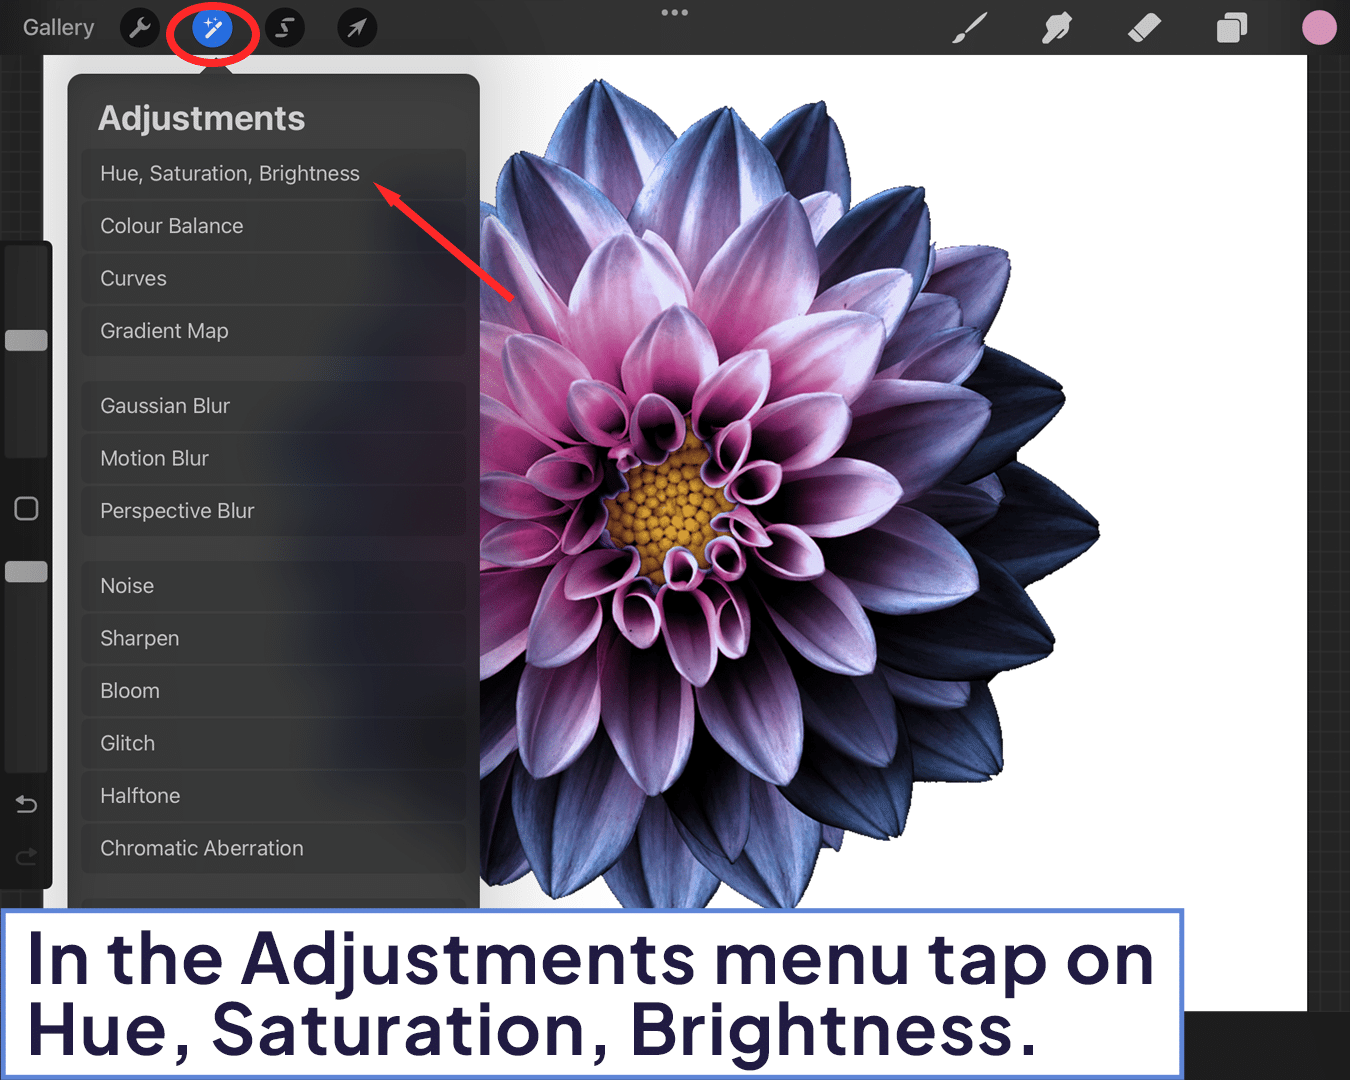
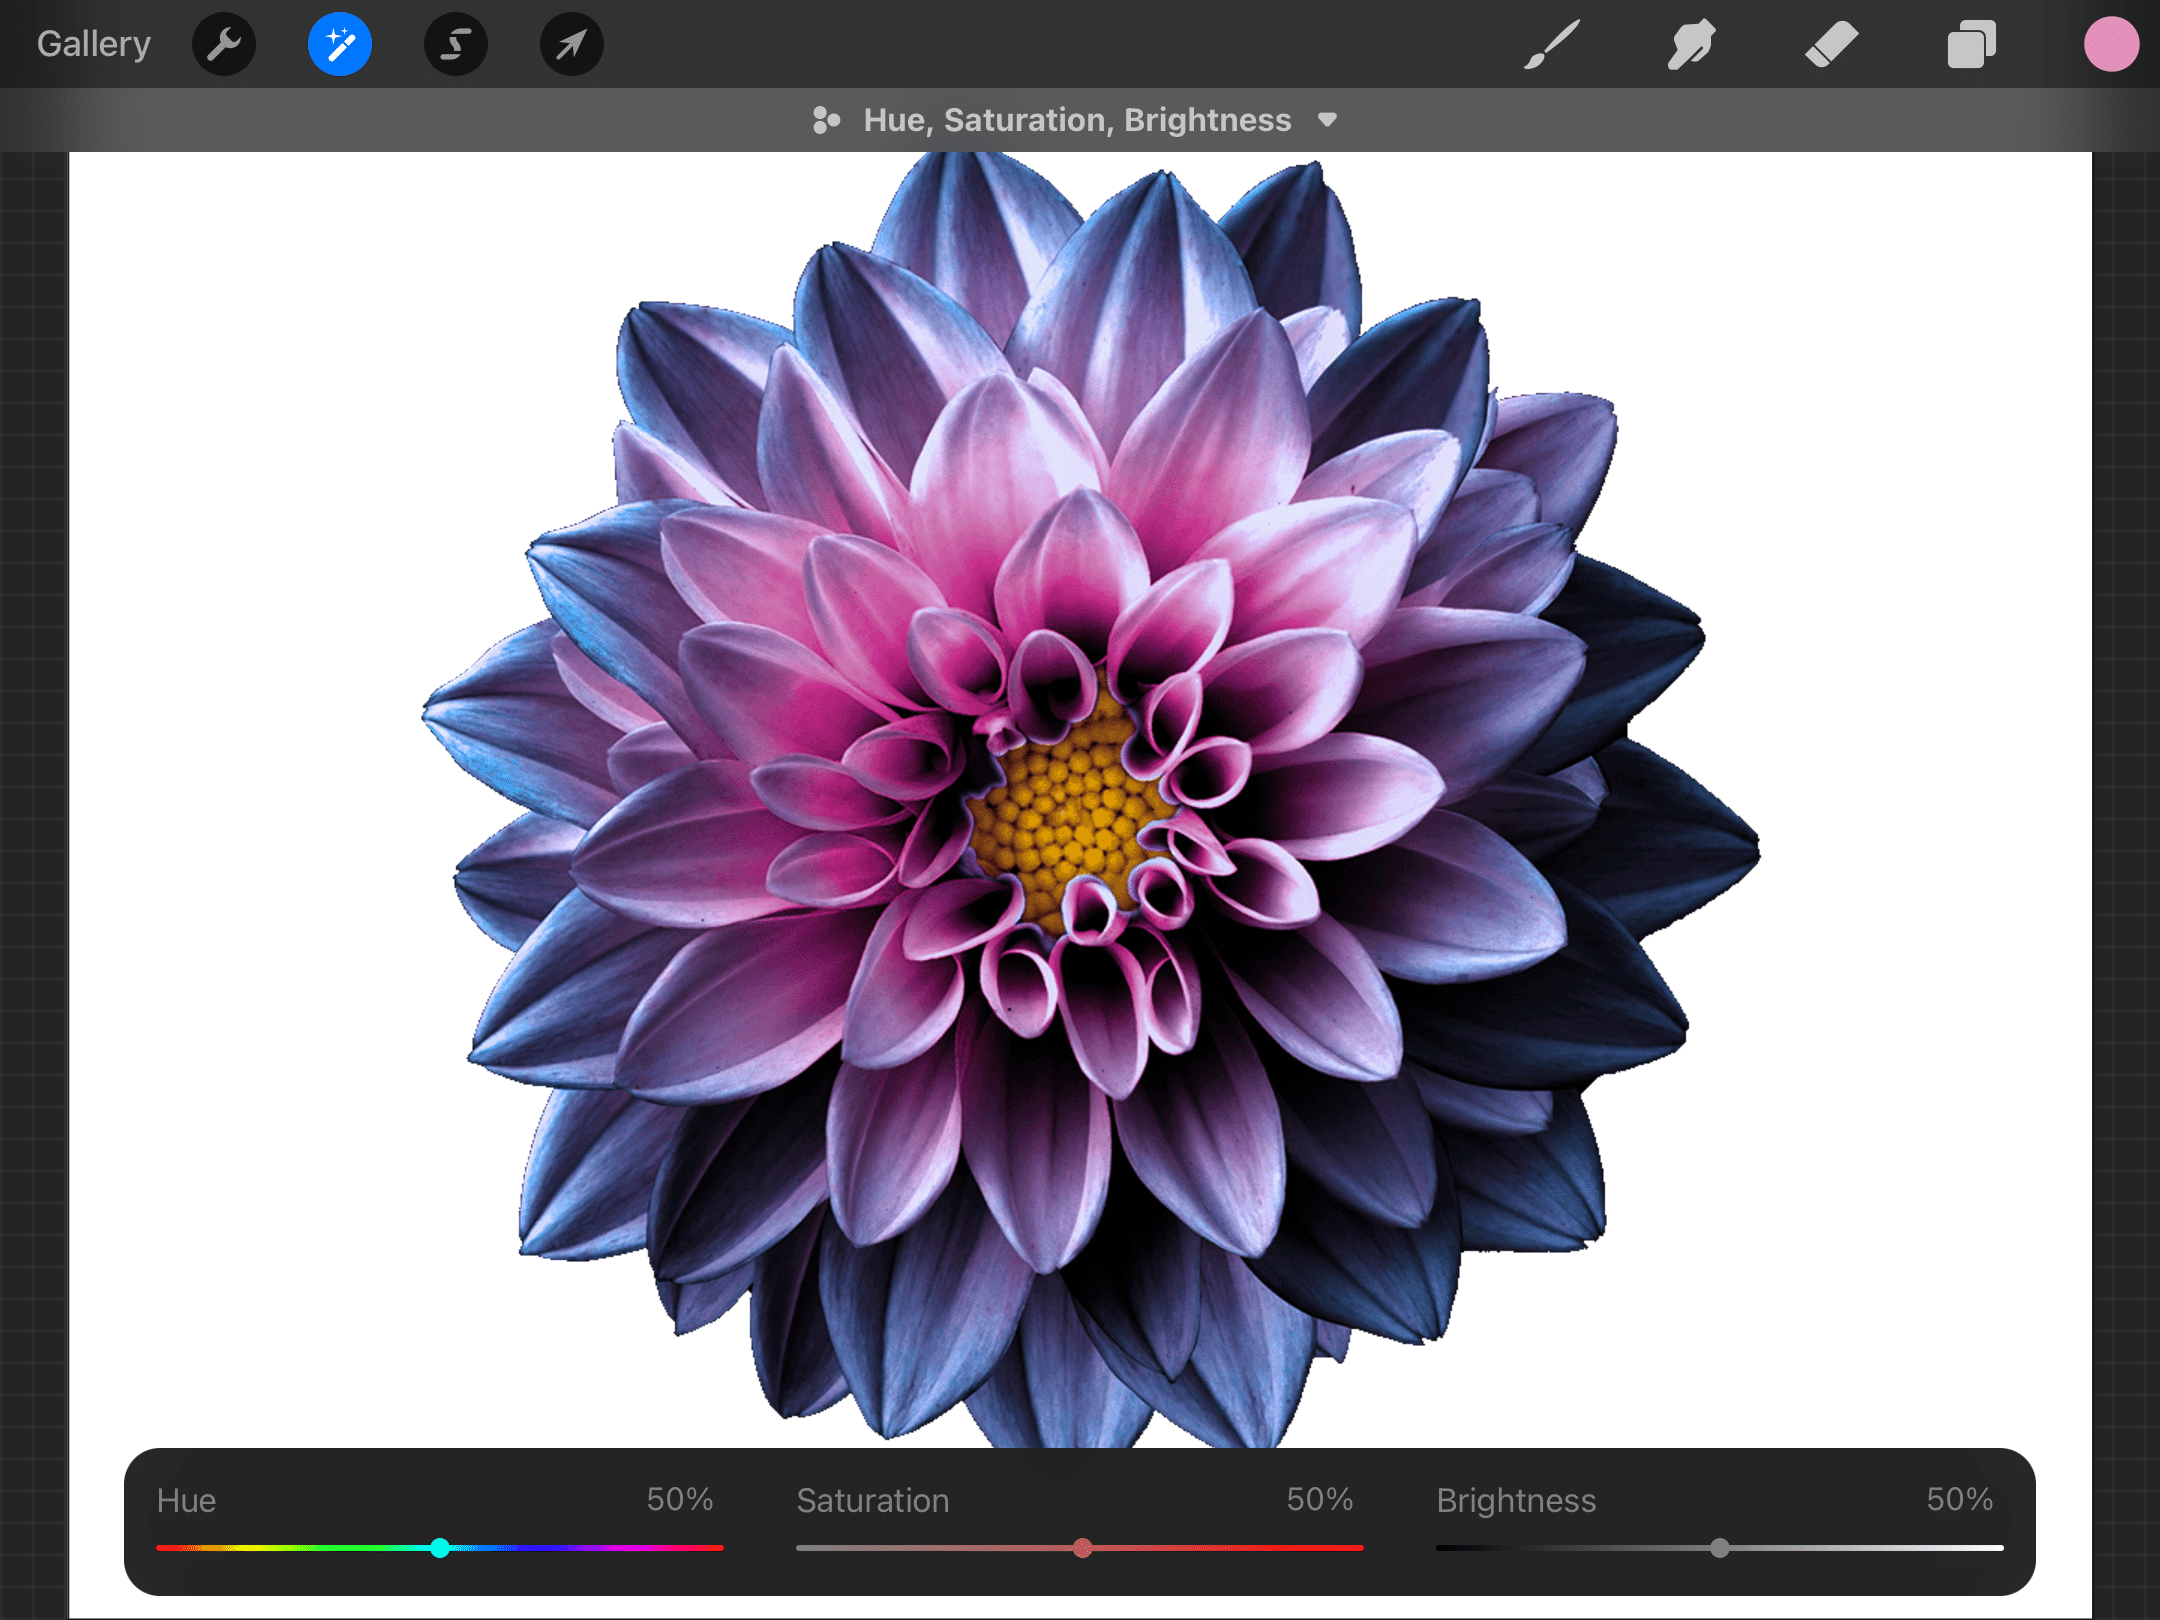
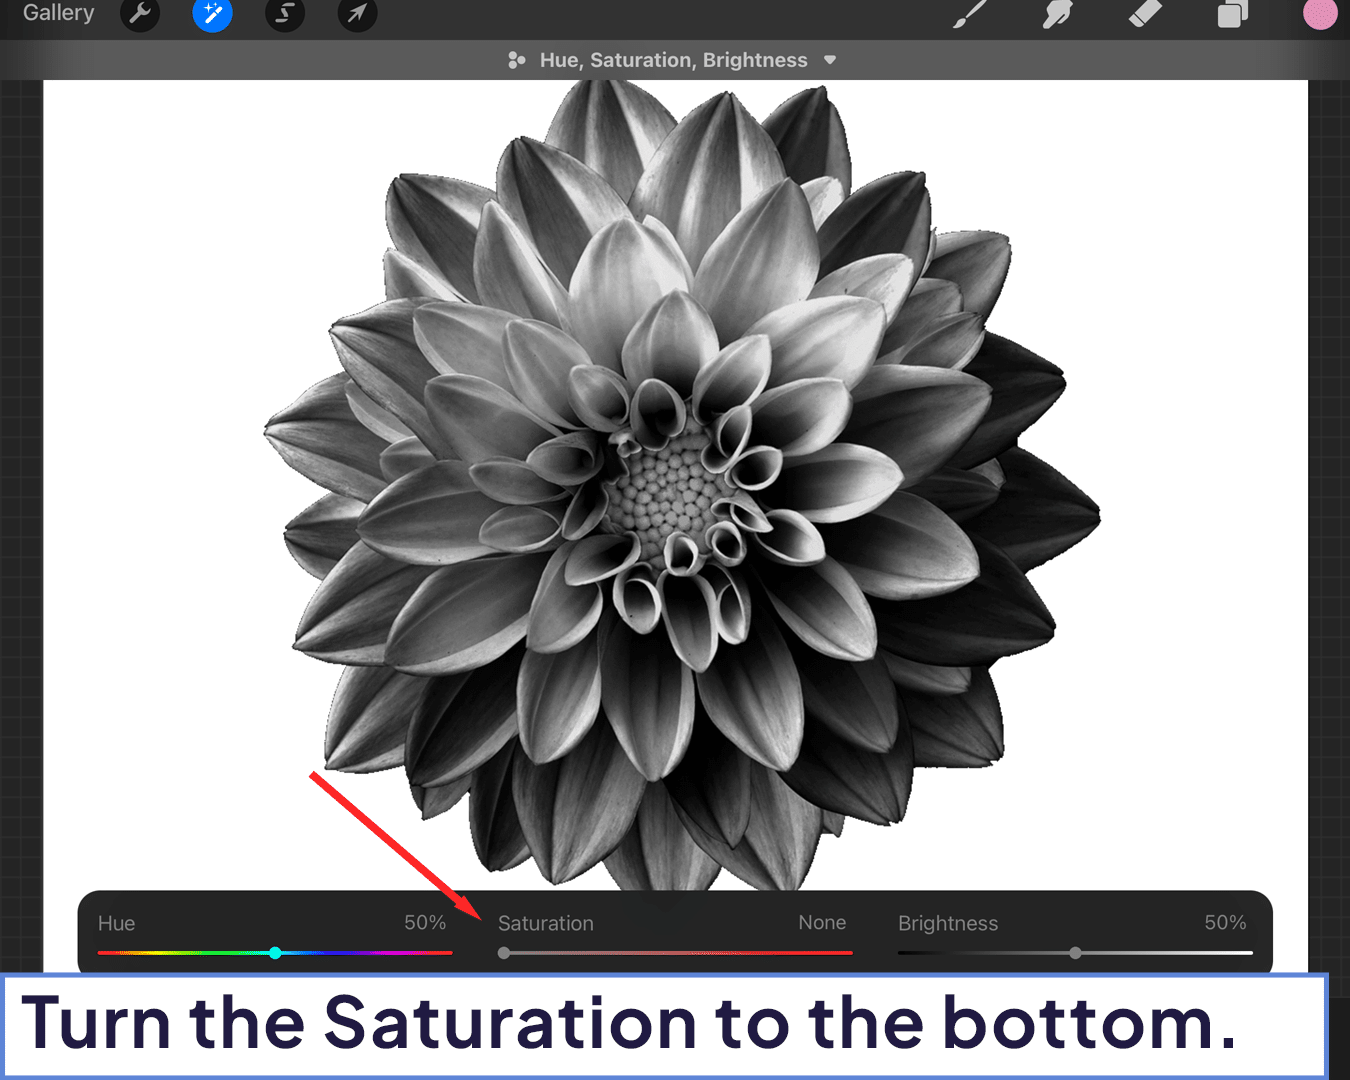
Step 2: Apply Saturation:
Go to the adjustment menu > Hue, Saturation, Brightness. Then move the saturation bar to the left.
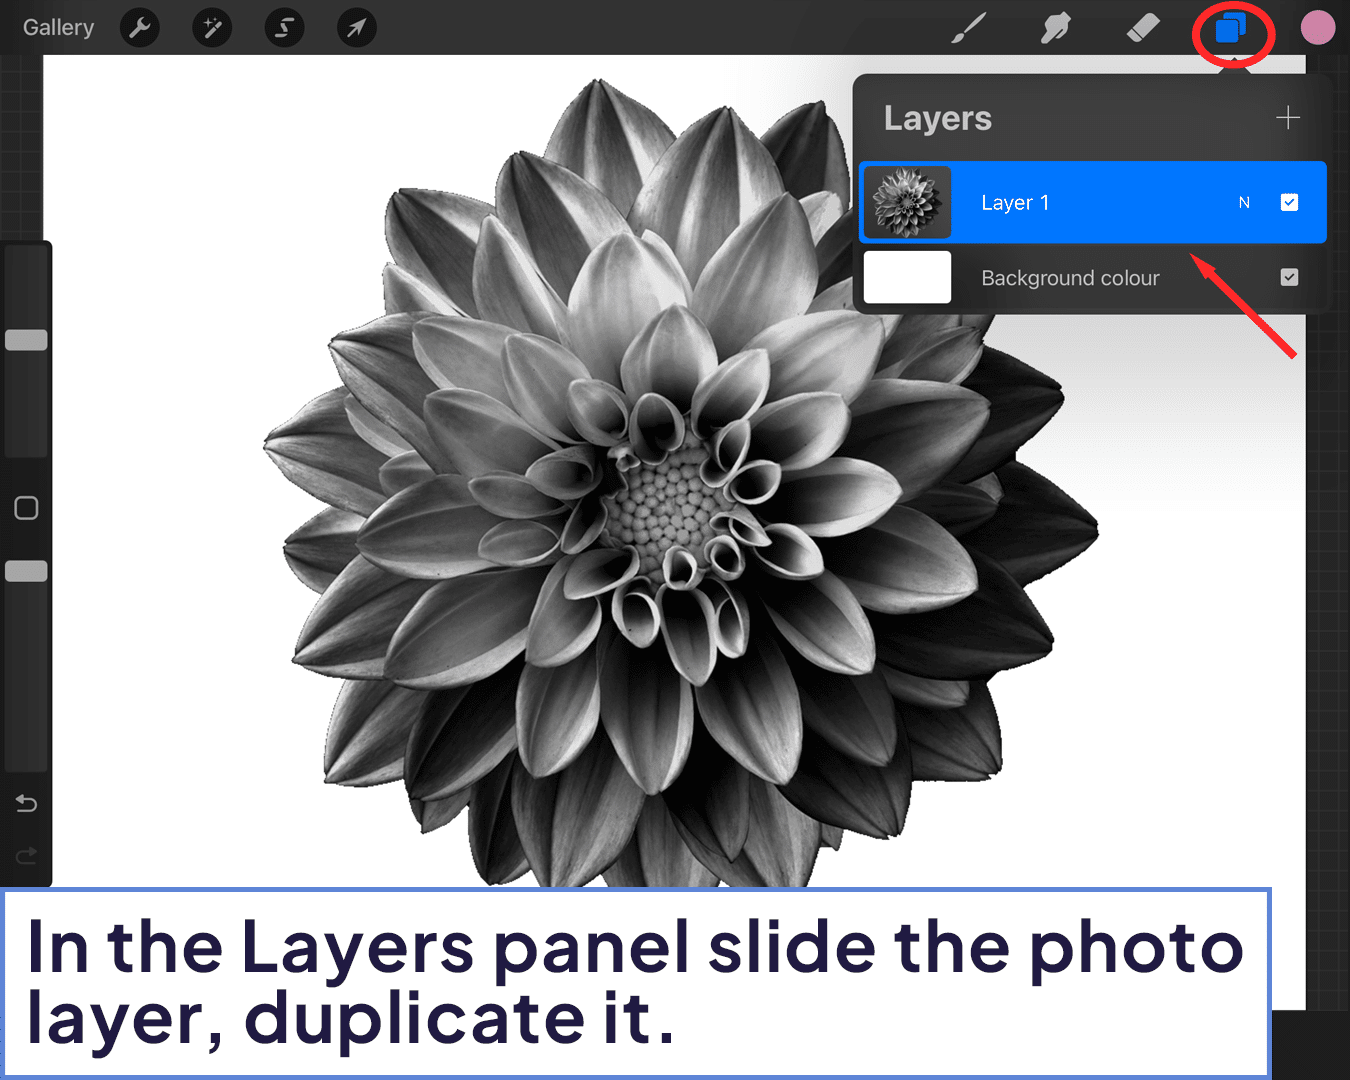
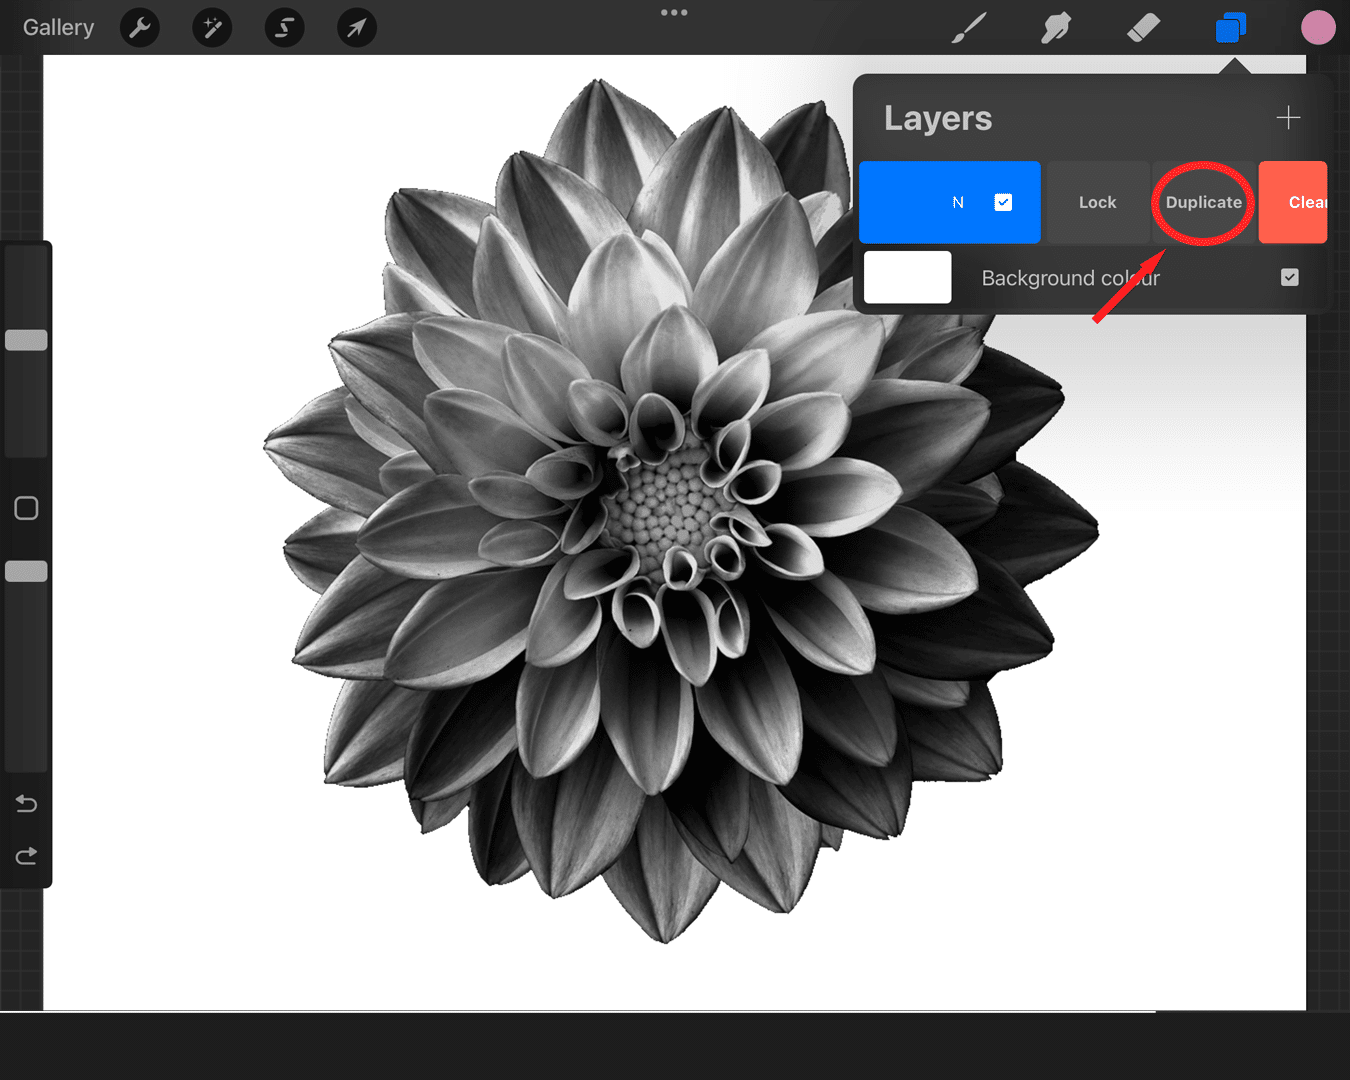
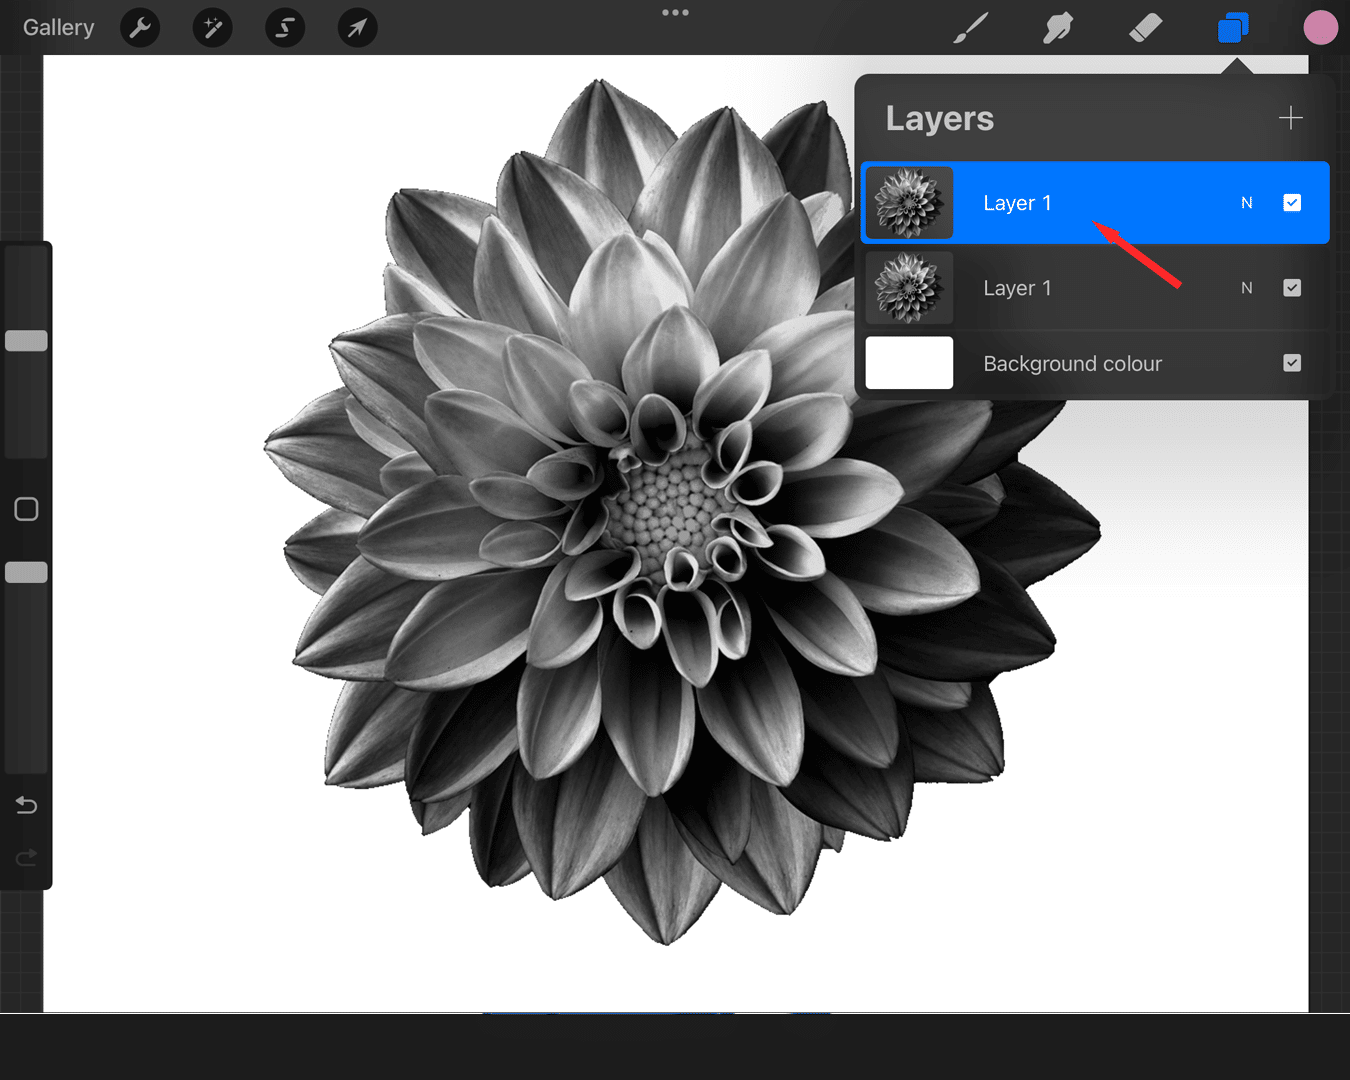
Step 3: Duplicate Layer:
Duplicate the layer with the imported image.
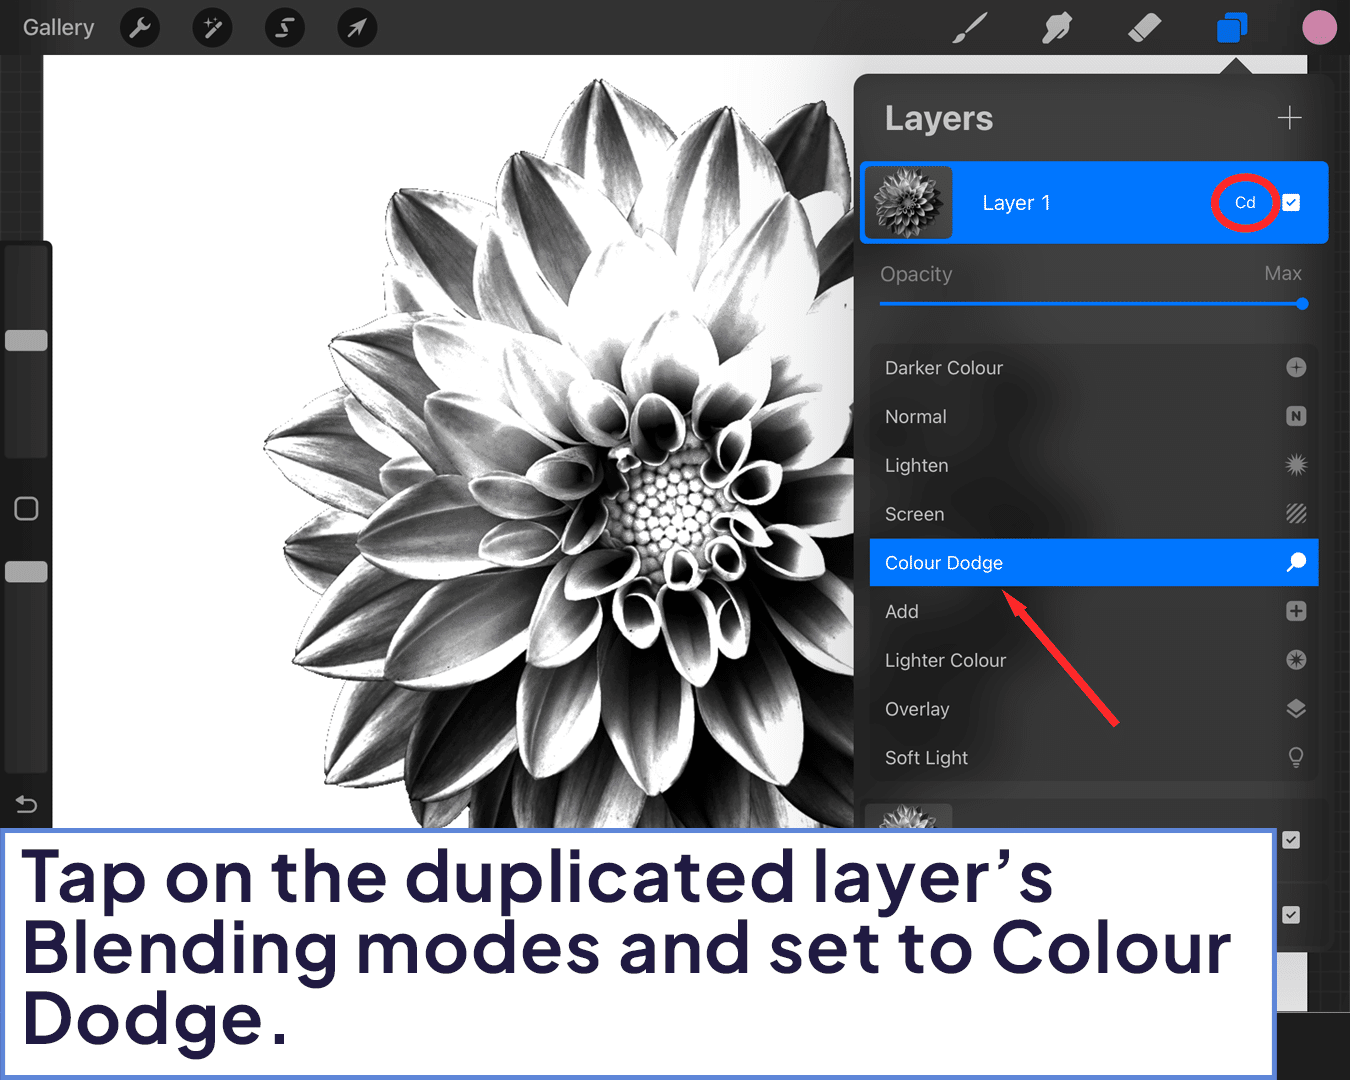
Step 4: Adjust a Duplicated Layer:
Tap on the duplicated layer and select ‘Colour Dodge’.
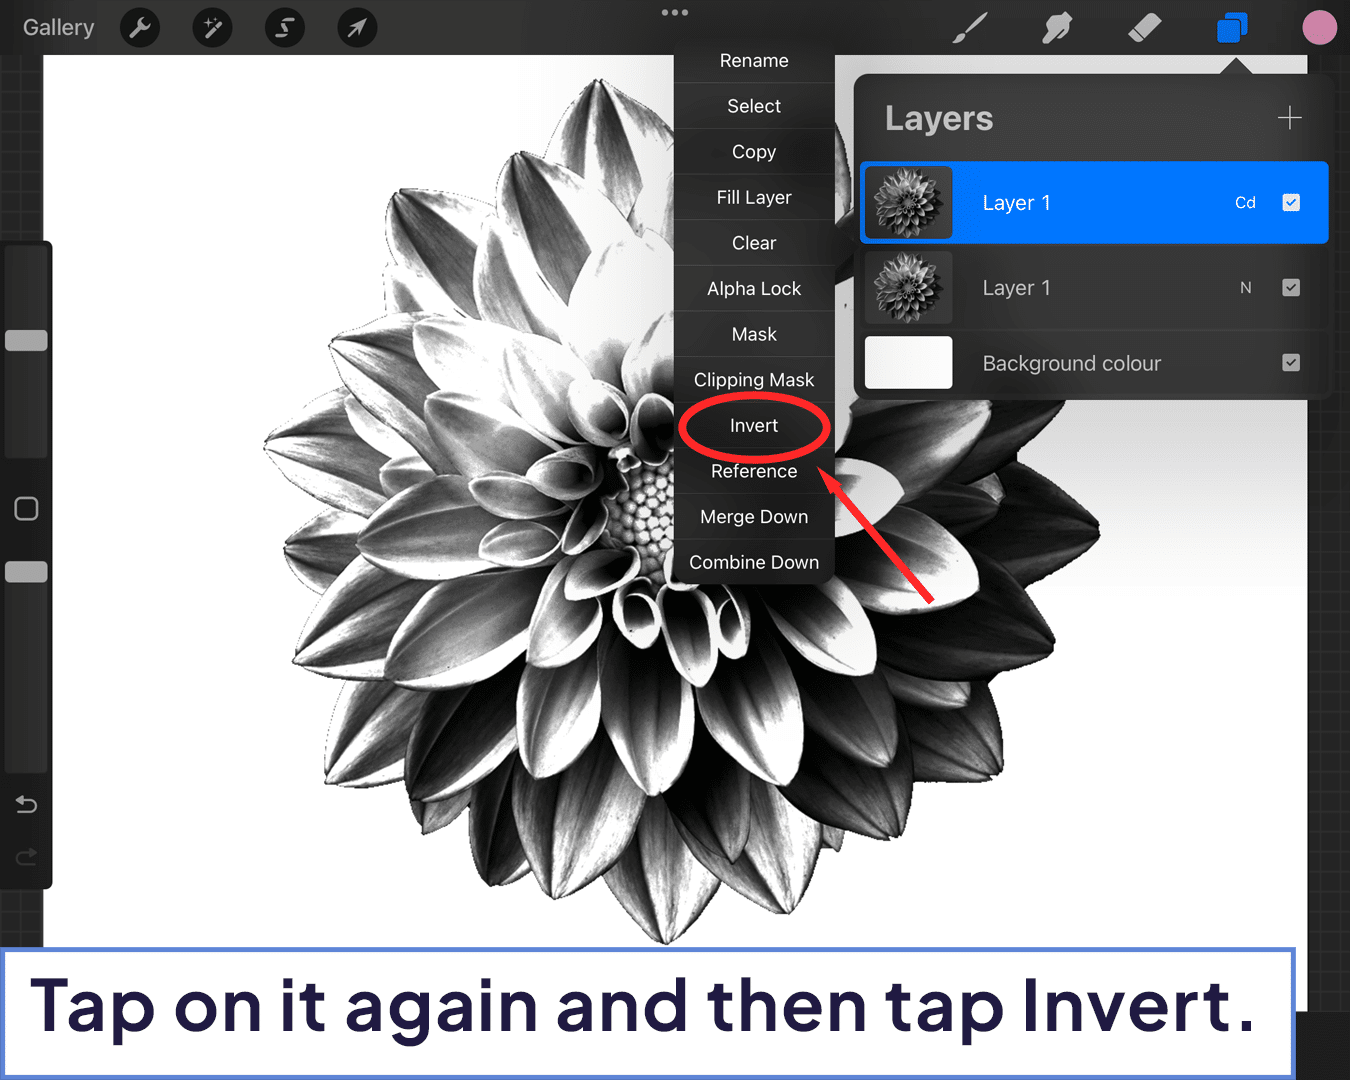
Then tap on it again, and set ‘Invert’.
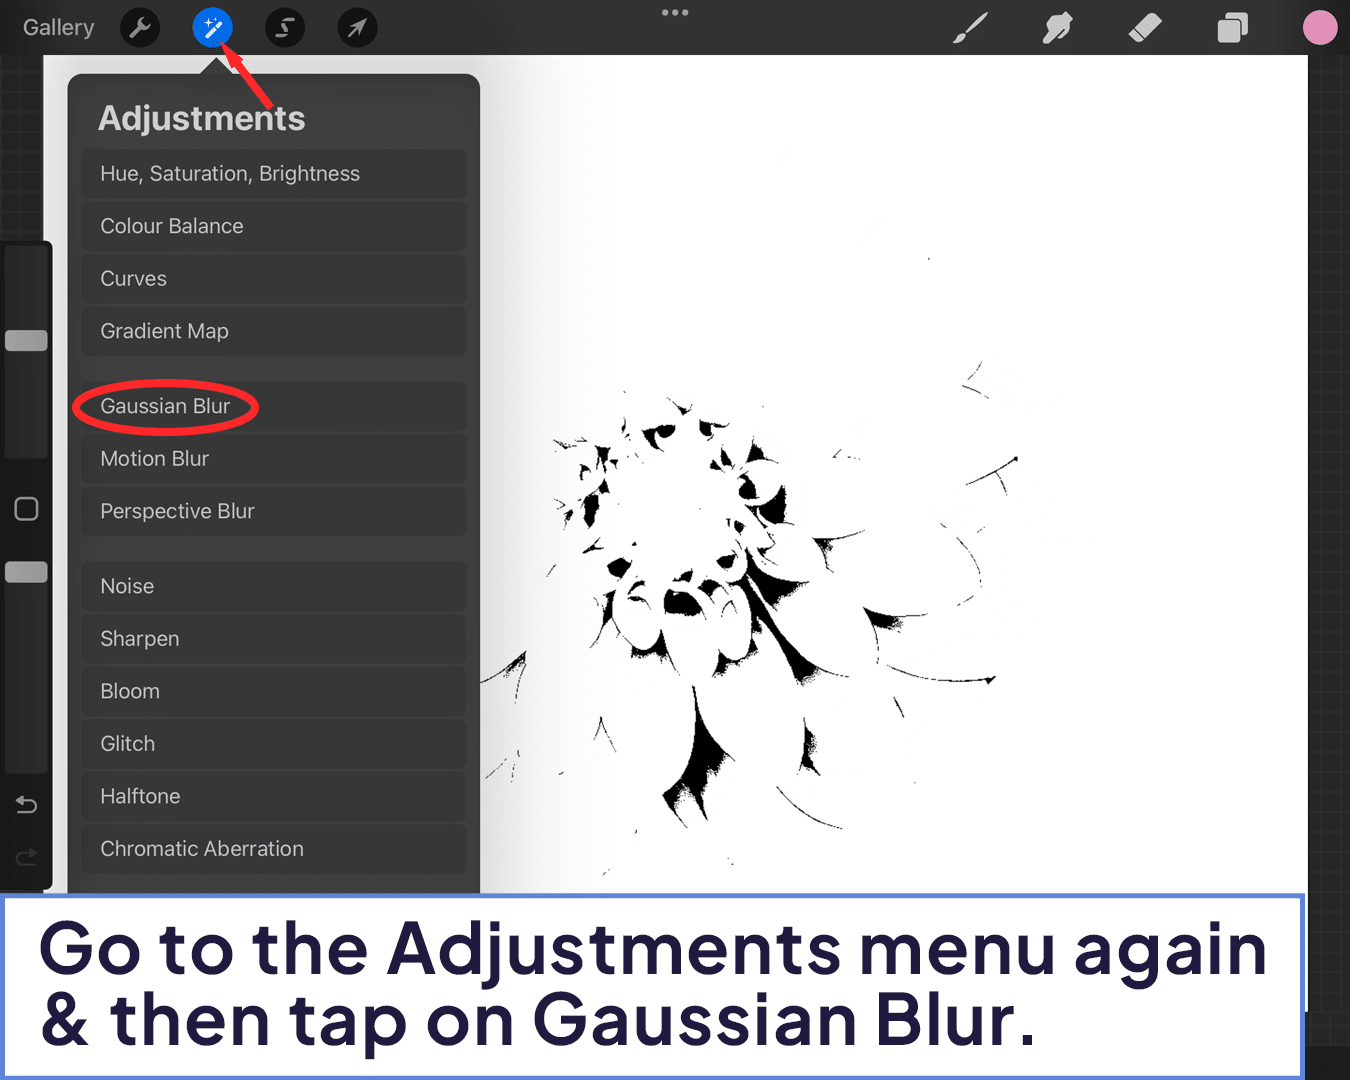
In the Adjustment menu go to the ‘Gaussian Blur’ to blur the image.
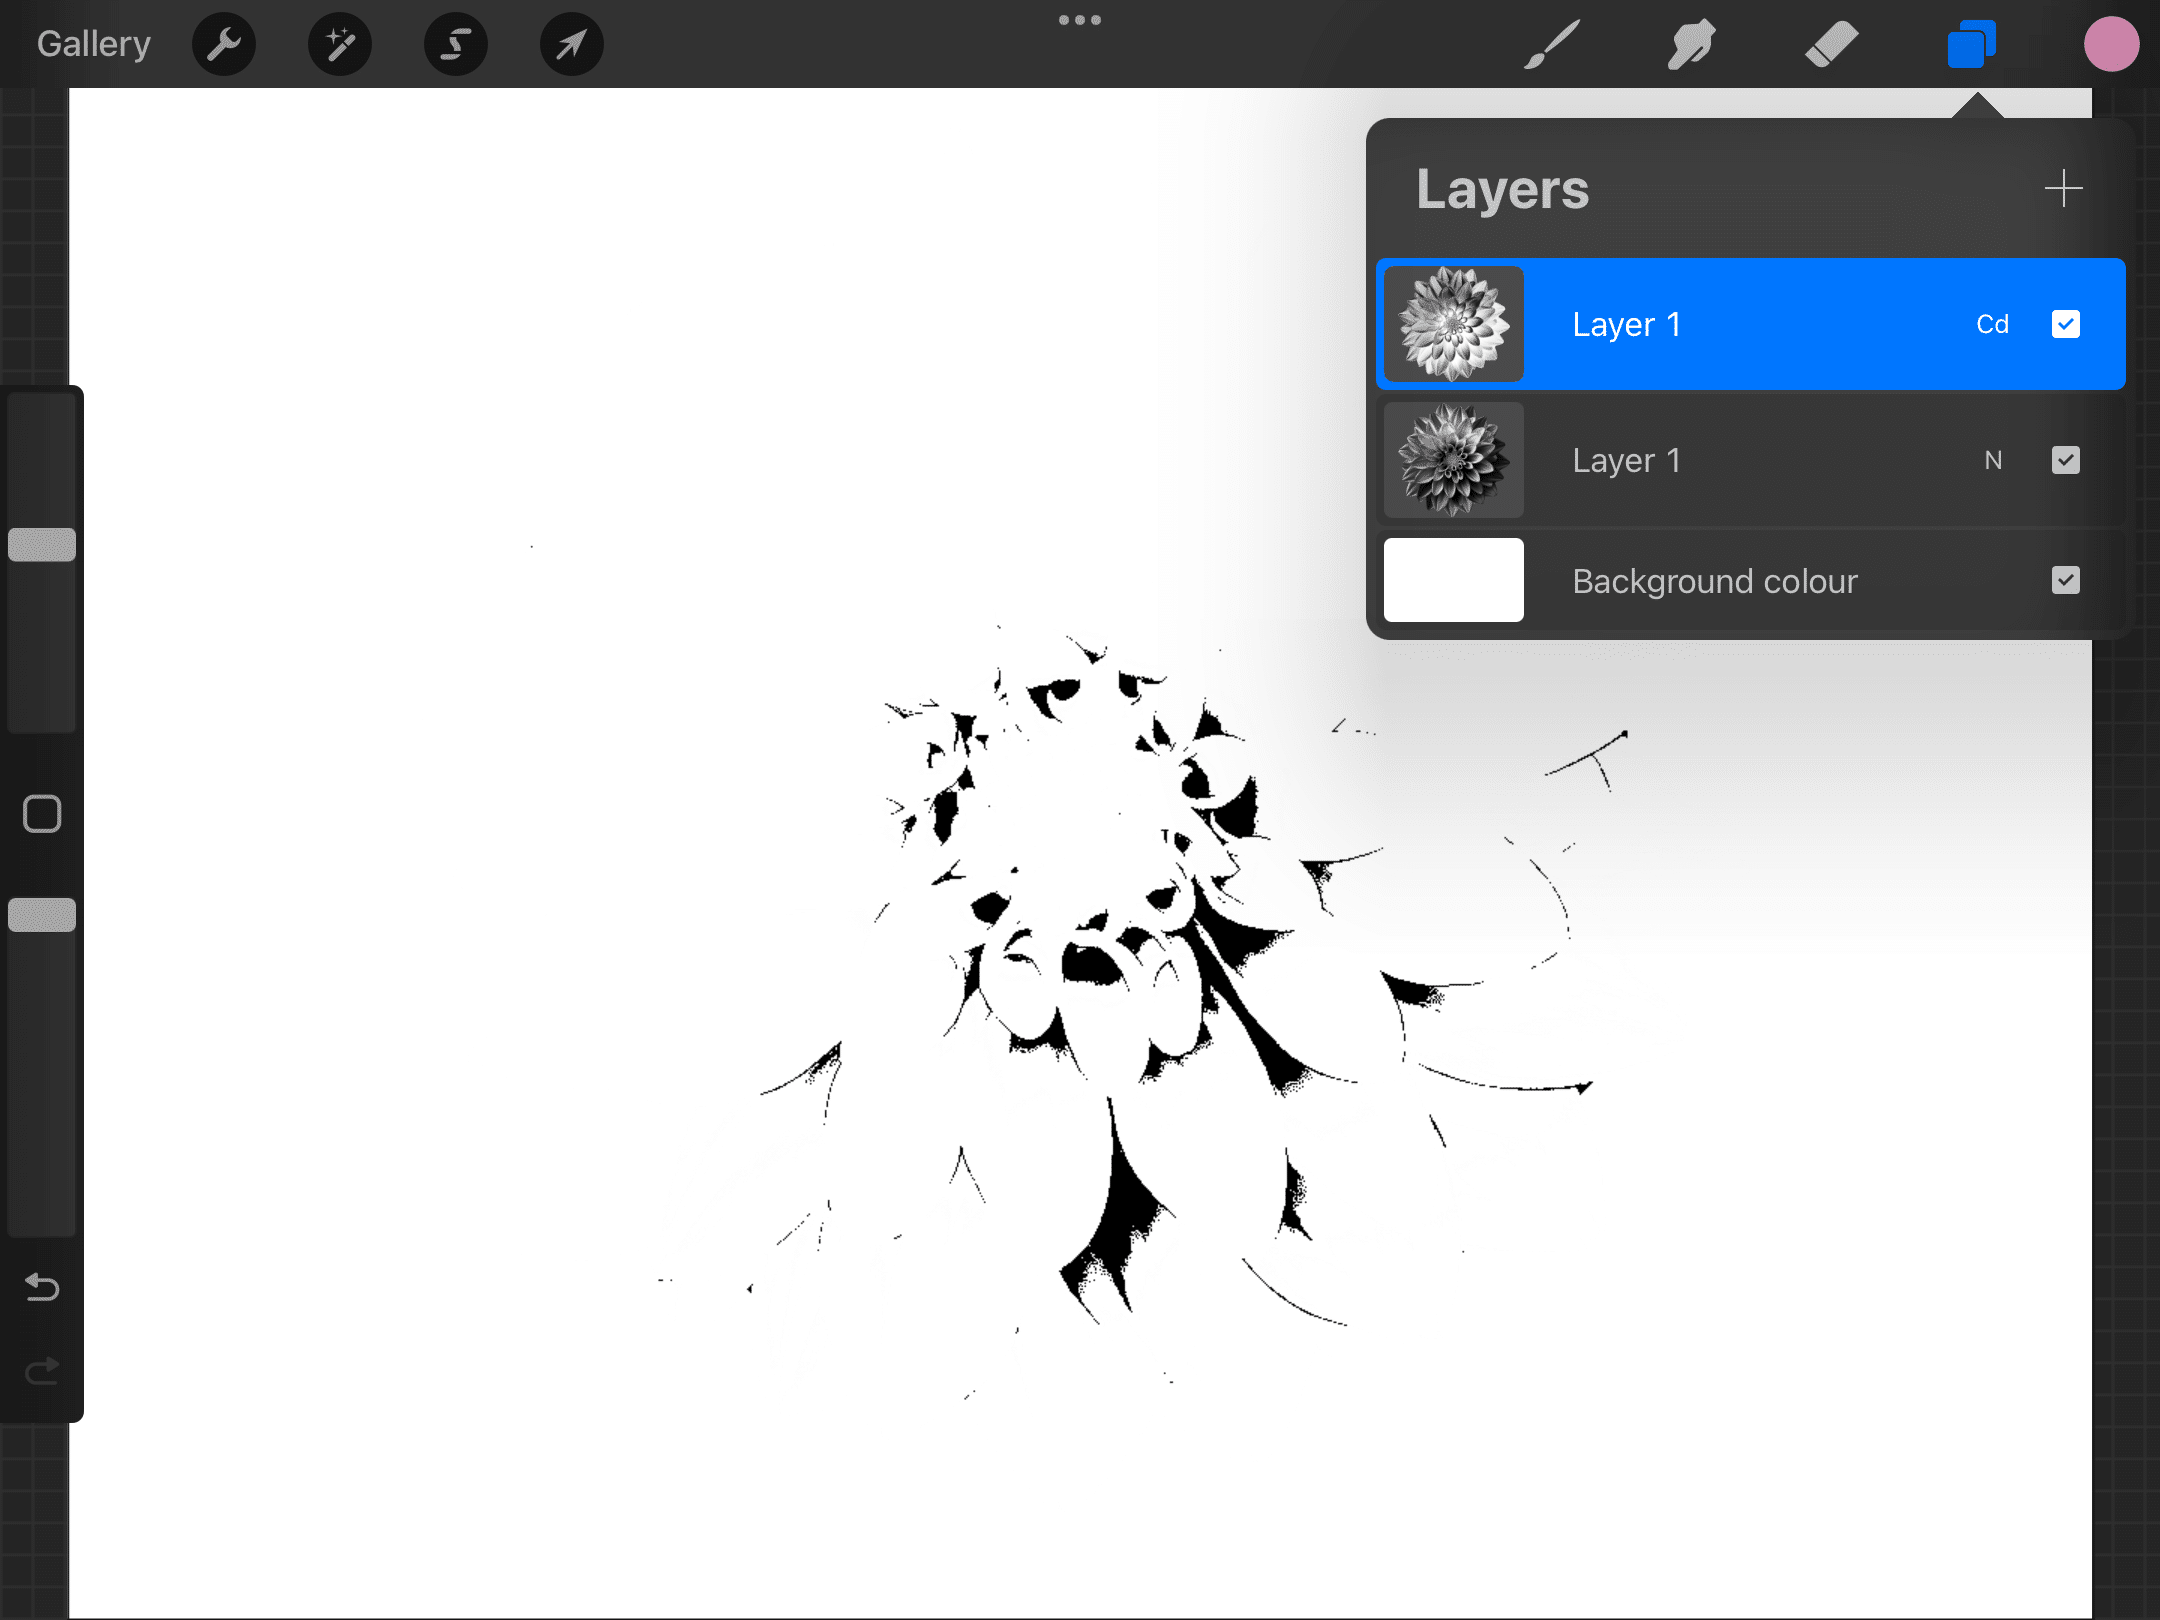
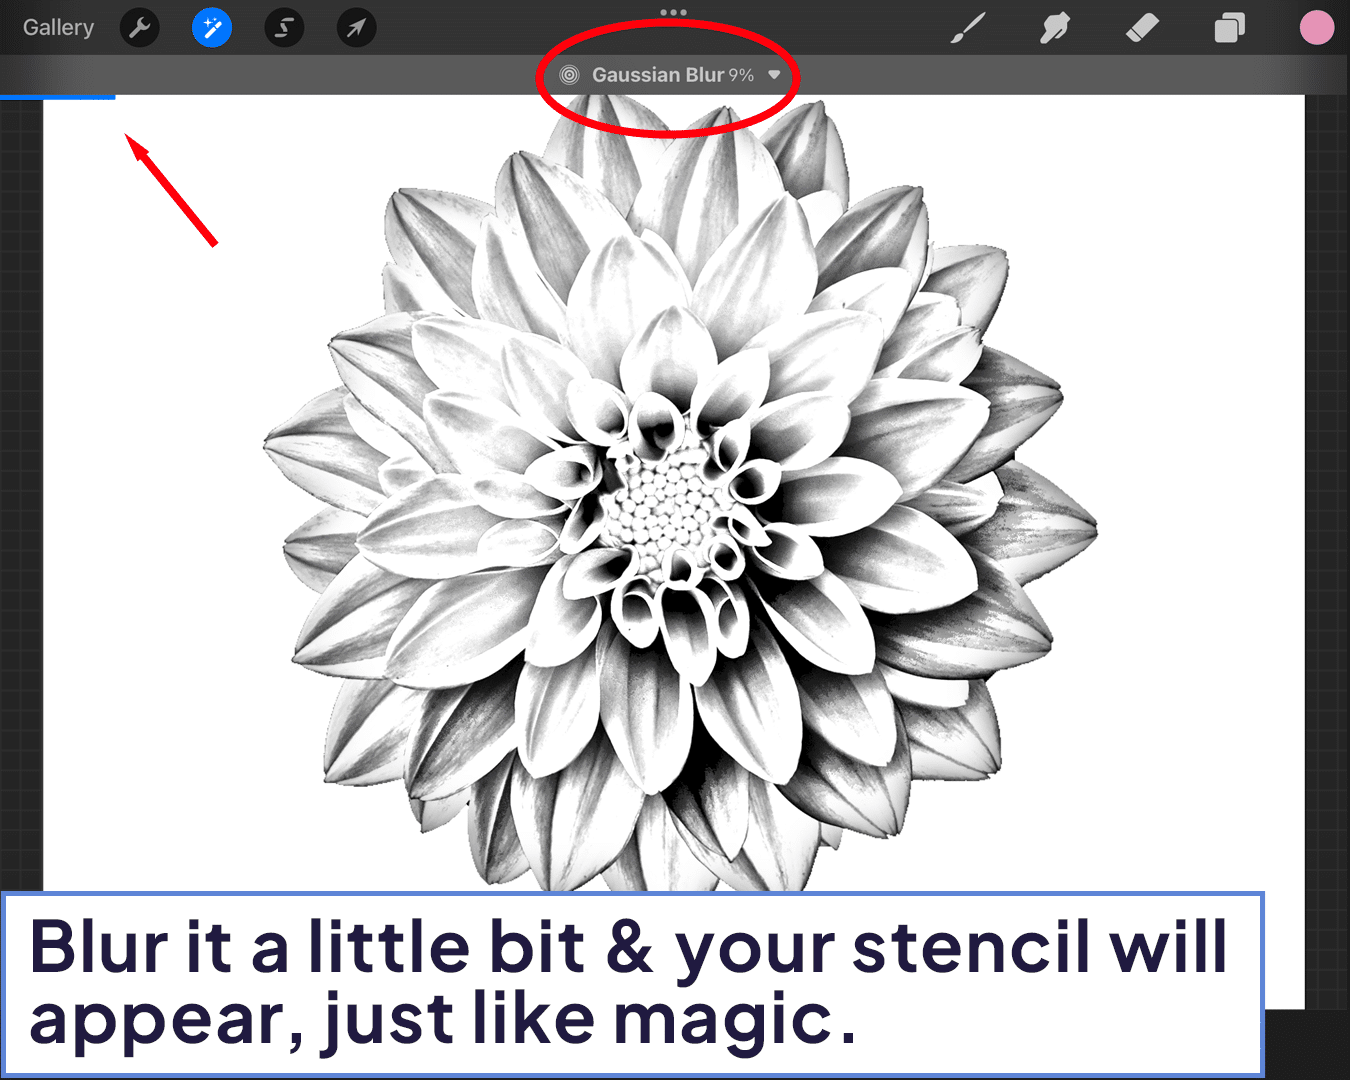
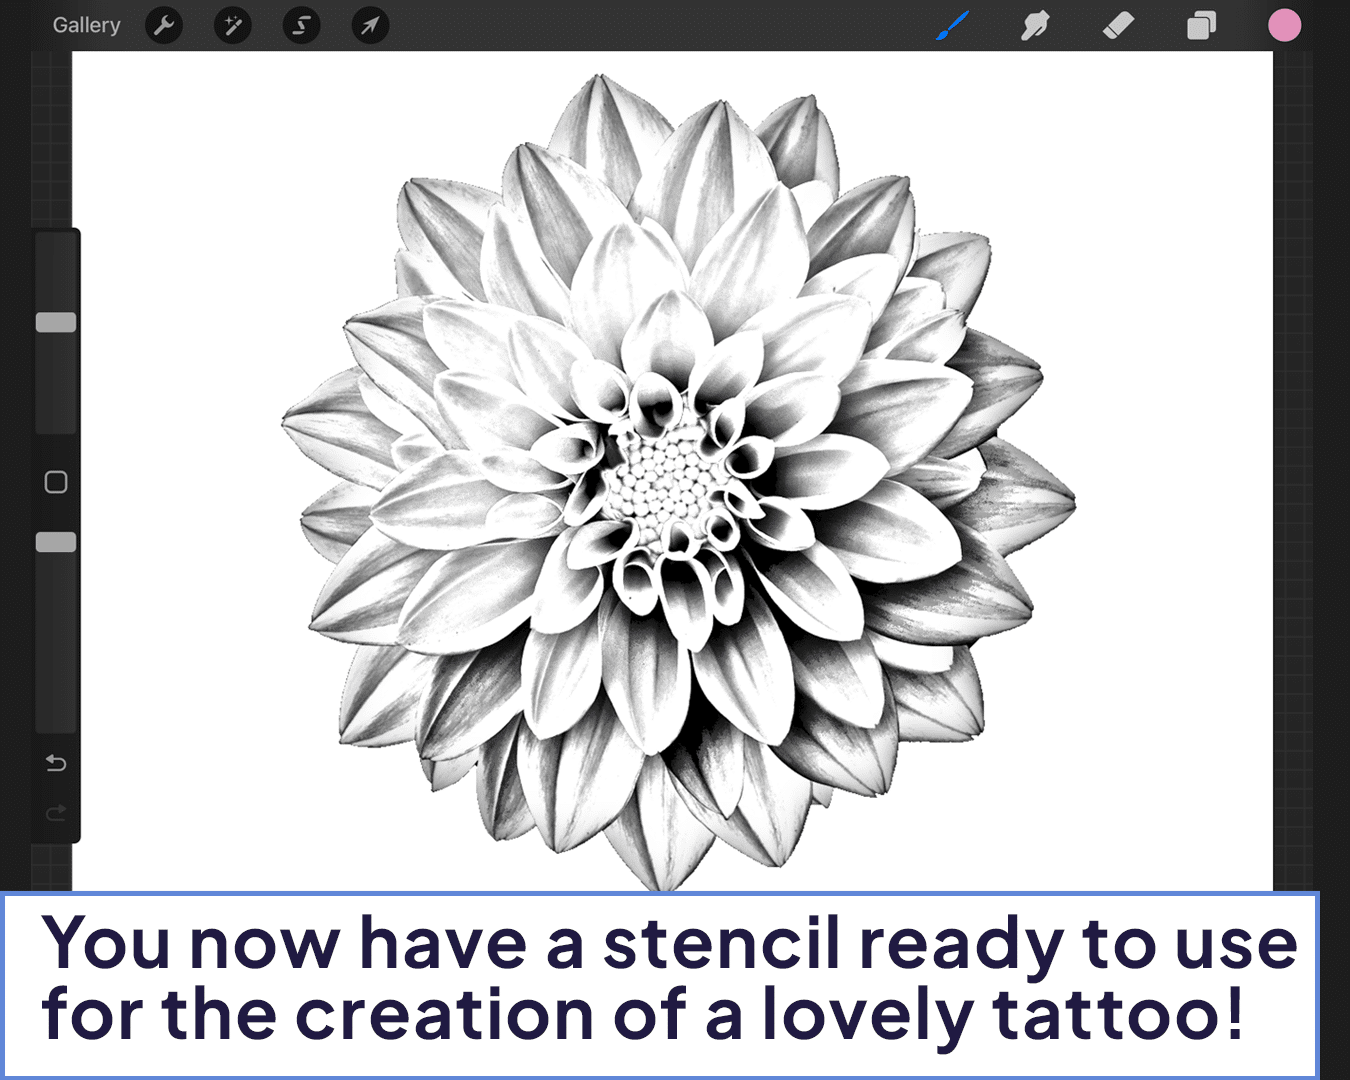
And there you go. Now you have a ready-to-use tattoo stencil. Enjoy!
As you master the art of making tattoo stencils in Procreate, you might wonder about the broader benefits of Procreate for your tattoo artistry. Discover why Procreate is revolutionizing the tattoo industry in Procreate for Tattoo Artists – Is It Worth?
Moreover, if you’re looking to expand your digital tattoo designing skills beyond stencil creation, learning how to design a tattoo from scratch in Procreate can further enhance your artistry. For a comprehensive guide, check out How To Design Tattoo In Procreate.


Share this article


