
How To Design Tattoo In Procreate
You’ve been rocking those needles for years, but have you tried channeling your art through Procreate yet? It’s like your tattoo gun went digital, and I’m here to show you the ropes.
Picture this: no more spilled ink, just the sweet sound of your favorite tunes as you create digital masterpieces.
Trust me, once you get a taste of designing tattoos on this nifty app, there’s no going back. Let’s get started, shall we?
Before we start:
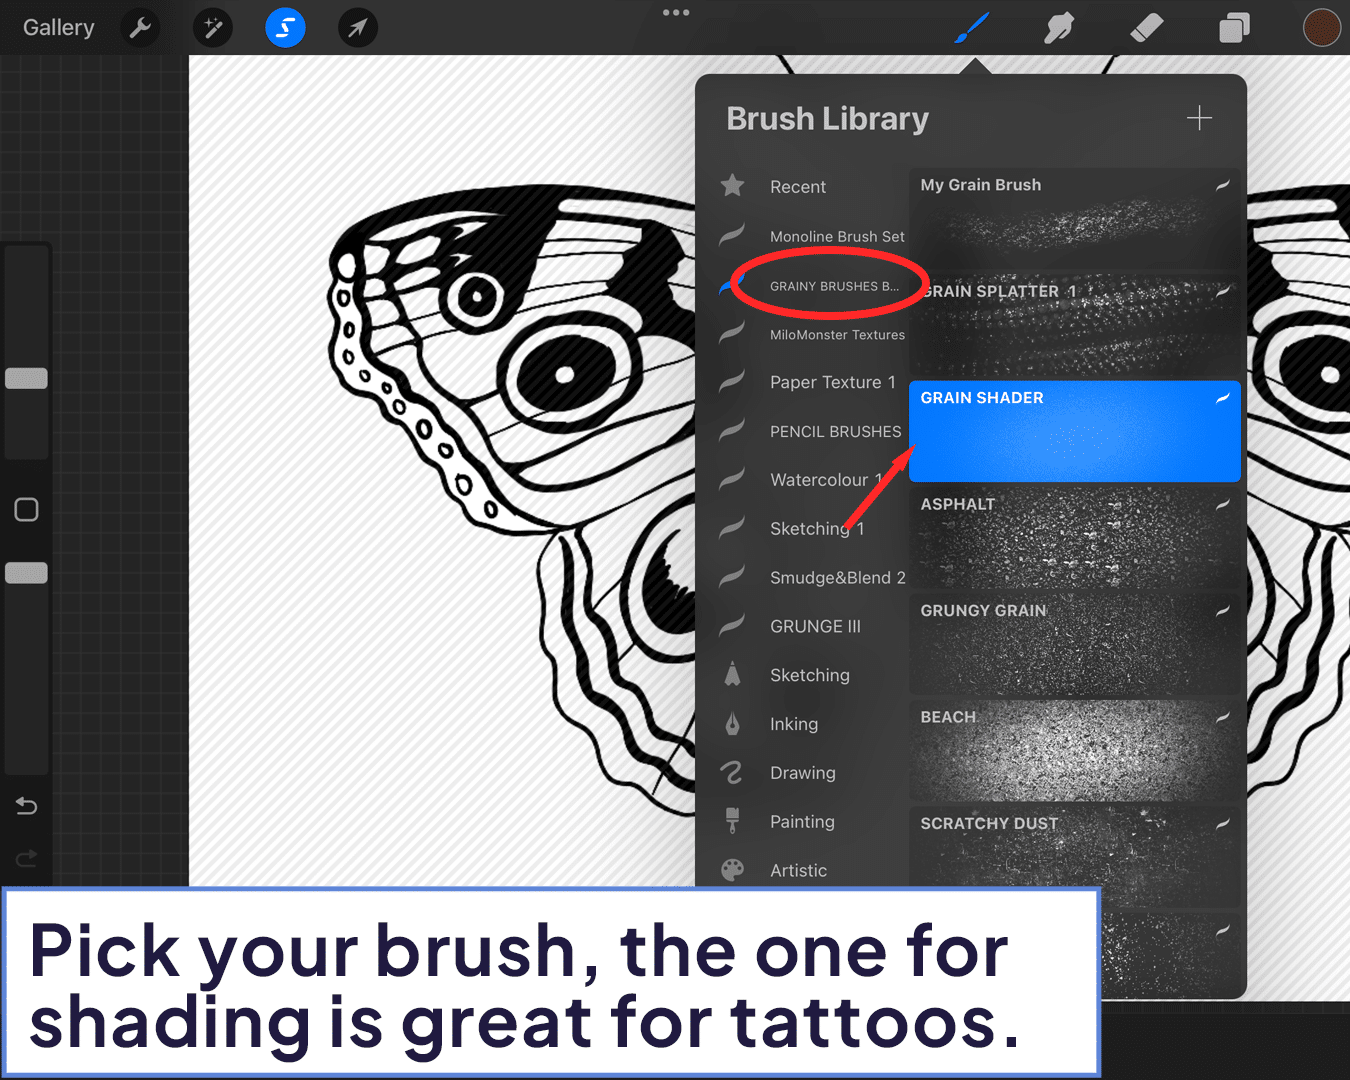
For this tutorial, I used the help of Brush Galaxy’s Grain Brushes. Although they are not necessary, they will give your tattoo a nice texture. I would also suggest you check out their collection of custom-made Procreate Tattoo Brushes.
Designing Tattoo in Procreate
Without further ado, here is the step-by-step guide on how to draw your tattoo design in Procreate.
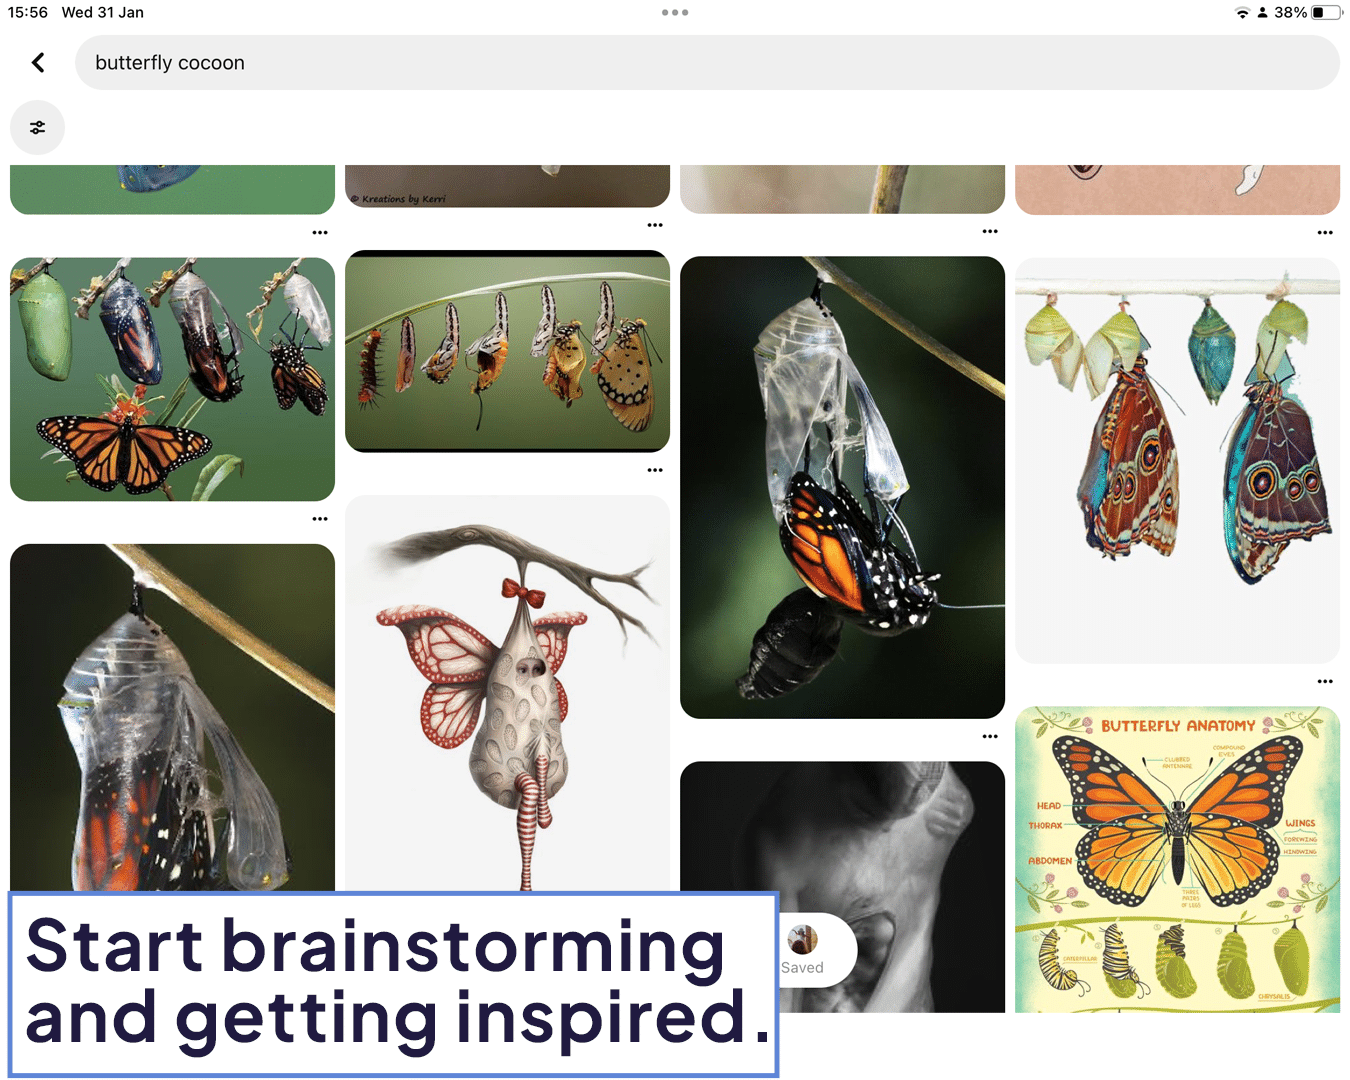
Finding Inspiration for Tattoo Design
Before you even touch your iPad, let your mind wander and gather ideas. Think about your client’s story, their personality, or even your own artistic inspirations. Jot down notes, sketch rough ideas on paper, or collect images that speak to you. This is where your unique style and creativity begin to take shape.
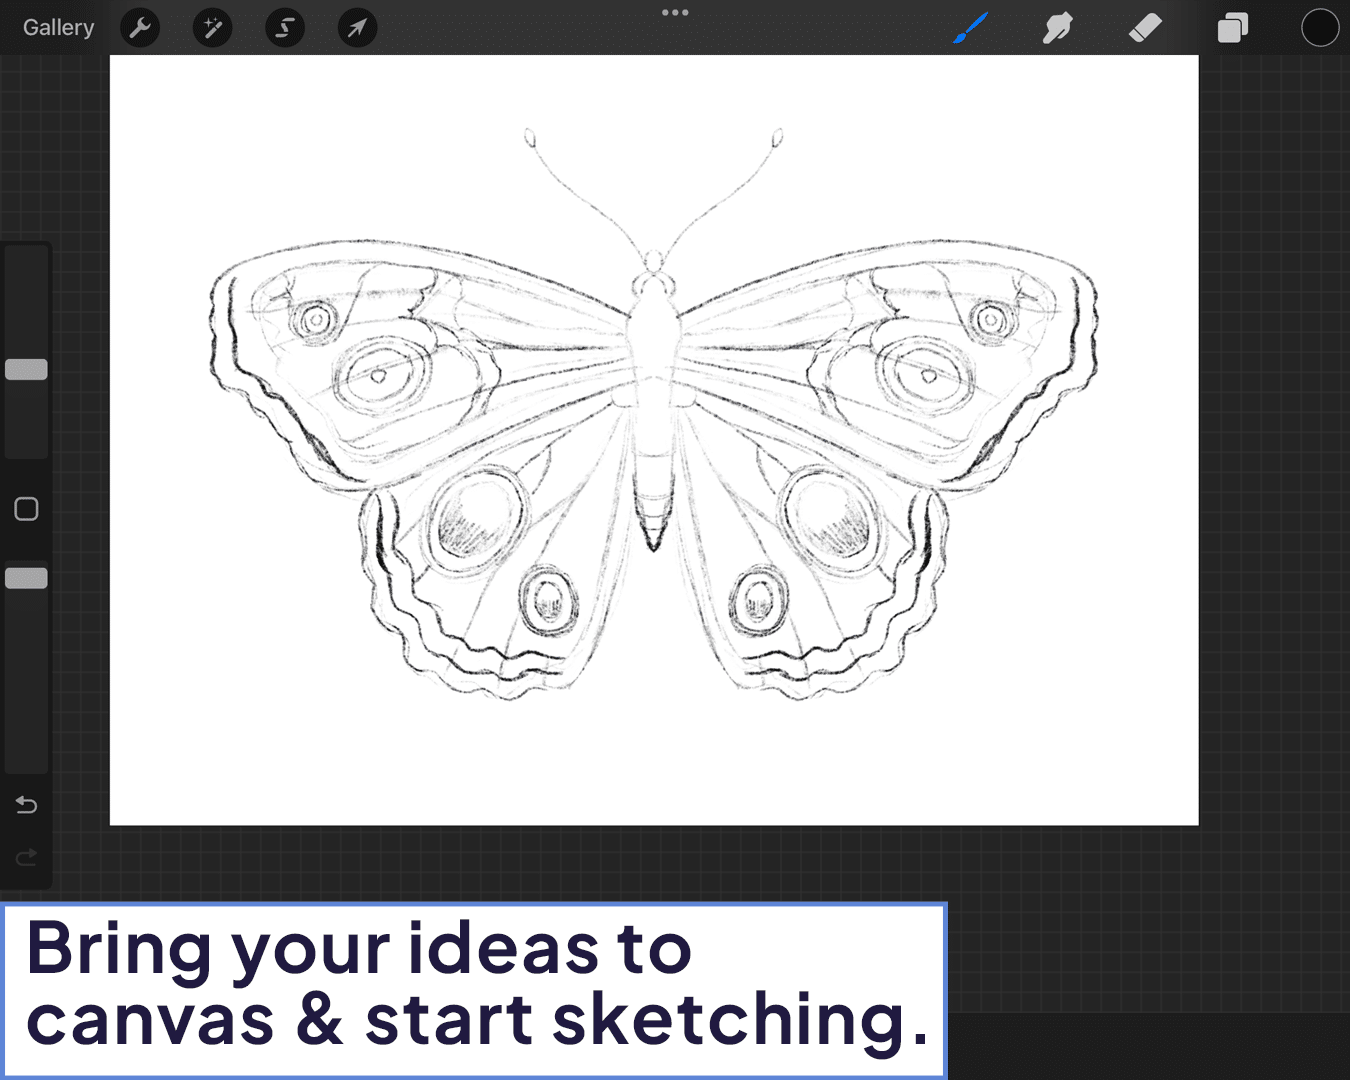
Sketching Your Initial Tattoo Concept
Now, bring those ideas into Procreate. Start with a basic, free-flowing sketch. Don’t worry about the mess; focus on getting the composition and basic elements right. Use layers to try different variations without losing your original idea. This stage is all about exploring and refining your concept.
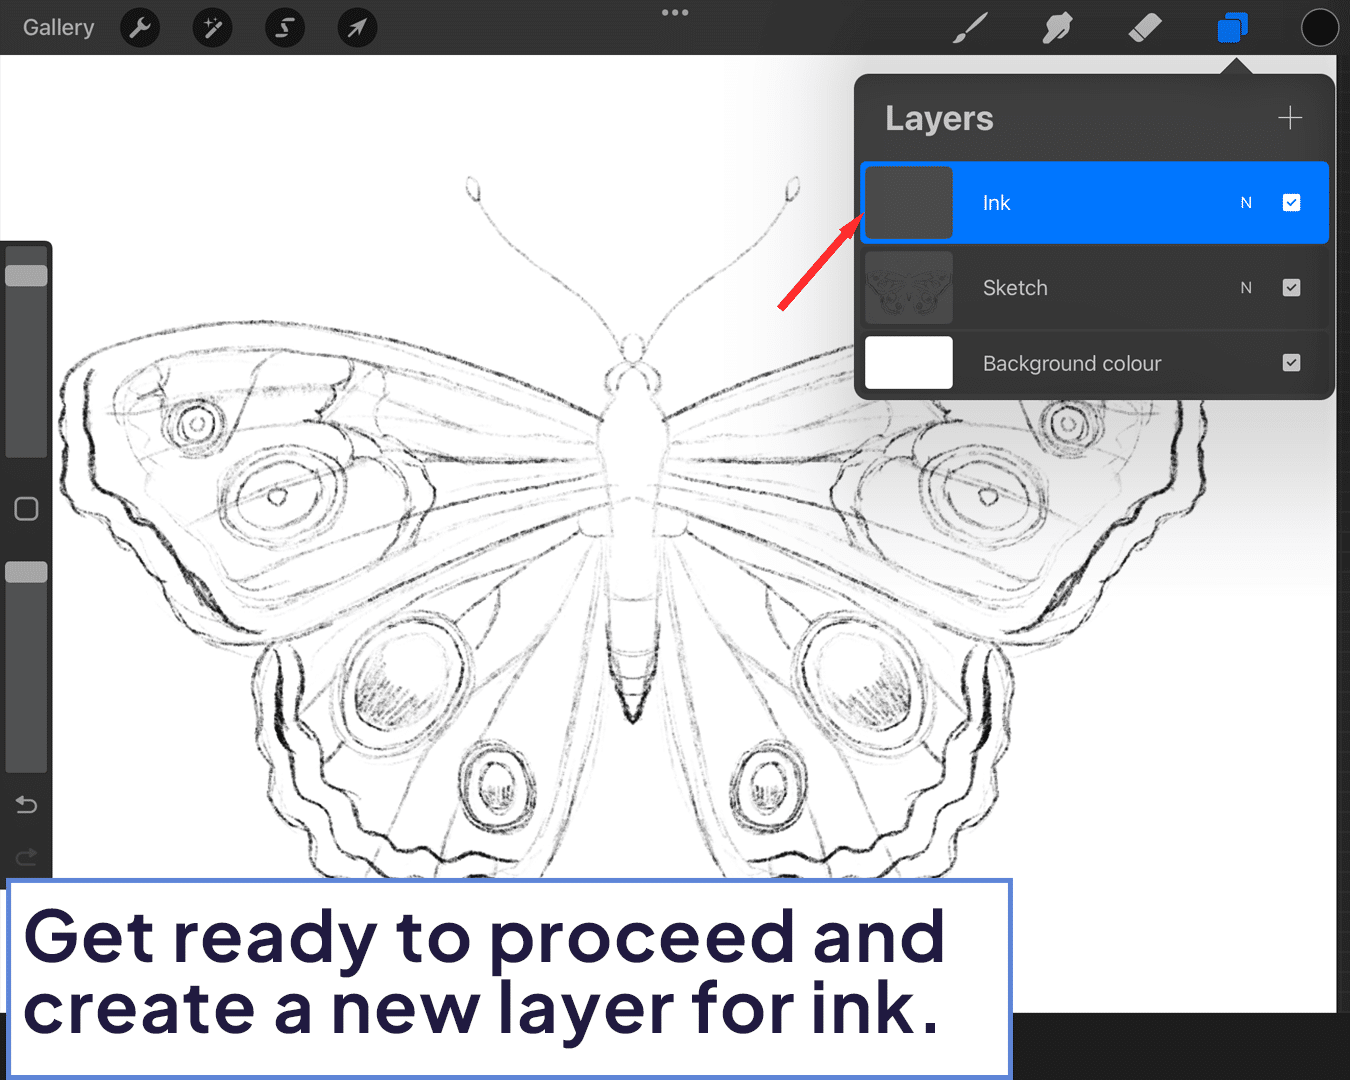
Perfecting Tattoo Lines and Textures
Once your sketch feels right, add another layer for detailing. This is where you fine-tune those lines, add texture, and really define the character of your tattoo. Pay attention to line weight and flow. Think about how each element contributes to the overall design. Here, exploring different textures and techniques is key; consider looking into how to make a tattoo stencil in Procreate for more detailed guidance.
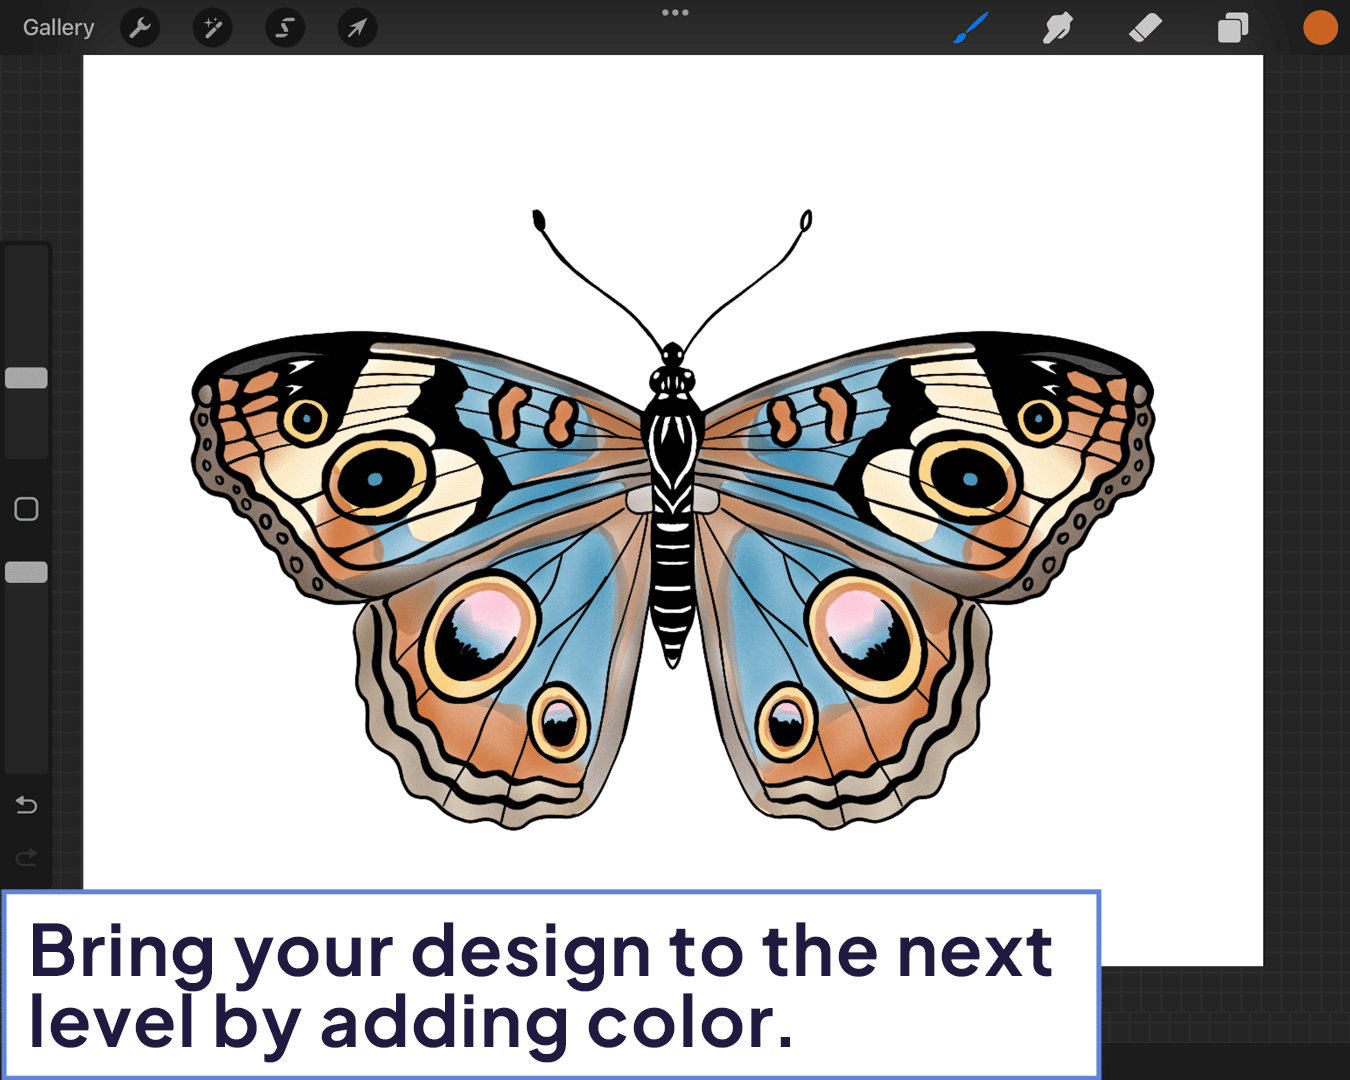
Coloring and Shading
It’s time to bring your design to life with color. Experiment with different palettes and see how they change the mood of your tattoo. Use shading to add depth and dimension. Remember, the colors you choose here should complement the skin tone of your client. As you experiment with colors and shading, you might wonder about the overall value of Procreate in your tattooing toolkit. In this case, Procreate for Tattoo Artists: Is it Worth? can offer some insights.
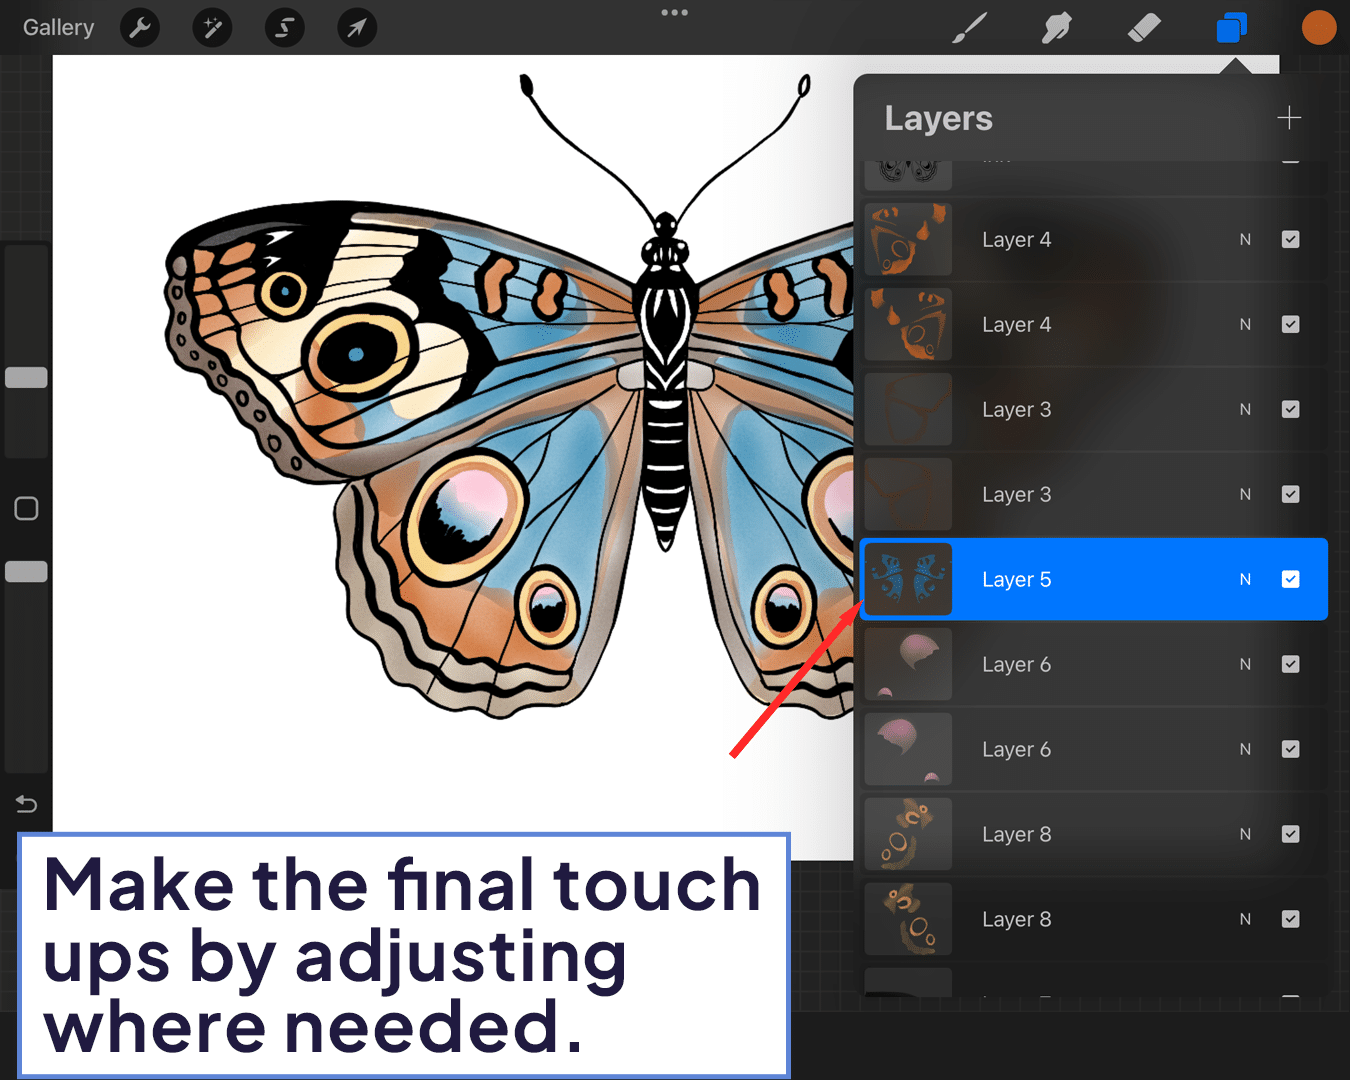
Polishing Your Tattoo Design
Review your design with a critical eye. Make adjustments to line work, shading, and color balance. This final step is crucial; it’s where you ensure everything is cohesive and ready to be translated onto the skin. Always step back and look at your design as a whole.
Final worlds
Designing tattoos in Procreate might feel like a leap into the unknown, but it’s an exhilarating and rewarding experience. It streamlines the process, gives you more control, and opens up a whole new world of creativity. Embrace the digital age, and let your artistry soar!


Share this article


