
How To Make Lines Neater in Procreate

Creating neat and professional-looking lines in digital art can be a challenge, especially for those new to the medium. In Procreate, the popular digital painting app for iPad, several tools and techniques can help artists achieve cleaner, more precise lines. Whether you’re a budding artist or a seasoned pro, these tips will help you refine your line art and take your digital illustrations to the next level.
Line art is a fundamental element in digital illustration, serving as the backbone for most artworks. It involves creating lines that define shapes and forms in an illustration, often used as a guide for further coloring and shading. Neatline art is crucial as it sets the tone for the final piece.
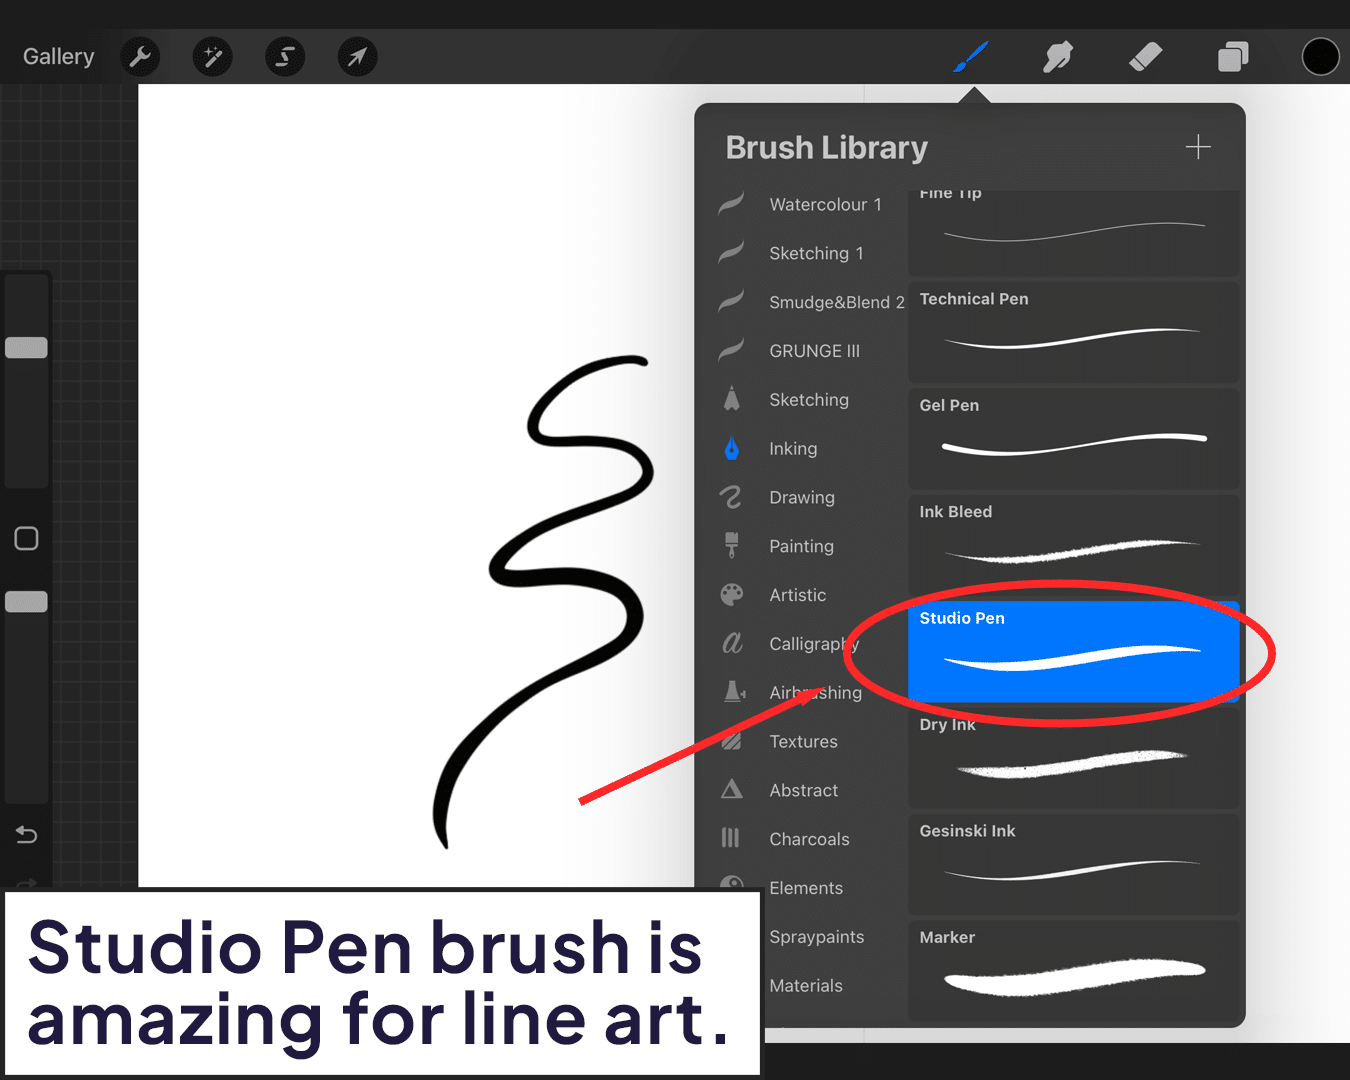
Choose the Right Brush:
Procreate offers a wide range of brushes. For line art, brushes like the Studio Pen or Monoline under the ‘Inking’ category are popular choices. Explore our procreate monoline brushes for options that might suit your style.
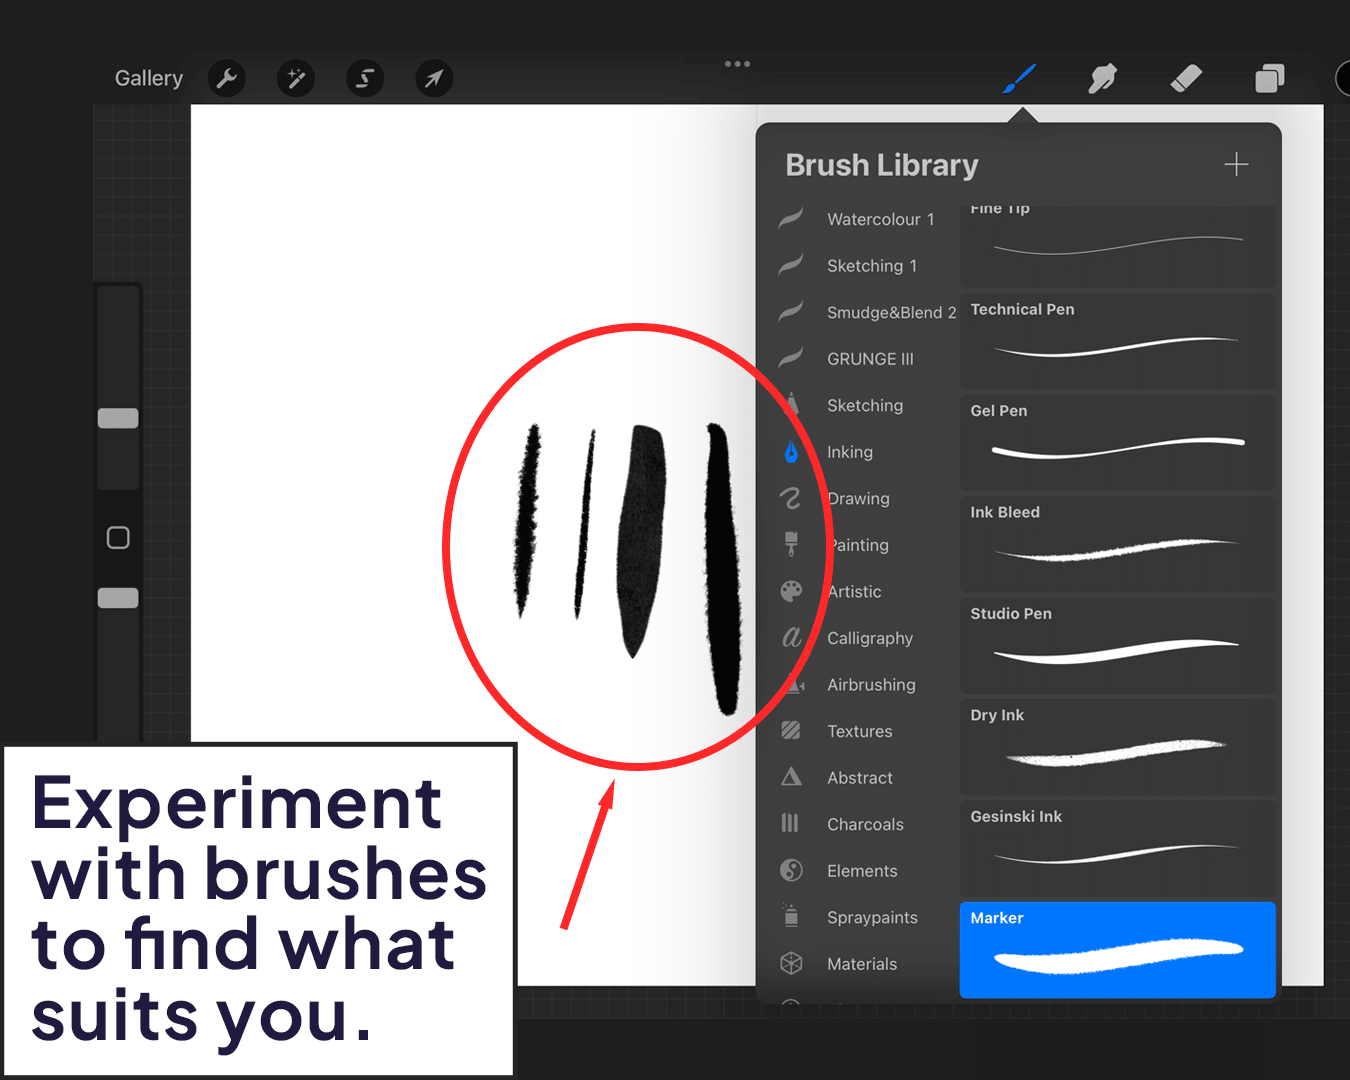
Experiment with different brushes to find the one that suits your style and provides the control you need.
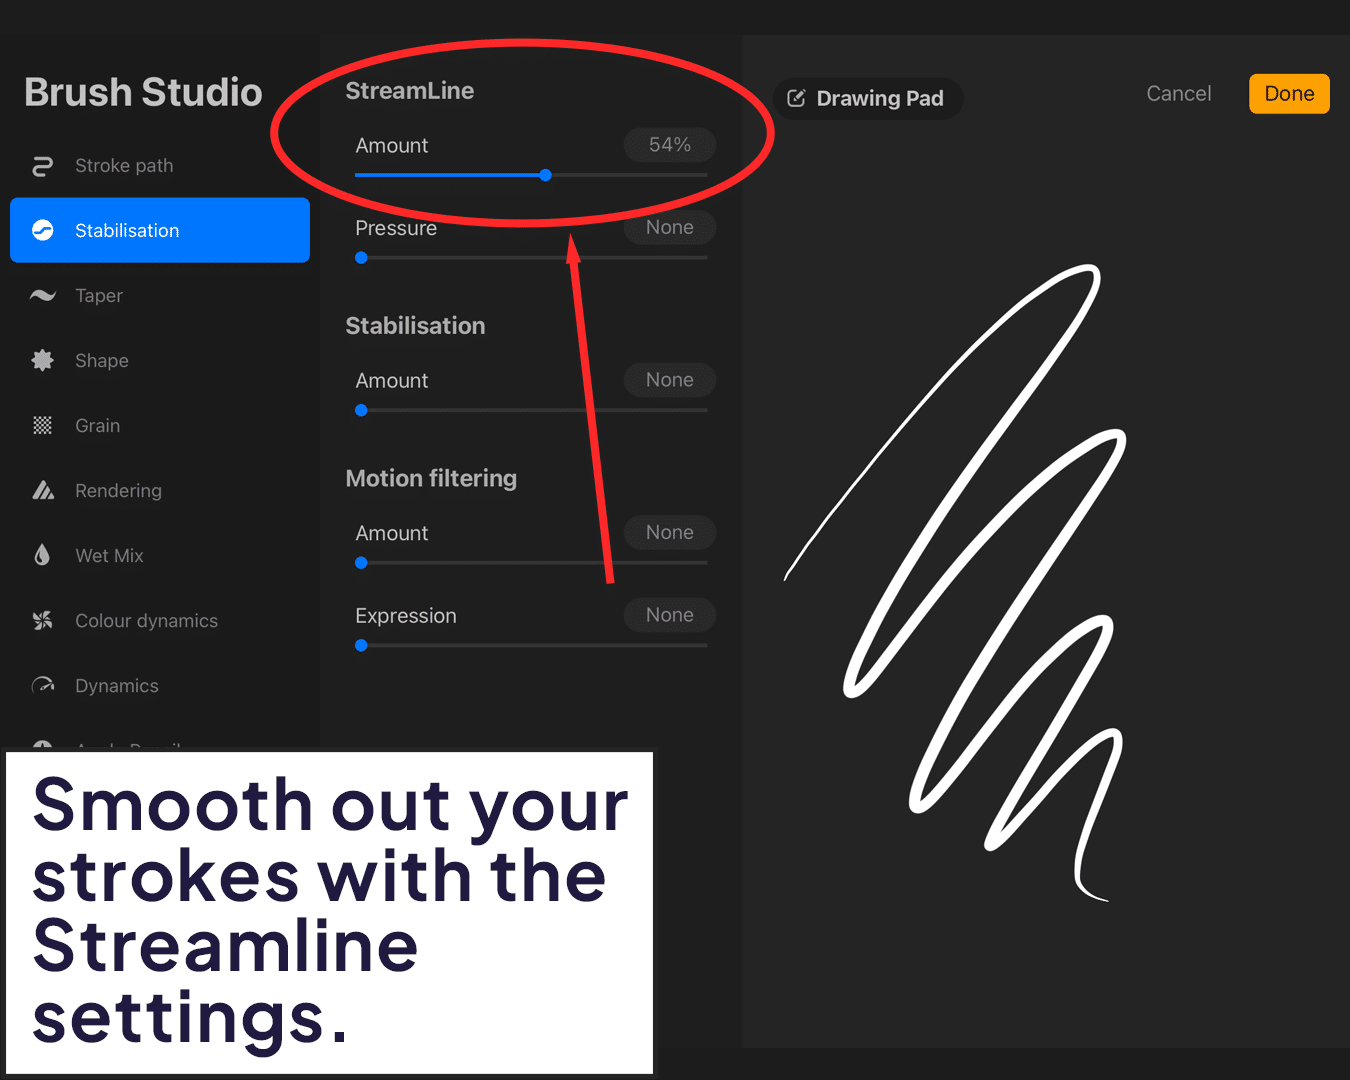
Customize Your Brush Settings
Tweak settings like Streamline, which smooths out your strokes, making them cleaner and more controlled. For more on adjusting your brush, see how to make a monoline brush thinner or thicker in Procreate.
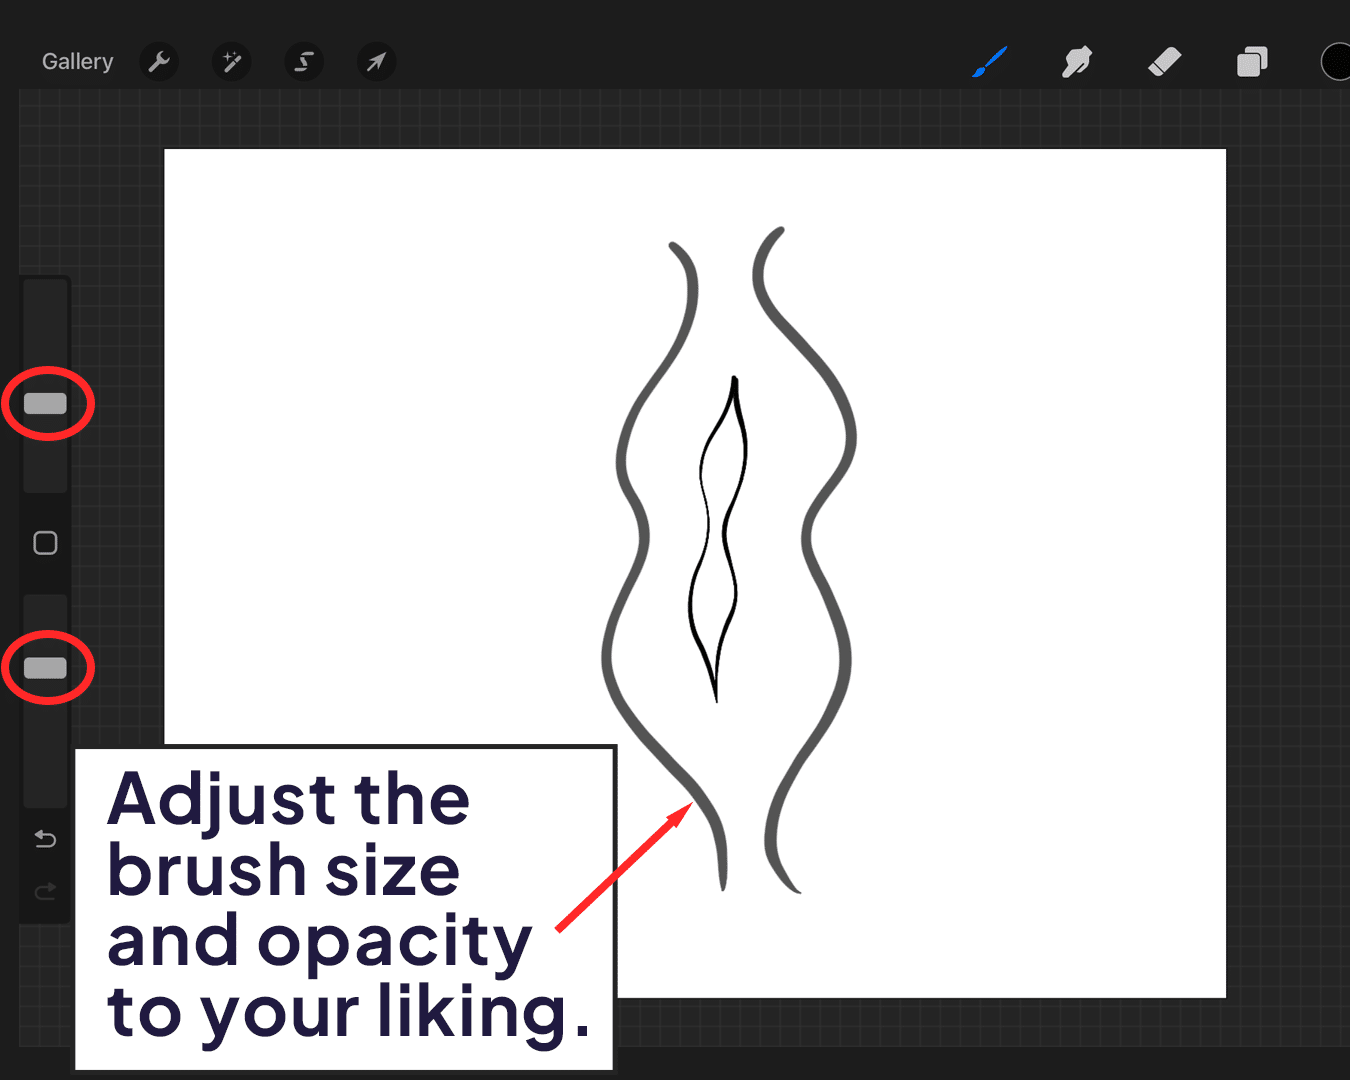
Adjusting the brush size and opacity can also help in achieving the desired line weight and transparency.
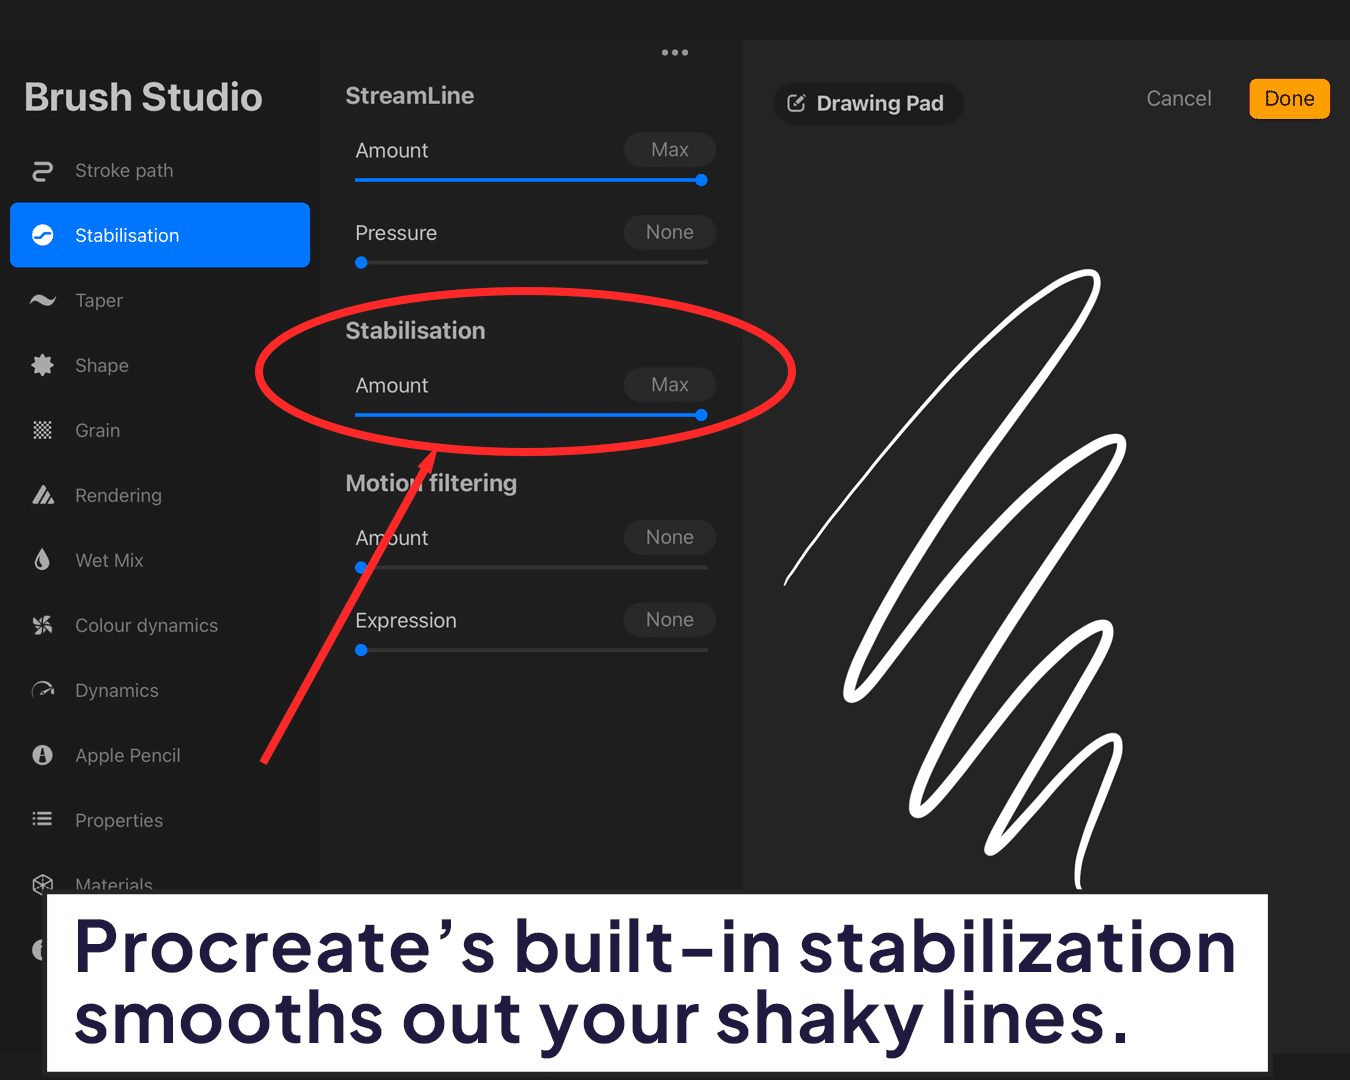
Use a Stabilizer
Procreate’s built-in stabilization feature can be a game-changer. It helps in smoothing out shaky lines and achieving fluid, consistent strokes.
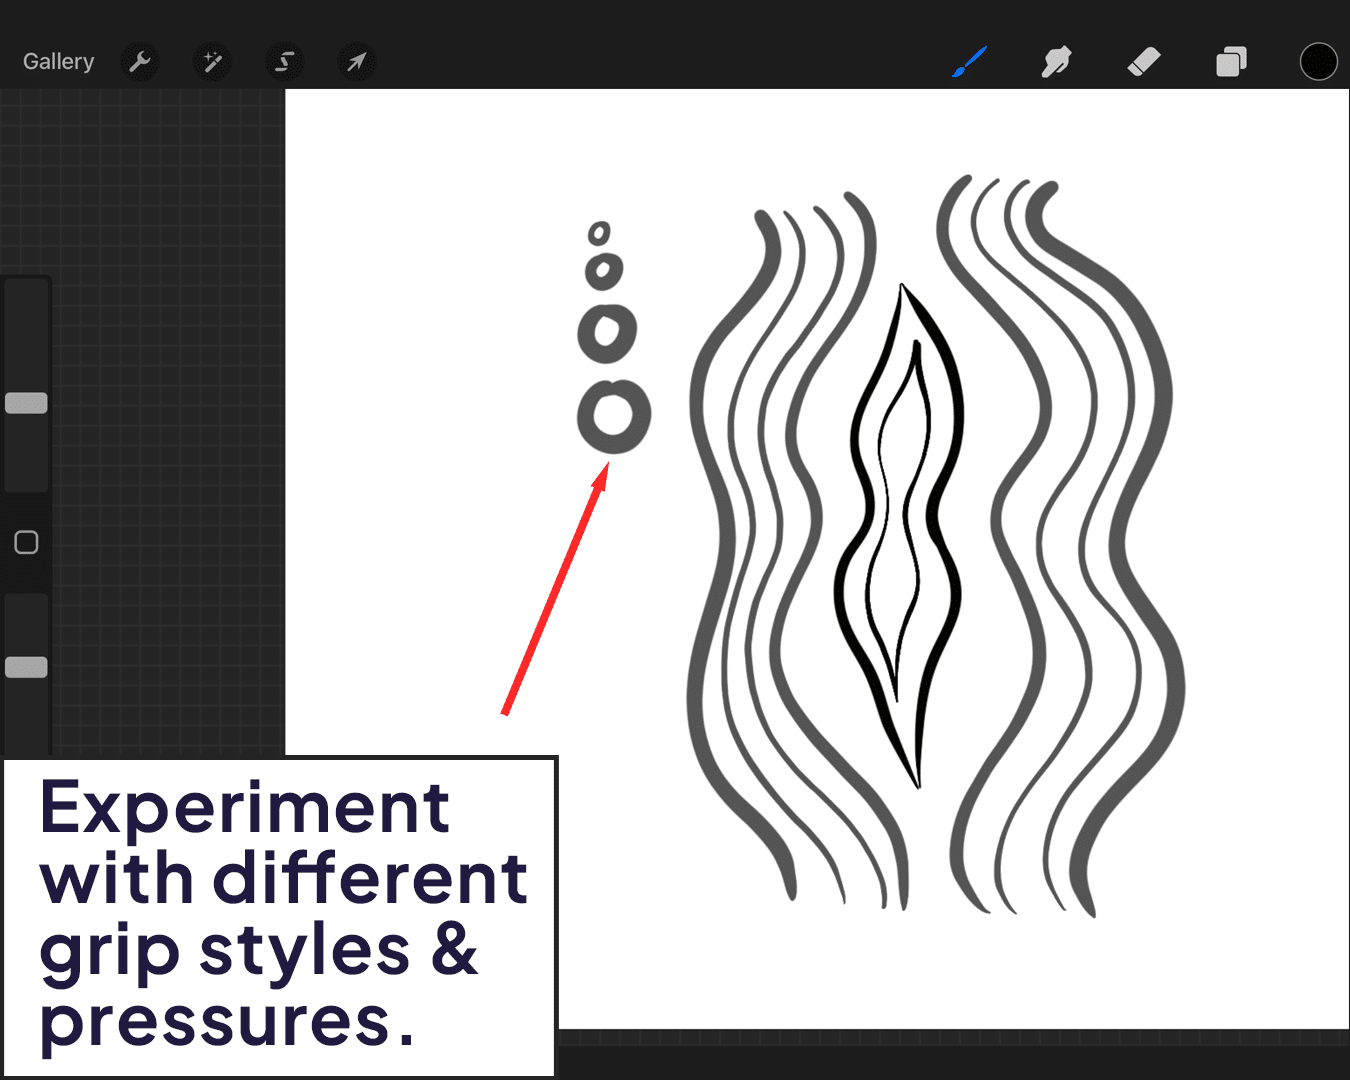
Practice Consistent Pressure
If using an Apple Pencil, practice maintaining consistent pressure to ensure uniform line thickness.
Experiment with different grip styles and pressures to find what works best for you.
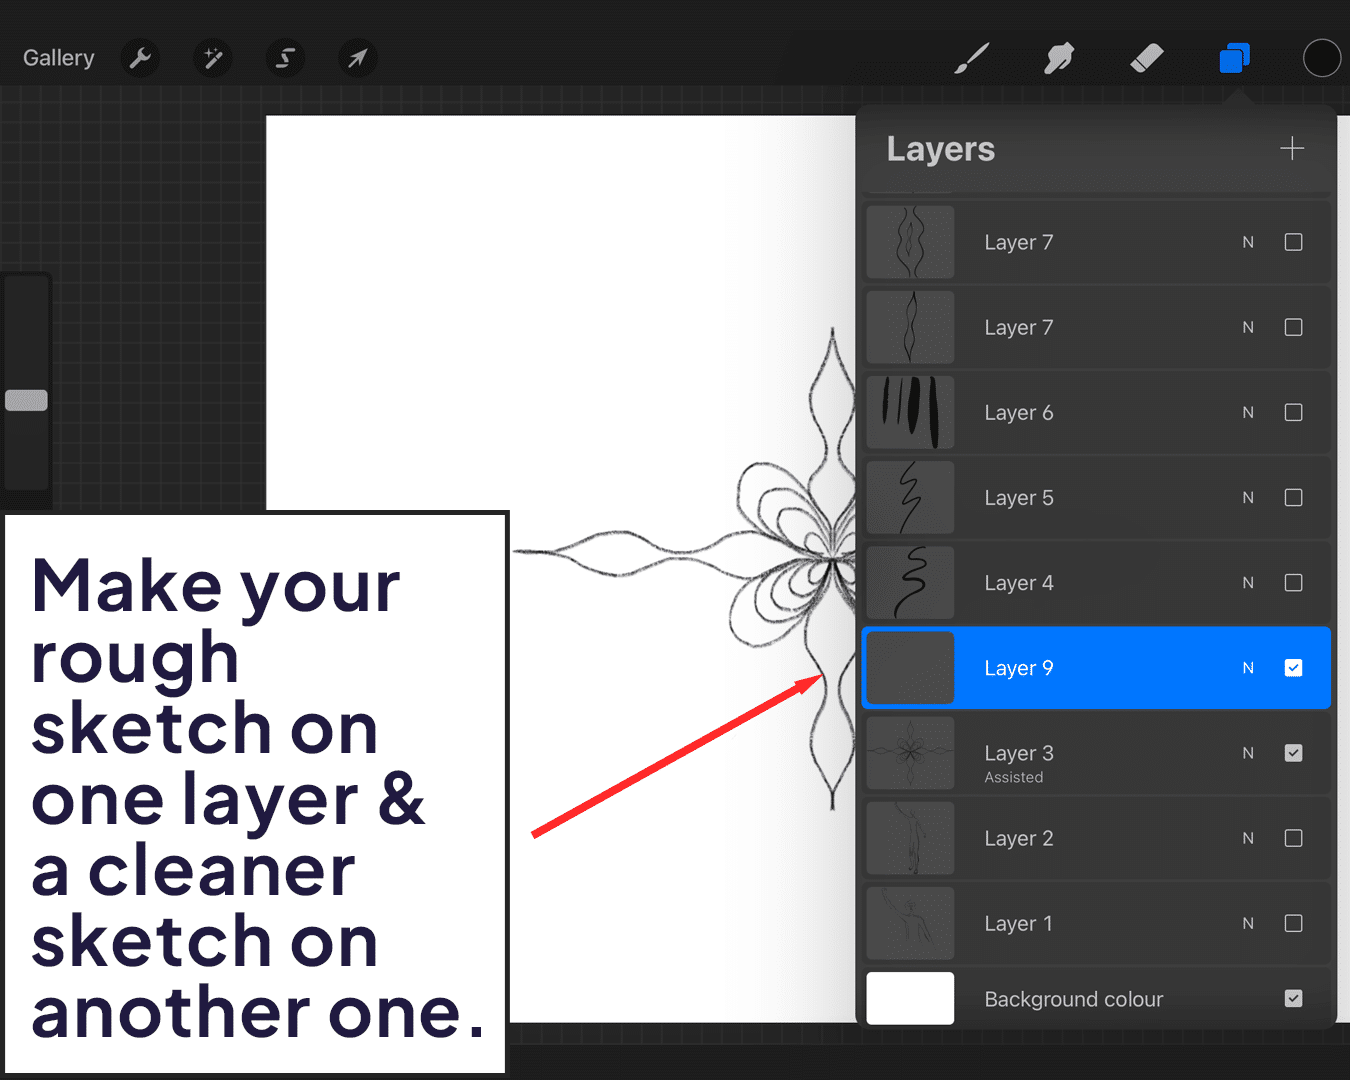
Utilize Layers
Create your rough sketch on one layer, then add a new layer on top for cleaner line art.
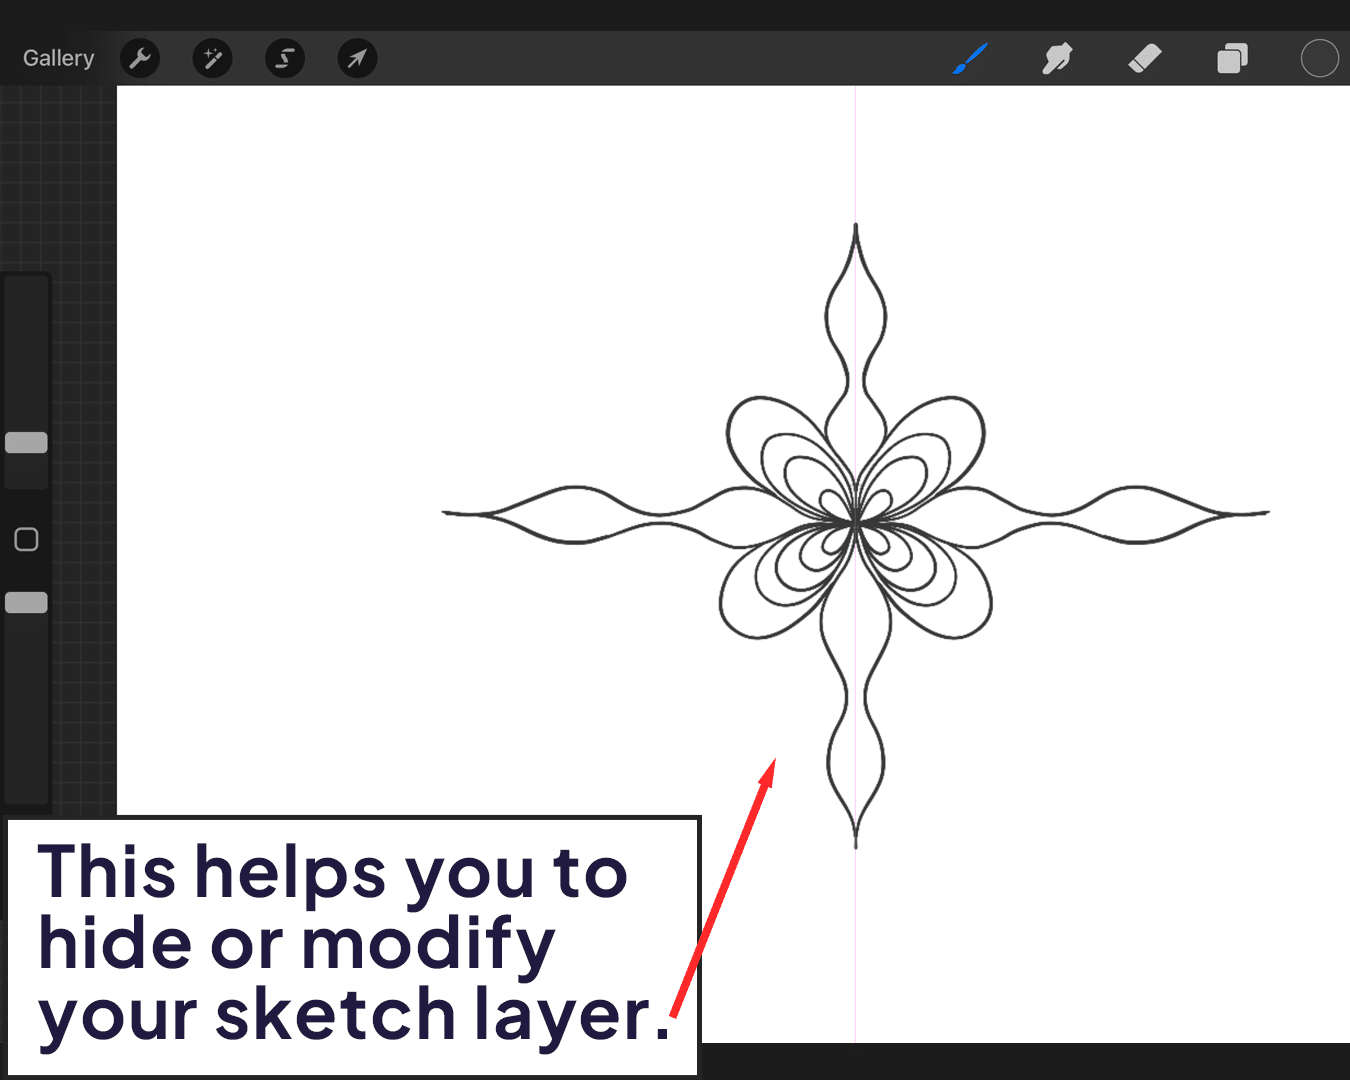
This approach allows you to hide or modify the sketch layer without affecting your neat line work.
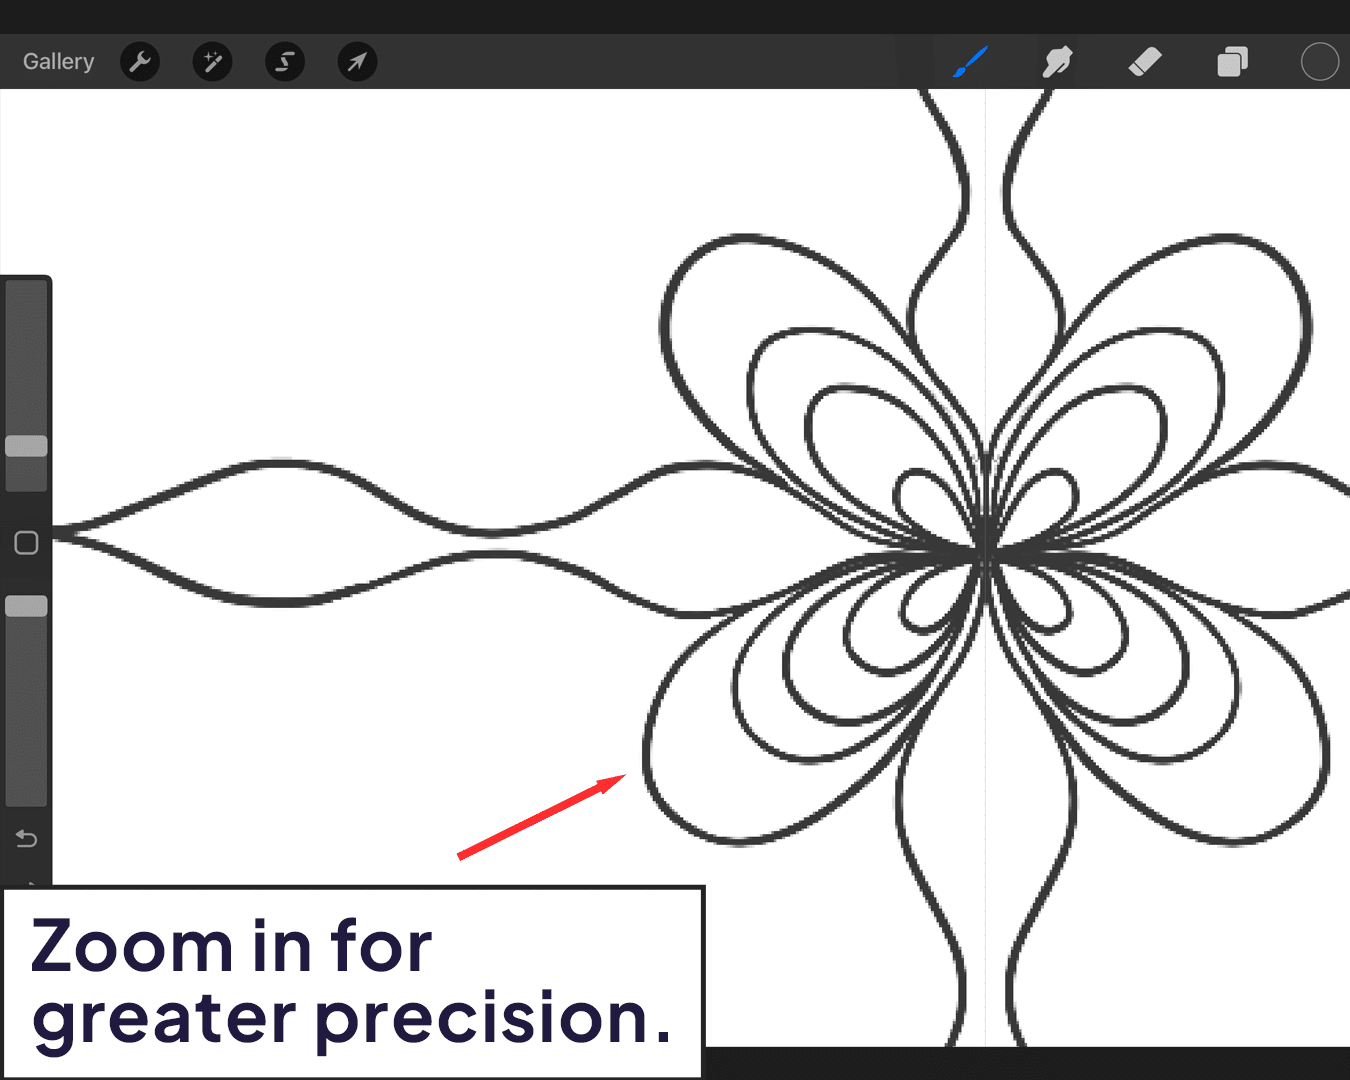
Zoom In for Details
Don’t hesitate to zoom in for intricate details. This allows for greater control and precision.
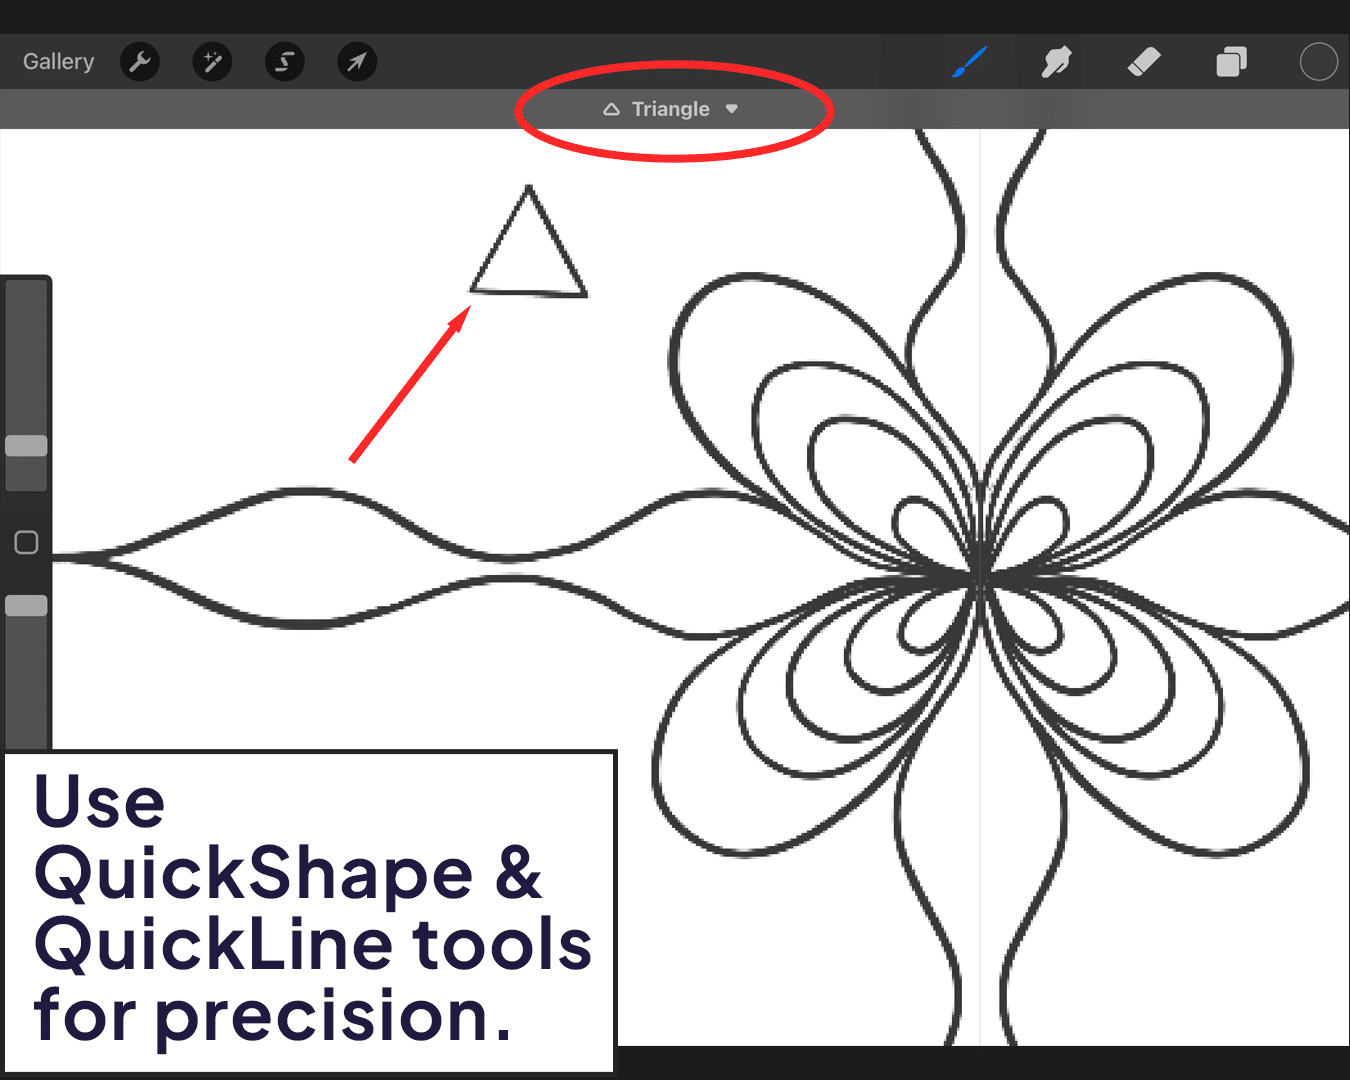
Use QuickLine and QuickShape Features:
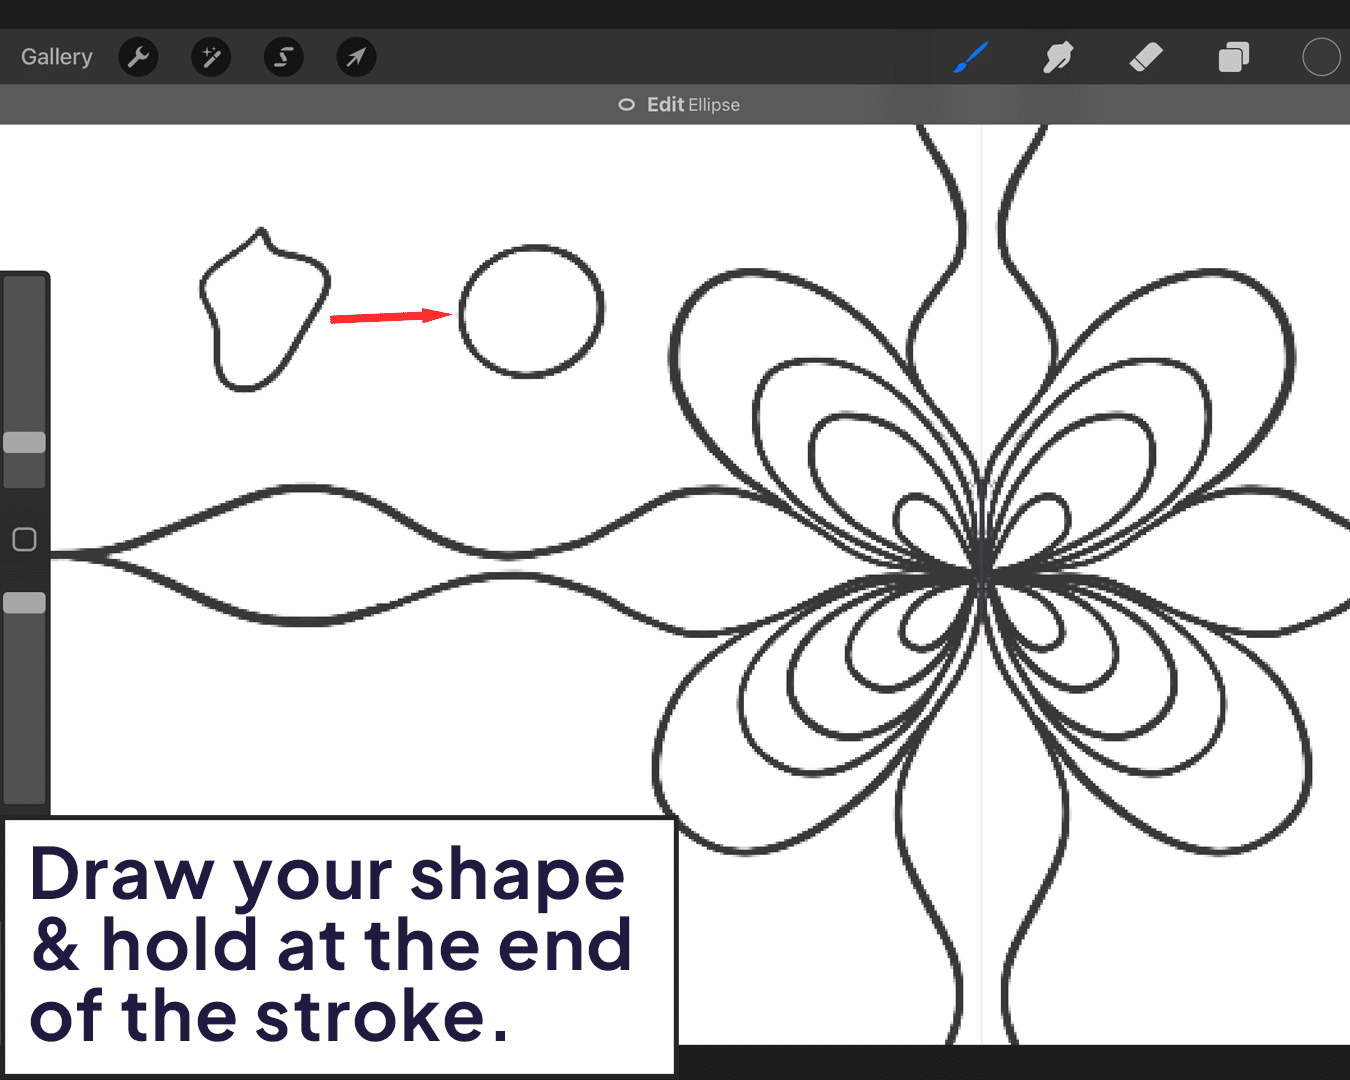
Procreate’s QuickLine and QuickShape tools are perfect for creating straight lines and perfect geometric shapes.
Simply draw a line or shape and hold your pencil down at the end of the stroke to activate these features.
Take Breaks and Review:
Regular breaks prevent fatigue and help maintain a steady hand.
Step back and review your work periodically to catch any irregularities.

Conclusion
Neat line art is a crucial step in creating polished and professional digital illustrations. By choosing the right tools, customizing settings, and practicing your technique, you can significantly improve the neatness and quality of your lines in Procreate. Discover what a monoline pen is and how to make an outline brush in Procreate for further guidance. Remember, like any skill, it takes practice and patience, so keep experimenting and have fun with the process!


Share this article


