
How To Draw Faceless Portrait in Procreate

Imagine walking into an art gallery and being greeted by a series of portraits. Each one draws you in, not with a gaze or a smile, but with an intriguing absence – no faces.
This is the unique world of faceless portraits, where the story is told not through facial expressions but through everything else. In this guide,
I’m excited to dive deep into the art of creating faceless portraits in Procreate, a journey that challenges your artistic norms and unleashes your creativity in new, unexpected ways, starting with the right Procreate portrait brushes.
Step 1: Setting the Stage
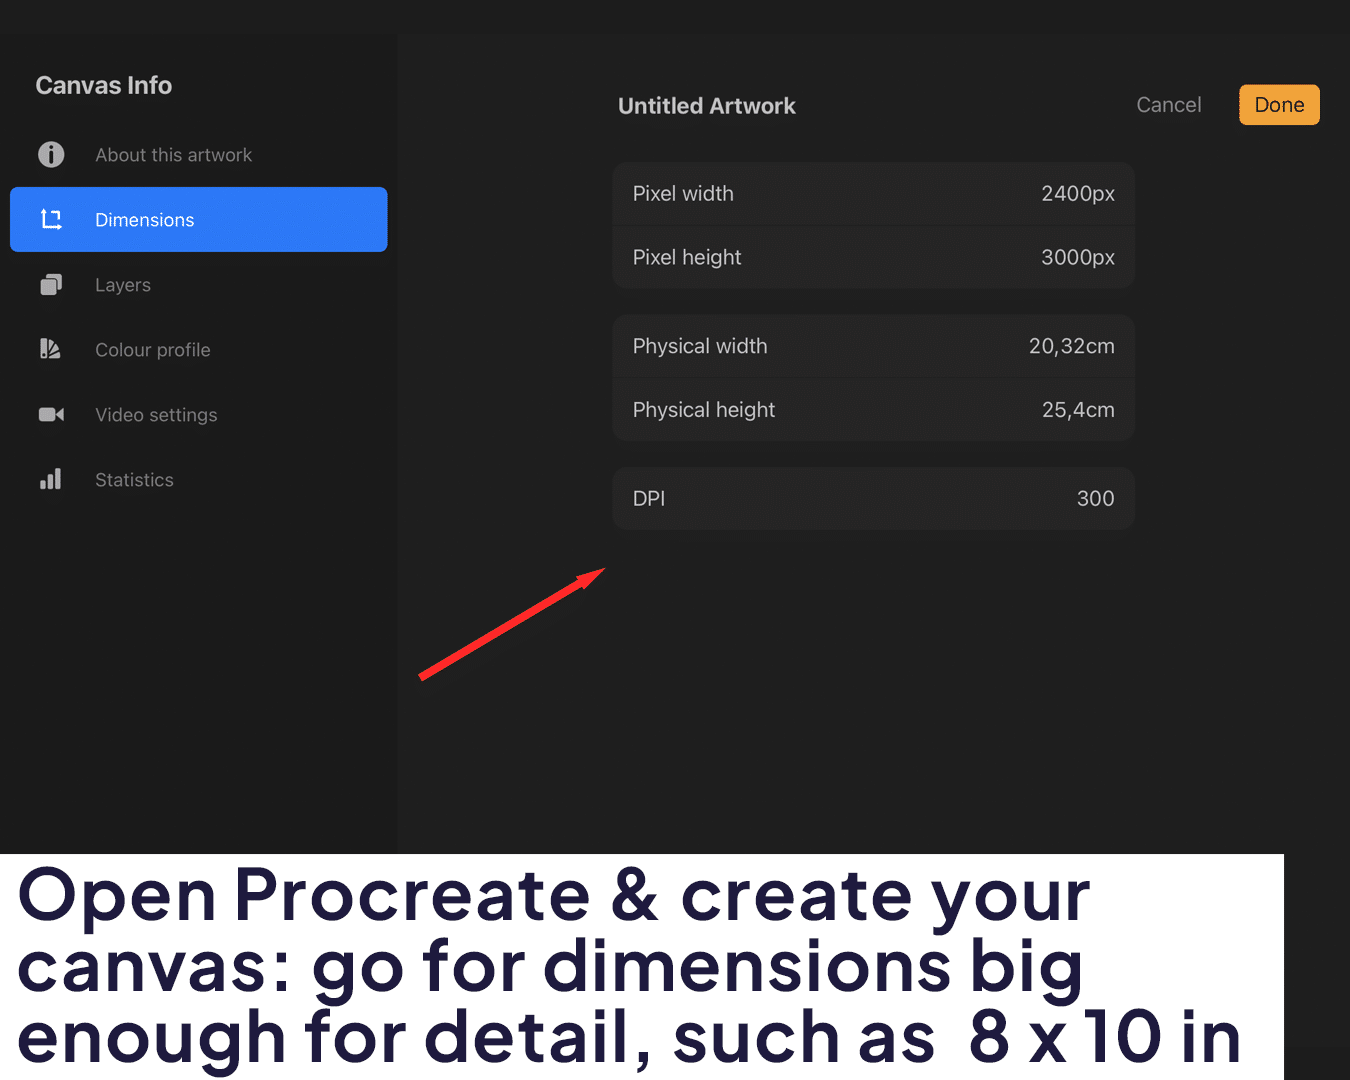
Open Procreate and Choose Your Canvas: I usually opt for a canvas around 8 x 10 inches. It’s big enough for detail but not overwhelming.
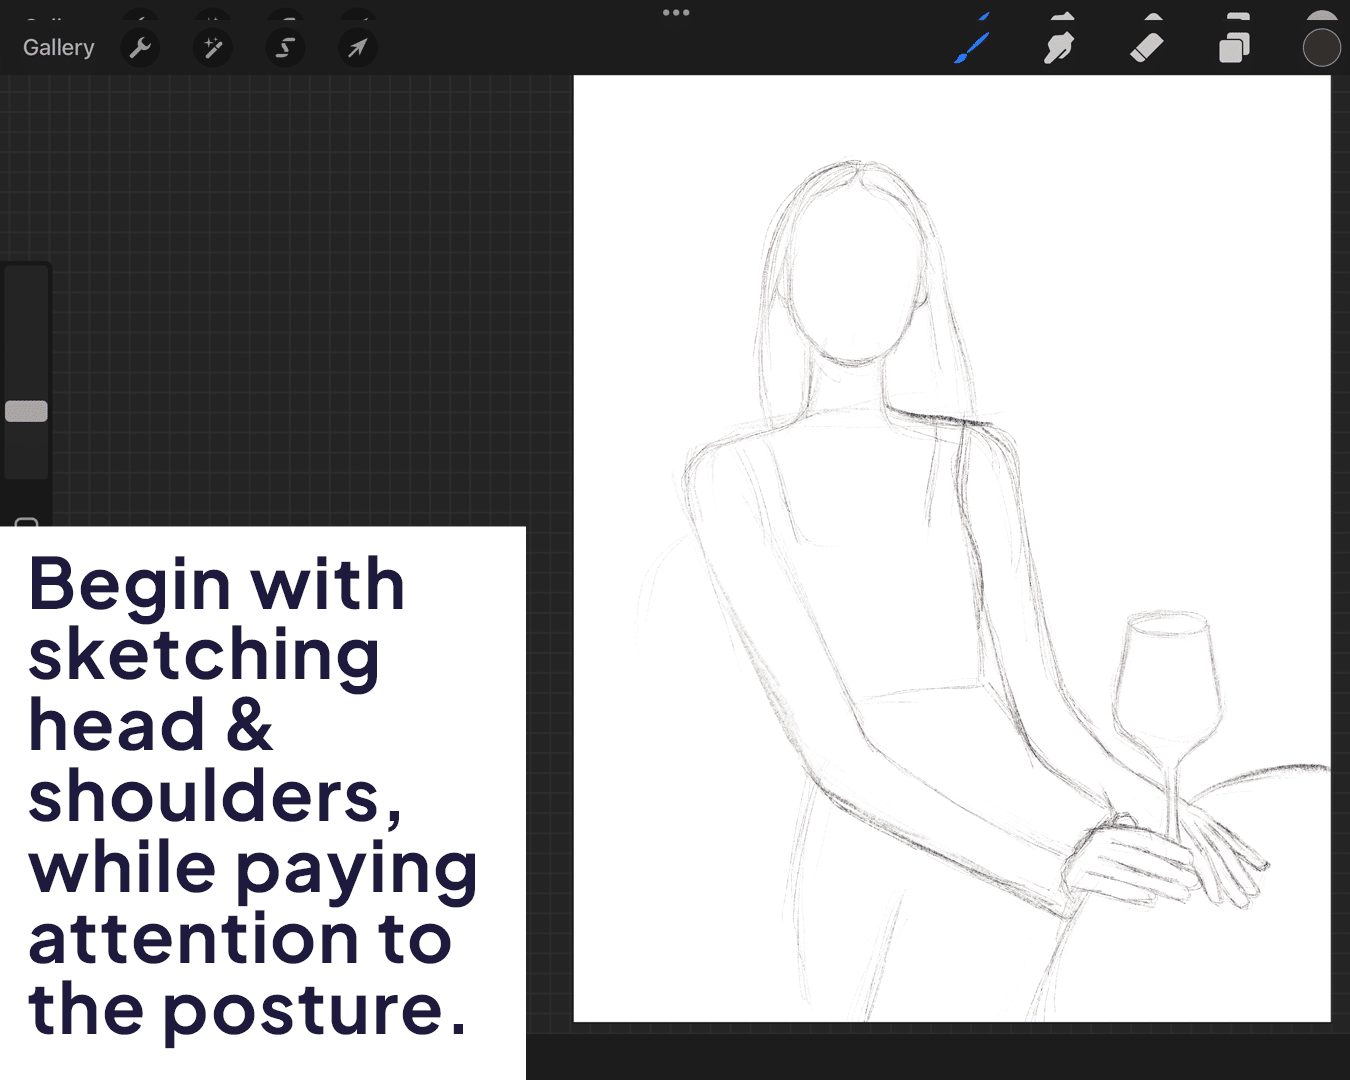
Sketch Your Basic Outline: Begin with a basic outline of the head and shoulders. Consider the angle and posture – is your subject turned slightly, or straight on? This preliminary sketch is the blueprint of your story.
Step 2: Focus on Body Language
Posture and Pose: The stance of your subject can convey a multitude of emotions. A slouched posture might suggest sadness or defeat, while an erect posture could imply confidence or pride.
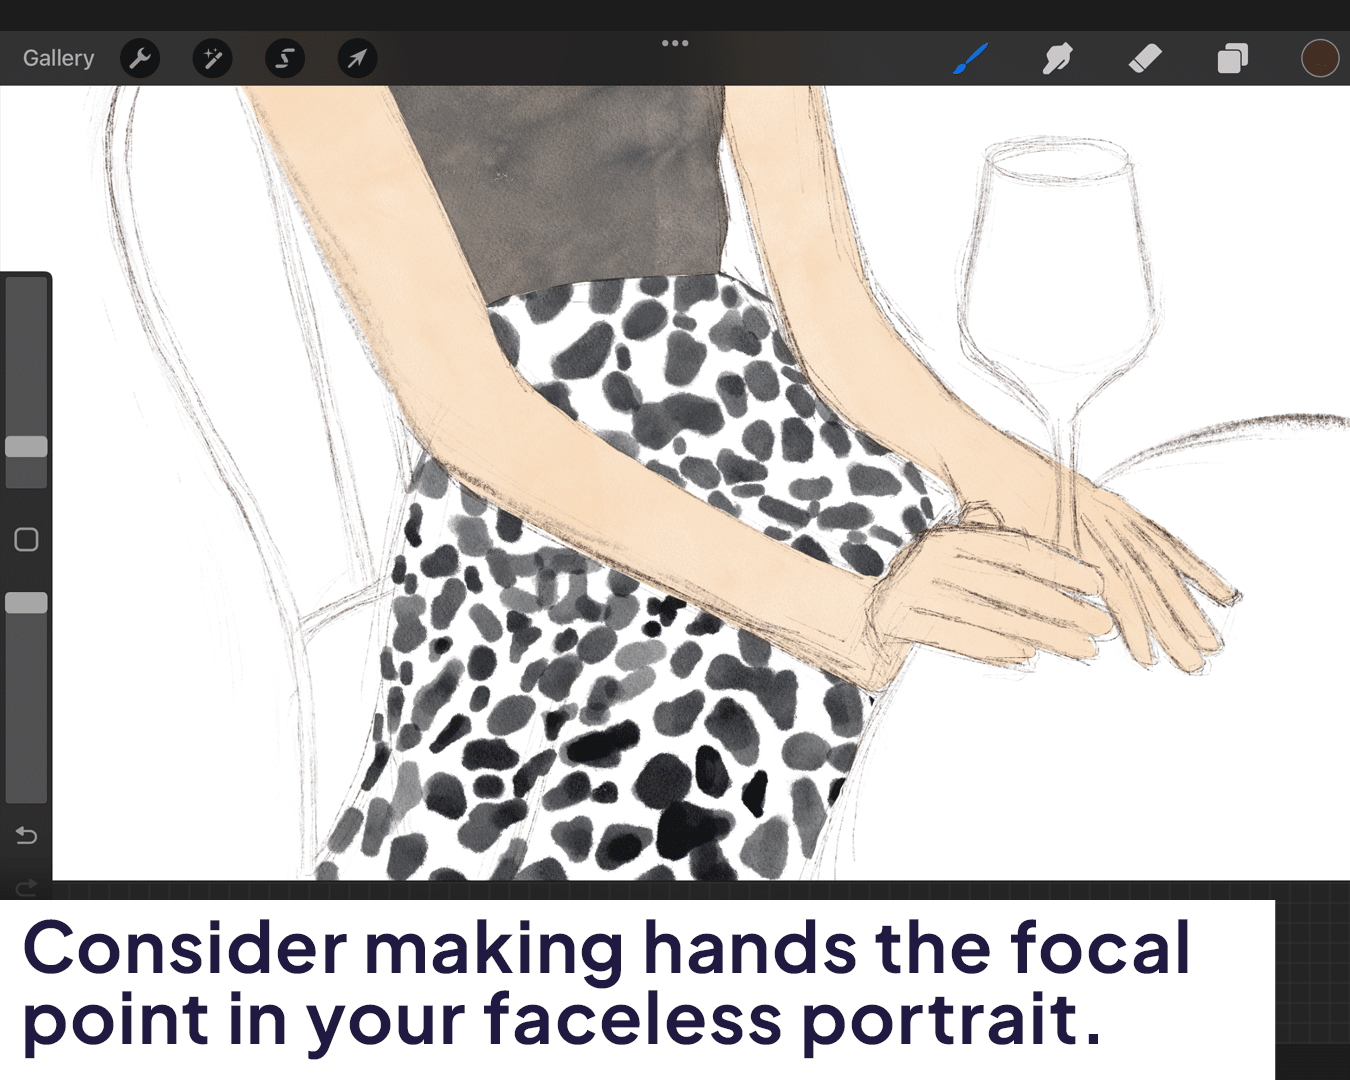
Hands and Gestures: Are the hands hidden, or are they doing something? Maybe they’re gently resting on a lap, or perhaps they’re nervously fiddling with a piece of clothing. Hands can be a focal point in your faceless portrait.
Step 3: Adding Depth and Detail
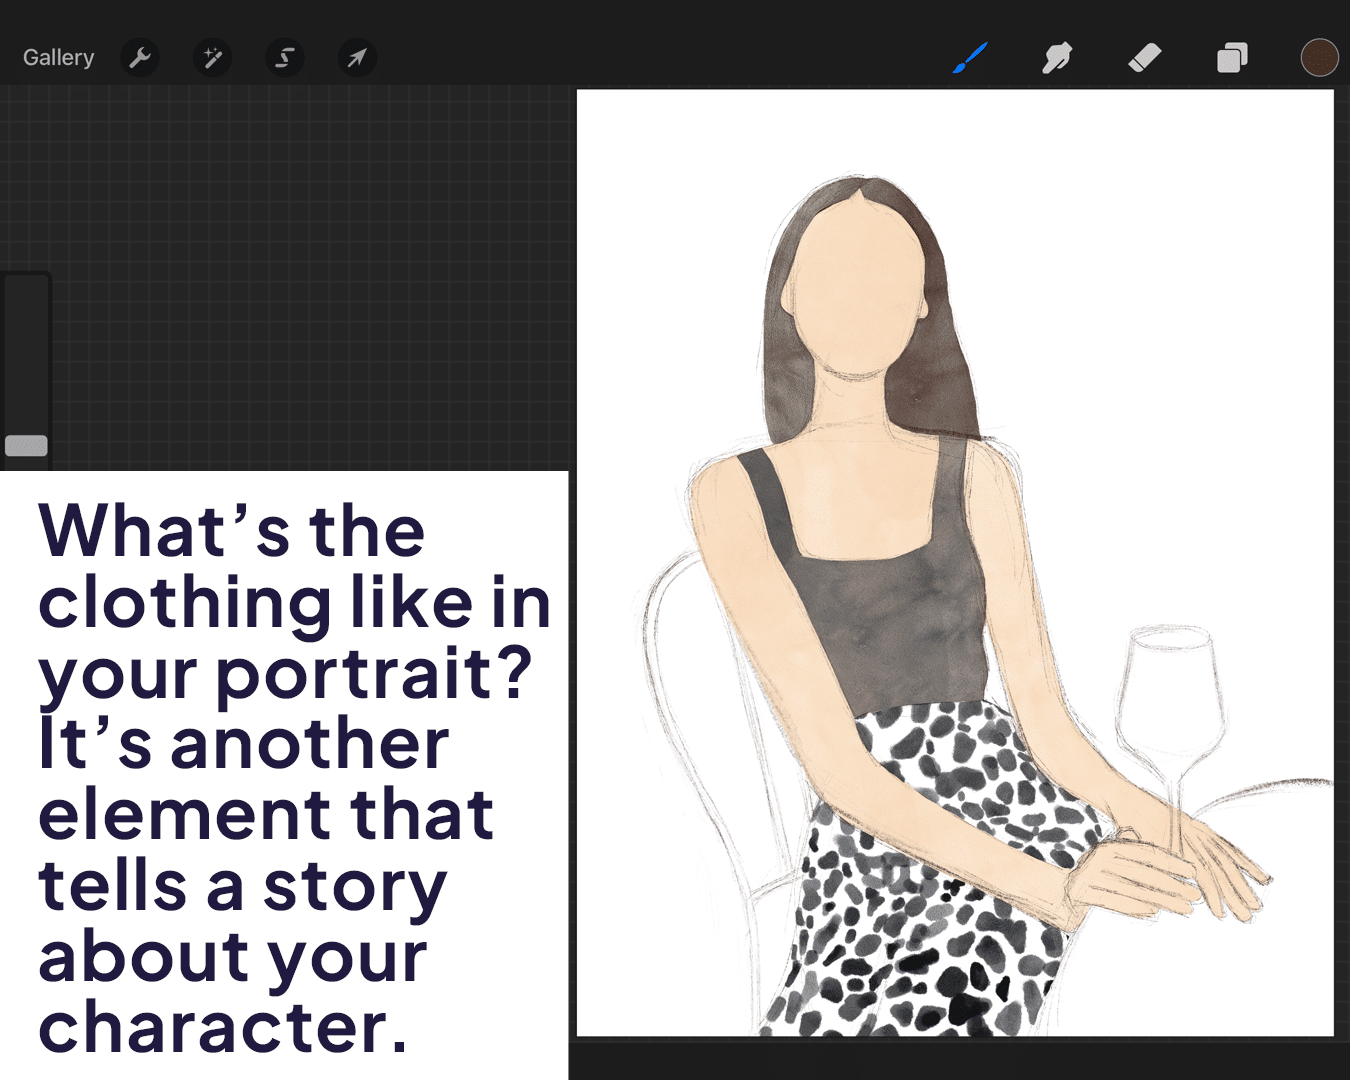
Clothing and Texture: Clothing isn’t just attire in faceless portraits; it’s a key narrative element. Is the clothing formal, casual, ragged, or ornate? Use Procreate’s brush library to mimic fabric textures – the ‘Fabric’ brushes under Textures are particularly useful here.
Learn more about incorporating these elements in Incorporating Tracing into Your Faceless Portrait Creation in Procreate.
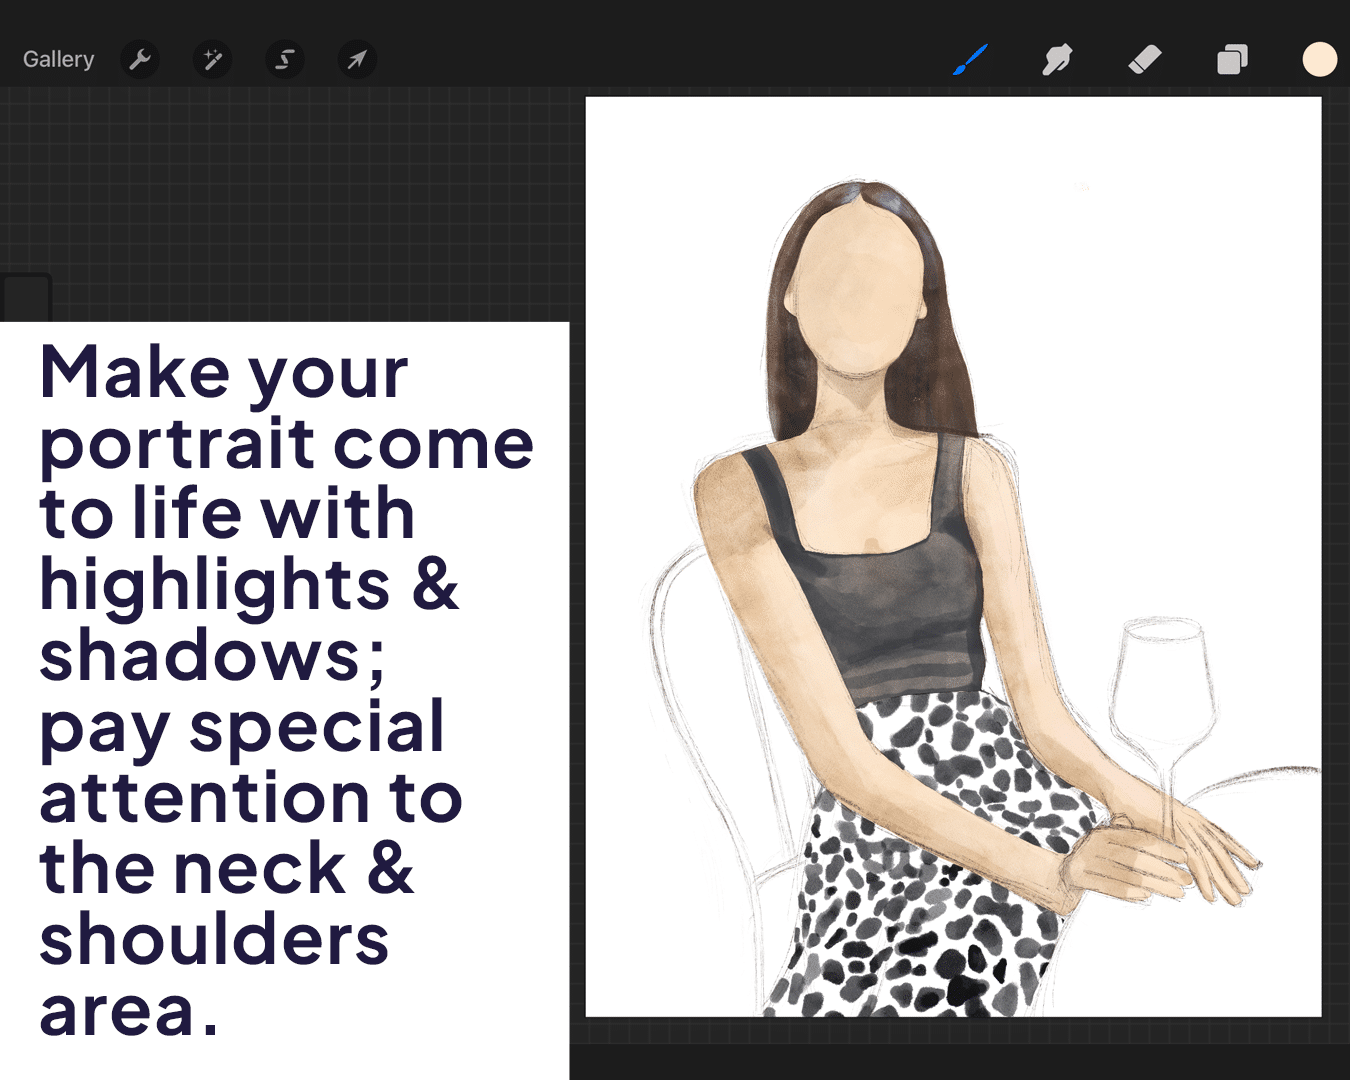
Shadows and Highlights: This is where your portrait starts to come to life. Use shadows to create depth and highlights to accentuate key features.
Pay special attention to the neck and shoulder areas – proper shading here can compensate for the lack of facial features.
Step 4: The Art of Suggestion
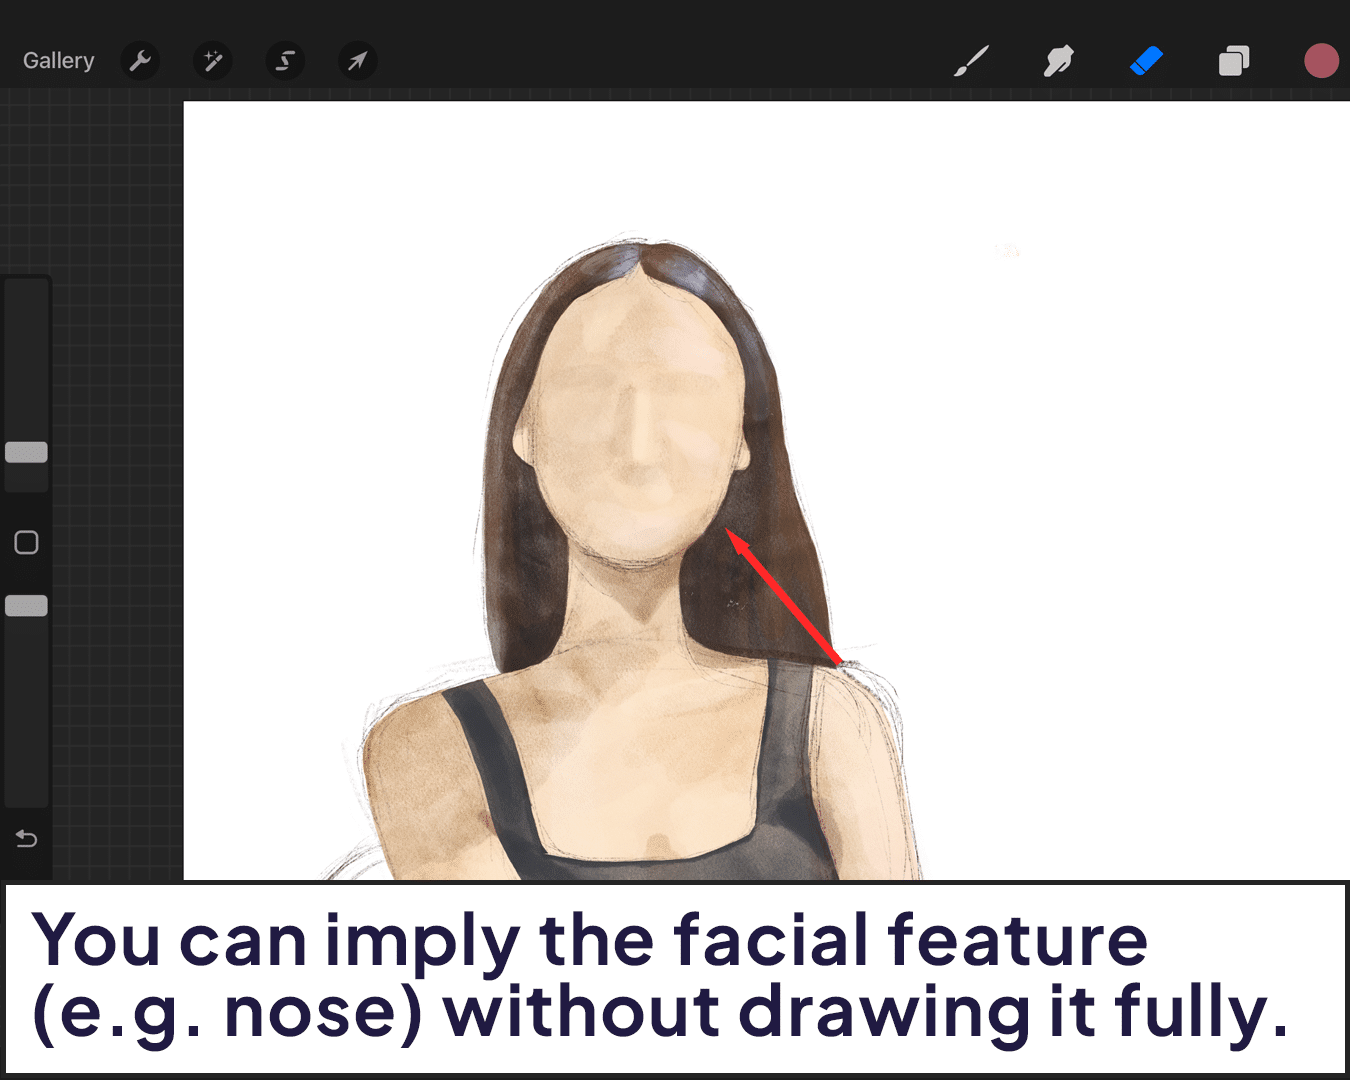
Suggestive Elements: This is a subtle but powerful aspect. You might imply a facial feature without fully drawing it. For instance, the shadow where the nose would be or the outline of a jaw can be subtly suggested.
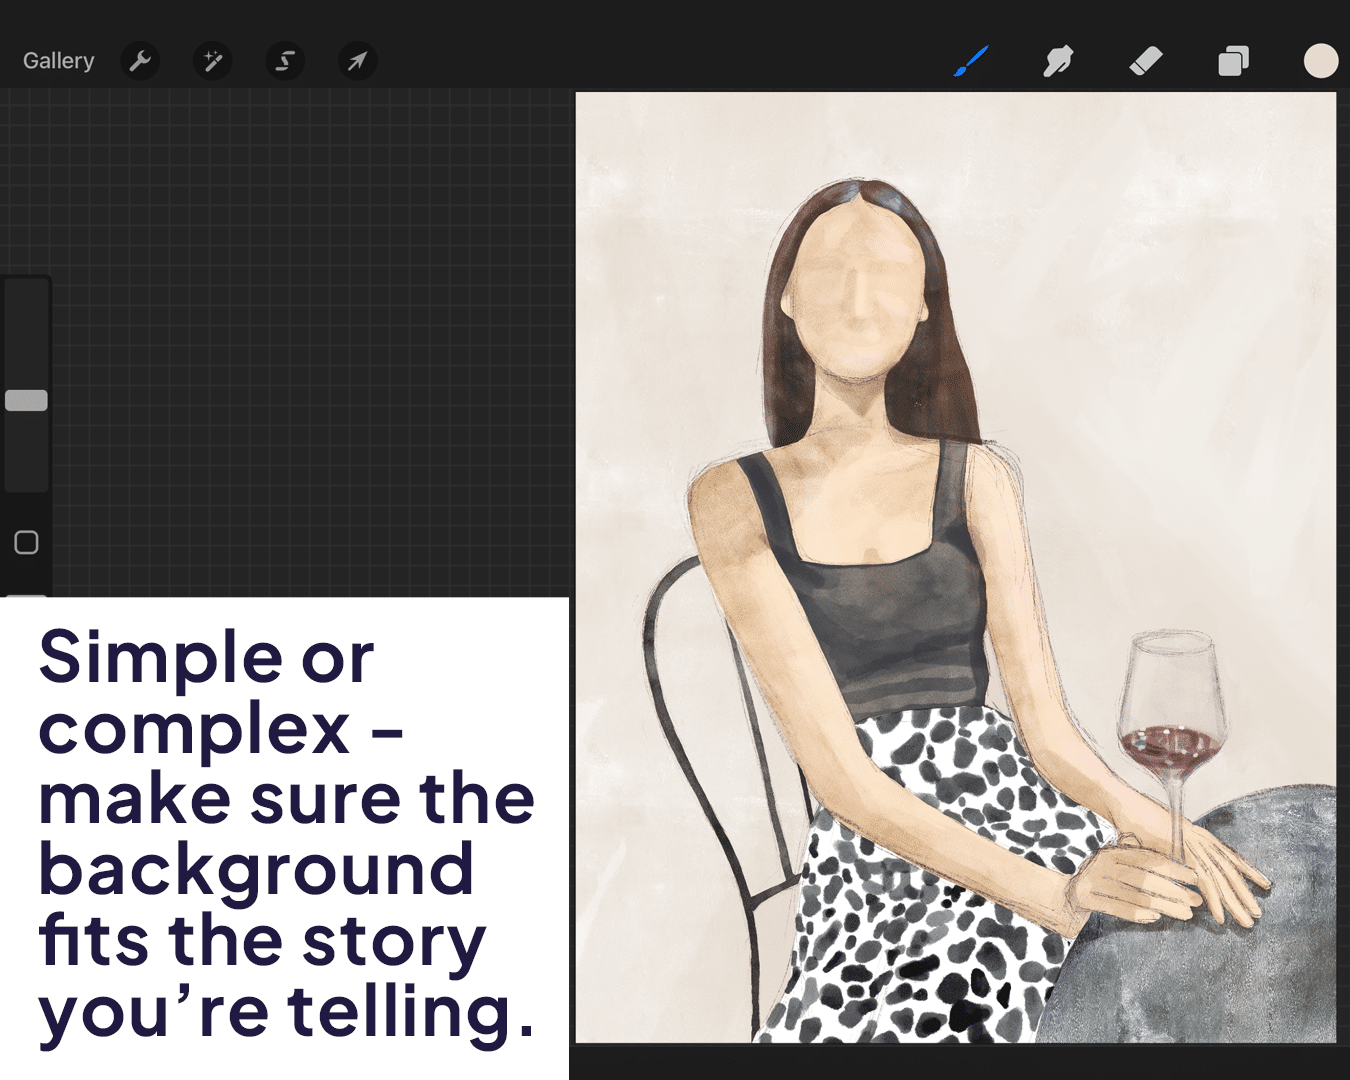
Environment and Background: The setting can tell a story too. A simple background might put all focus on the subject, while an elaborate setting can weave a more complex story. Use a combination of Procreate’s brushes to create an environment that complements your subject.
For a broader look at portrait techniques, see How to Draw Digital Portraits on Procreate.
Step 5: Adding Final Touches
Review and Adjust: Take a step back from your work. Does the portrait evoke the emotion or tell the story you intended? Make adjustments as needed, perhaps adding more shadow or tweaking the posture for better narrative flow.
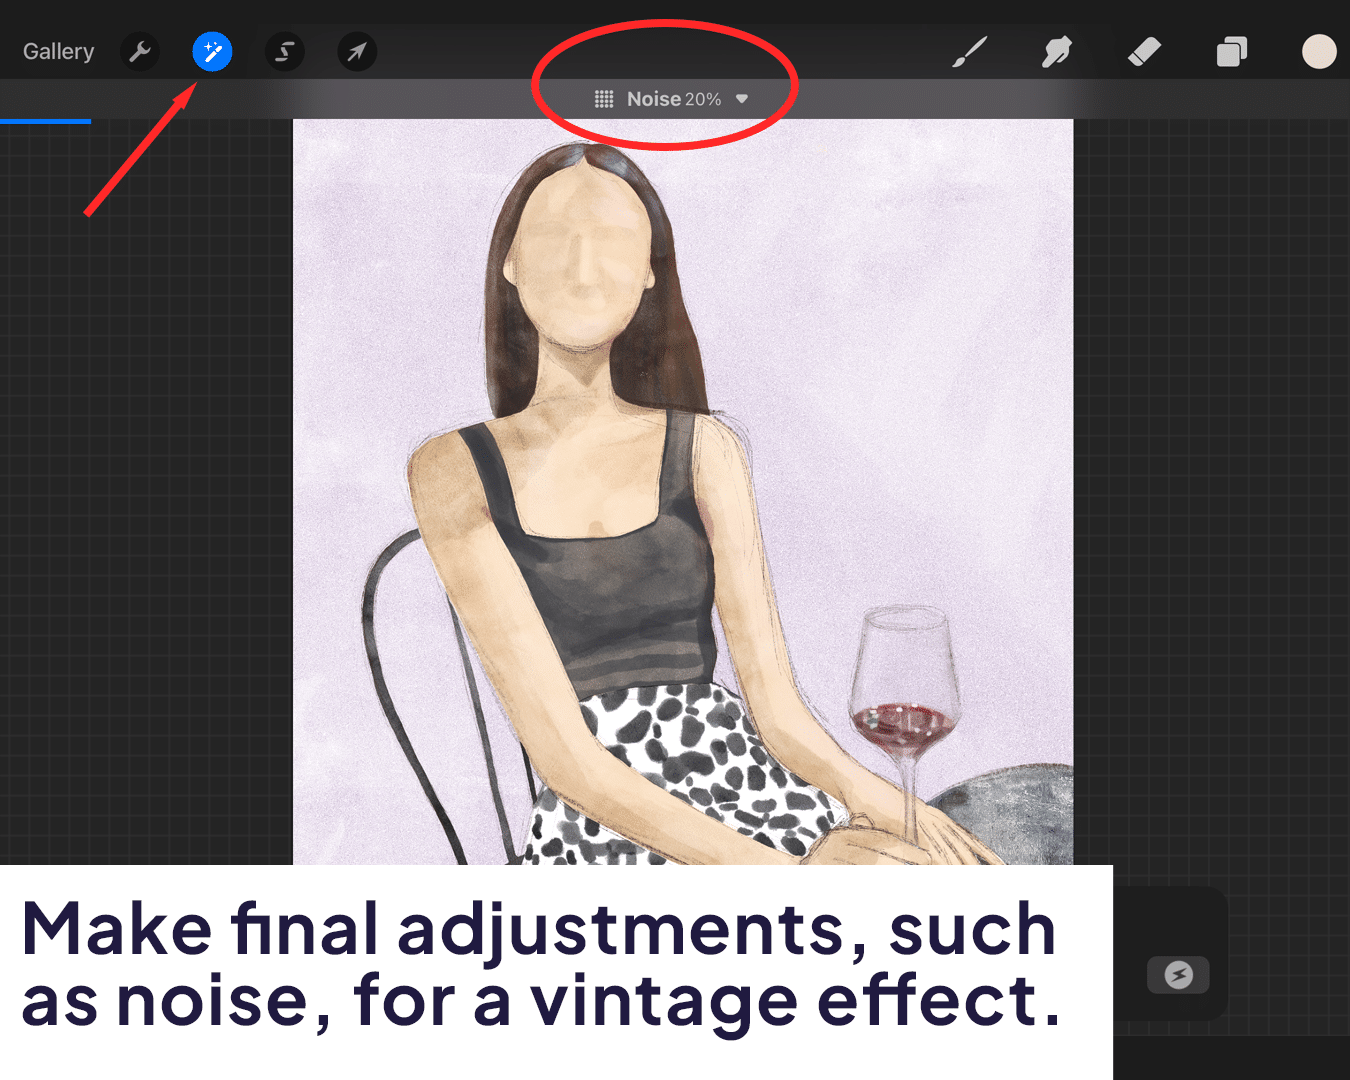
Add Textures or Filters: Experiment with Procreate’s textures and filters for artistic effects. A grainy texture can add a vintage feel, while a light filter might create a dreamy ambiance.


Share this article


