
How To Draw Digital Portraits in Procreate

Have you ever looked at a digital portrait and thought, “How on earth did they do that?” Well, buckle up, because I’m about to demystify the process of creating a digital portrait in Procreate.
It’s like baking a cake – you just need the right ingredients and a bit of patience. By the end of this guide, you’ll be whipping up digital portraits like a pro, leaving everyone wondering if you’ve secretly been an artistic genius all along!
Discover the vast selection of Procreate portrait brushes to get started.
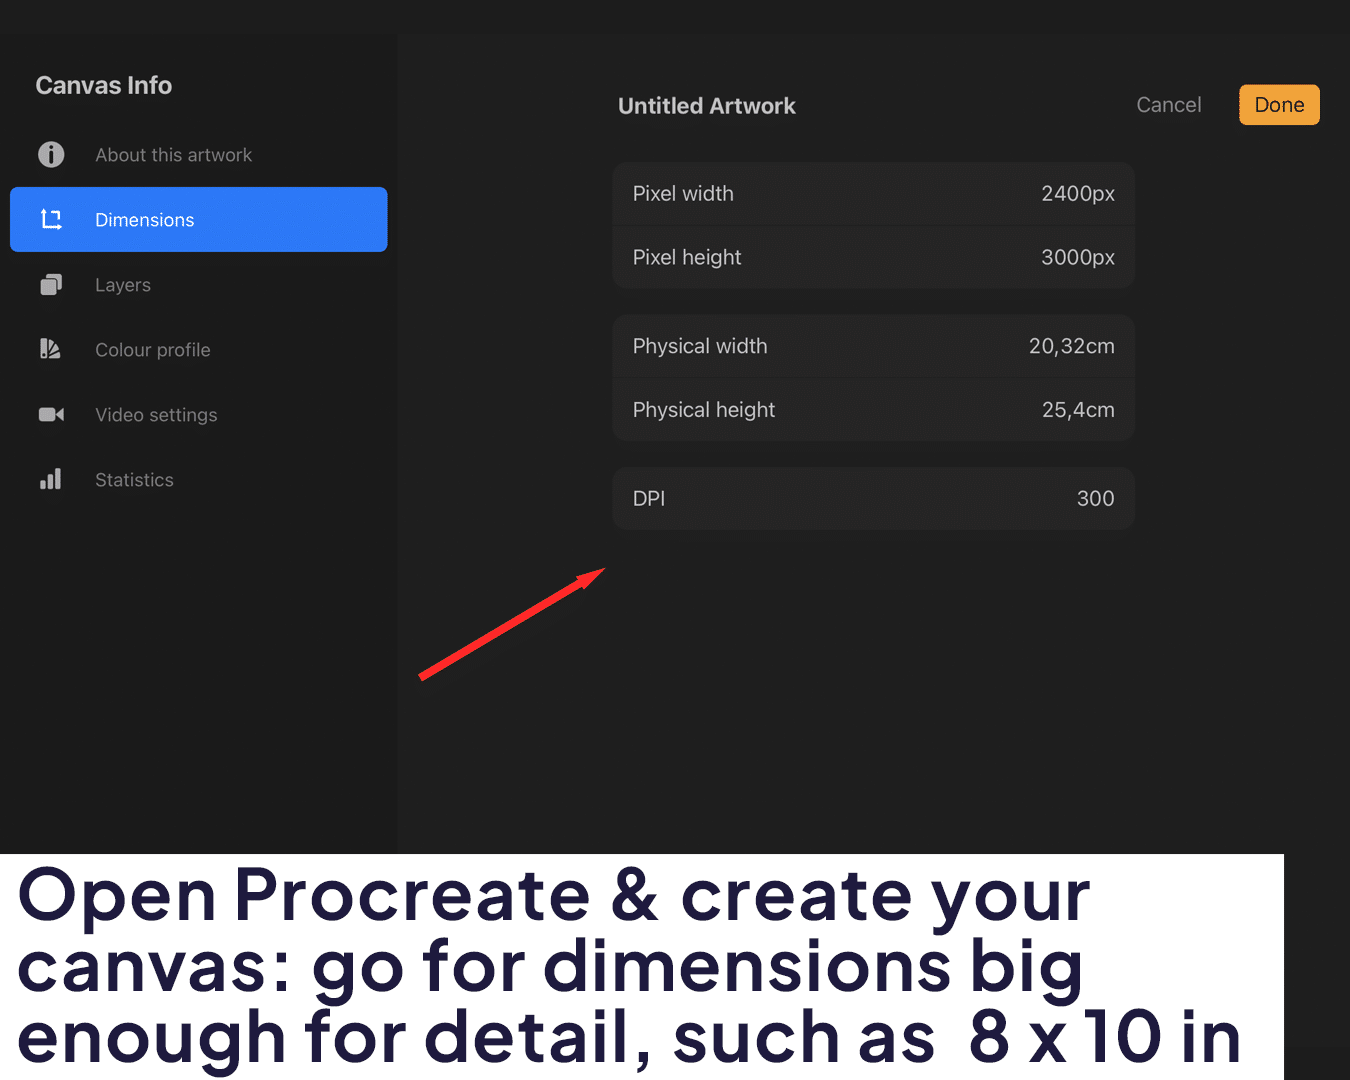
Setting Up Your Canvas
A good starting point is an 8 x 10-inch canvas, giving you ample space for details without overwhelming you.
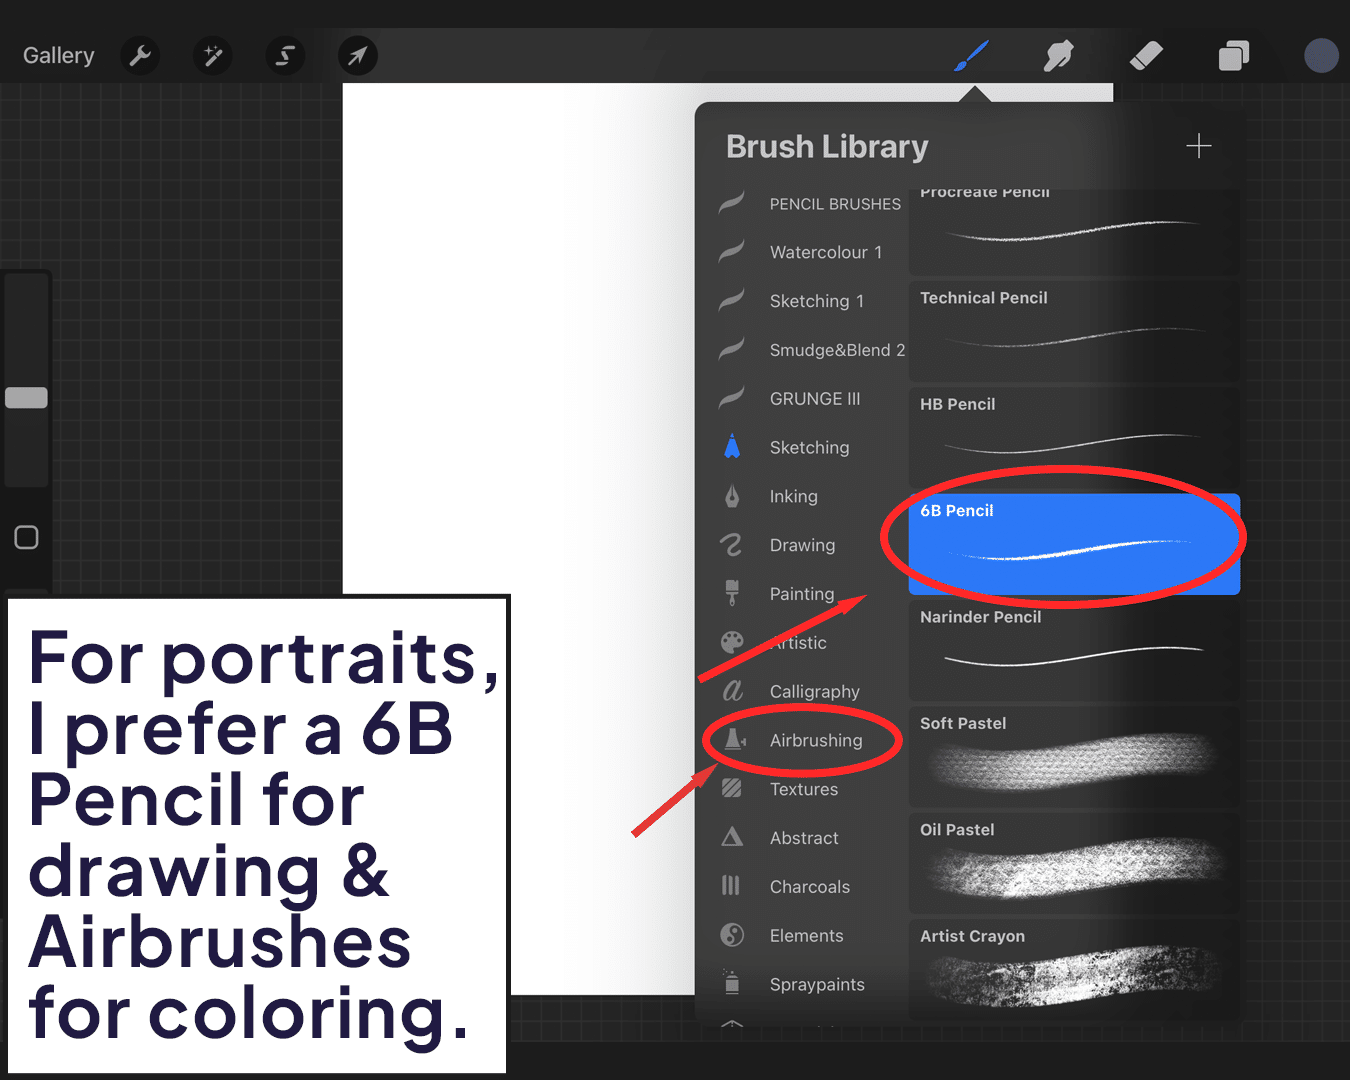
Procreate offers a smorgasbord of brushes. For portraits, I love using the ‘6B Pencil’ for sketching and ‘Airbrush’ for smooth skin tones.
Sketching the Basic Outline
Begin by lightly sketching the outline of the head and shoulders. Use reference photos if you’re drawing a specific person.
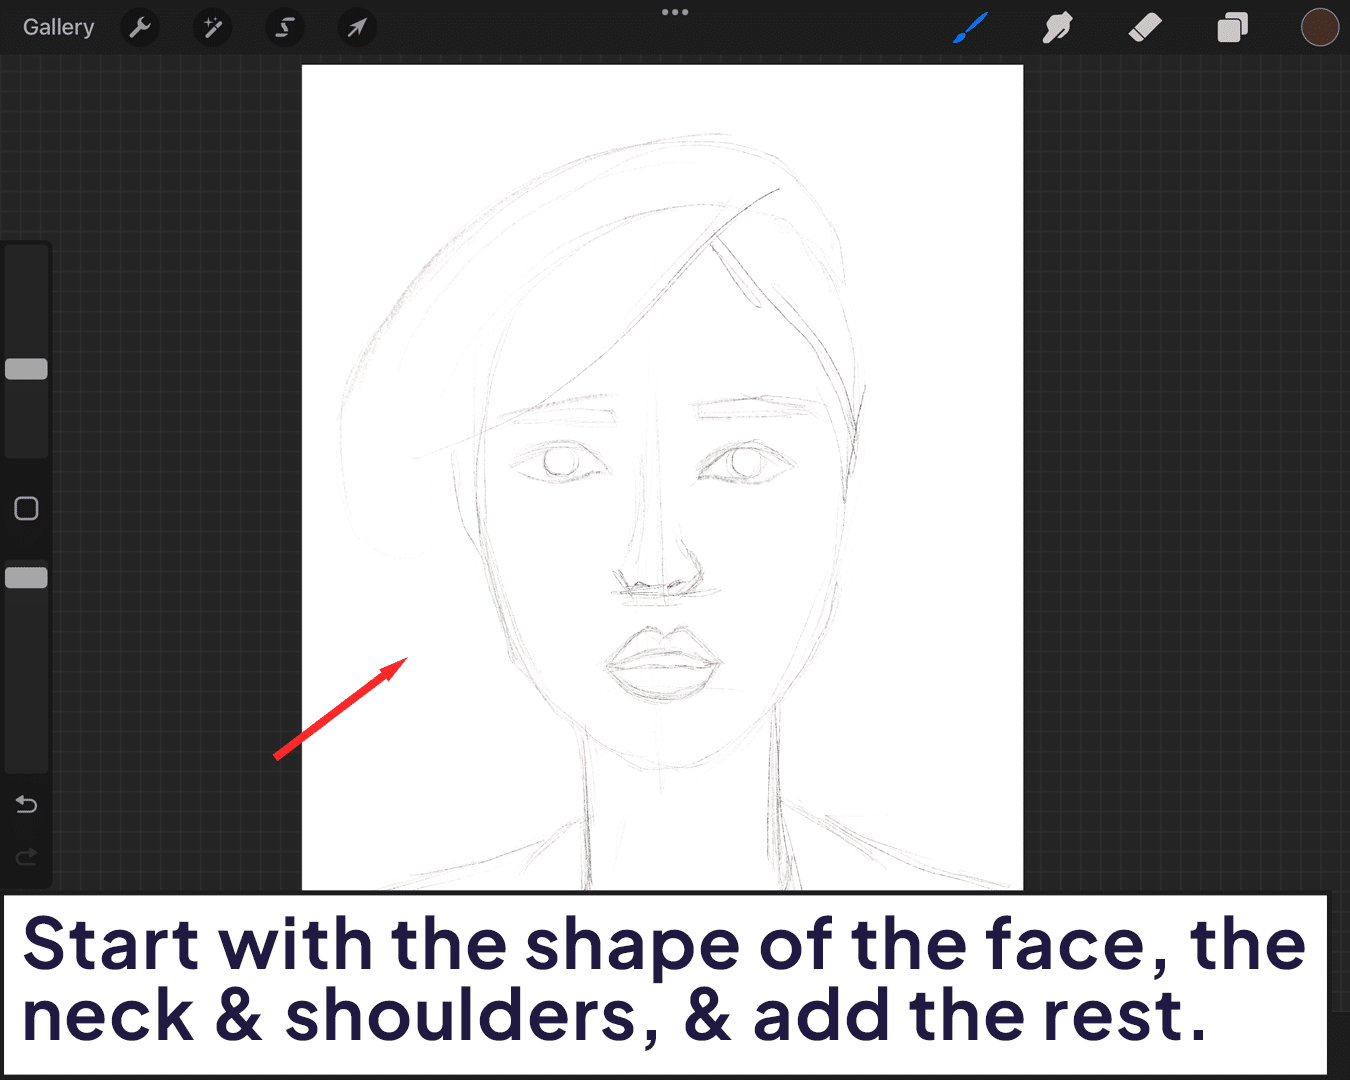
Pay attention to the proportions of the face. The eyes are usually halfway down the head, the nose halfway between the eyes and chin, and so on.
Adding Details
Eyes, Nose, and Mouth: These are the focal points of your portrait. Take your time with these, as they can make or break your portrait.
Refine Your Sketch
Once you’re happy with the basic layout, start refining your sketch. Add details like the hairline, ear shape, and any defining features.
For inspiration on creating unique portraits, see How to draw a faceless portrait in Procreate.
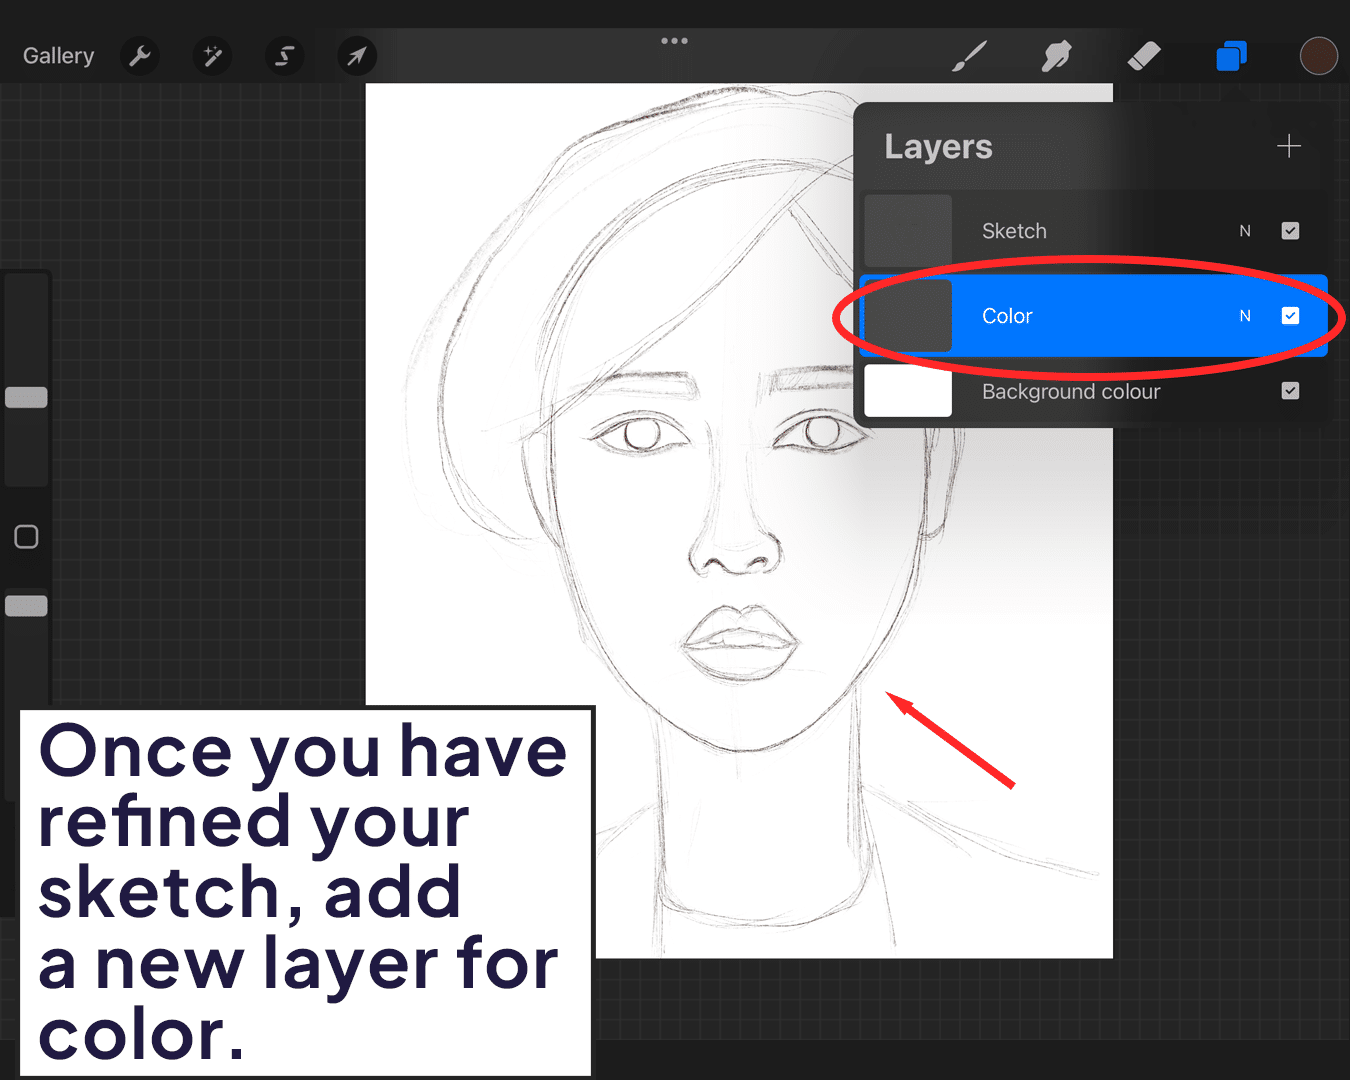
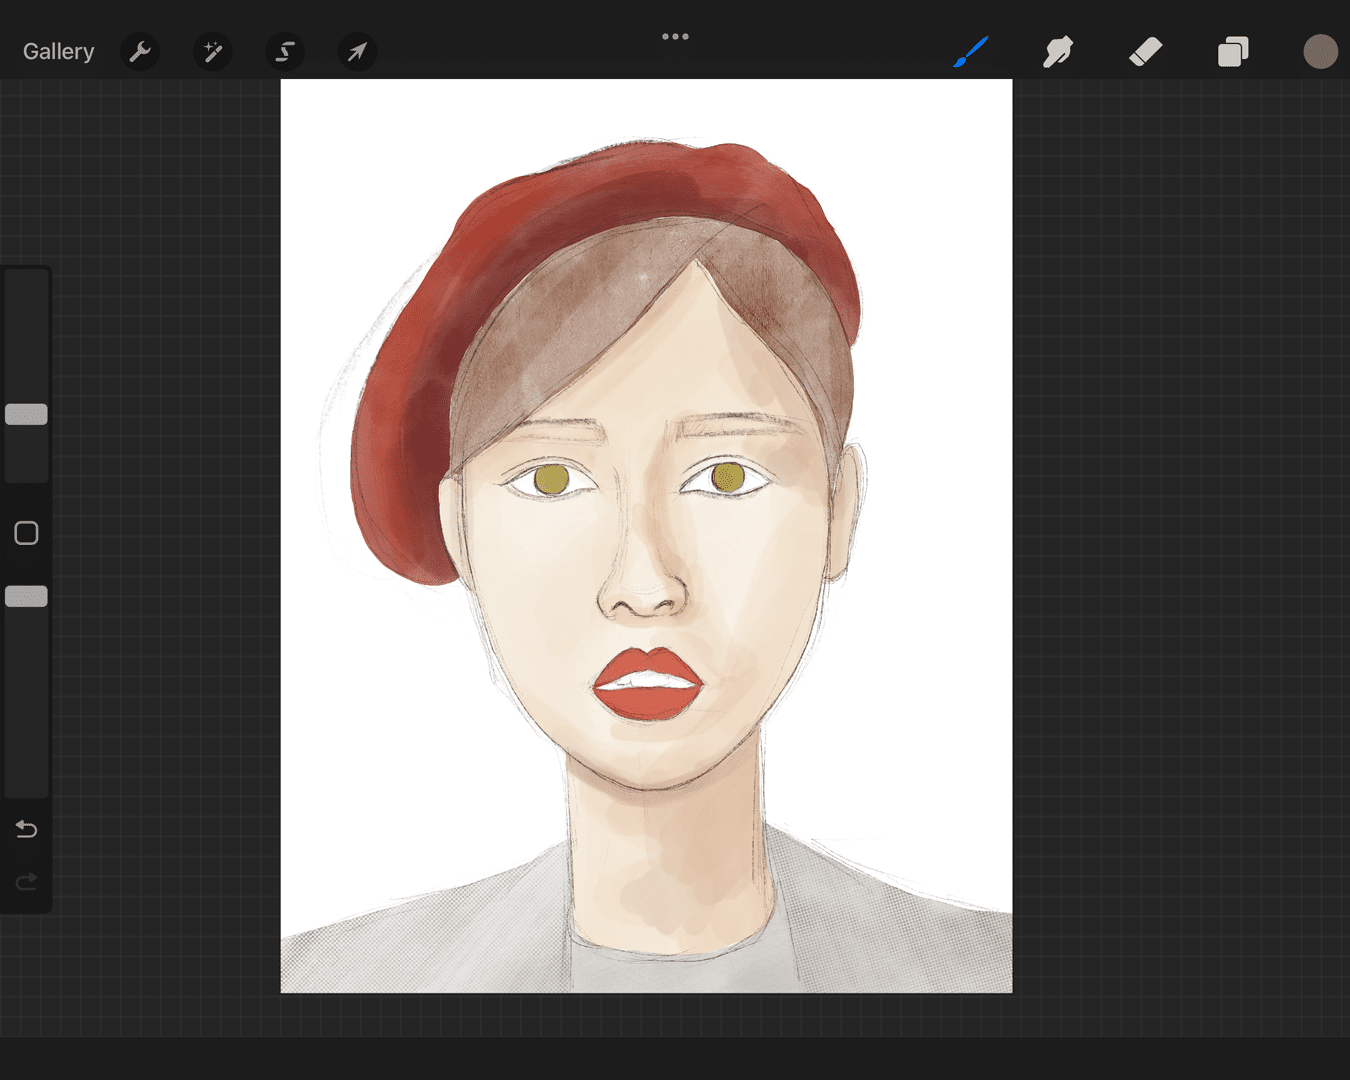
Laying Down Base Colors
Always work on a new layer when starting to add color. This keeps your sketch intact and editable.
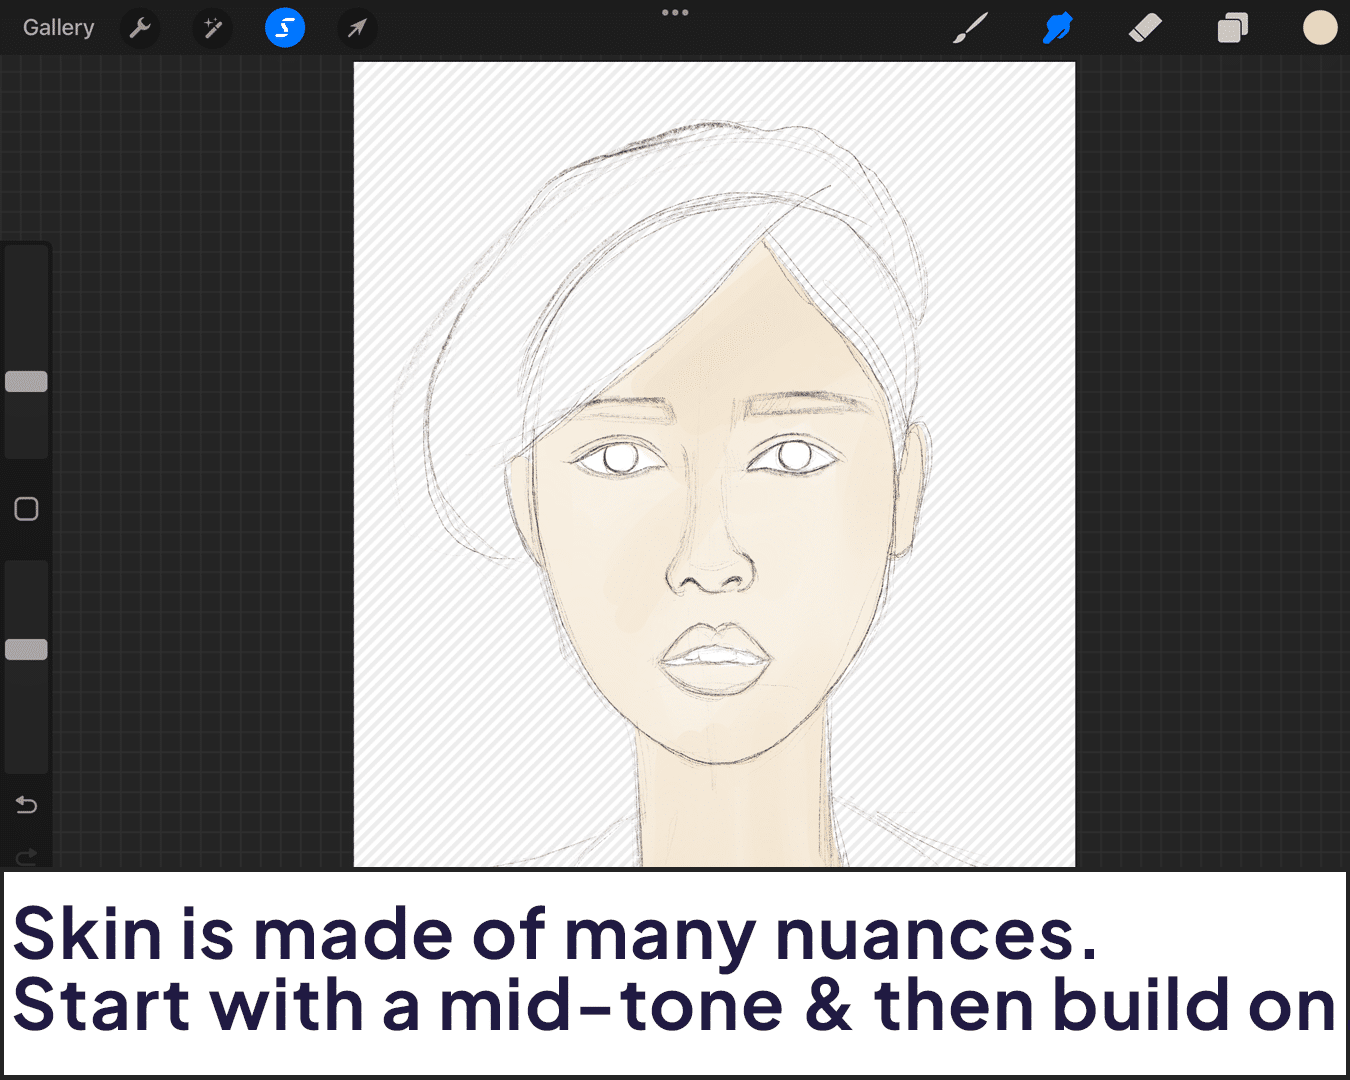
Choose Skin Tones:
Skin isn’t just one color. Use a mix of tones to create a realistic look. Start with a mid-tone, then add shadows and highlights.
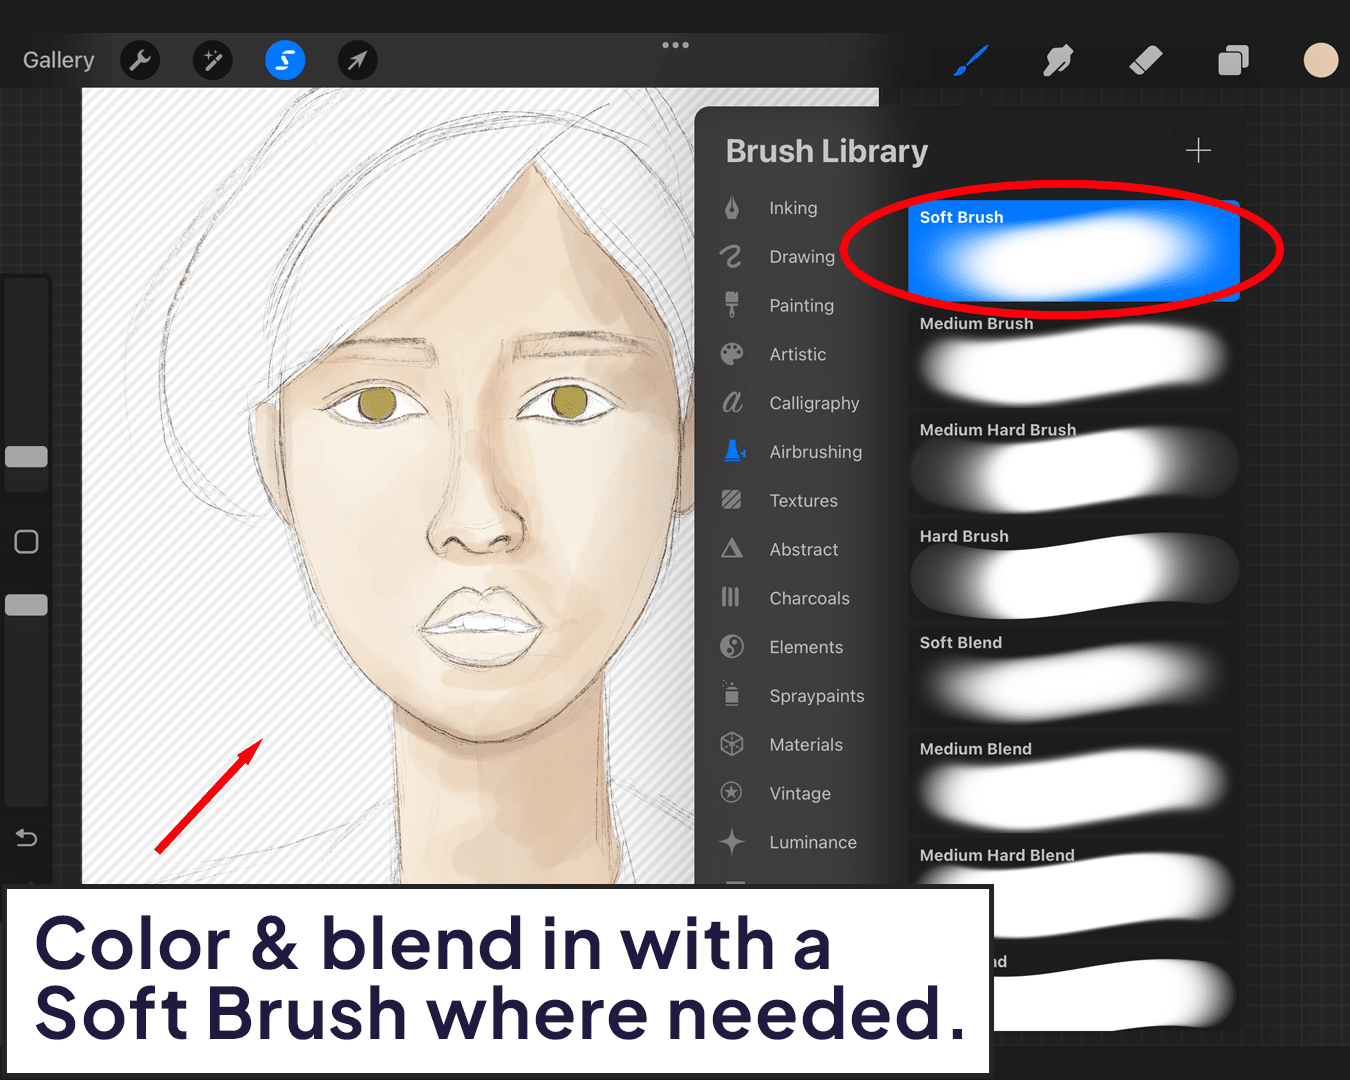
Blending and Shading
Smooth Blending:
Use the ‘Soft Brush’ under Airbrushing for a smooth blend of colors. This is crucial for skin, giving it a natural and lifelike appearance.
Add Depth with Shadows and Highlights:
Pay attention to where the light hits and where the shadows fall. This will add depth and dimension to your portrait.
For more techniques on bringing depth to your portraits, consider Incorporating tracing into your faceless portrait creation in Procreate.
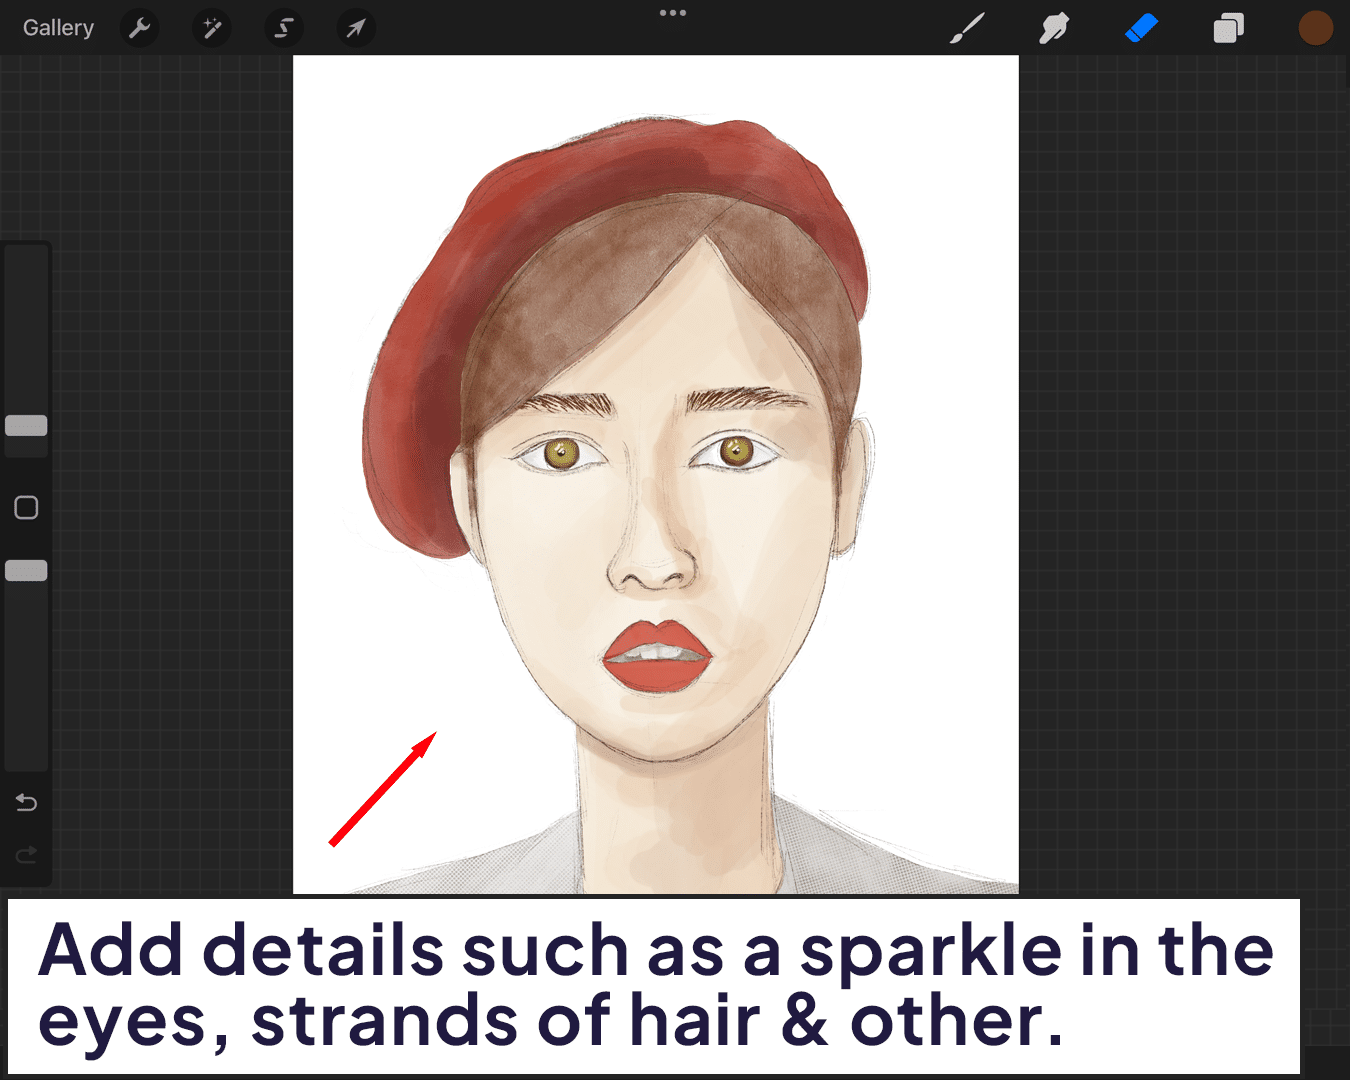
Final Touches
Add final details like the sparkle in the eyes, strands of hair, or texture in the clothing.
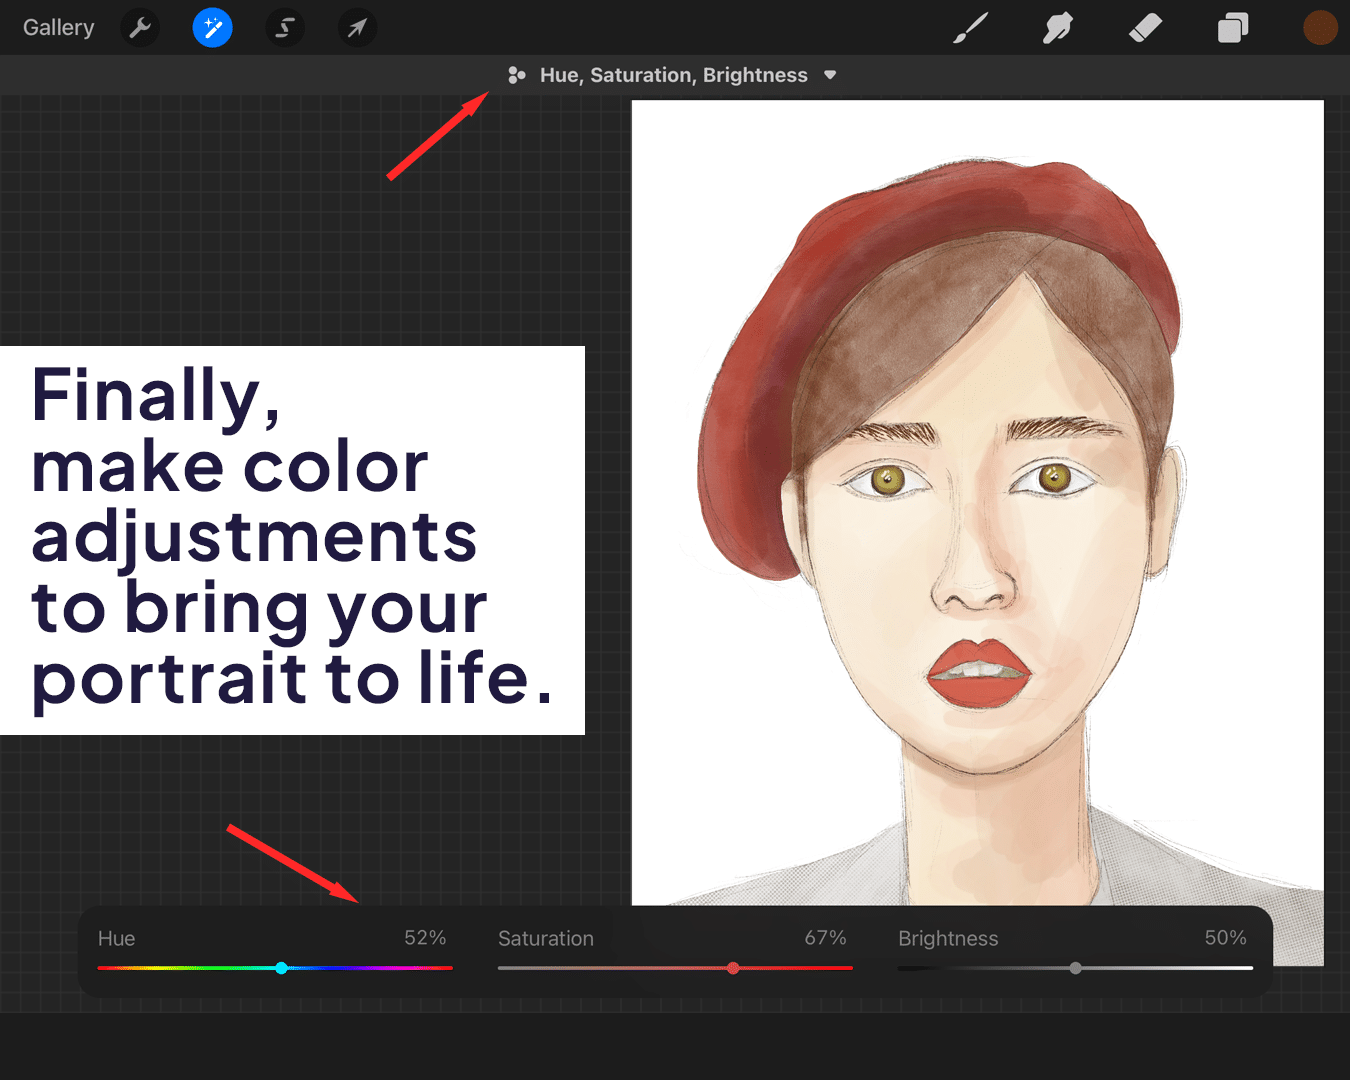
Sometimes, adjusting the overall contrast and saturation can bring your portrait to life.
Conclusion
Creating a digital portrait in Procreate can be a journey of discovery and creativity. Remember, every artist has their style, and part of the fun is finding yours. Don’t be afraid to experiment with different brushes and techniques. Most importantly, have fun with it!
So, grab your iPad, open Procreate, and let the faces start coming to life under your fingertips. Happy drawing, and may your digital art journey be as rewarding as it is colorful!
P.S.: Keep exploring, learning, and experimenting. The world of digital art is vast and waiting for you to make your mark! 🌟🎨🖌️


Share this article


