
How To Create Vector Shapes in Procreate?

Hey there, digital art adventurers! Have you ever embarked on a creative journey in Procreate, wishing to make crisp, scalable vector shapes, only to realize you’re in a pixel-based world? It’s like showing up to a pool party only to find out it’s a formal dinner – a bit of a mix-up, right?
I’m here to show you how to cleverly navigate Procreate to create vector-like shapes. While Procreate is inherently a raster (pixel-based) program, there are ways to mimic the clean, scalable properties of vector art. So, grab your digital art gear, and let’s dive into the world of ‘vector-style’ shapes in Procreate!
Understanding Procreate’s Nature
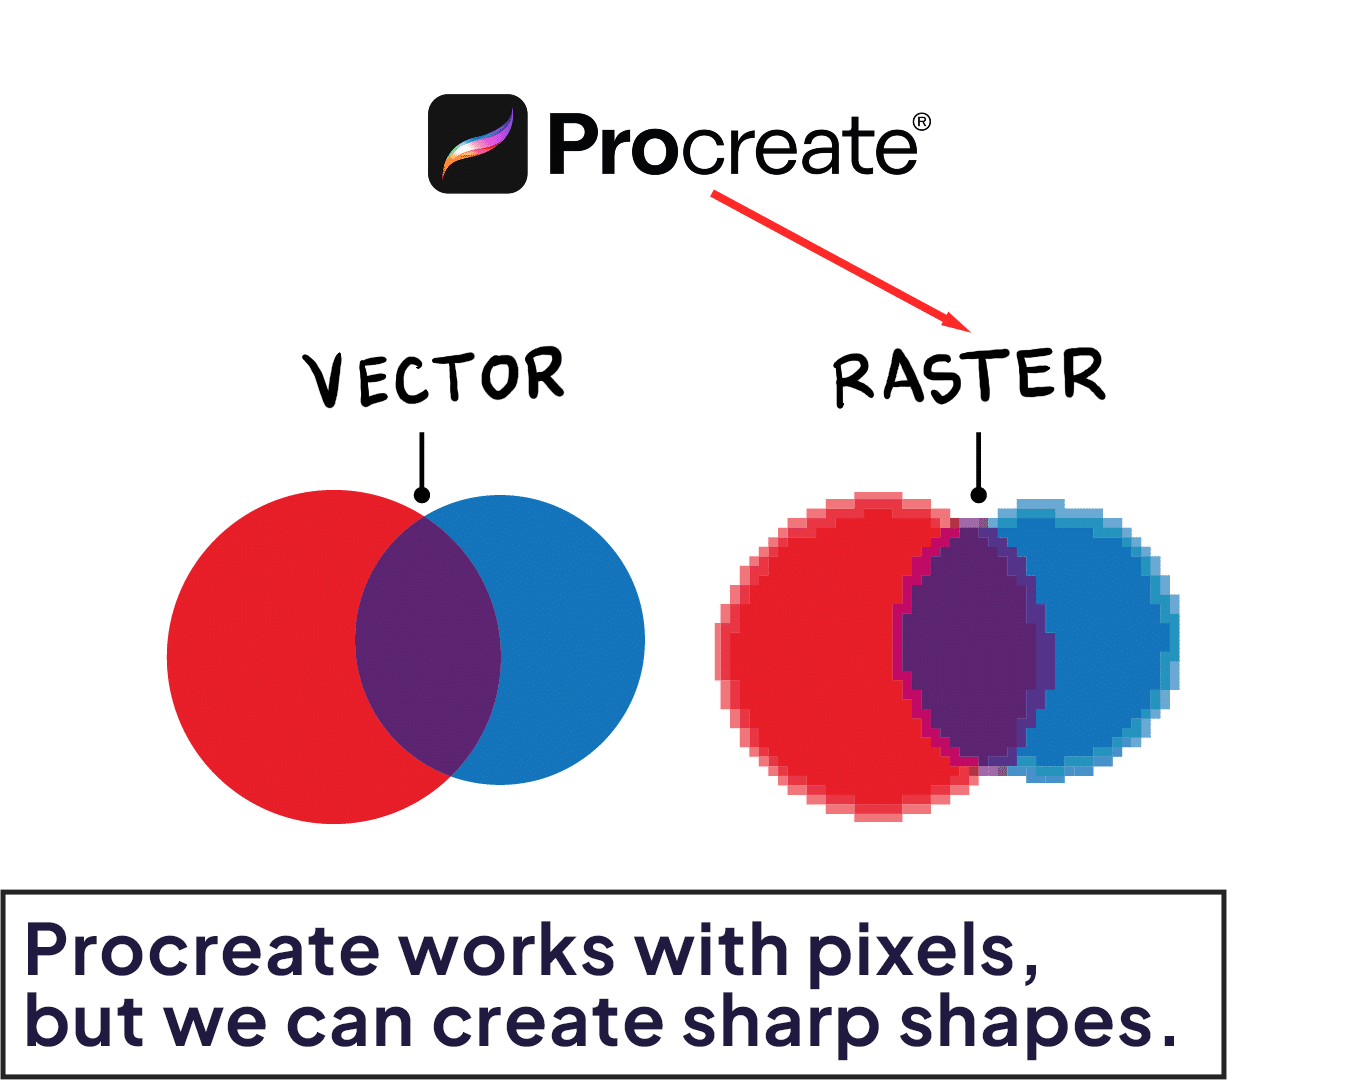
Remember, Procreate works with pixels, not vectors. However, we can still create sharp-edged, scalable-looking shapes. Explore a wide variety of procreate shape brushes to enhance your artwork.
Starting with Sharp Edges
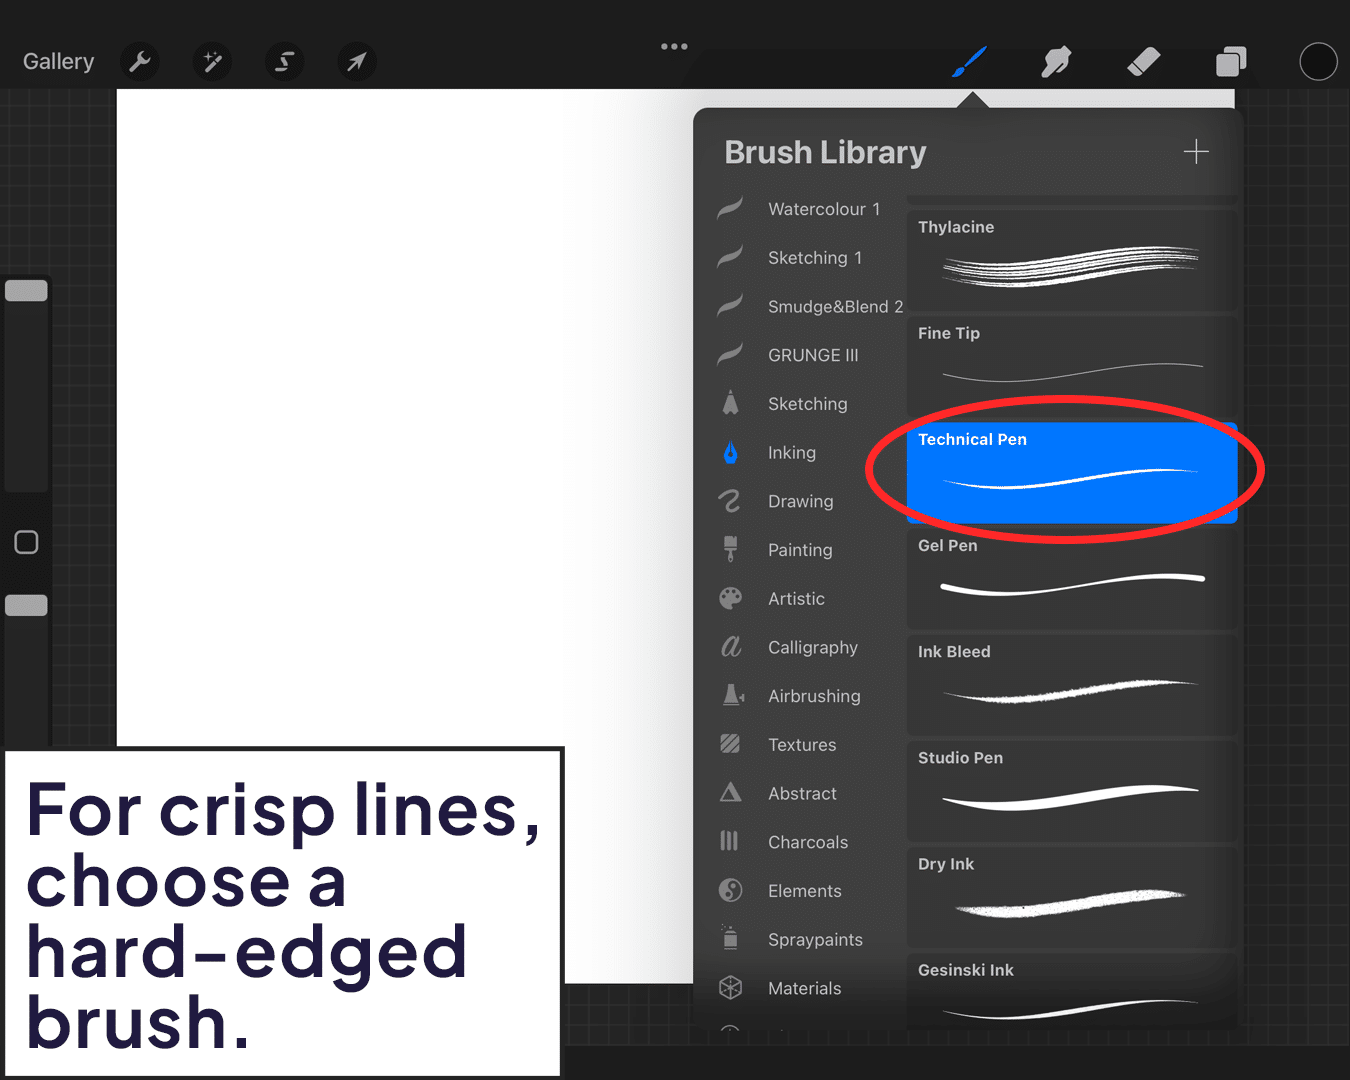
Choose a hard-edged brush from your brush library for crisp lines.
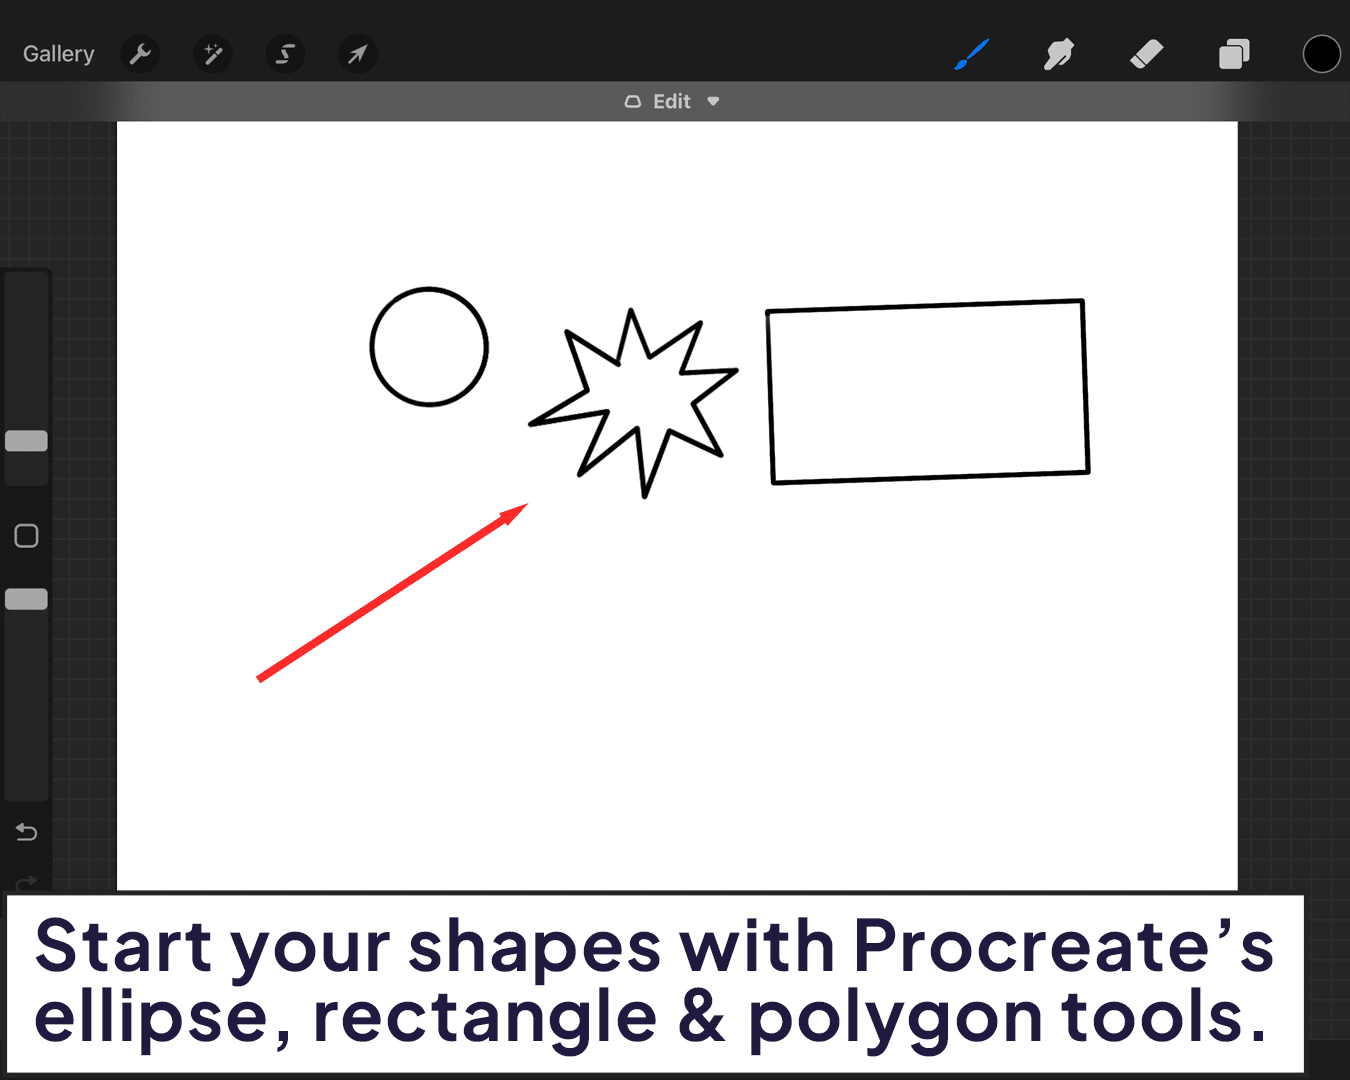
Utilize Procreate’s ellipse, rectangle, and polygon tools to start your shapes. These tools help in creating clean, defined edges.
Utilizing QuickShape for Precision
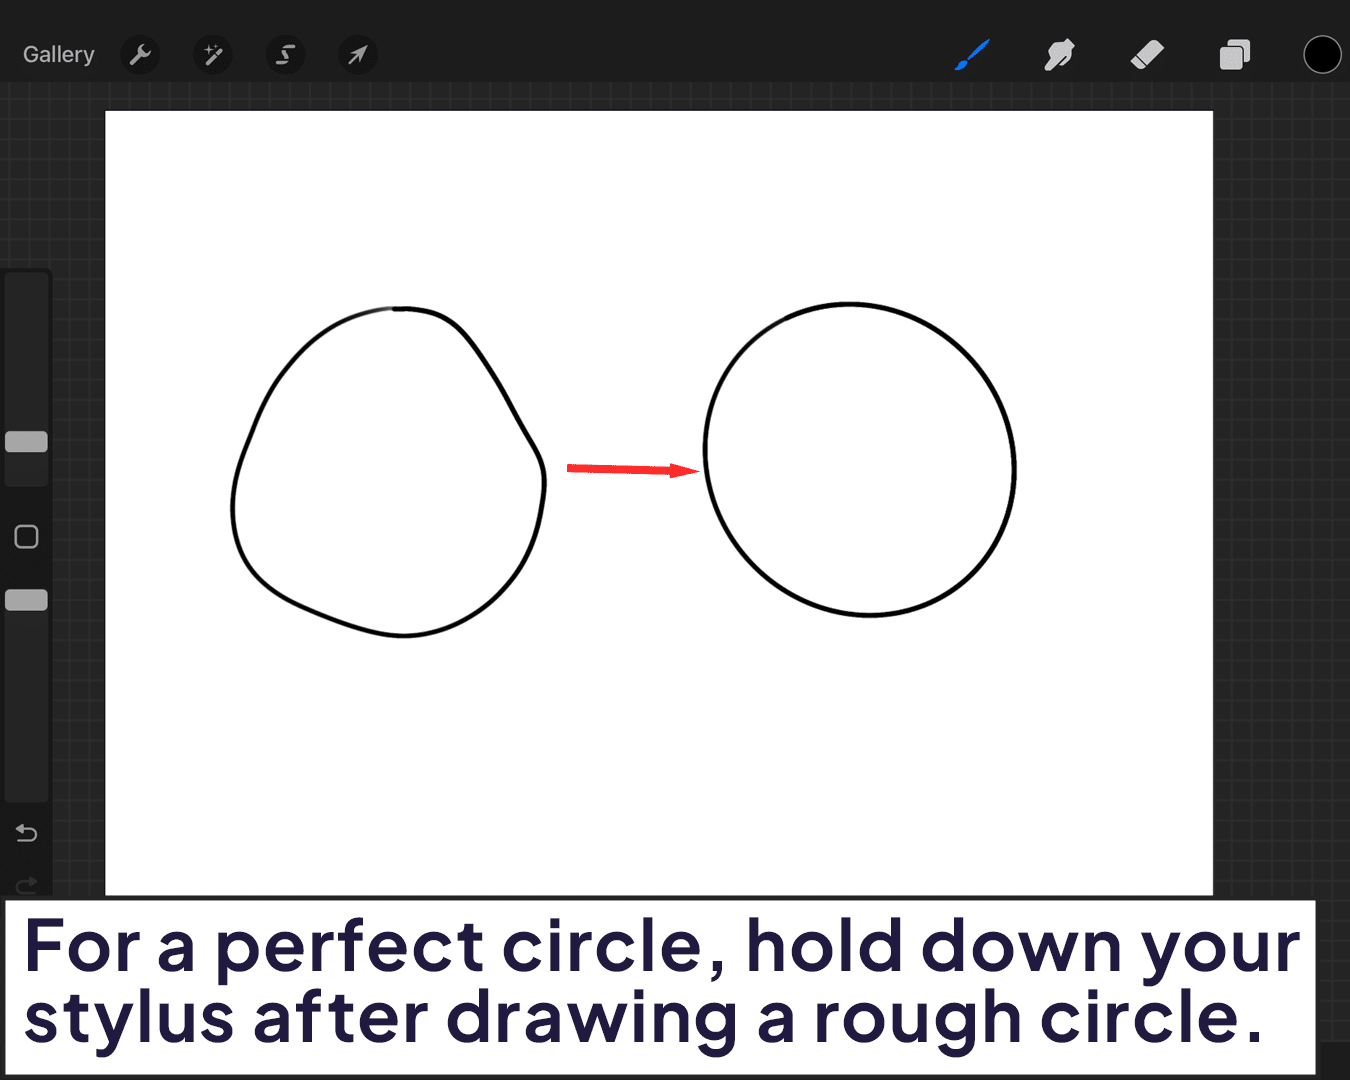
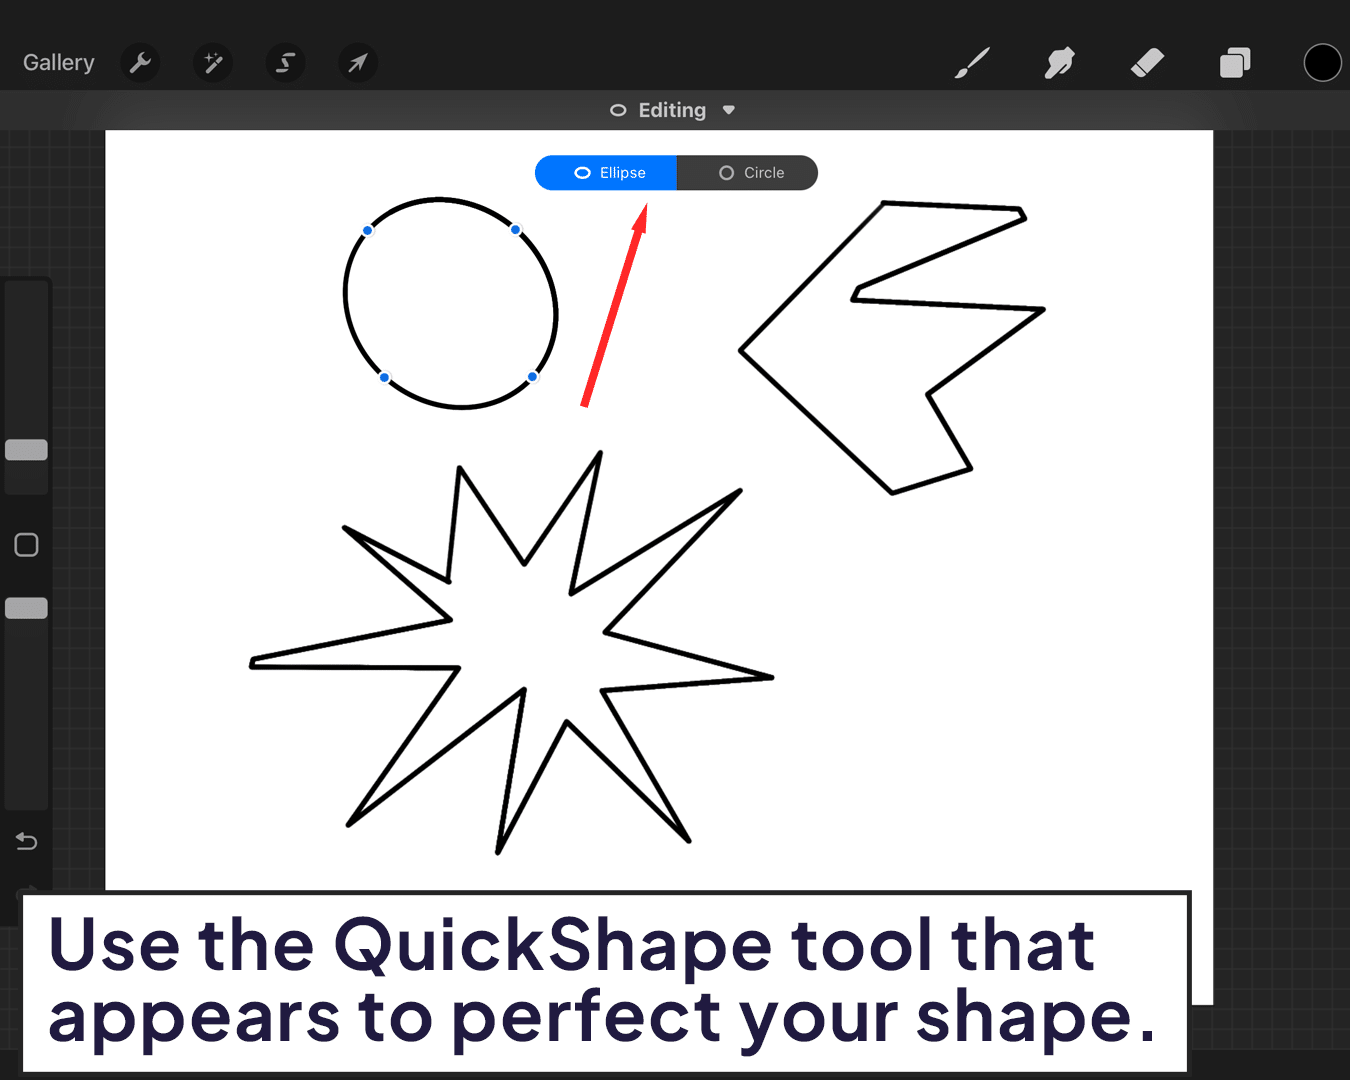
When drawing a shape, like a circle or square, draw it roughly and then hold your stylus down. Procreate will auto-correct it into a cleaner shape.
Use the QuickShape tool that appears to fine-tune your shape further.
Creating Custom Shapes
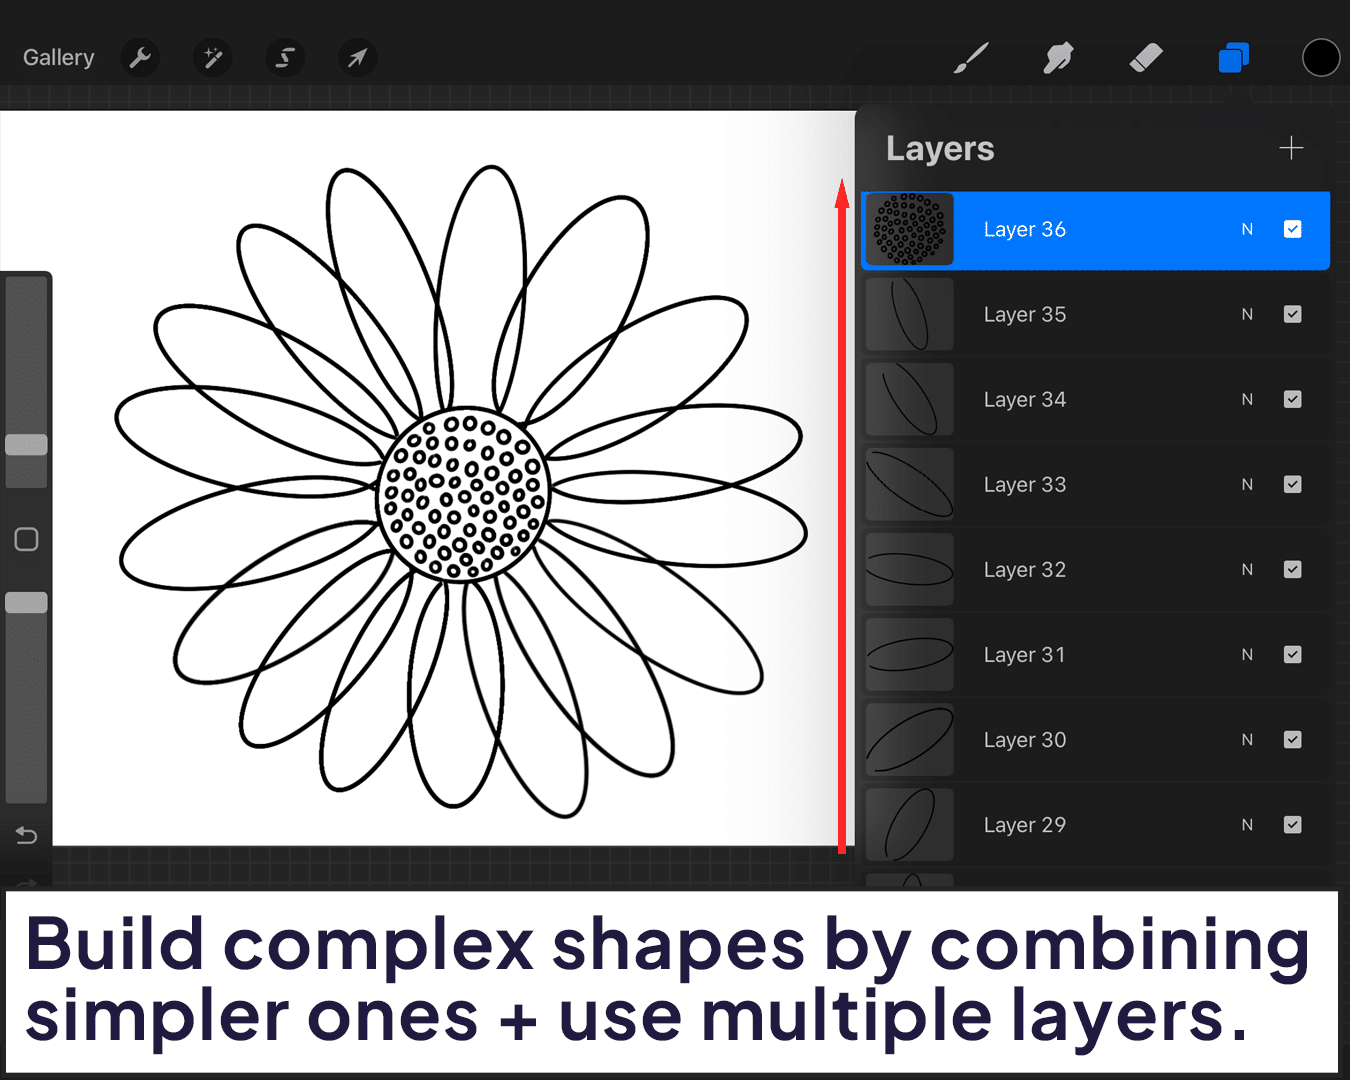
Build complex shapes by combining simpler ones. Use multiple layers for easier editing.
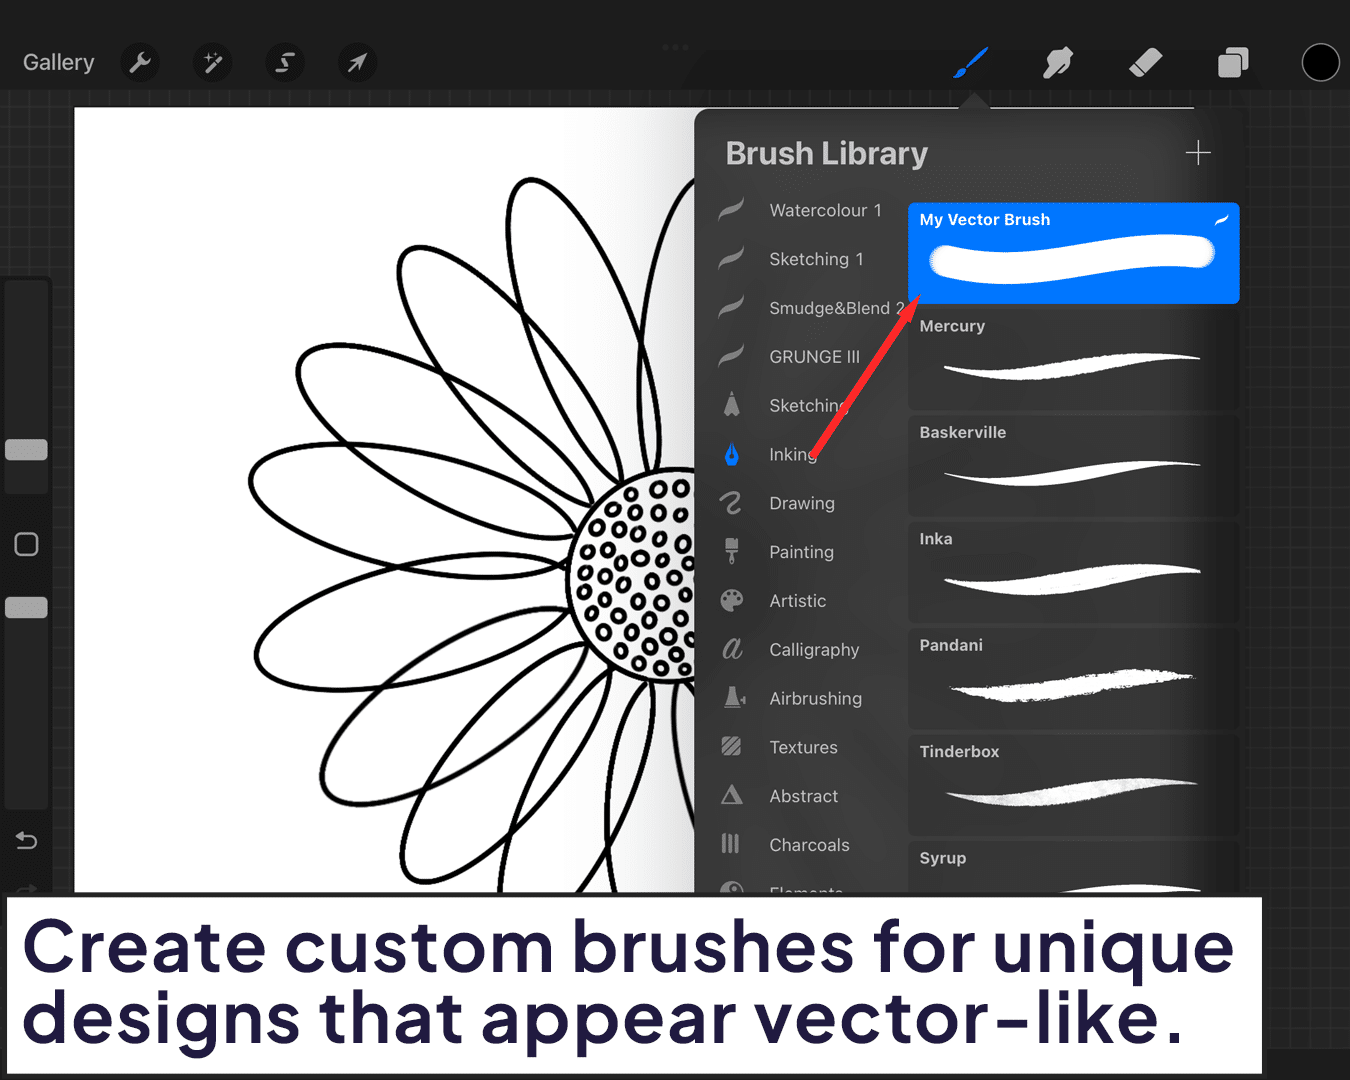
Custom Brushes for Unique Edges:
Experiment with creating custom brushes for unique edge designs that appear vector-like. For those looking to refine their geometric shapes, check out how to create perfect geometric shapes in Procreate. And if you’re ready to take your skills to the next dimension, learn how to draw 3D shapes in Procreate.
Keeping Your Shapes ‘Scalable’
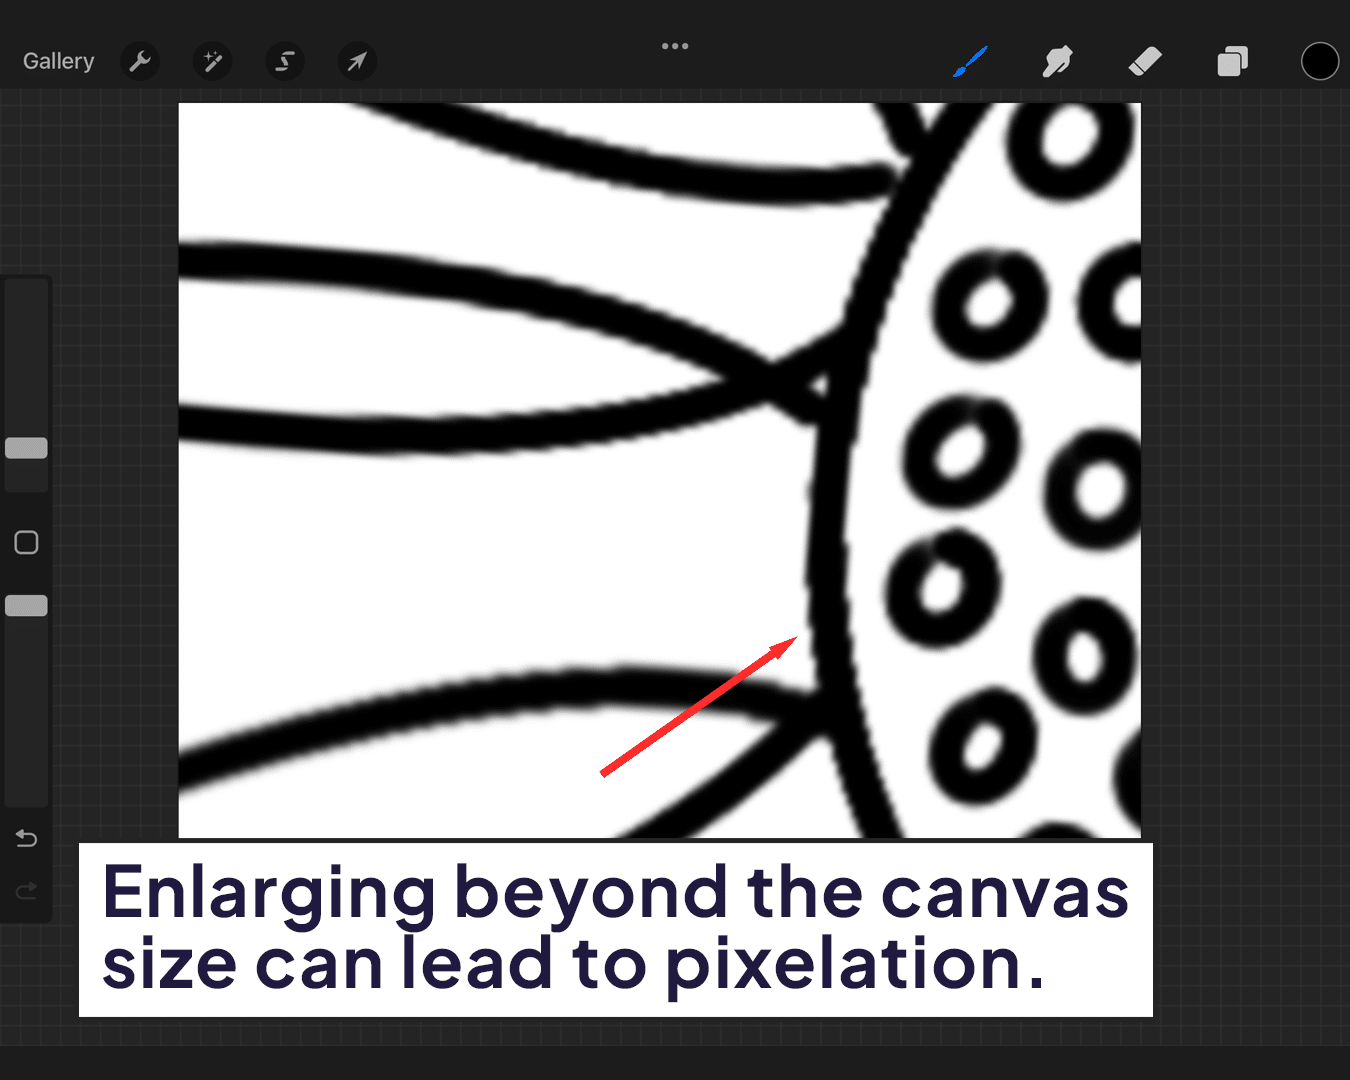
To mimic vector scalability, start your canvas at a high resolution. This way, your shapes retain their quality when enlarged.
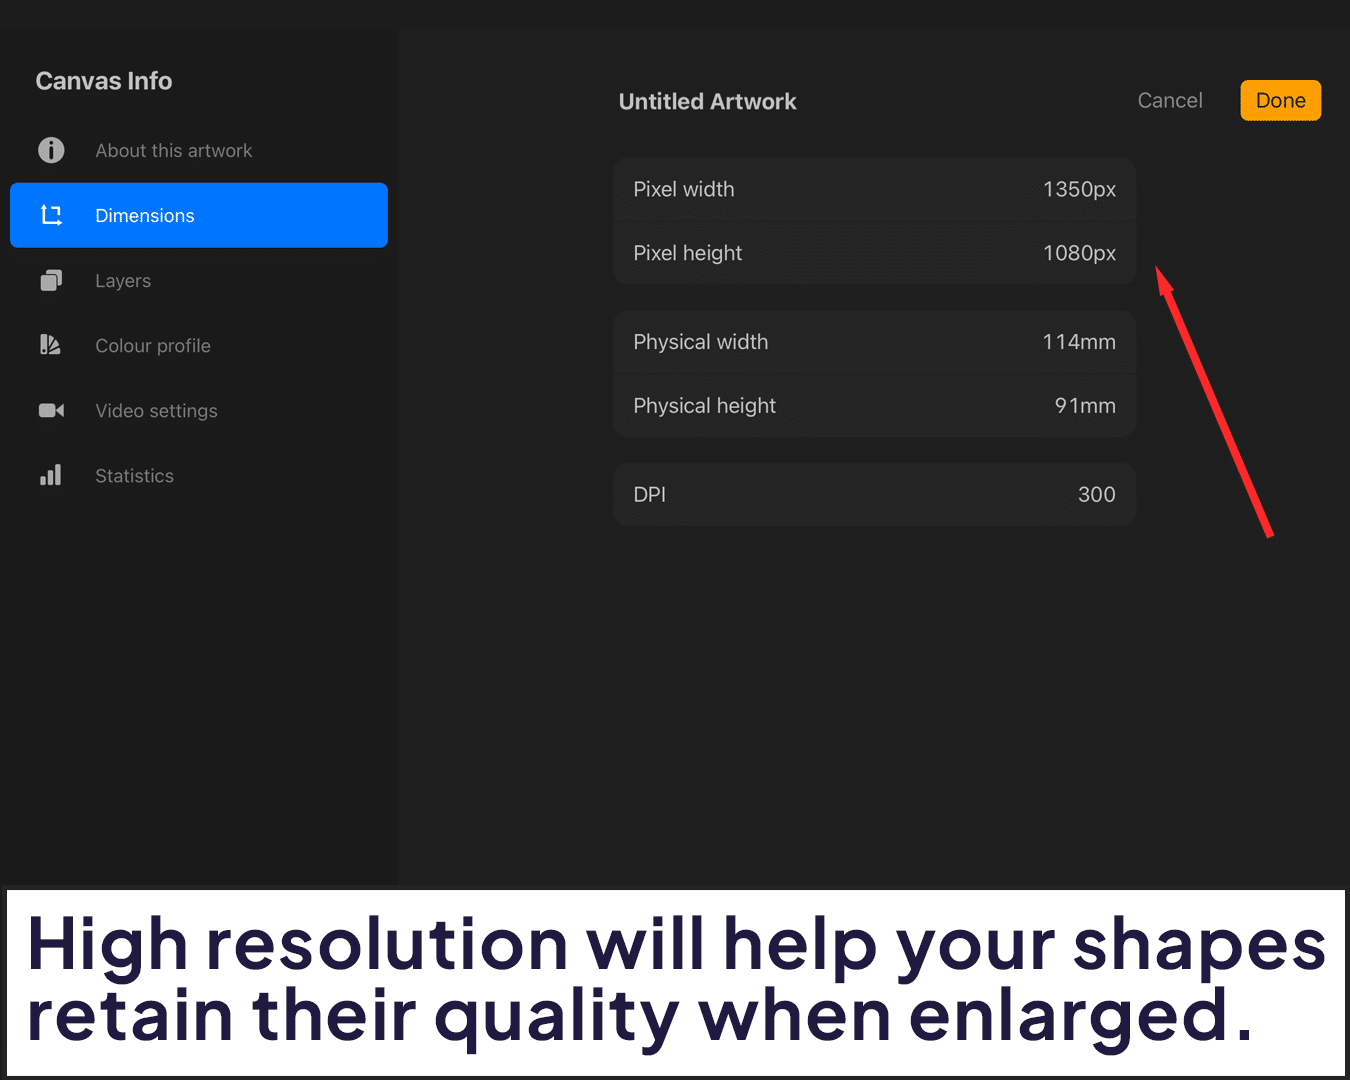
Be mindful of the resolution limits. Enlarging beyond the canvas size can lead to pixelation.
Finalizing and Exporting
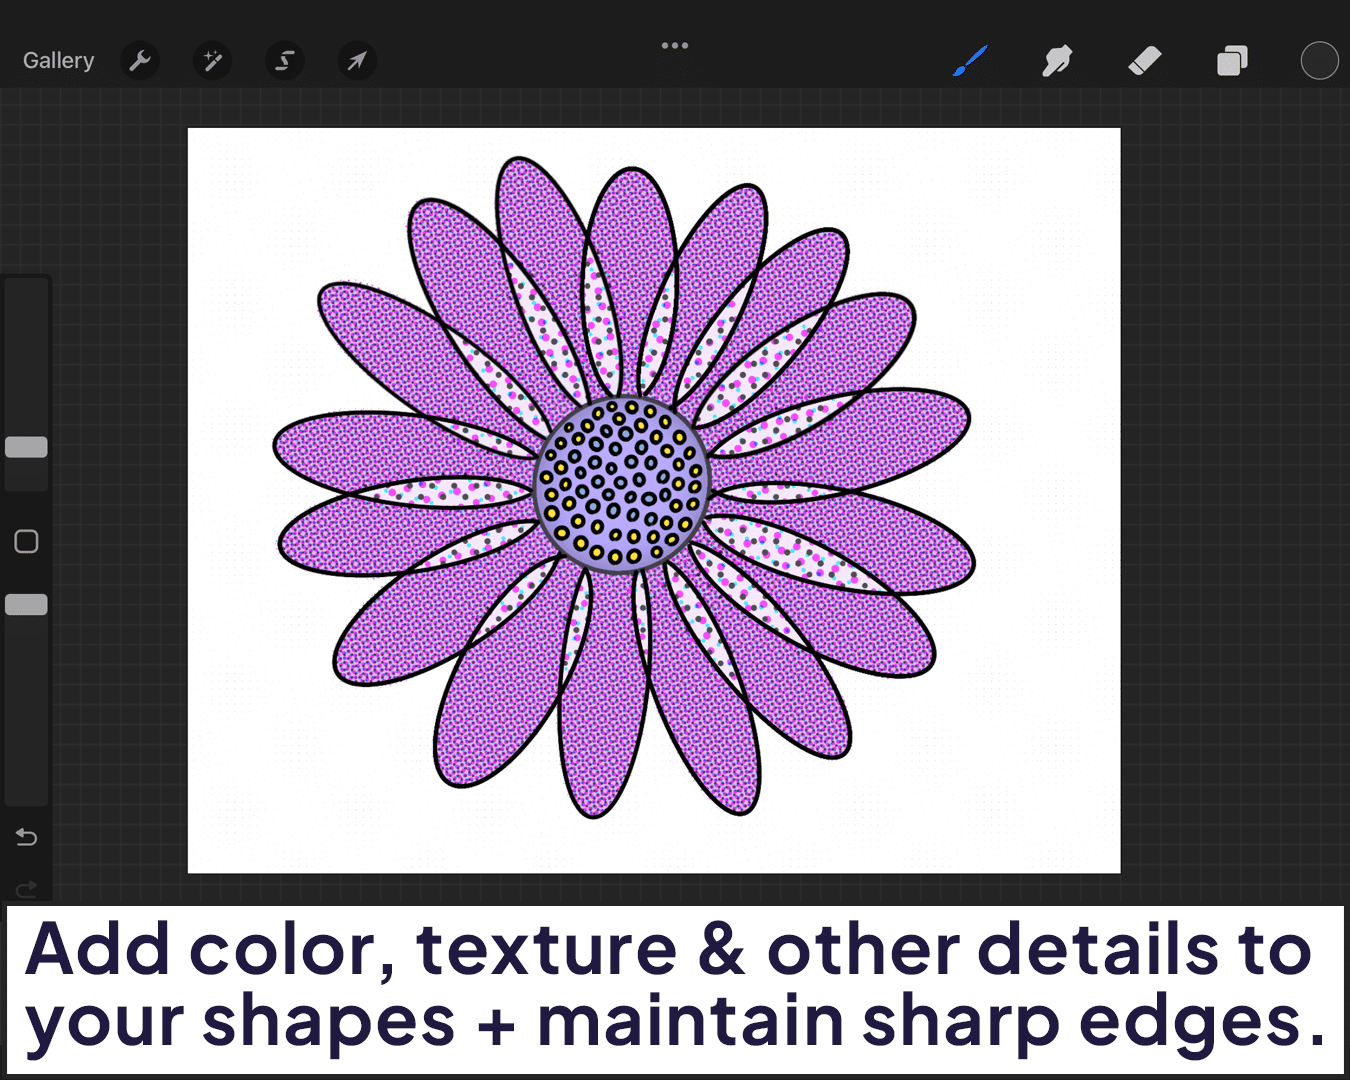
Add color, texture, or other details to your shapes while maintaining sharp edges.
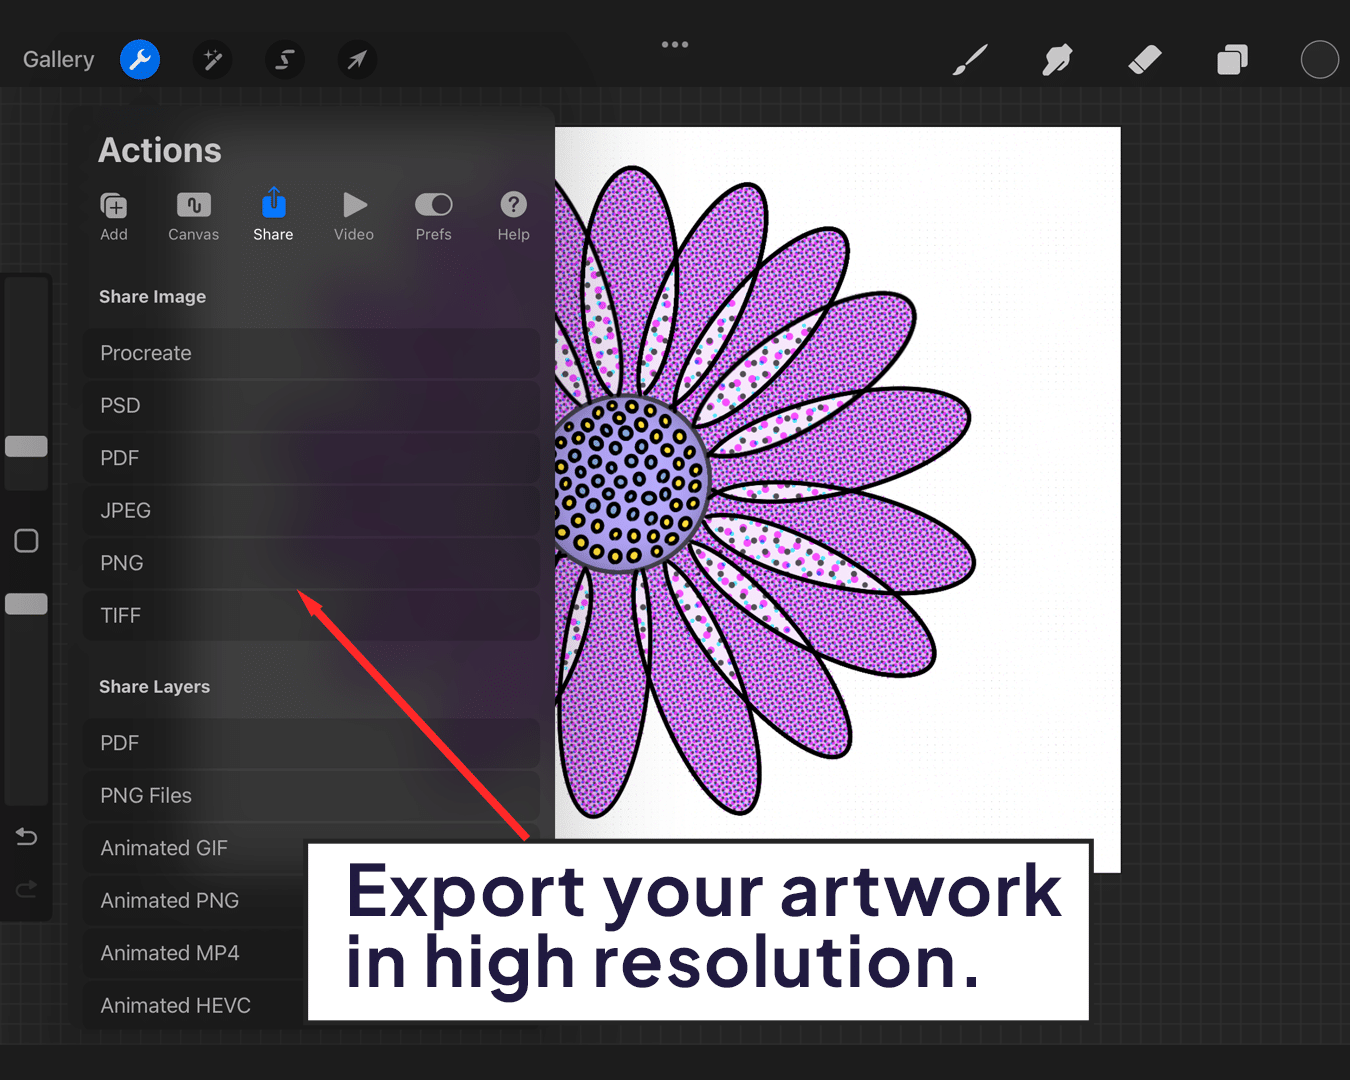
Export your artwork in high resolution. If you’re using it for print or web, consider the final size to ensure quality.
Conclusion
Creating vector-style shapes in Procreate can be a fun and rewarding challenge, blending the world of pixels with the precision of vectors.
While Procreate is pixel-based, with the right techniques, you can still achieve clean, sharp, and scalable-looking shapes. It’s all about understanding the tools at your disposal and using them creatively. So, unleash your vector spirit in Procreate and transform your digital canvas into a realm of sharp, sleek shapes!
Happy vector-style creating!


Share this article


