
How To Create Perfect Geometric Shapes in Procreate?

Hello, there! Ever felt like you’re in a high-stakes relationship with geometric shapes in Procreate, but they just won’t cooperate? You aim for a perfect circle, and it’s more of a wobbly potato; a square that’s suspiciously leaning towards a rectangle?
Well, it’s time to put those geometry woes to rest! Today, I’m here to guide you through the surprisingly simple process of creating flawless geometric shapes in Procreate, utilizing Procreate shape brushes.
Let’s turn those geometric misfits into perfect figures that even Euclid would applaud!
Set Up Your Canvas
Open Procreate and select a canvas size that suits your project. A clear space is your best friend for geometric work.
Choose Your Brush
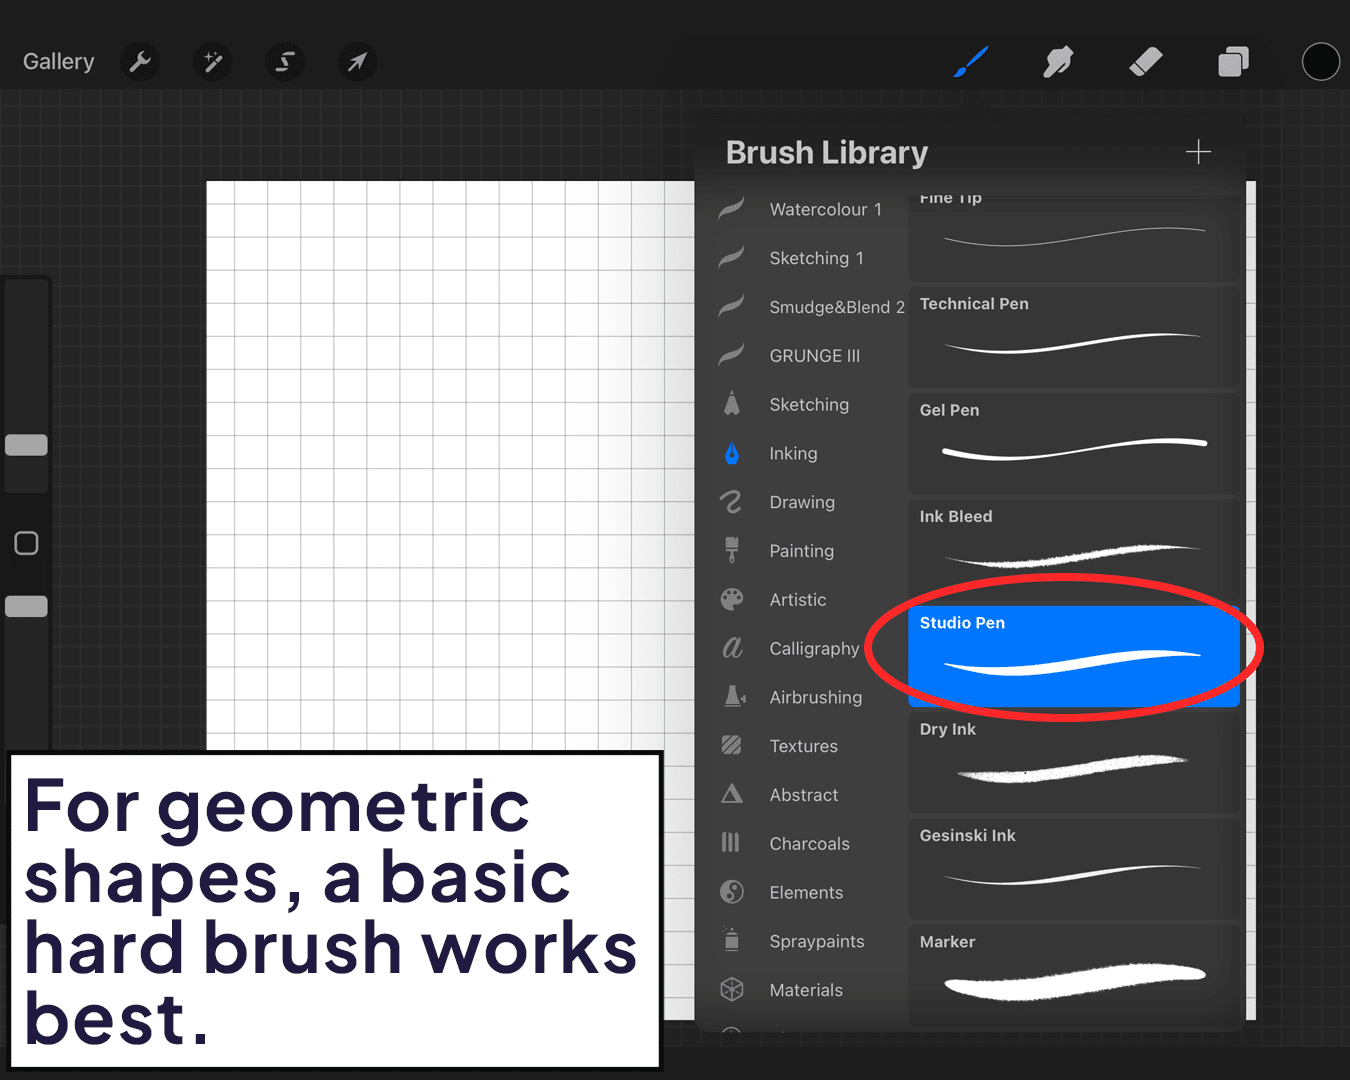
For geometric shapes, a basic hard brush works best. You want clean, crisp lines.
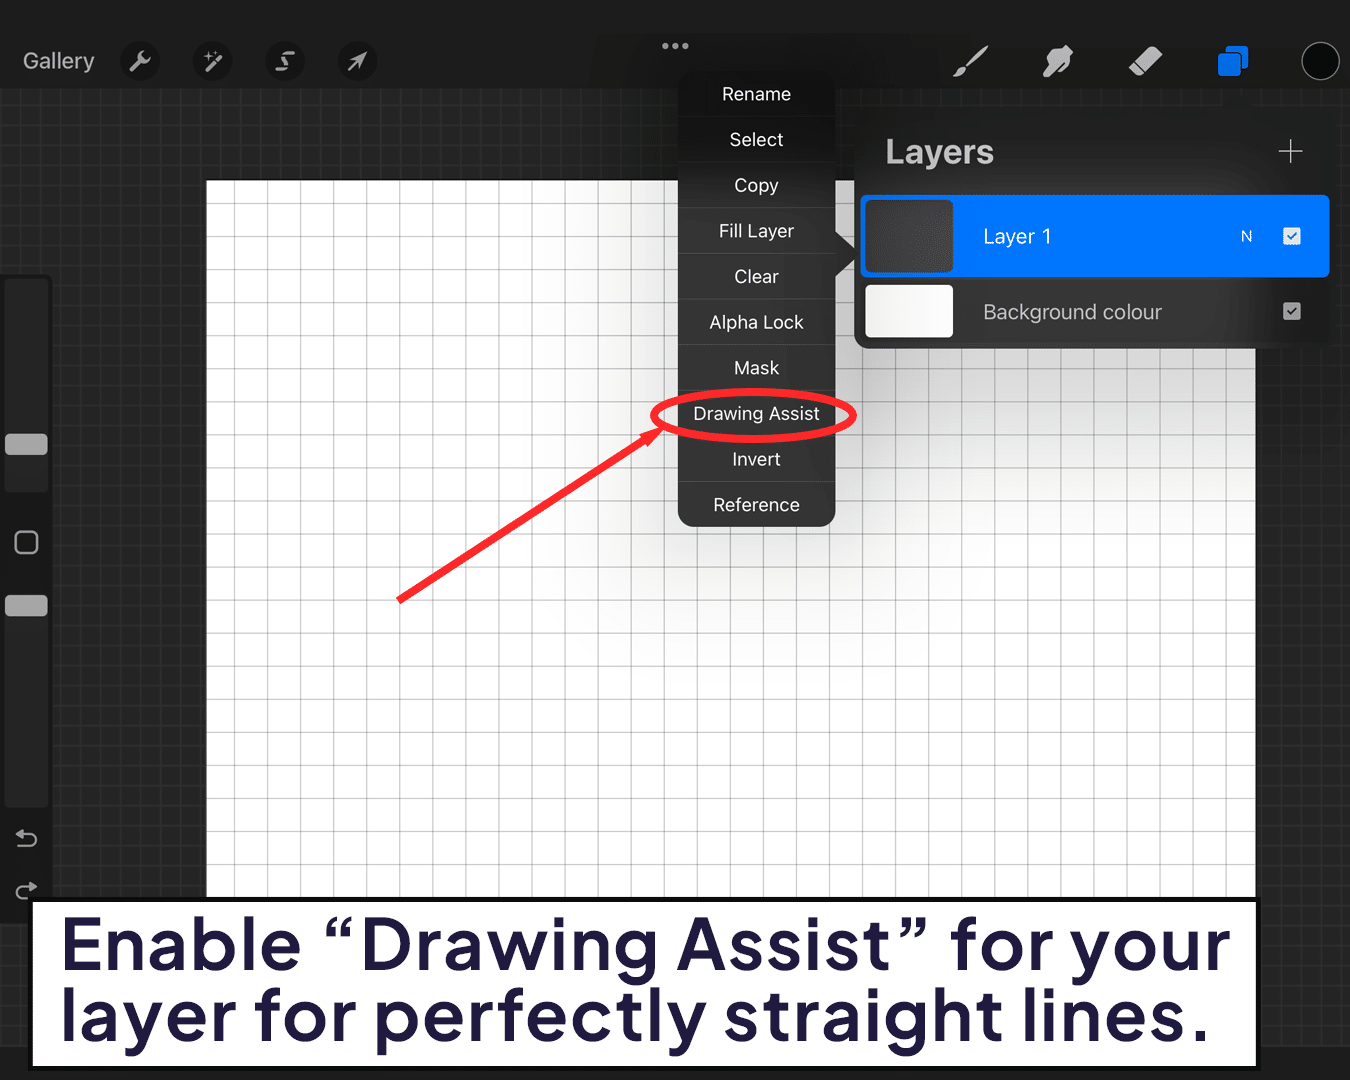
Enable ‘Drawing Assist’ for your layer if you want perfectly straight lines or symmetrical shapes.
Drawing Basic Shapes
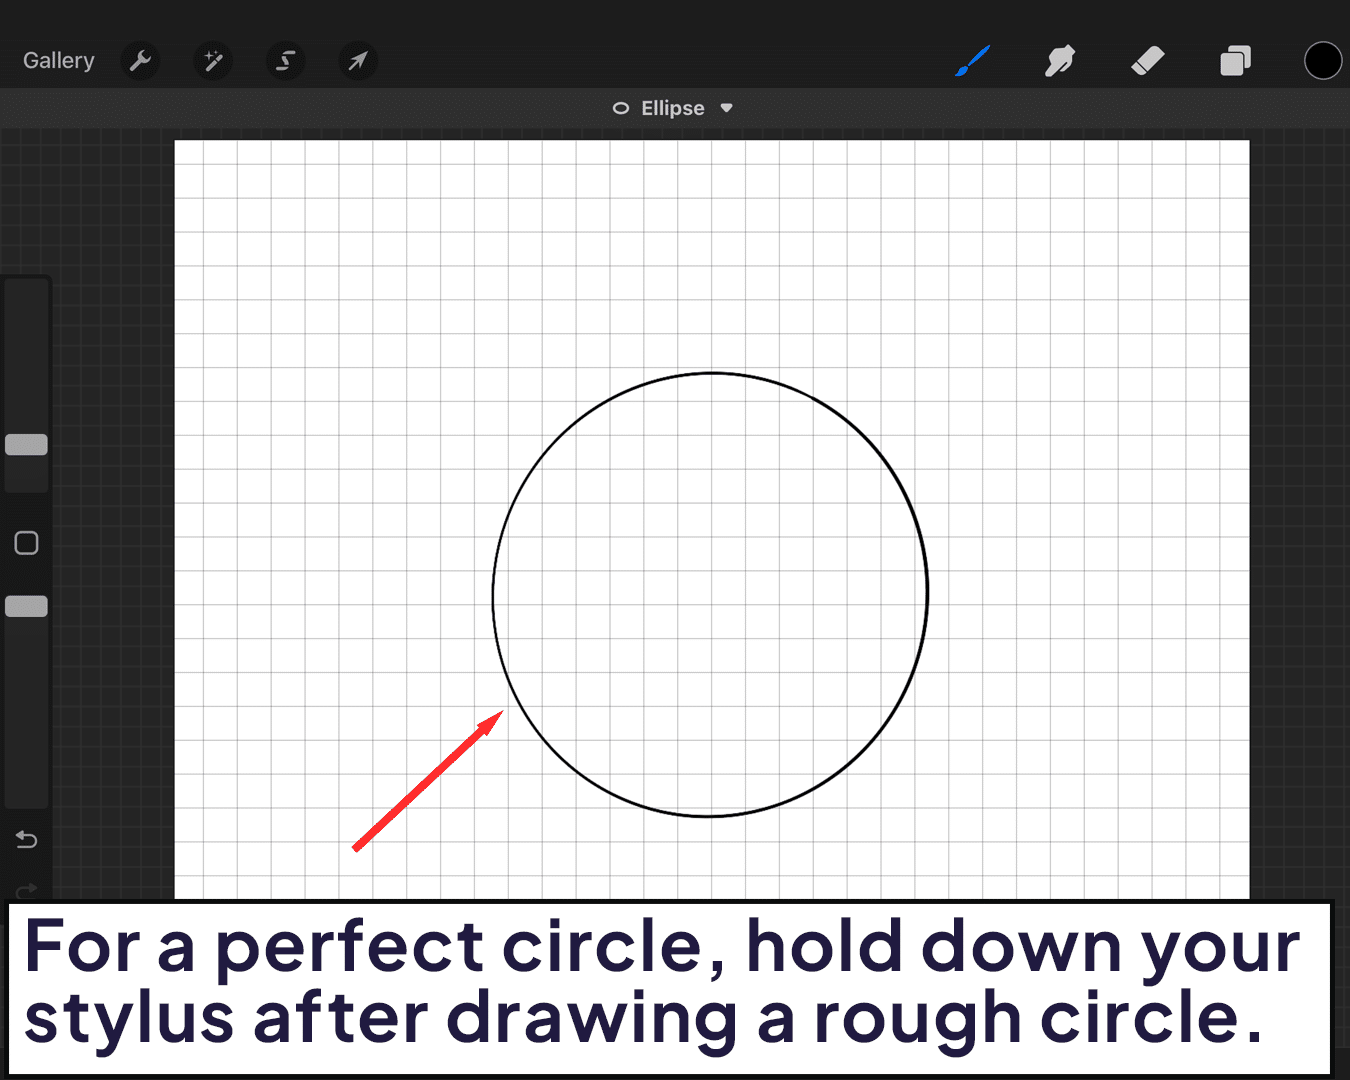
To draw a perfect circle, hold down your stylus after drawing a rough circle. Procreate will auto-correct it. Hold and drag to resize, and tap with another finger to maintain its proportions.
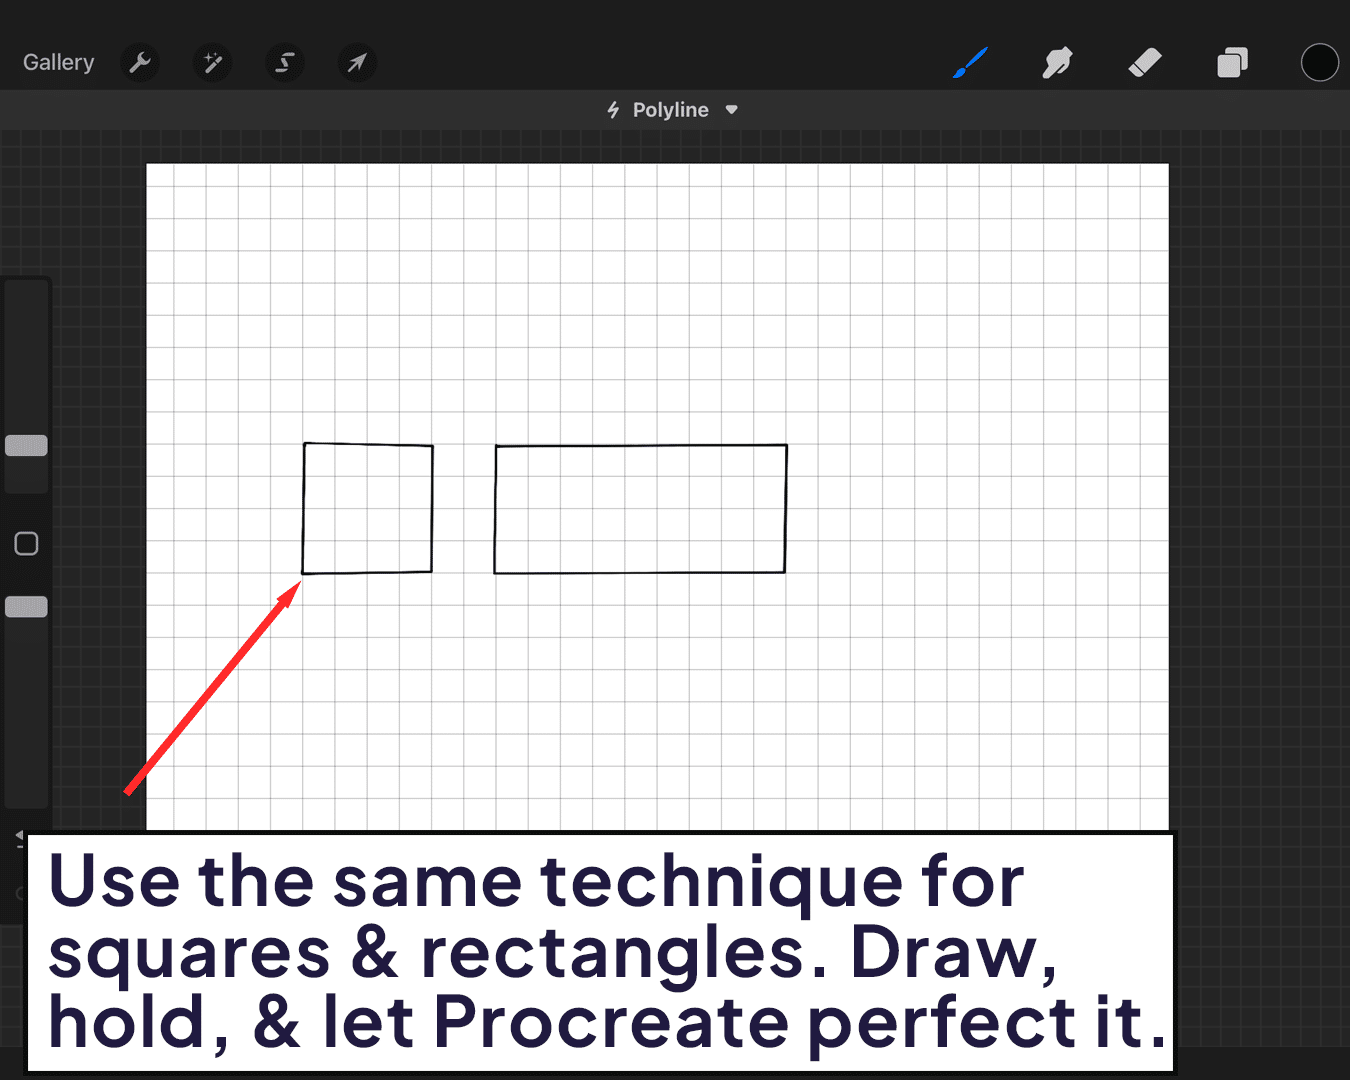
Squares and Rectangles:
Use the same technique. Draw, hold, and let Procreate perfect it. Use another finger to keep it a square.
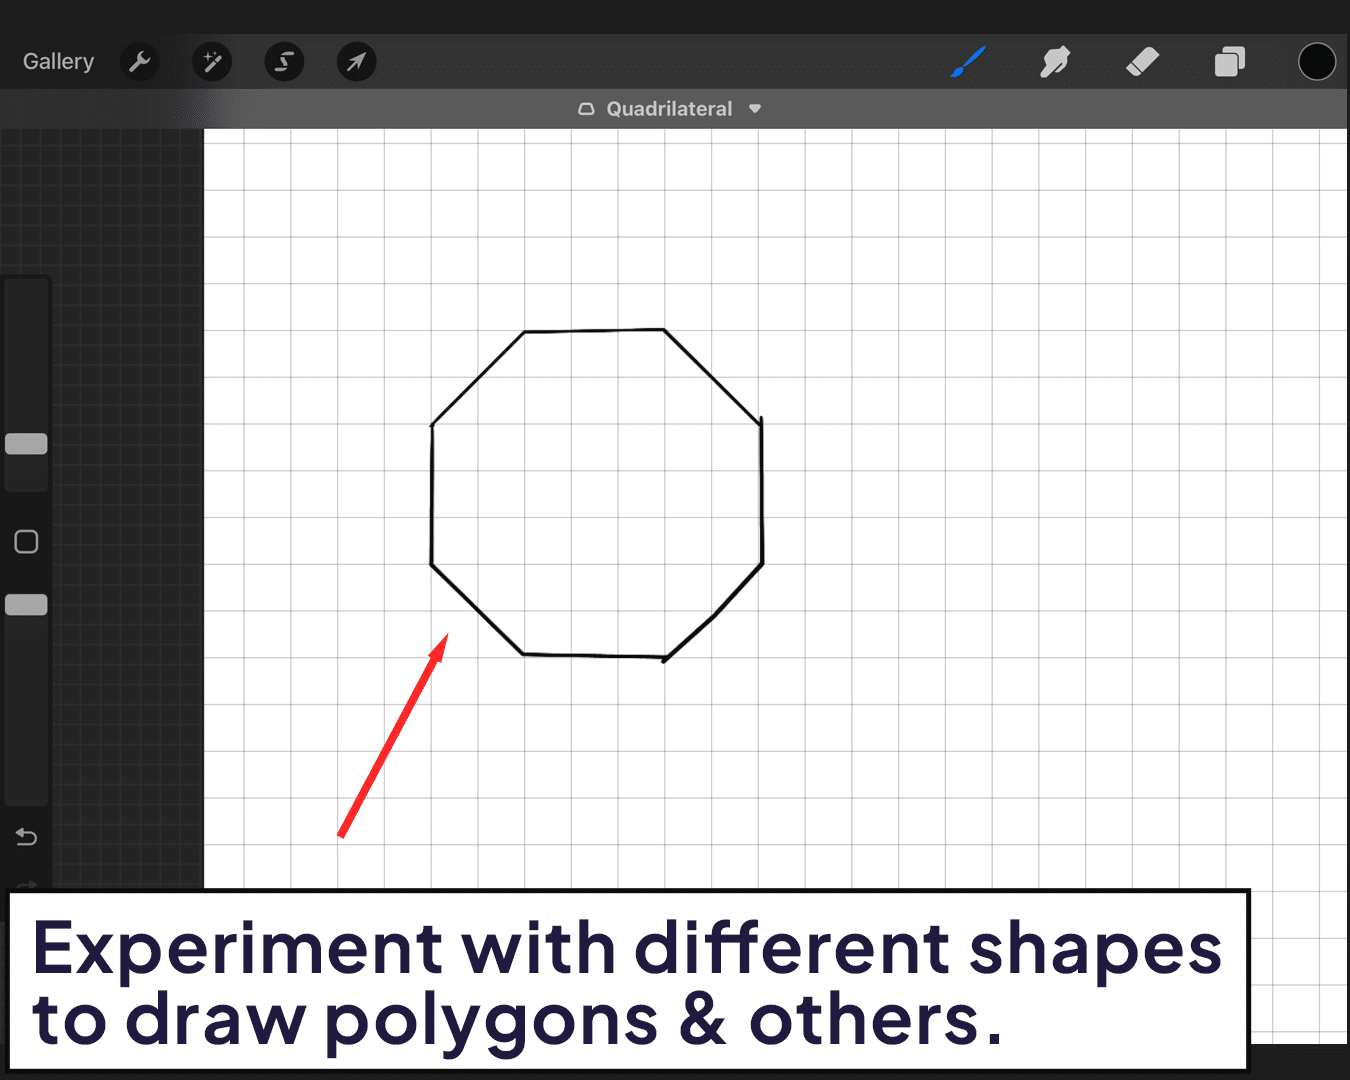
Polygons and More
Experiment with different shapes. Procreate offers immense flexibility once you master the basic technique.
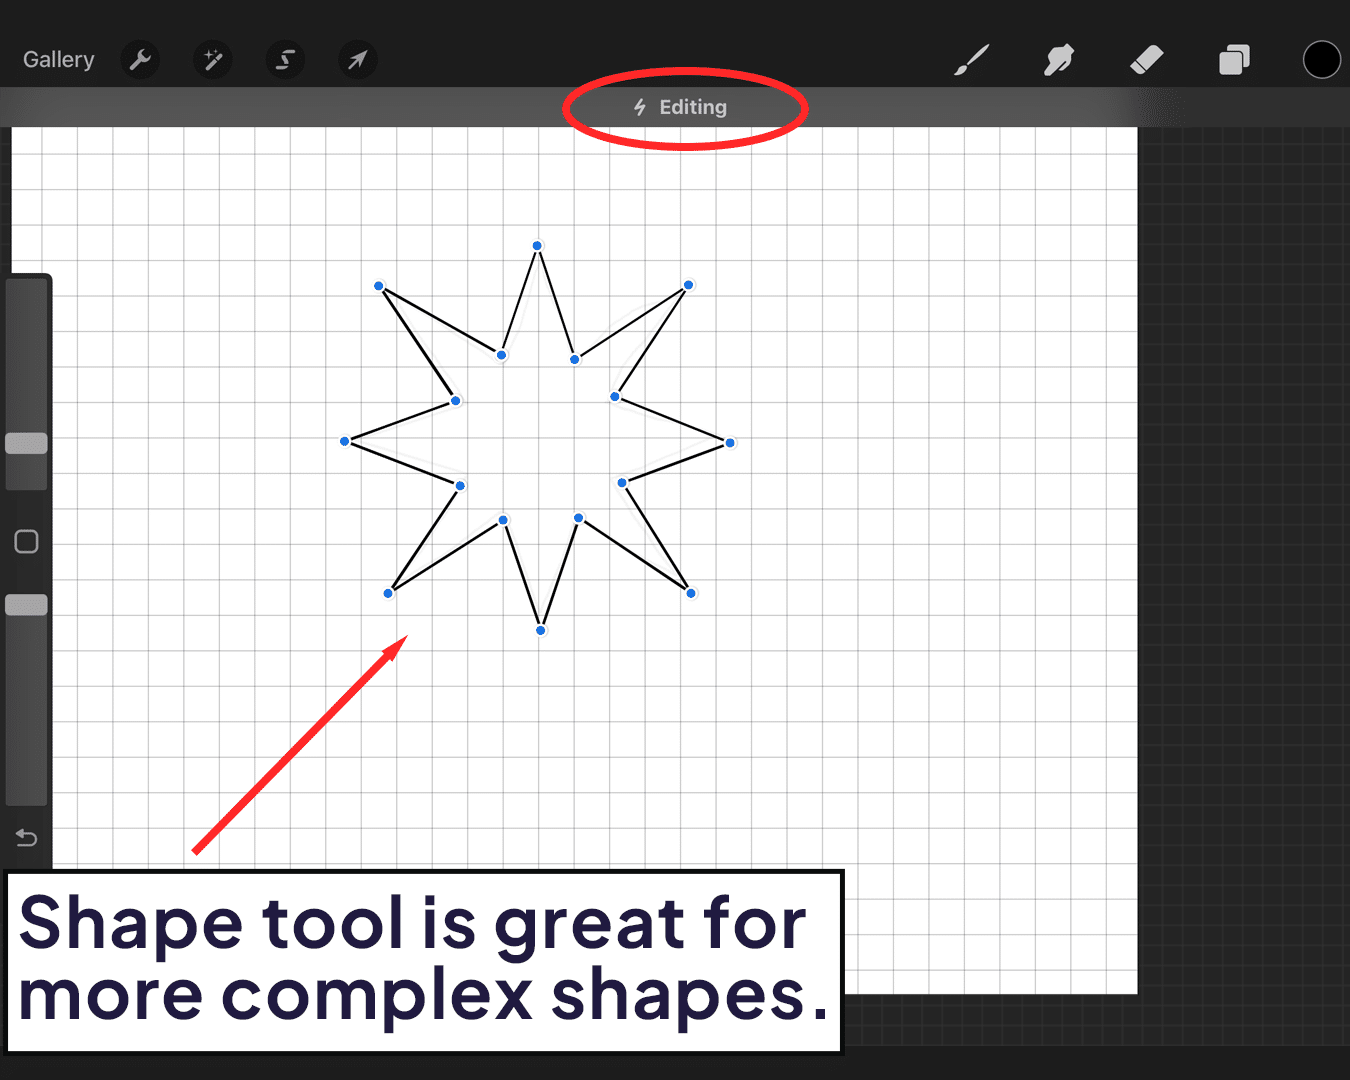
Using the Shape Tool
For more complex shapes, use Procreate’s shape tool. It offers a variety of pre-set shapes that you can customize. If you’re aiming to create vector-like precision in your shapes, you might find the tutorial on how to create vector shapes in Procreate particularly useful.
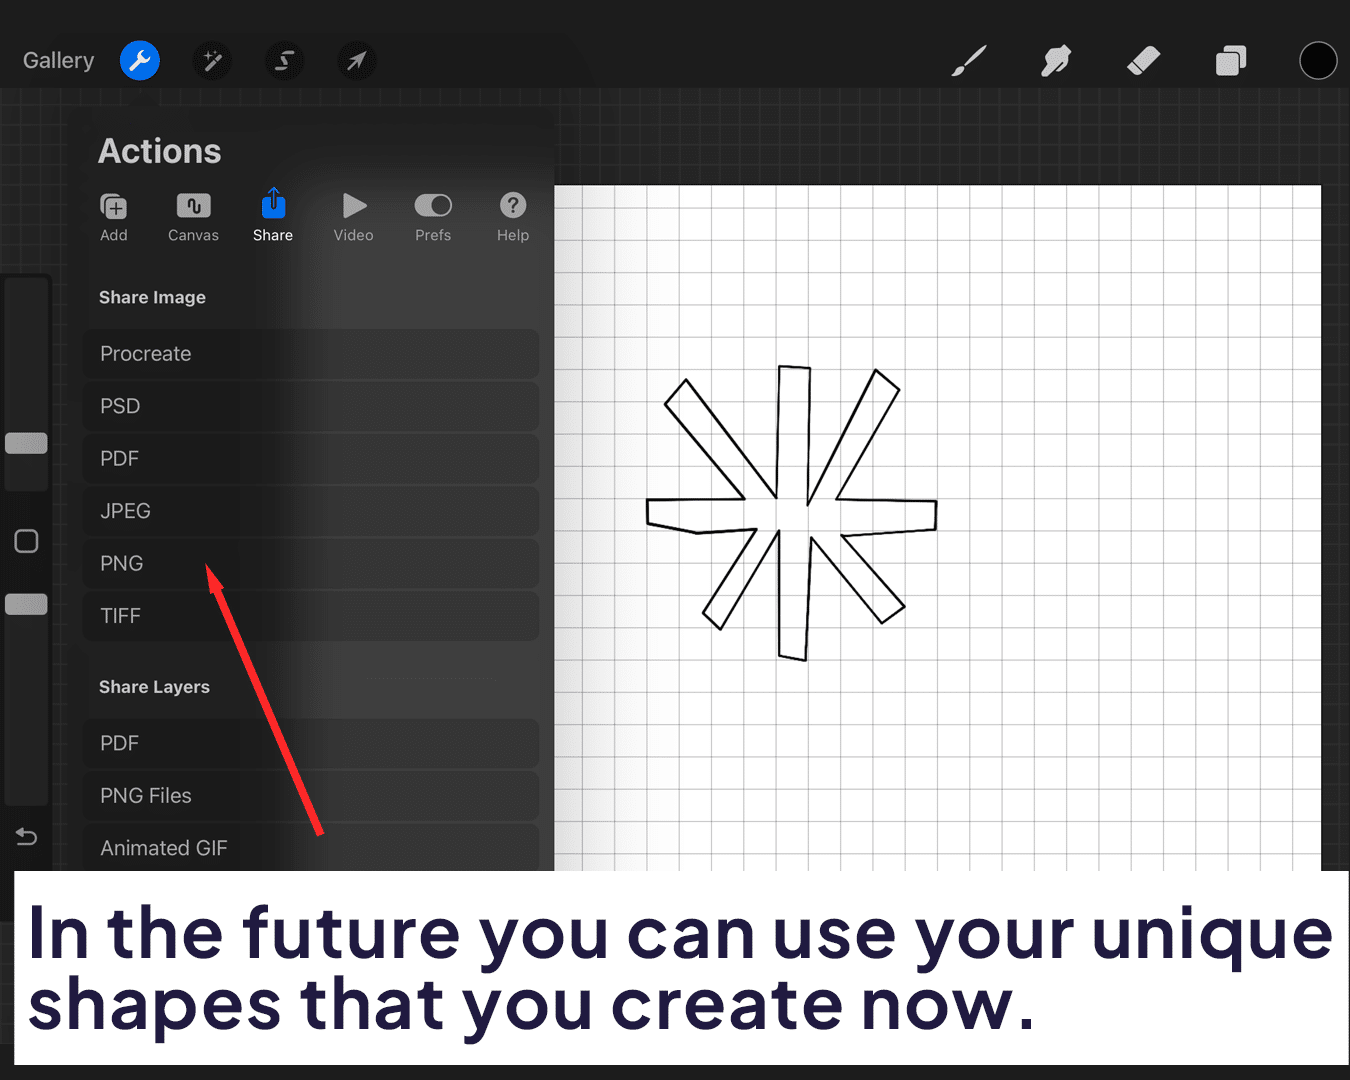
Custom Shapes
You can also create your own shapes and save them for future use.
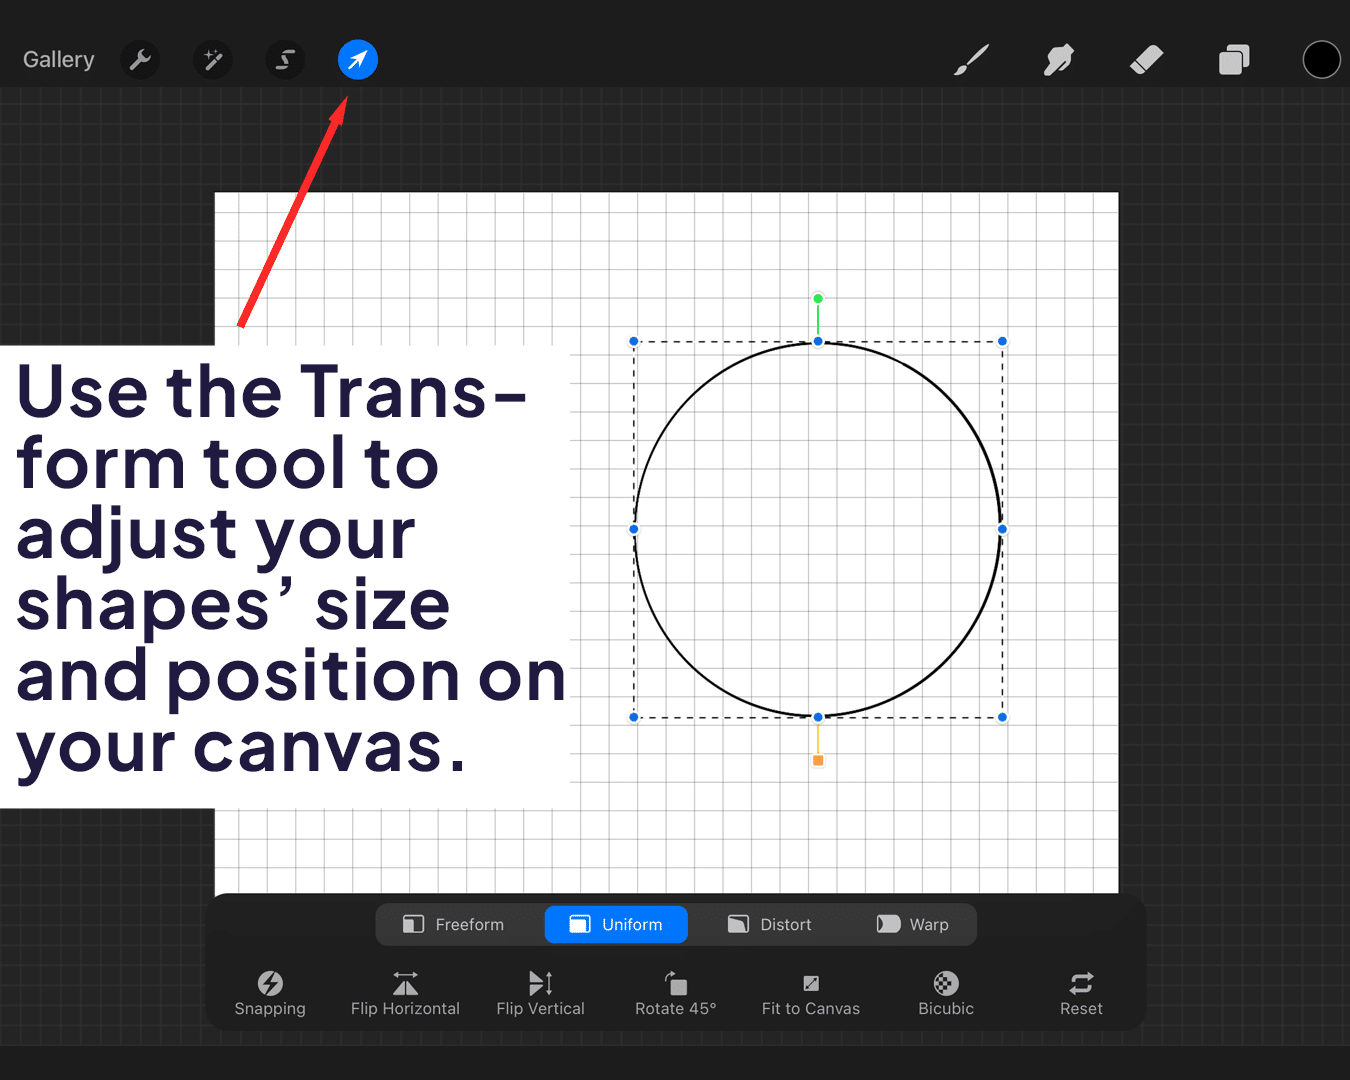
Fine-Tuning and Experimentation
Use the Transform tool to adjust your shapes’ size and position on your canvas.
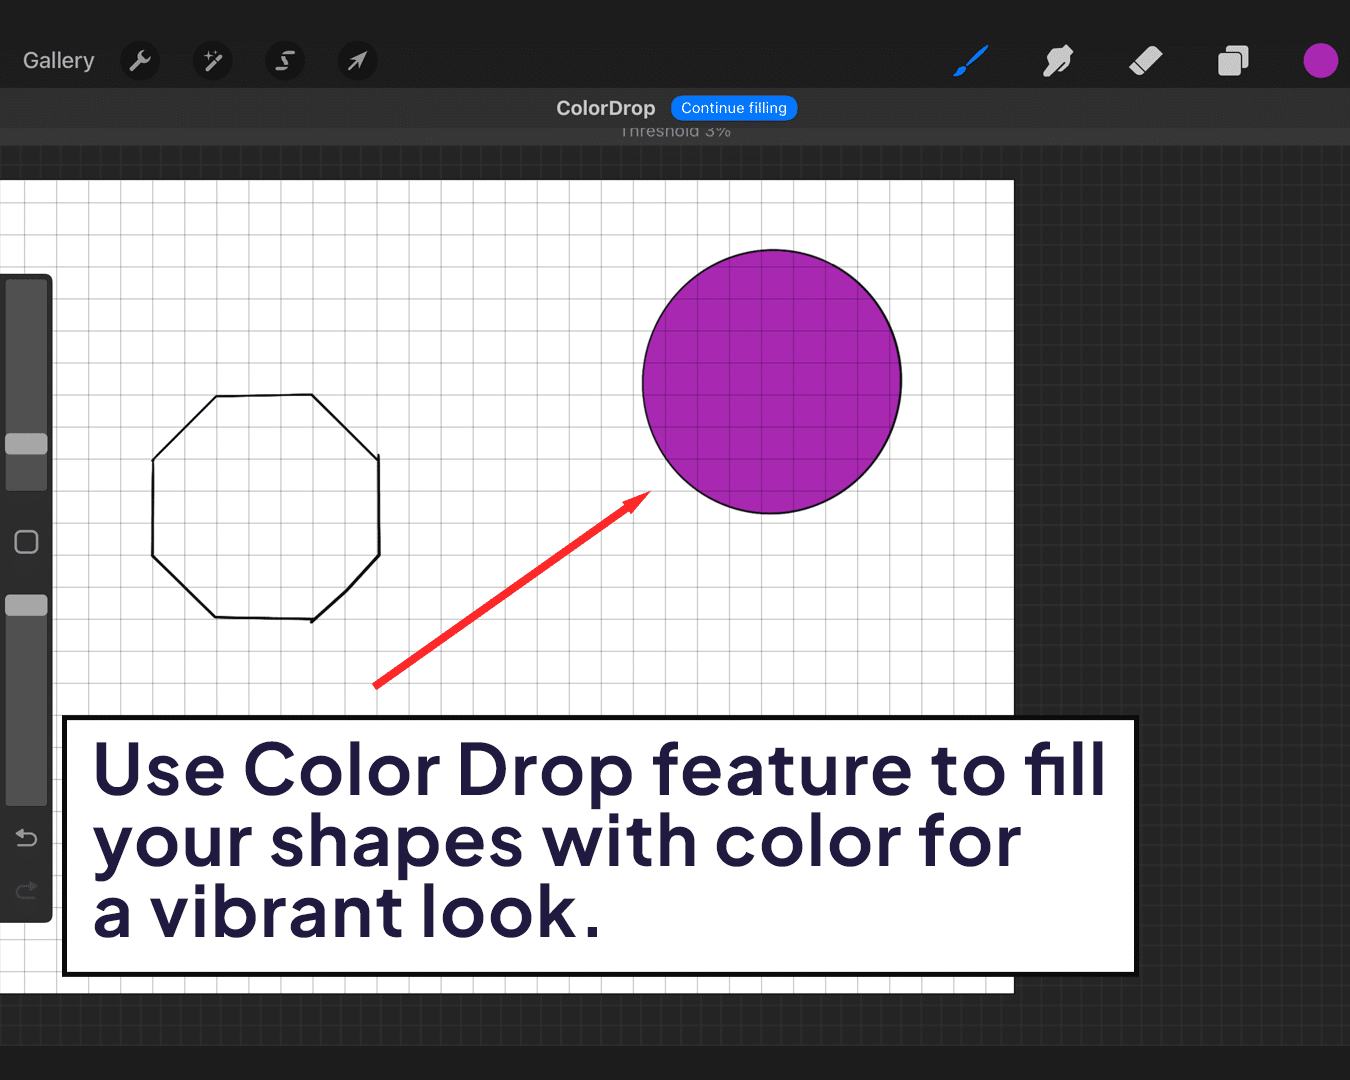
Color Filling
Fill in your shapes using the Color Drop feature for a clean, vibrant look.
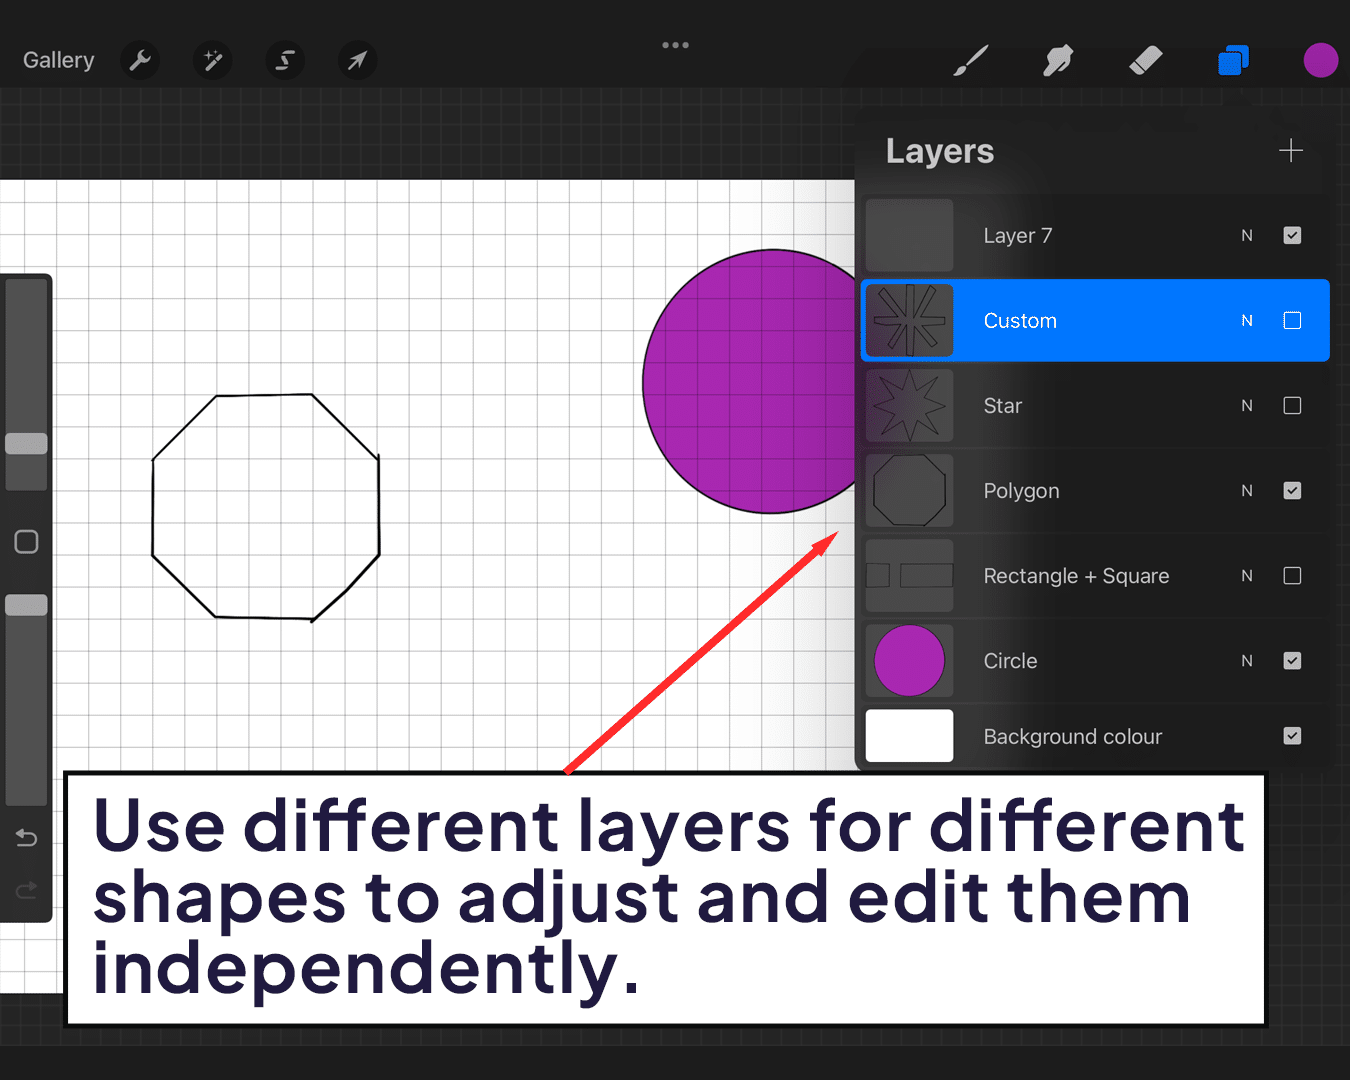
Layering
Remember, layers are your allies. Use different layers for different shapes to adjust and edit them independently.
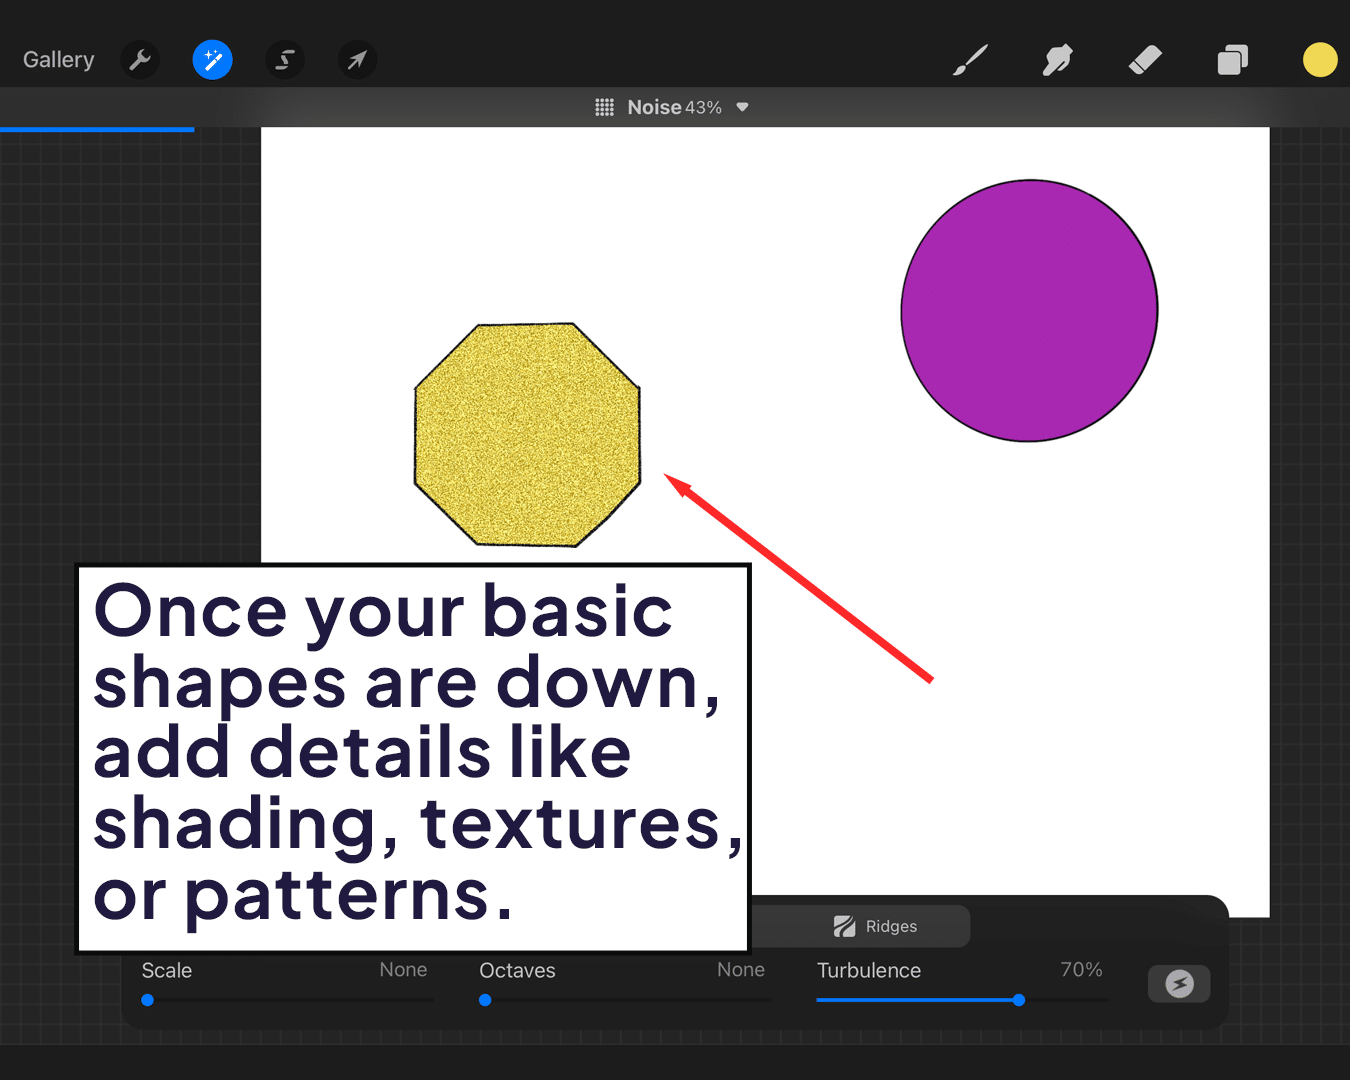
Adding Details and Flair
Once your basic shapes are down, add details like shading, textures, or patterns.
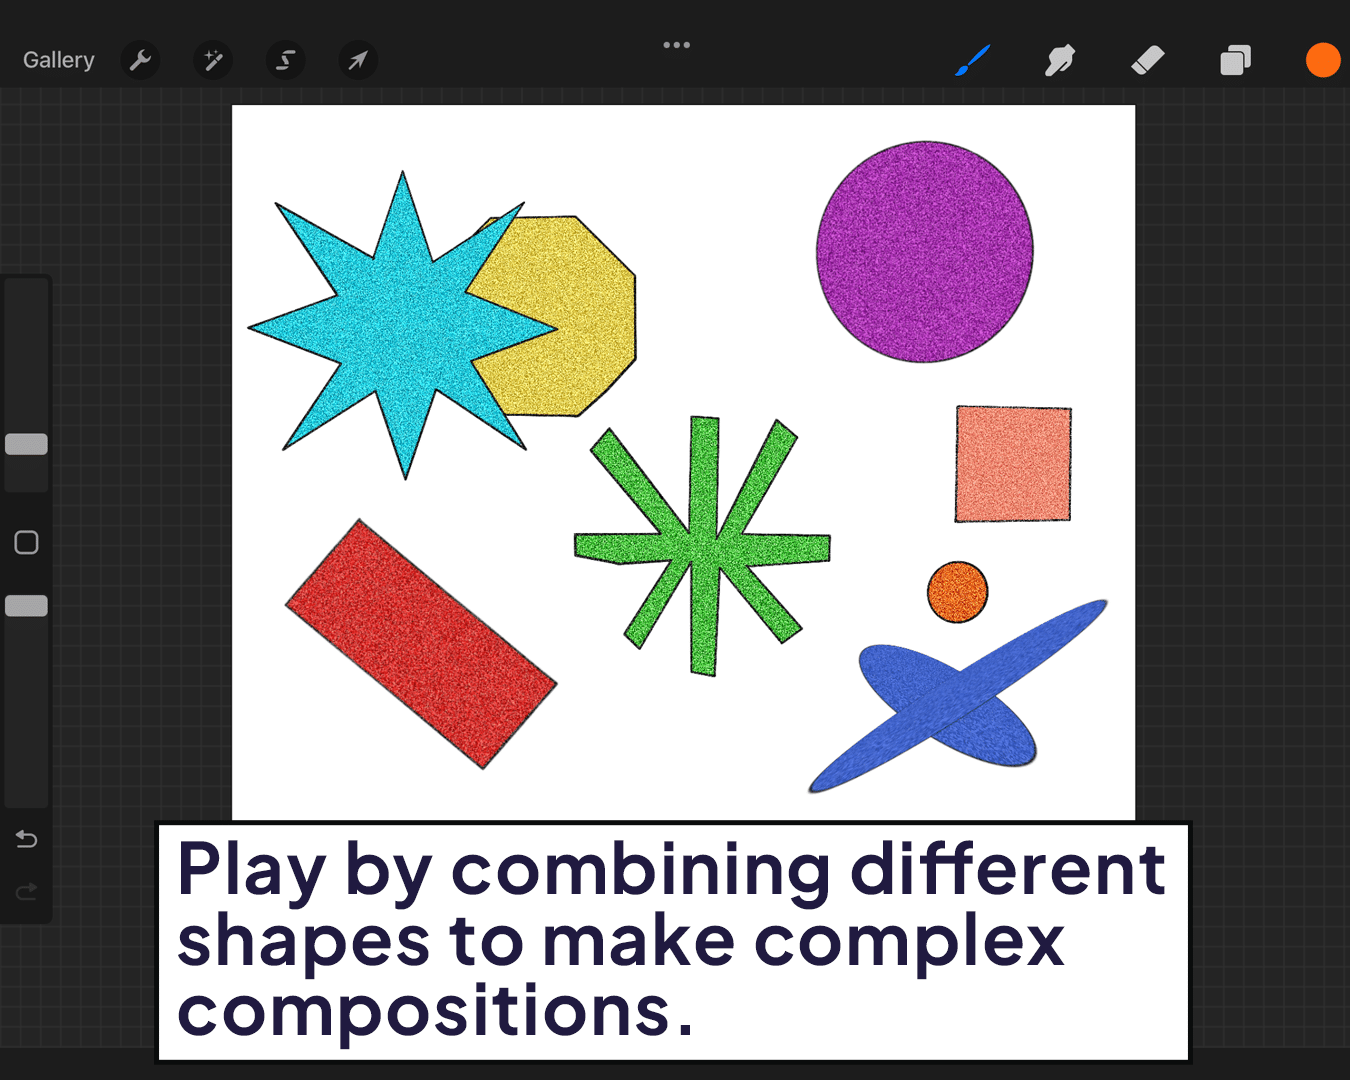
Combining Shapes
Play with combining different shapes to create complex designs or scenes.
Conclusion
Creating perfect geometric shapes in Procreate isn’t just for math wizards or graphic design gurus; it’s for anyone armed with the right techniques. From circles that actually look like circles to polygons that pop, mastering these shapes opens up a whole new world of digital art possibilities.
If you’re ready to take your shapes into the third dimension, don’t miss our guide on how to draw 3D shapes in Procreate. So go ahead, give those geometric figures a whirl, and transform your digital canvas into a geometric wonderland!
Happy shaping!


Share this article


