
How To Make Fur Brush in Procreate

Hello, animal lovers! Are you ready to step into the wild side of Procreate? I’m here to guide you through the exciting journey of creating your very own fur brush. Trust me, it’s easier than taming a lion and twice as fun!
Getting Started
First things first, let’s fire up Procreate and get our hands dirty. You’ll need your iPad and a spark of creativity.
On a quick note – Take a look at some premium Procreate Fur Brushes, if you want to see what some of the good end results look like.
Step-by-Step Guide to Creating Your Fur Brush
In this tutorial, I will create a fur brush in Procreate using a dog fur texture as an example:
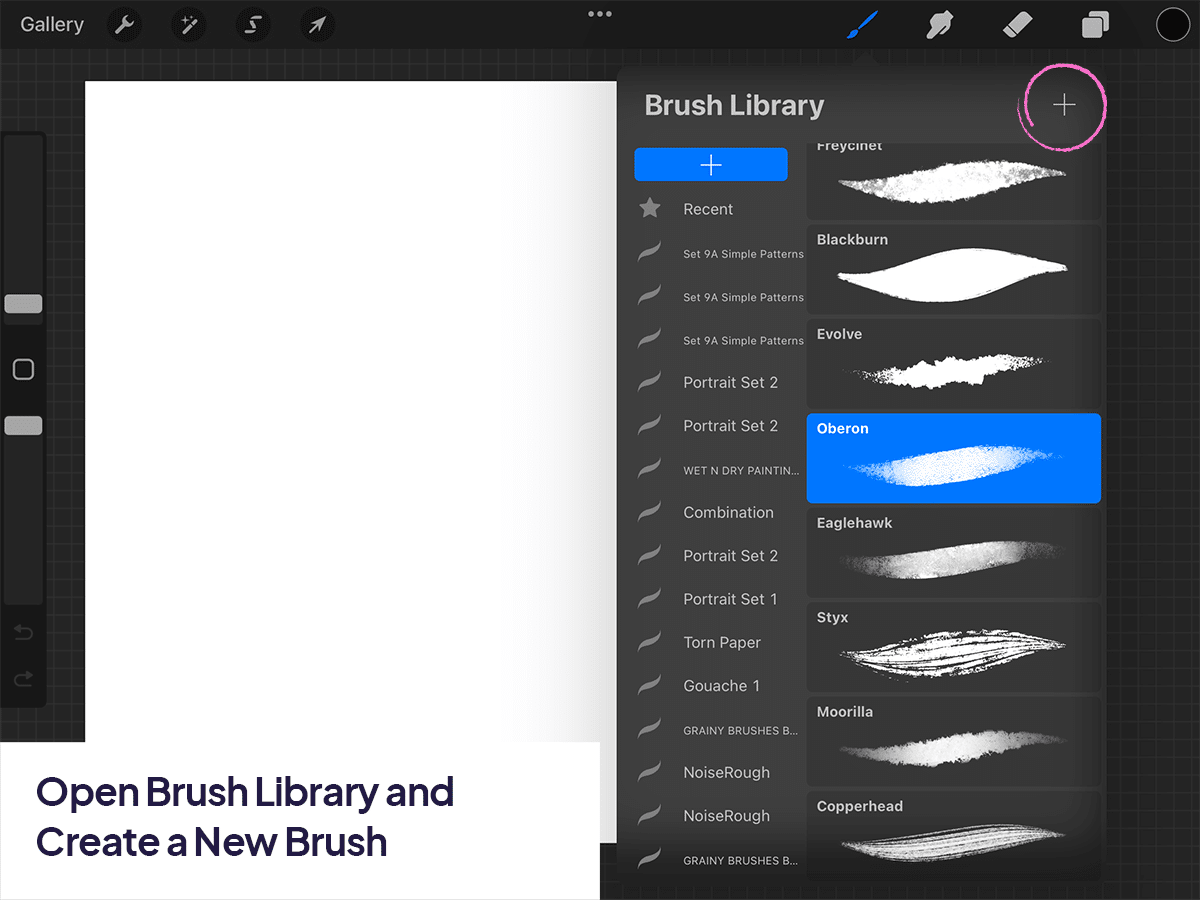
Step 1 – Open Brush Library and Create a New Brush
Launch Procreate and tap on the brush icon, accessing your digital brush collection.
Click the “+” at the top of the Brush Library, starting the process of making a new brush.
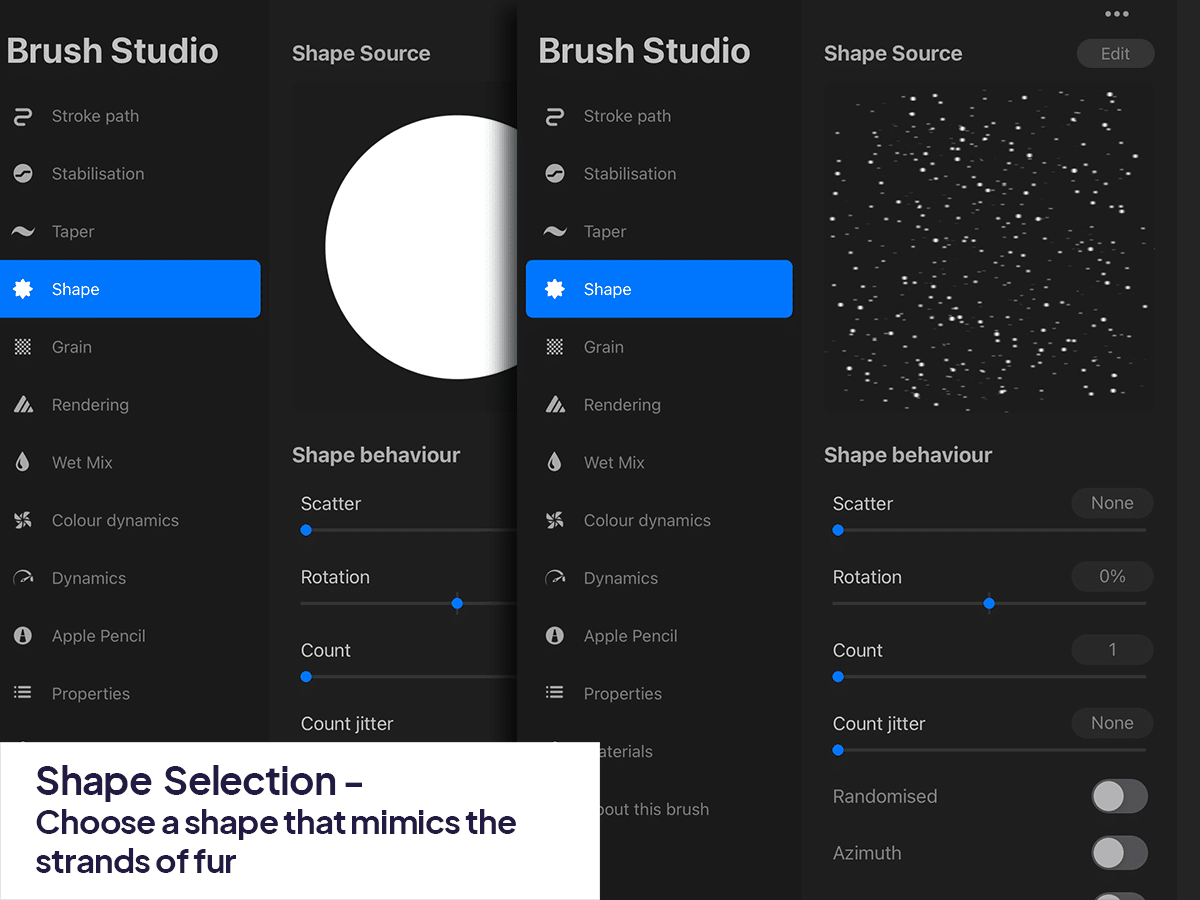
Step 2 – Shape and Grain Selection
Shape: Choose a shape that mimics the individual strands of dog fur. Consider a slightly wavy, irregular shape for realism.
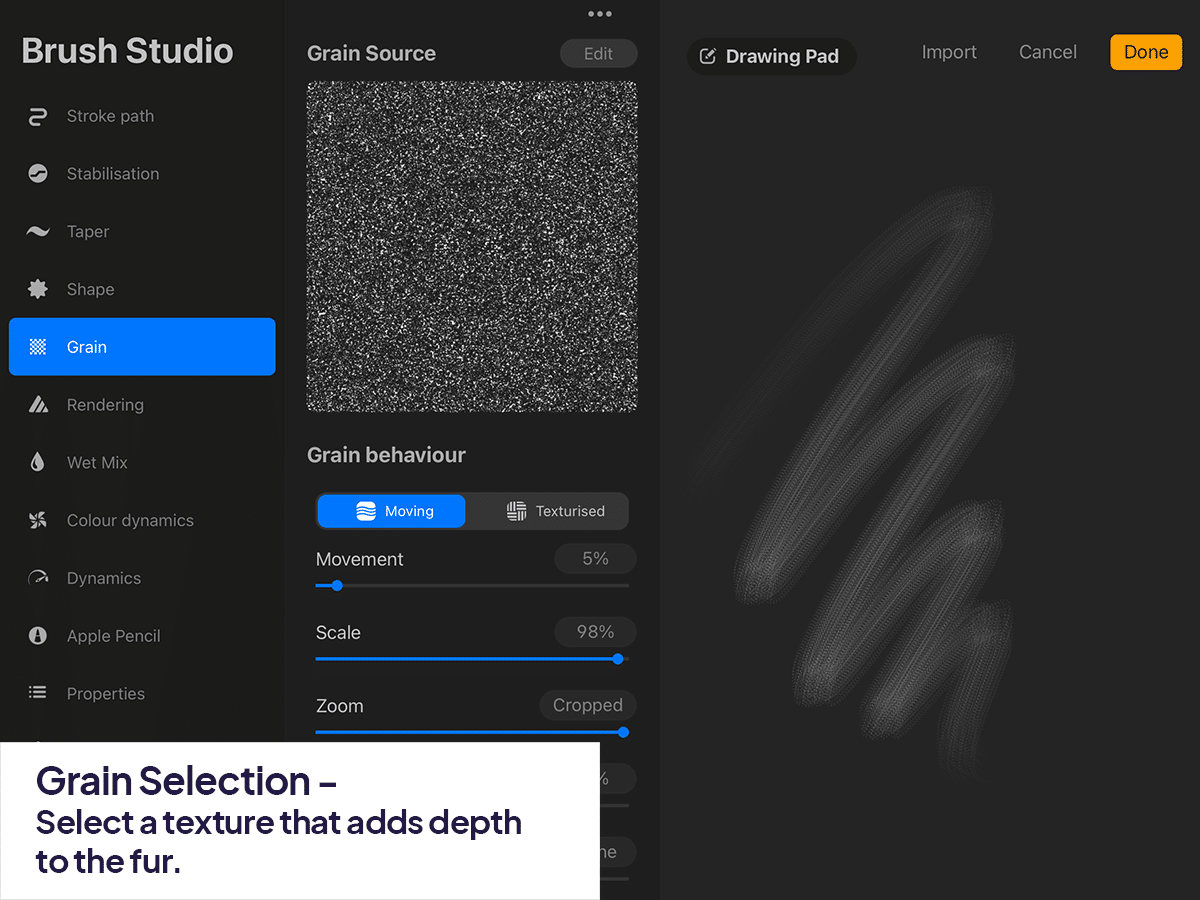
Grain: Select a texture that adds depth to the fur. A medium-coarse grain can replicate the varied texture of dog fur.
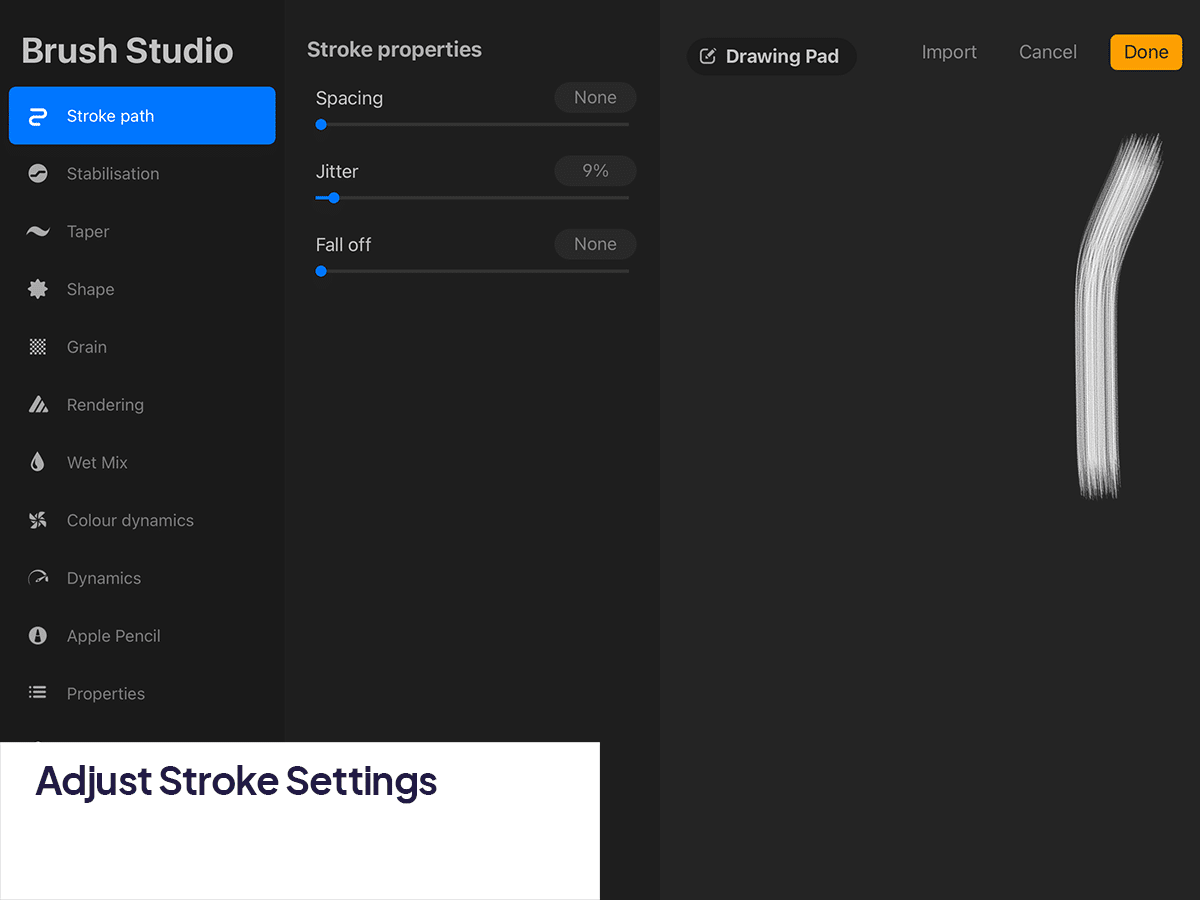
Step 3 – Adjust Stroke Settings:
Spacing: Set the spacing to create a realistic density. For dog fur, moderate spacing works well to avoid making the fur look too dense or sparse.
Jitter: Increase jitter slightly to introduce natural irregularity in the fur texture.
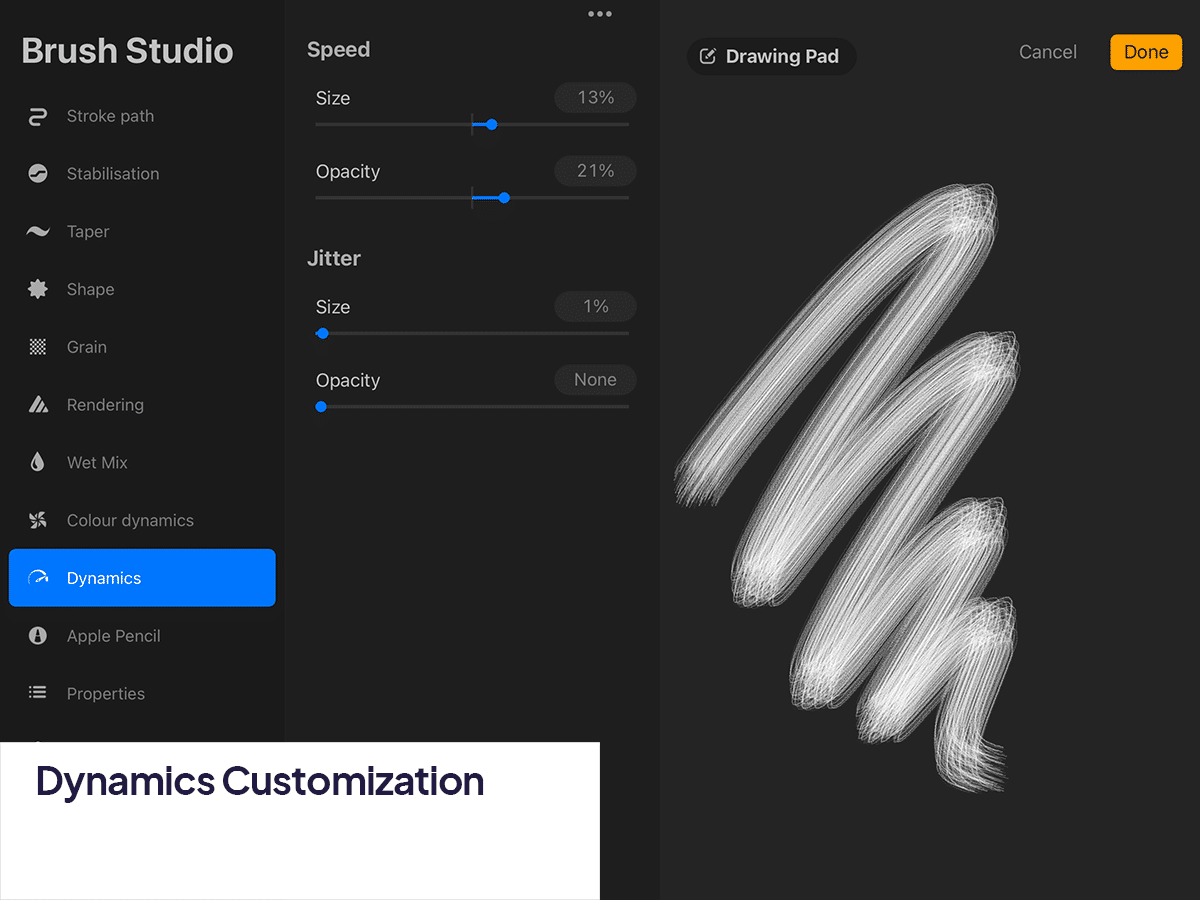
Step 4 – Dynamics Customization:
Flow: Choose a flow level that allows for buildable fur texture. A medium flow is often suitable for dog fur.
Opacity: Set a moderate opacity to ensure the brush strokes blend well, mimicking the natural layering of dog fur.
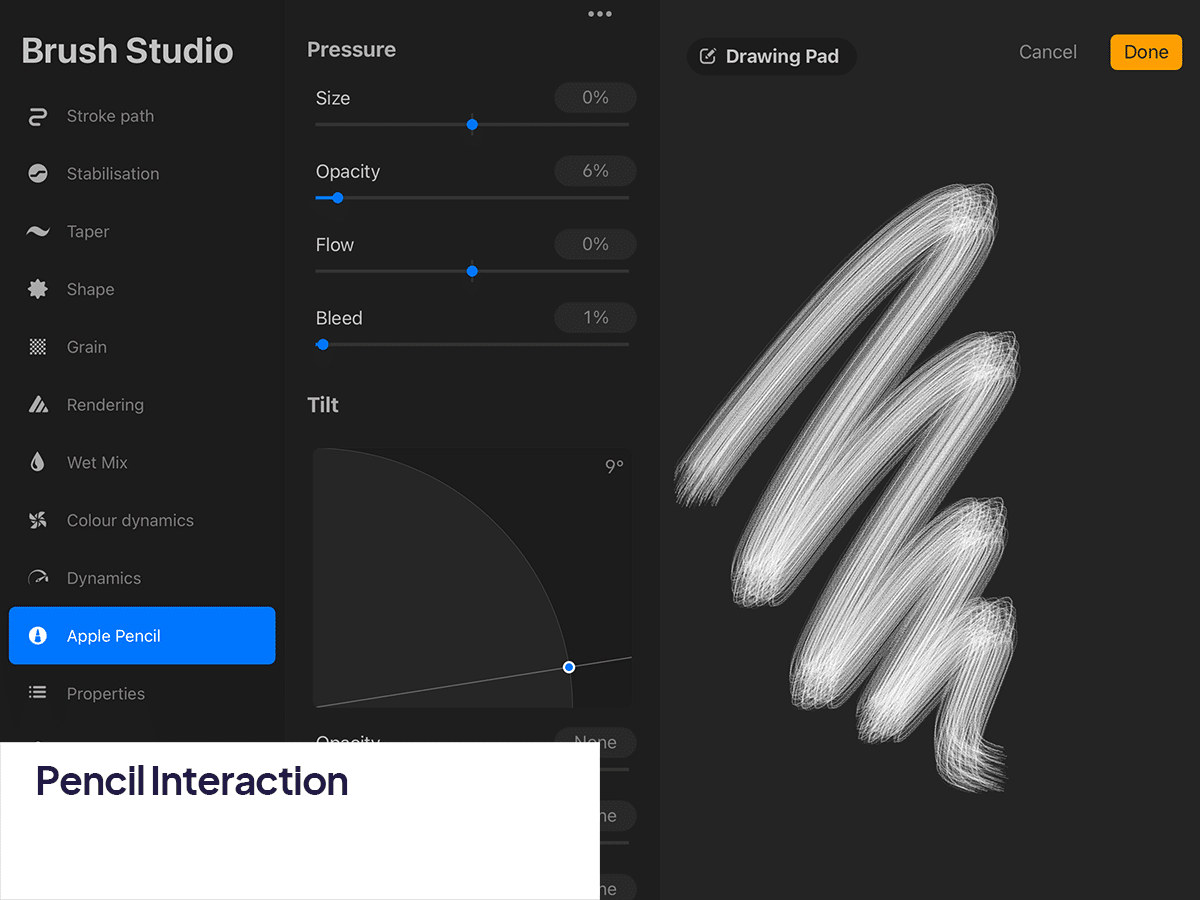
Step 5 – Pencil Interaction:
Adjust pressure sensitivity for stroke variation, essential for creating dynamic and natural-looking dog fur.
Tilt sensitivity helps in broadening or narrowing the strokes, useful for different types of dog fur.
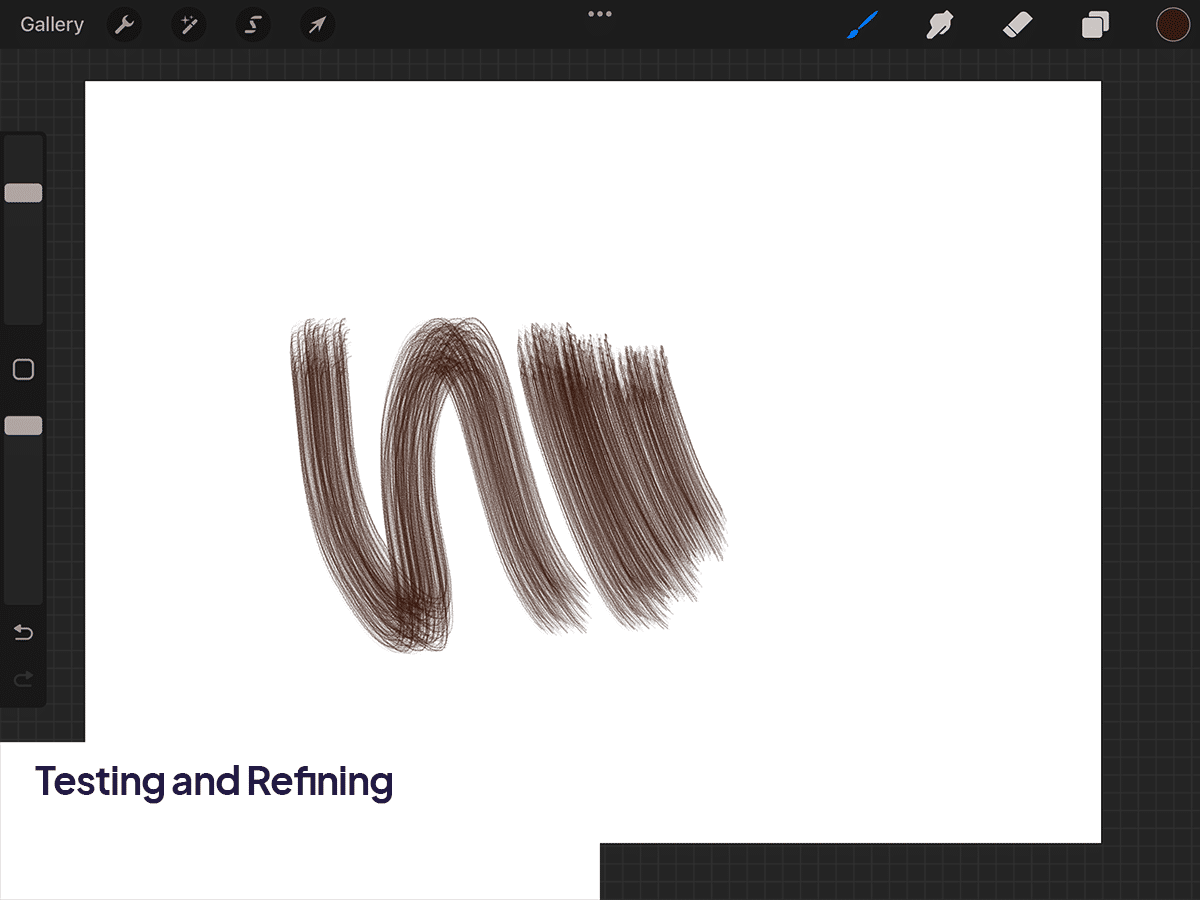
Step 6 – Testing and Refining:
Test the brush on a blank canvas, making adjustments to emulate the desired dog fur texture.
Step 7 – Saving the Brush:
Once satisfied with the texture, name your brush (e.g., “Golden Retriever Fur”) and save it for future use.

And there you have it. This process allows you to tailor a fur brush, using the example of creating a dog fur texture, ensuring functionality and realism.
For further enhancing your fur artwork, don’t miss our tutorial on how to color fur in Procreate, which will take your skills to the next level.


Share this article


