
How To Draw Manga in Procreate Like a Pro

Drawing manga in Procreate goes beyond basic sketching; it involves a deep understanding of manga’s unique stylistic elements and effectively utilizing Procreate’s advanced features.
I’ll guide you through technical aspects like character anatomy, precise inking, and dynamic coloring techniques. This article will focus on leveraging Procreate’s capabilities, such as layer management, brush customization, and blending modes, to create manga that is both authentic and visually striking.
Quick Note:
Before we start, I strongly recommend trying pre-made Procreate Anime and Manga Brushes. They are such a helper for Anime and Manga artists and can save you a lot of time. For this tutorial, we used resources like the comprehensive Procreate anime brushes available at Brush Galaxy.
Drawing Manga in Procreate – Complete Guide
Without further ado, let’s draw some manga characters!
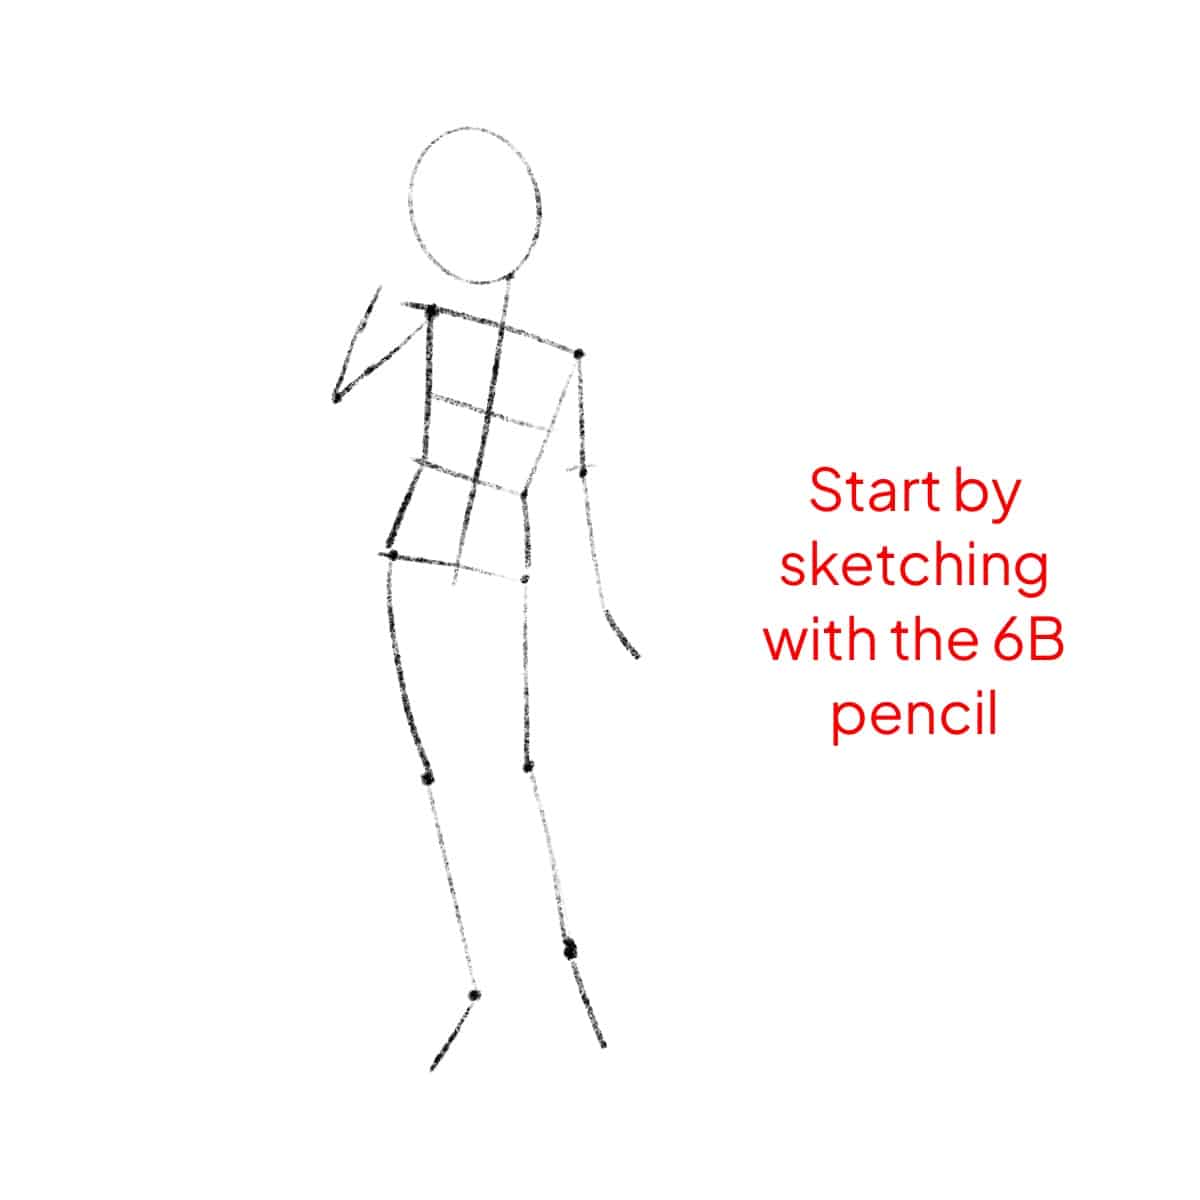
Start with the Basics: Sketching Your Characters
Use Procreate’s sketching brushes like 6B Pencil for initial outlines. Start with basic shapes – circles for heads and lines for the body.
Adjust the opacity to keep the sketch light. This initial layer is your guide.
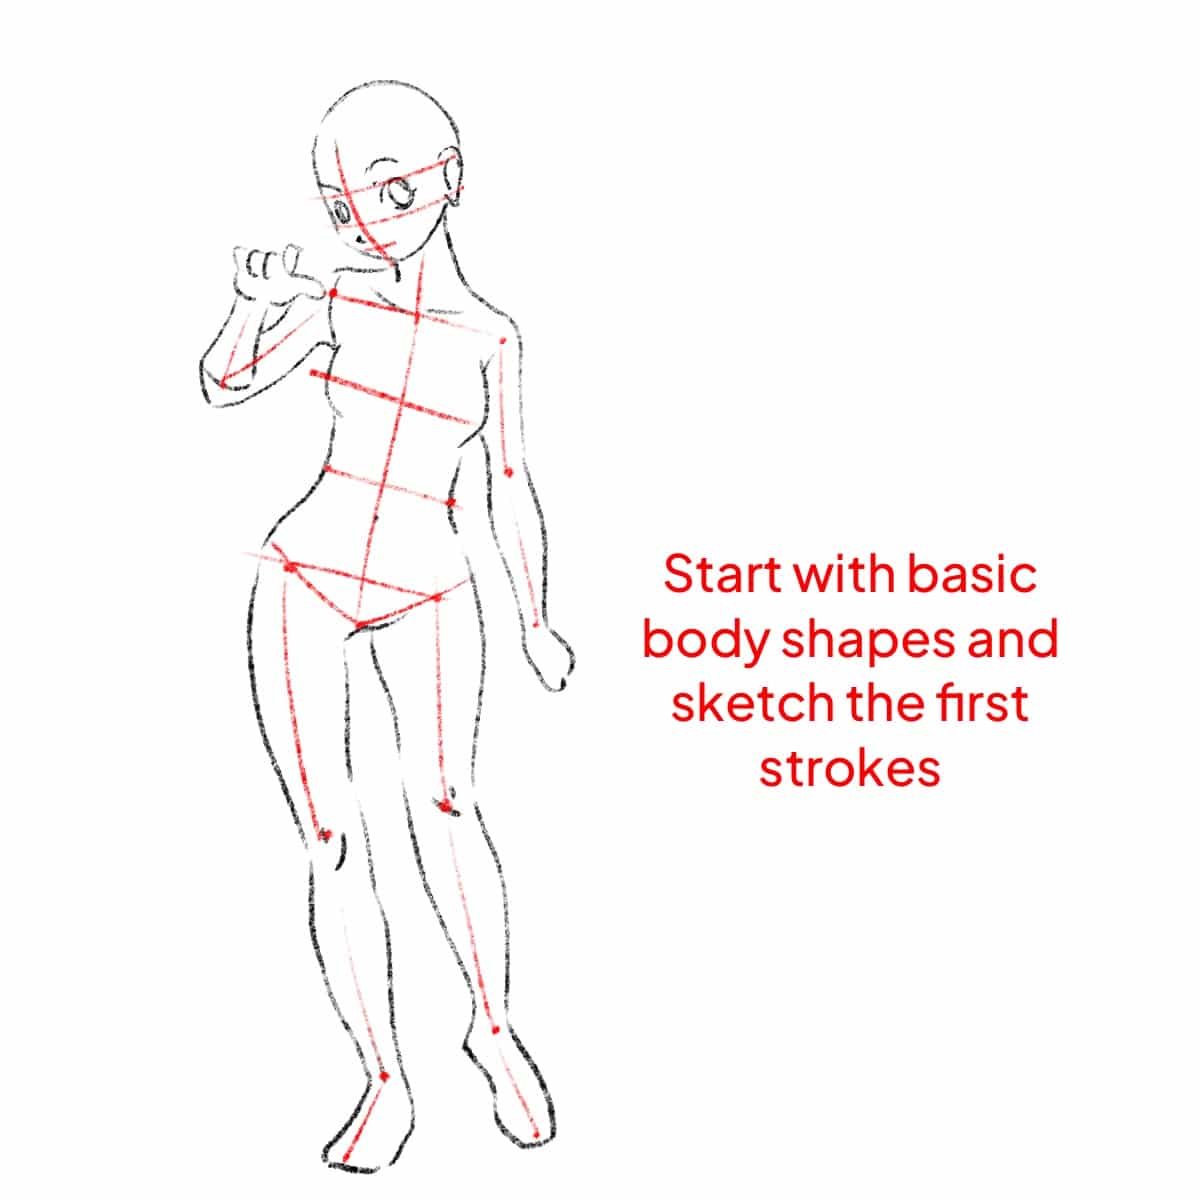
Anatomy and Proportions: Getting Them Right
Use references for accurate proportions. Manga characters usually have oversized eyes and elongated limbs.
Utilize the ‘Transform Tool’ in Procreate to adjust proportions as needed.

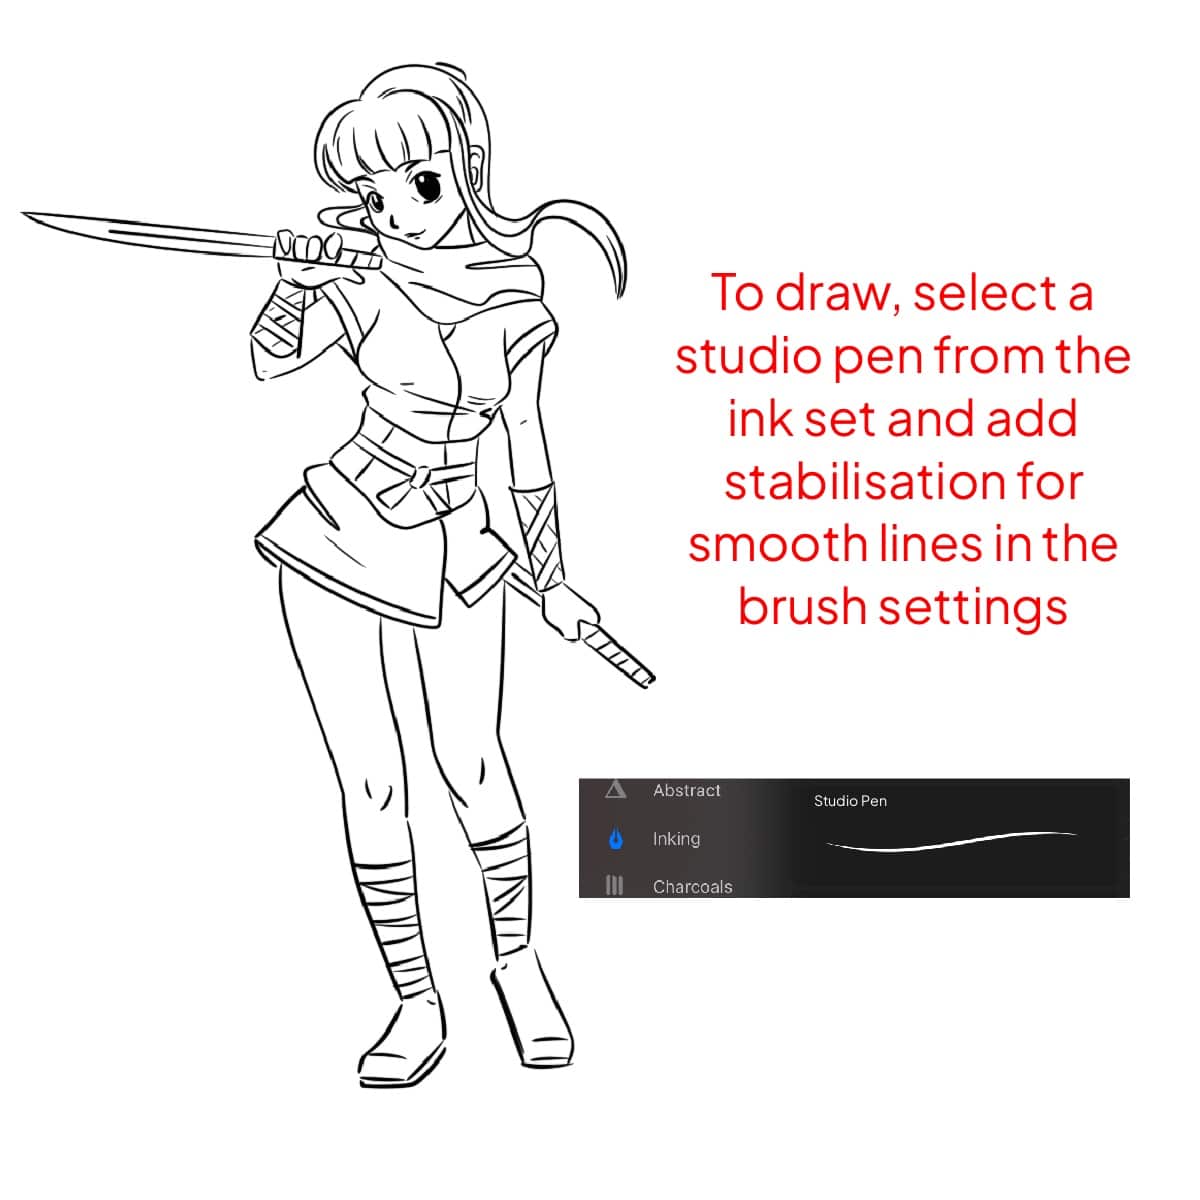
Inking: Making Your Sketch Pop
Choose Procreate’s Studio Pen for inking for its smooth, pressure-sensitive lines.
Use the ‘Streamline’ feature in brush settings to stabilize your strokes, making them cleaner and more controlled.
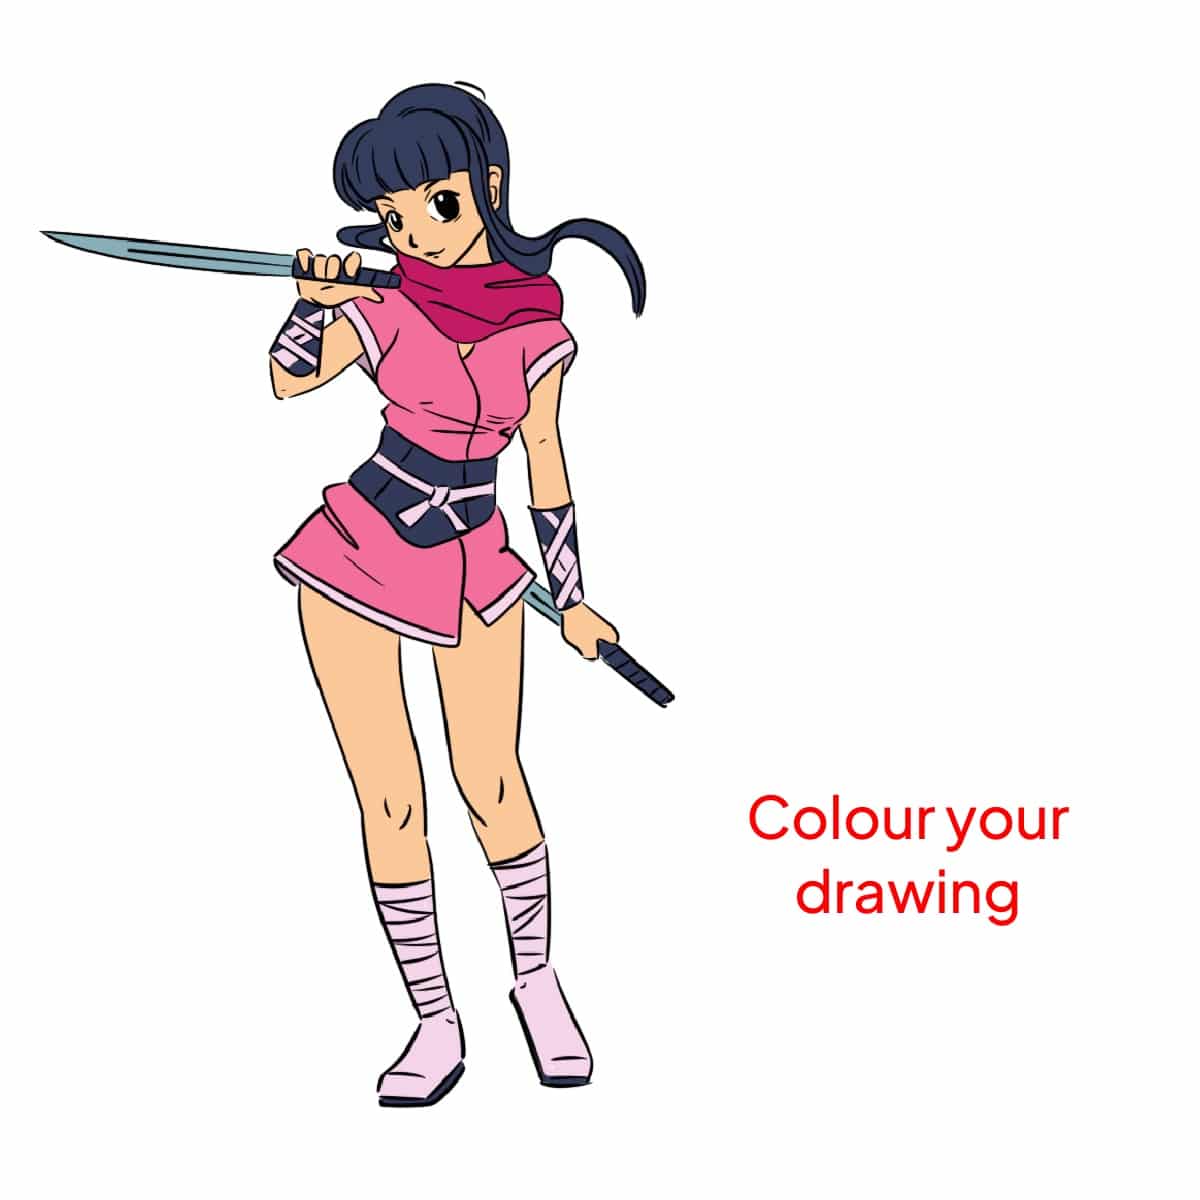
Coloring: Bringing Life to Your Art
For coloring, start with flat colors on a new layer beneath your ink layer. Use the ‘ColorDrop’ tool for efficiency.
Experiment with different blending modes for shadows and highlights for a more dynamic look.
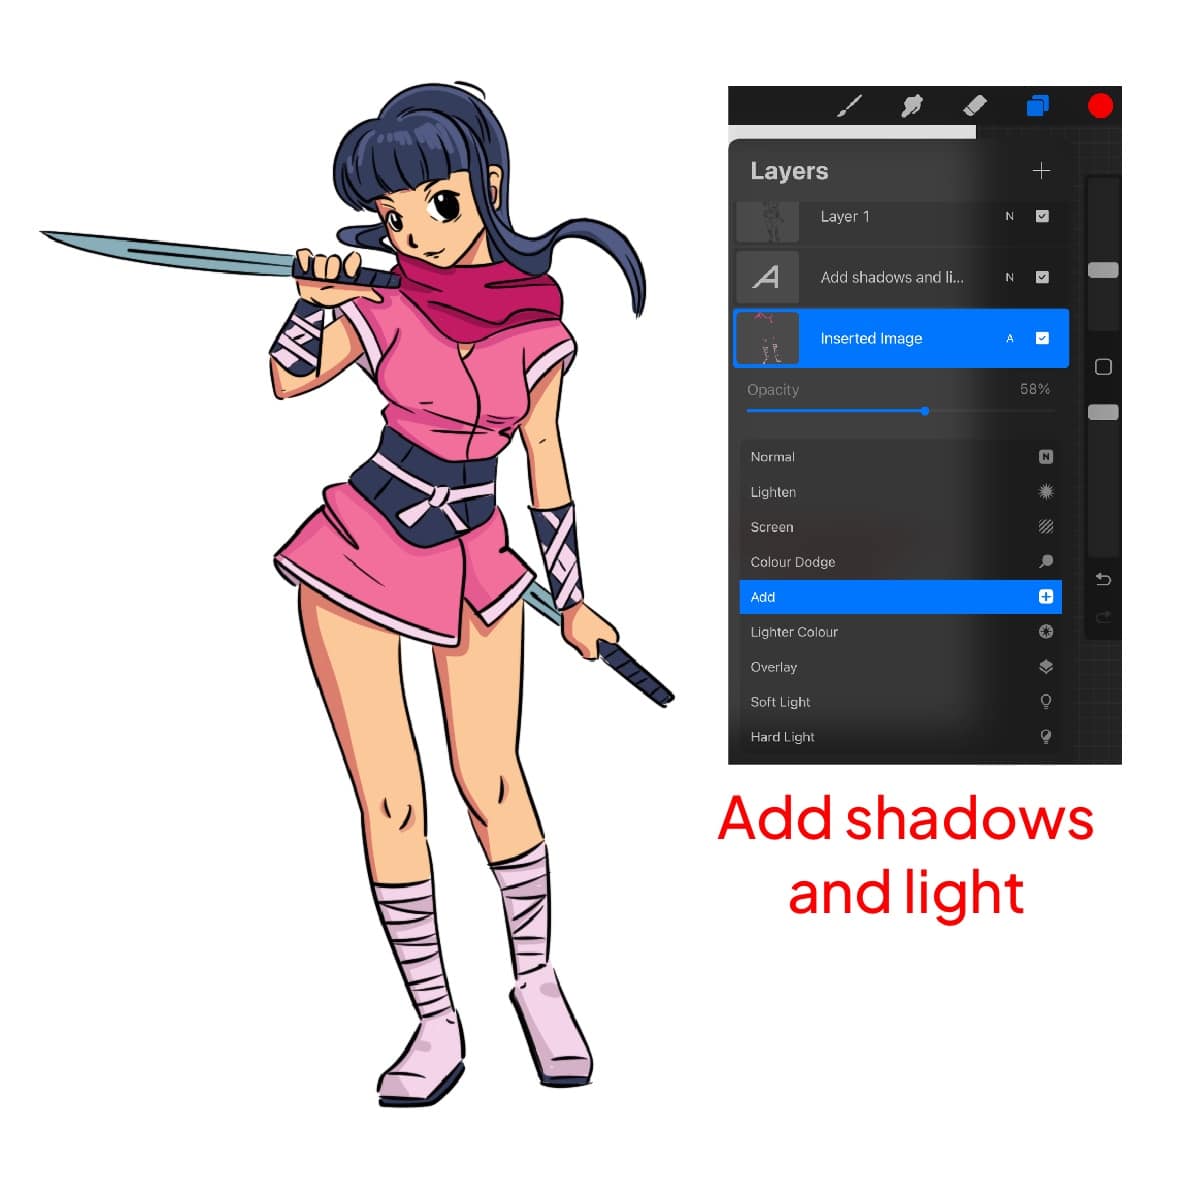
Shadows and Highlights: Adding Depth
Add a new layer for shadows, set it to ‘Multiply’ blending mode. Use a soft airbrush for a natural shadow effect.
For highlights, add another layer and set it to ‘Add’ or ‘Overlay’. Use a hard airbrush to create sharp light effects.
Backgrounds and Effects: Setting the Scene
Create a separate layer for the background. Utilize Procreate’s vast brush library for textures and effects.
Use ‘Alpha Lock’ or ‘Clipping Masks’ to add details to specific areas without affecting the entire layer.
If you’re seeking further enhancement in your manga art within Procreate, exploring insights from how to draw manga in Procreate like a pro and discovering whether Procreate is good for anime drawing will equip you with additional techniques and knowledge.

And that’s all. Hope you liked this tutorial. Happy creating!


Share this article


