How To Create Alcohol Ink Brush in Procreate
In this quick guide, I’ll walk you through creating an Alcohol Ink Brush in Procreate. This technique is perfect for artists looking to explore the dynamic world of fluid art digitally. Before we dive into the specifics, enhance your toolkit with various Procreate ink brushes available for more artistic options.
Before We Start
Ensure you have:
- An iPad with the latest version of Procreate.
- An Apple Pencil or a similar stylus.
- Basic familiarity with Procreate’s interface.
Note: For those of you who want to dive deeper into brush creation, exploring how to tailor brushes to your specific needs can enhance your artistry. You might find the guide on how to make an inking brush in Procreate particularly enlightening.
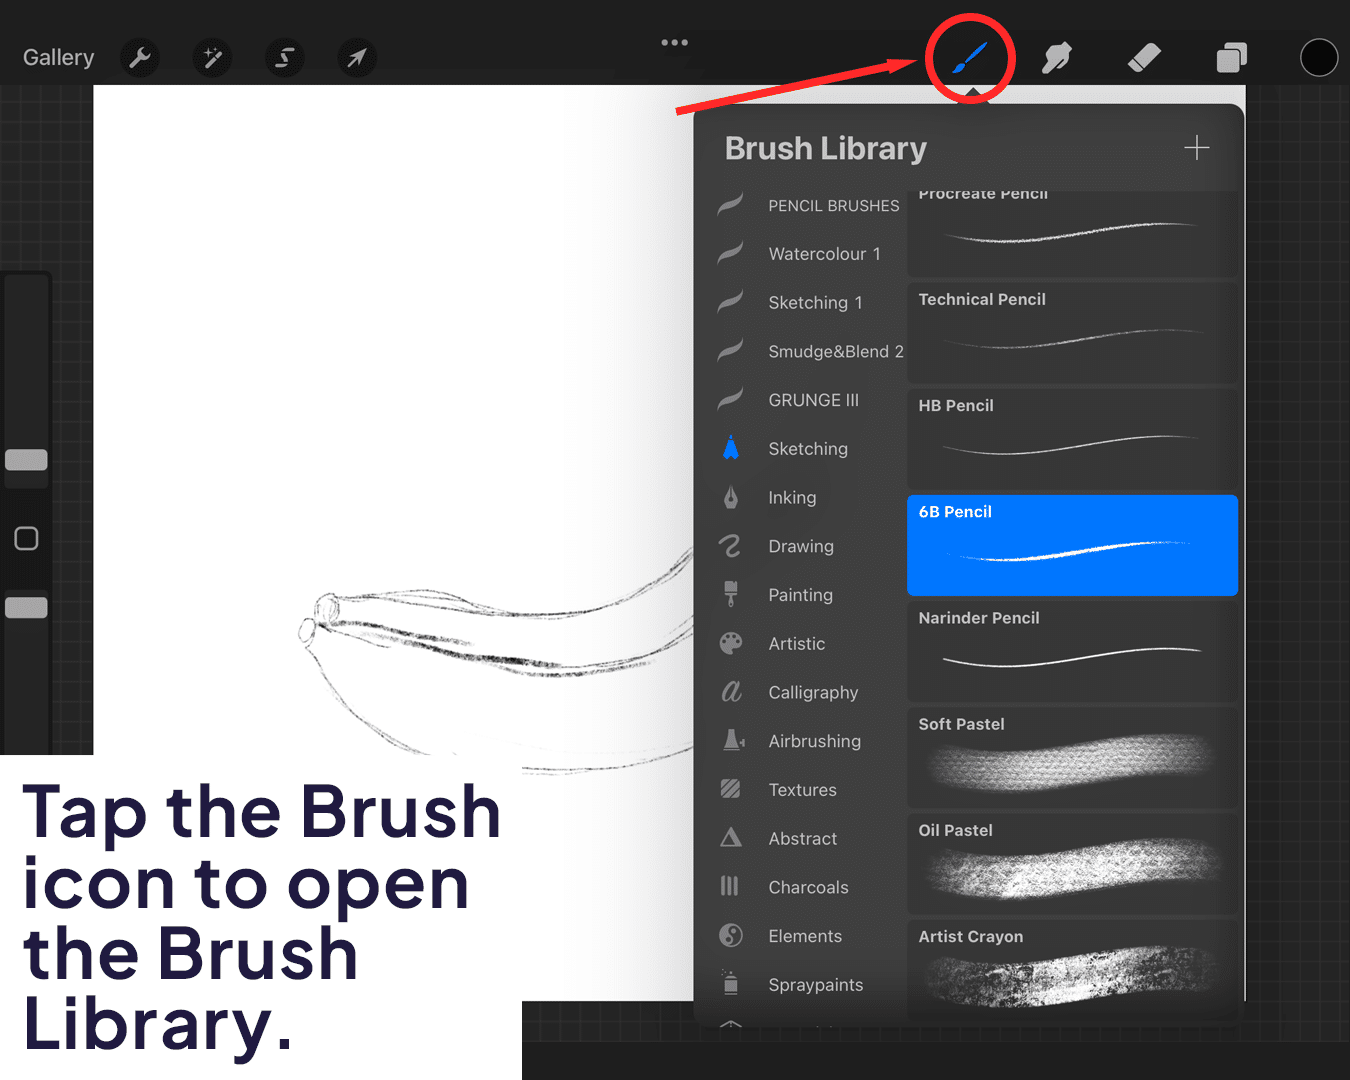
Step 1: Open the Brush Library
- Open Procreate.
- Tap the brush icon to access the Brush Library.
Step 2: Start a New Brush
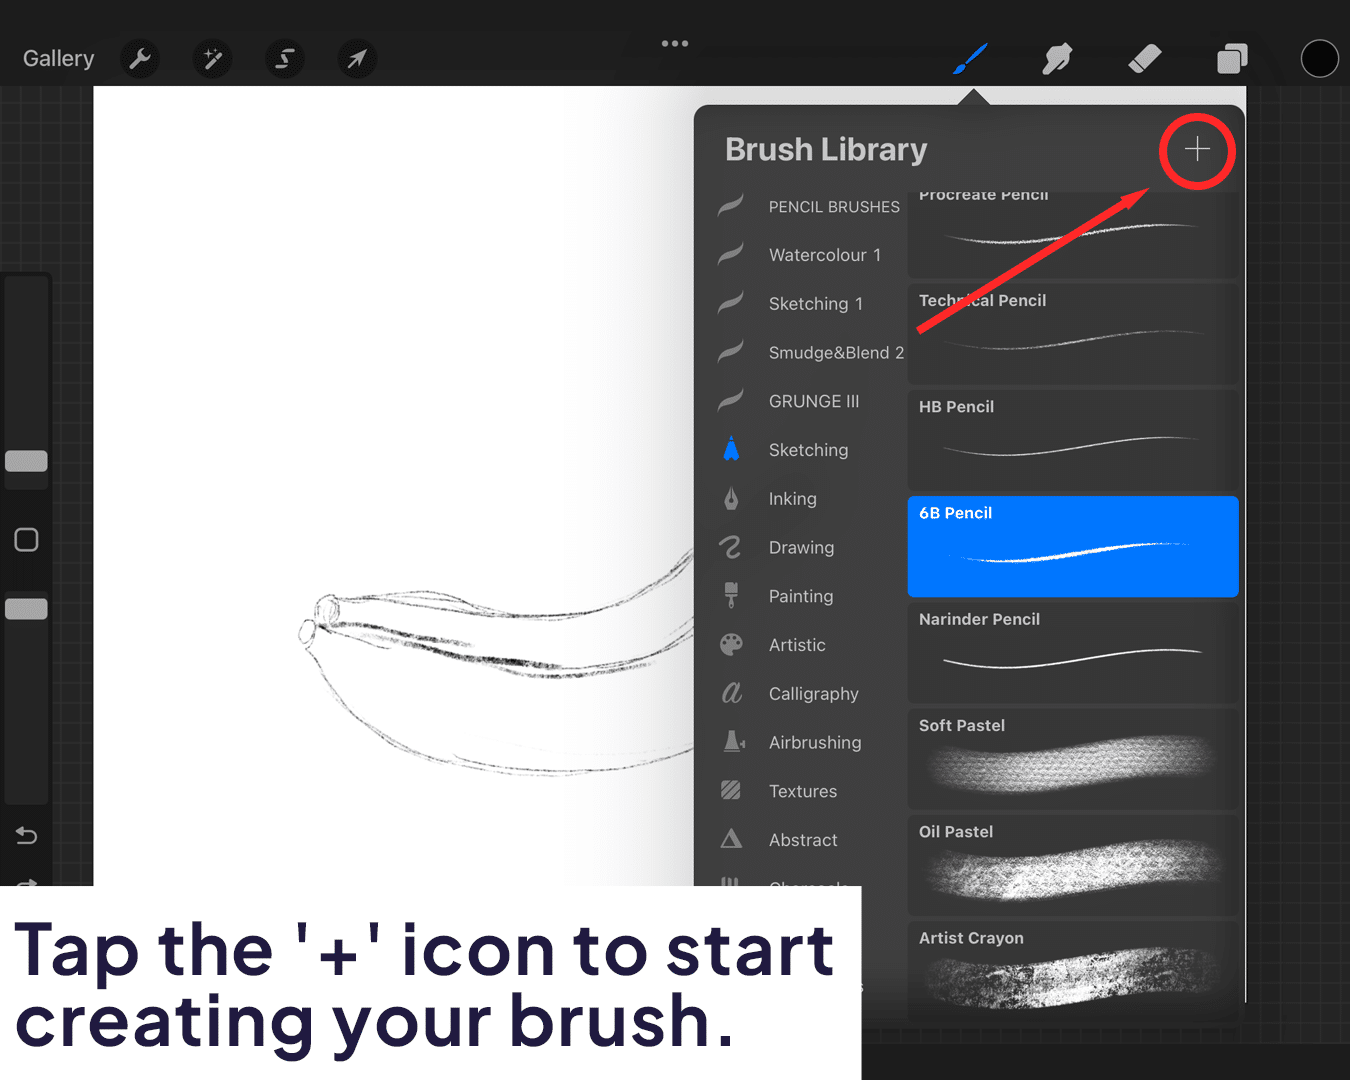
- In the Brush Library, tap the ‘+’ icon at the top to create a new brush.
Step 3: Setting Up the Shape and Grain
- Choose a fluid-like shape in the ‘Shape’ tab for the brush base.
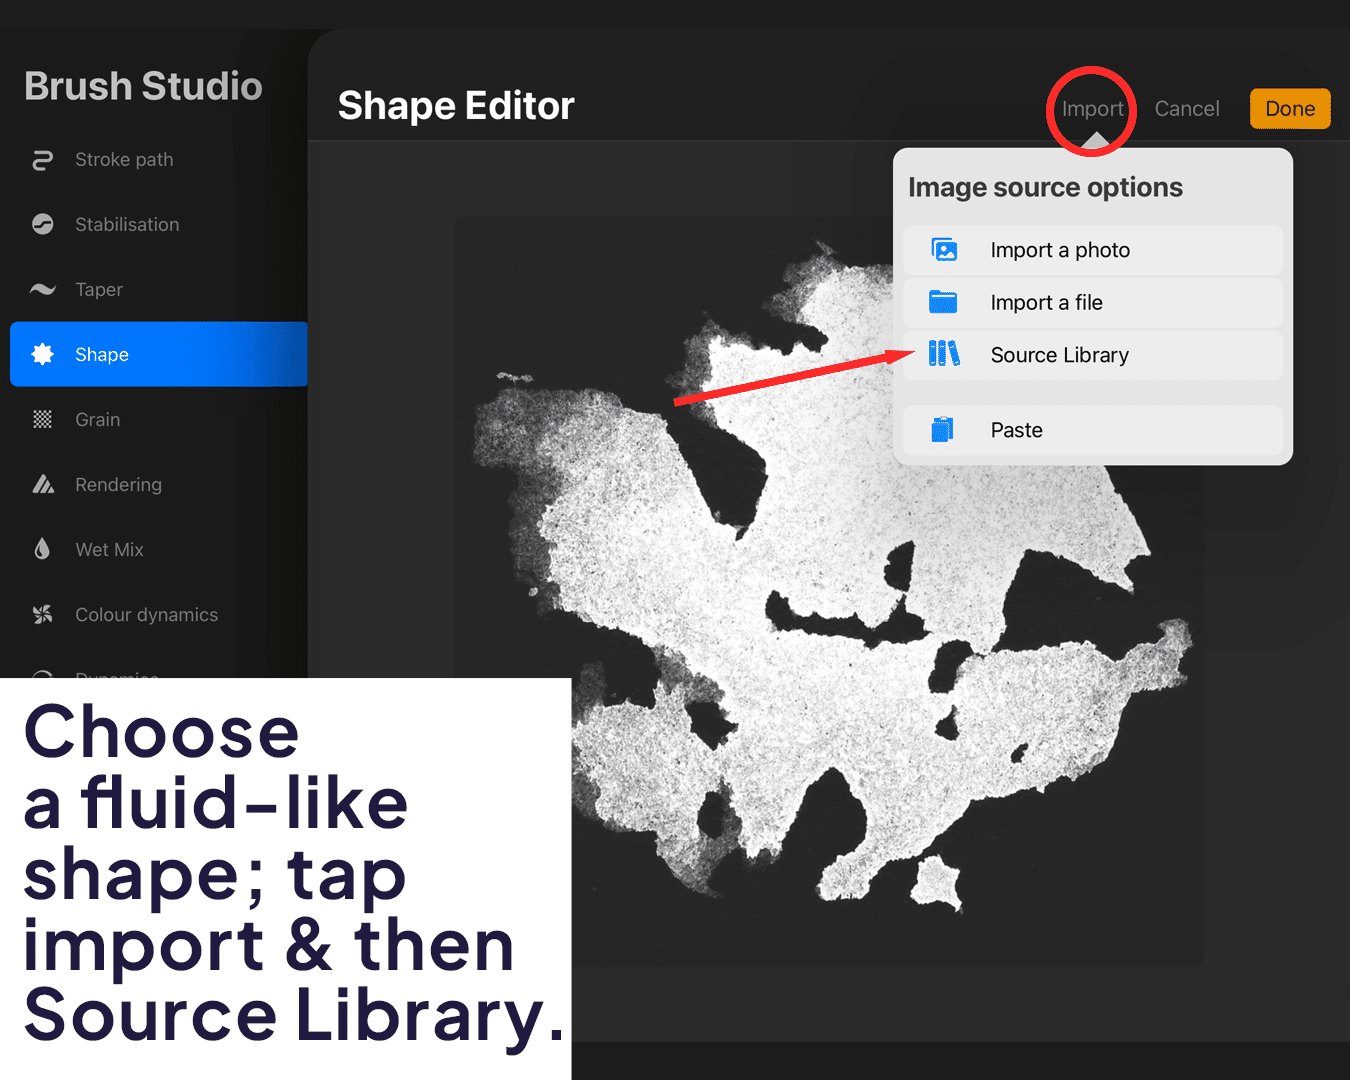
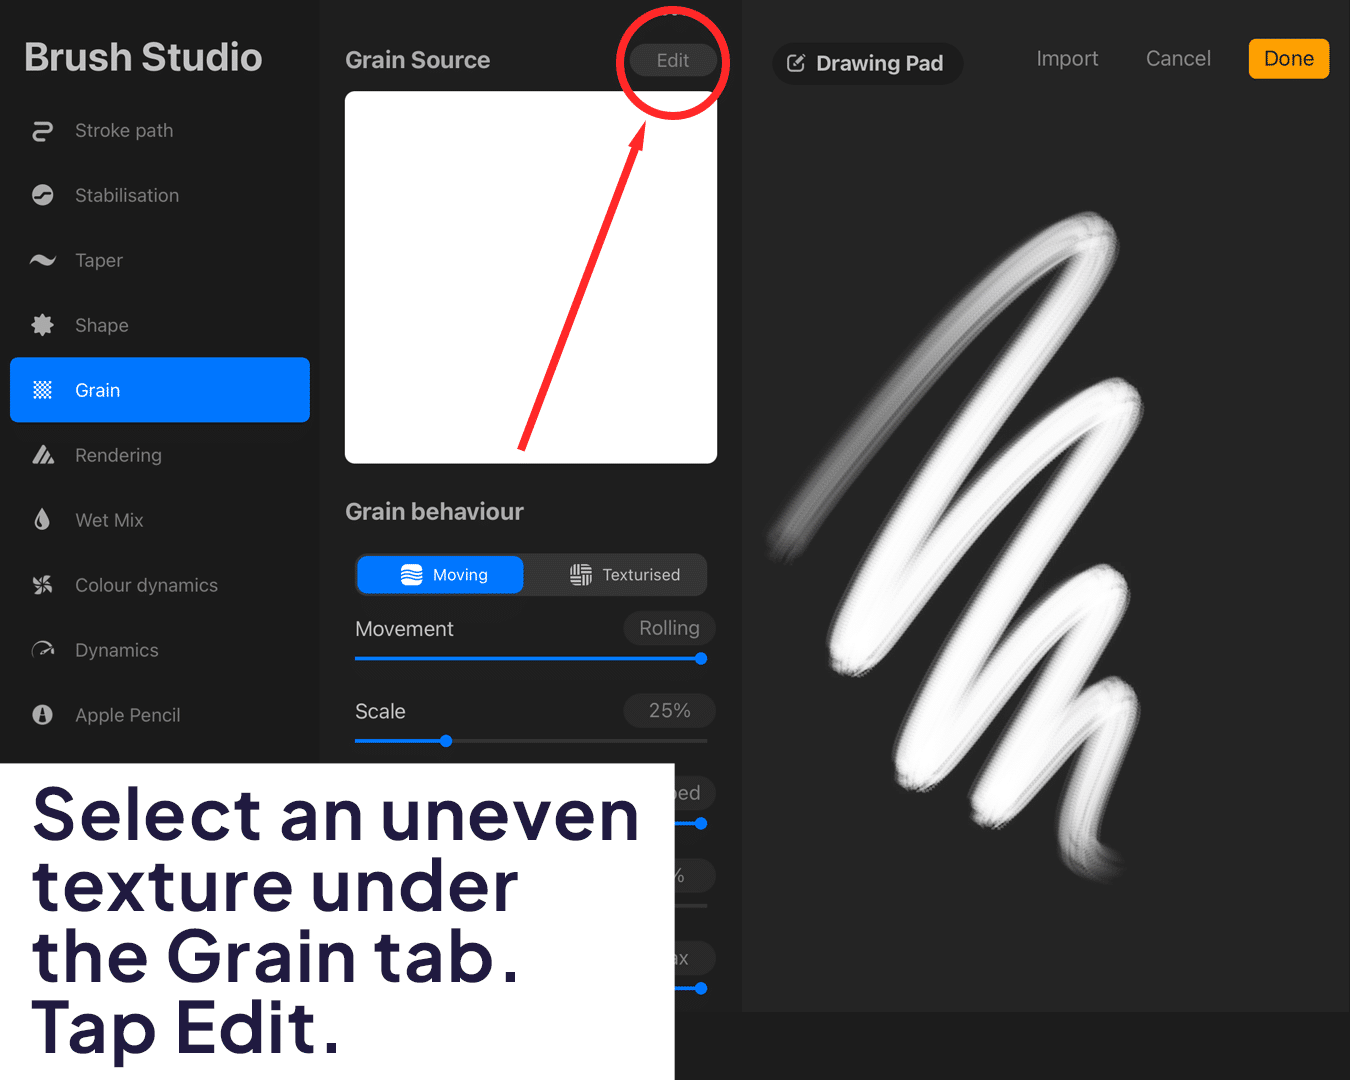
- Select a slightly uneven texture under the ‘Grain’ tab to simulate alcohol ink’s natural spread.
Step 4: Customize Brush Behavior
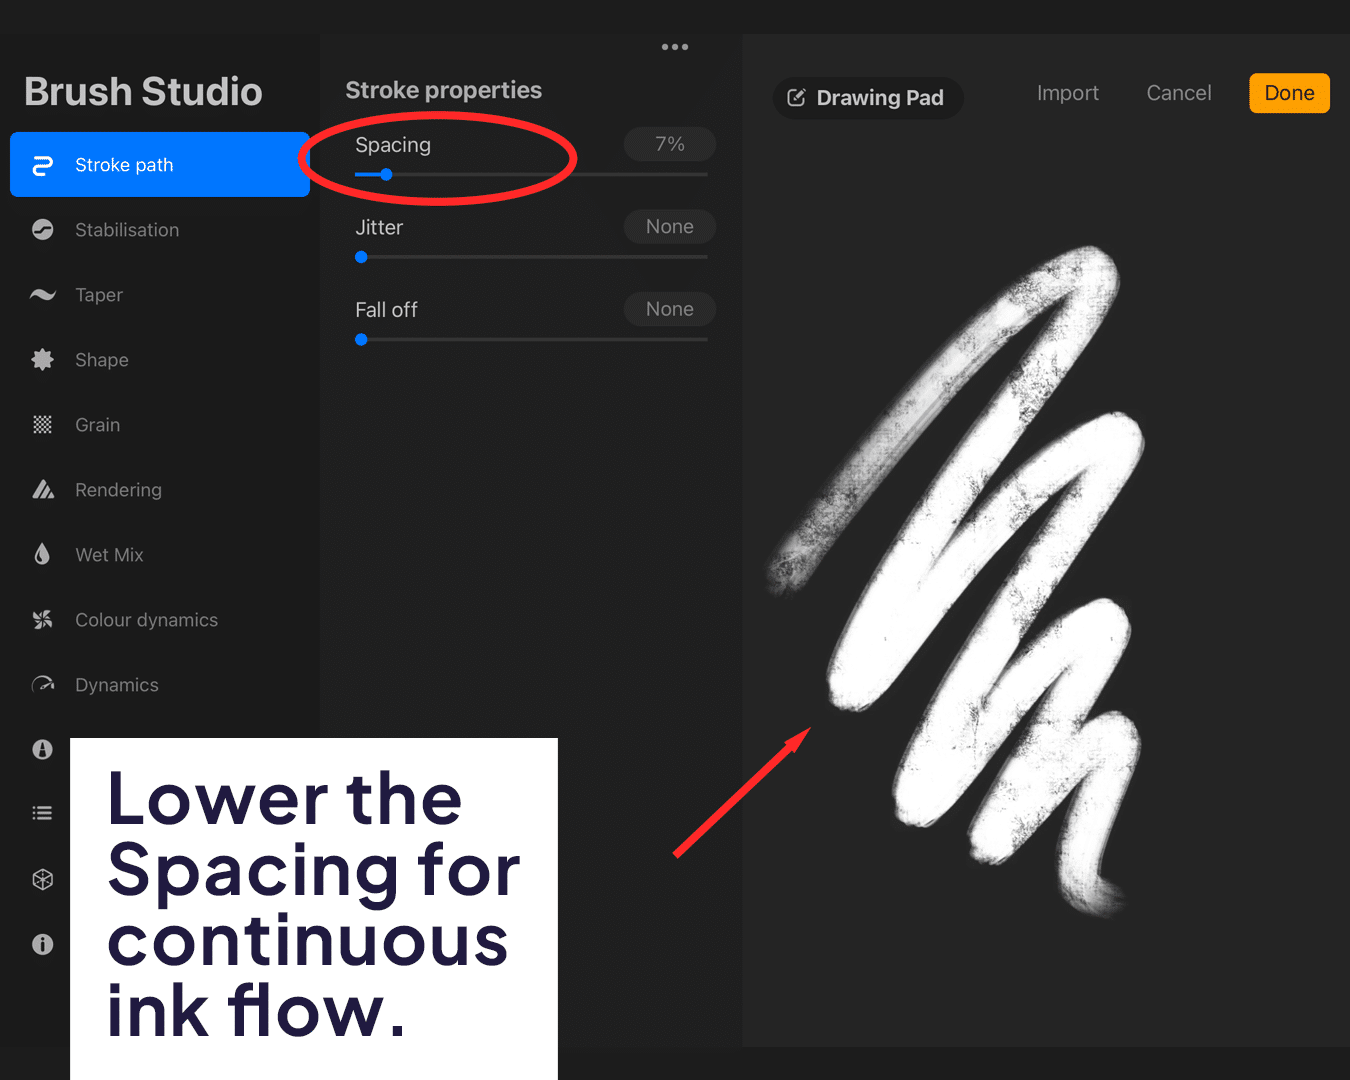
- Adjust Spacing to a lower setting for continuous ink flow.
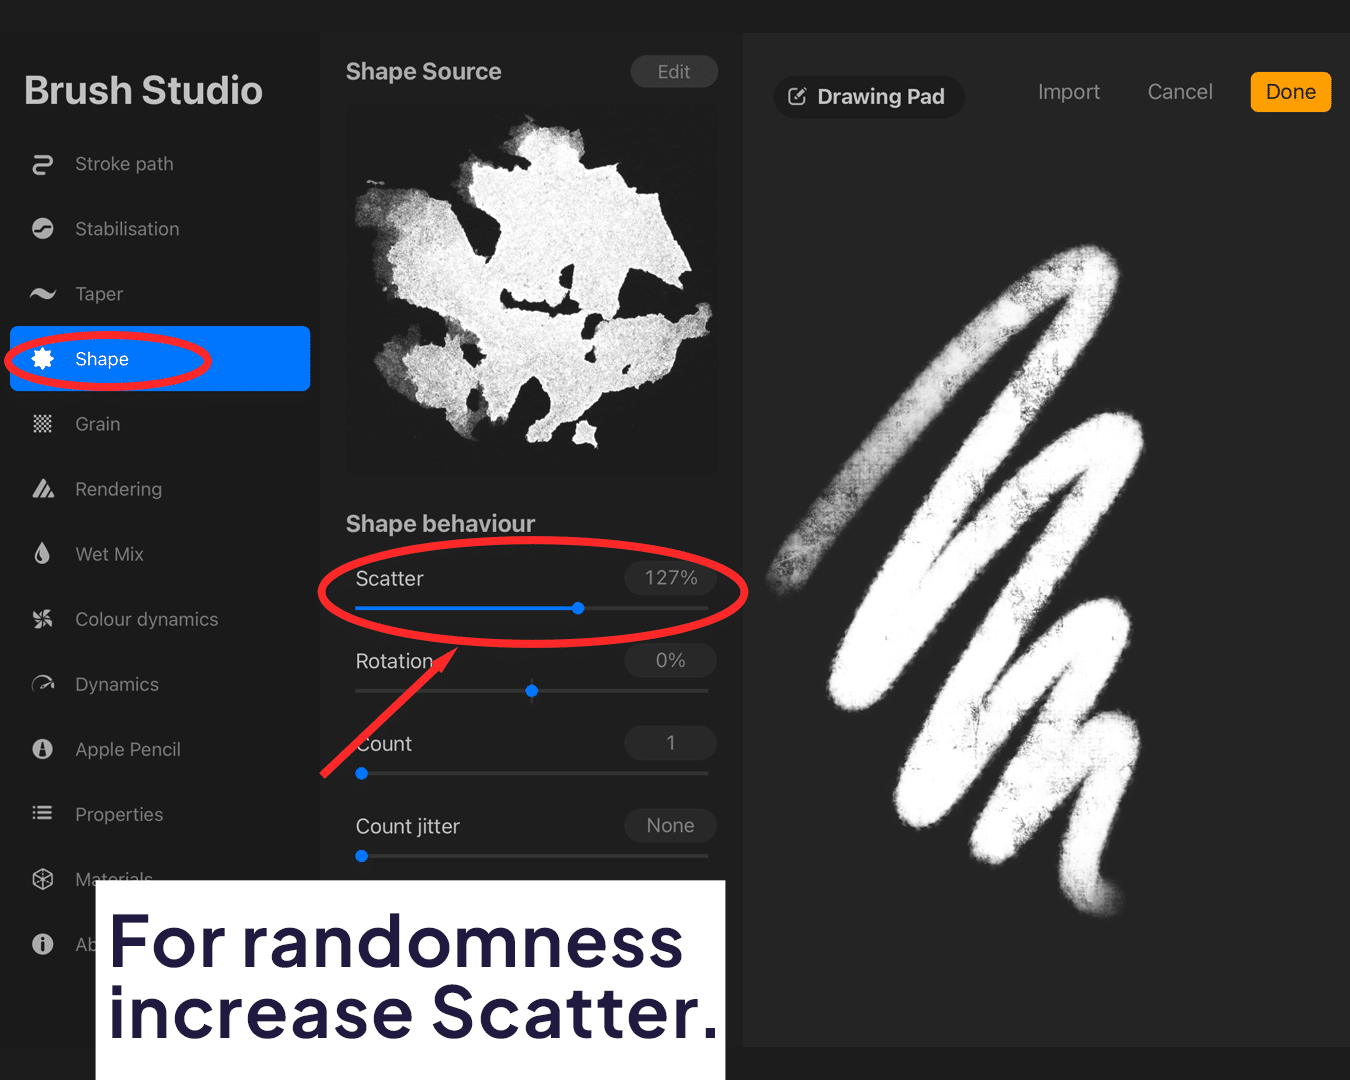
- Increase Scatter to add randomness to the brush strokes.
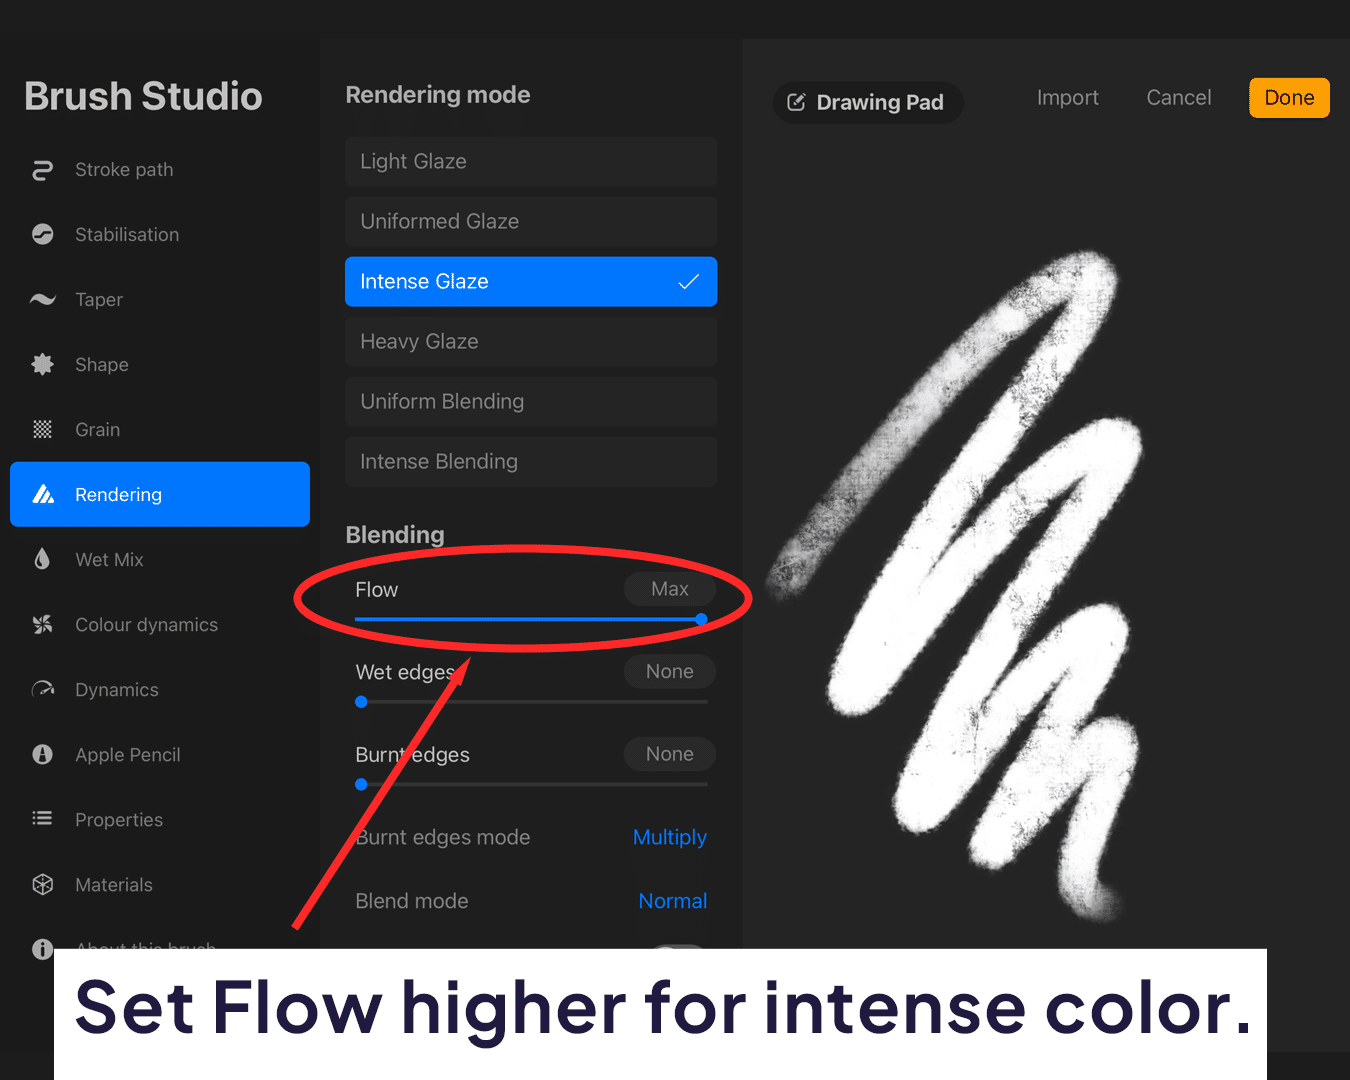
- Set Flow higher for more intense color.
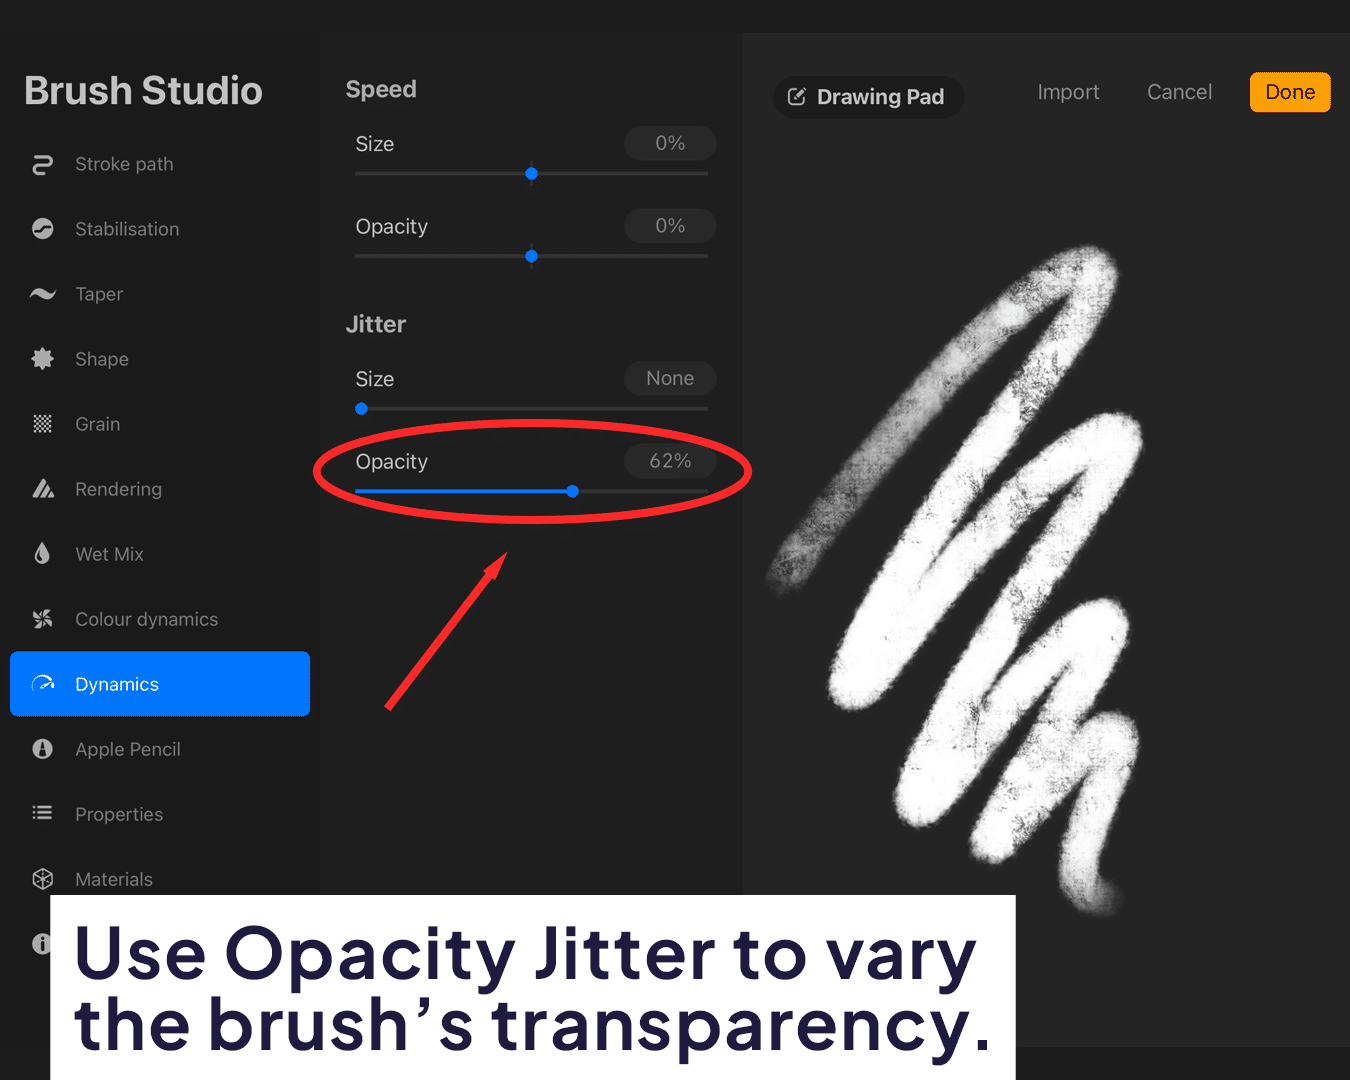
- Use Opacity Jitter to vary the brush’s transparency, imitating real alcohol ink.
Step 5: Test and Tweak
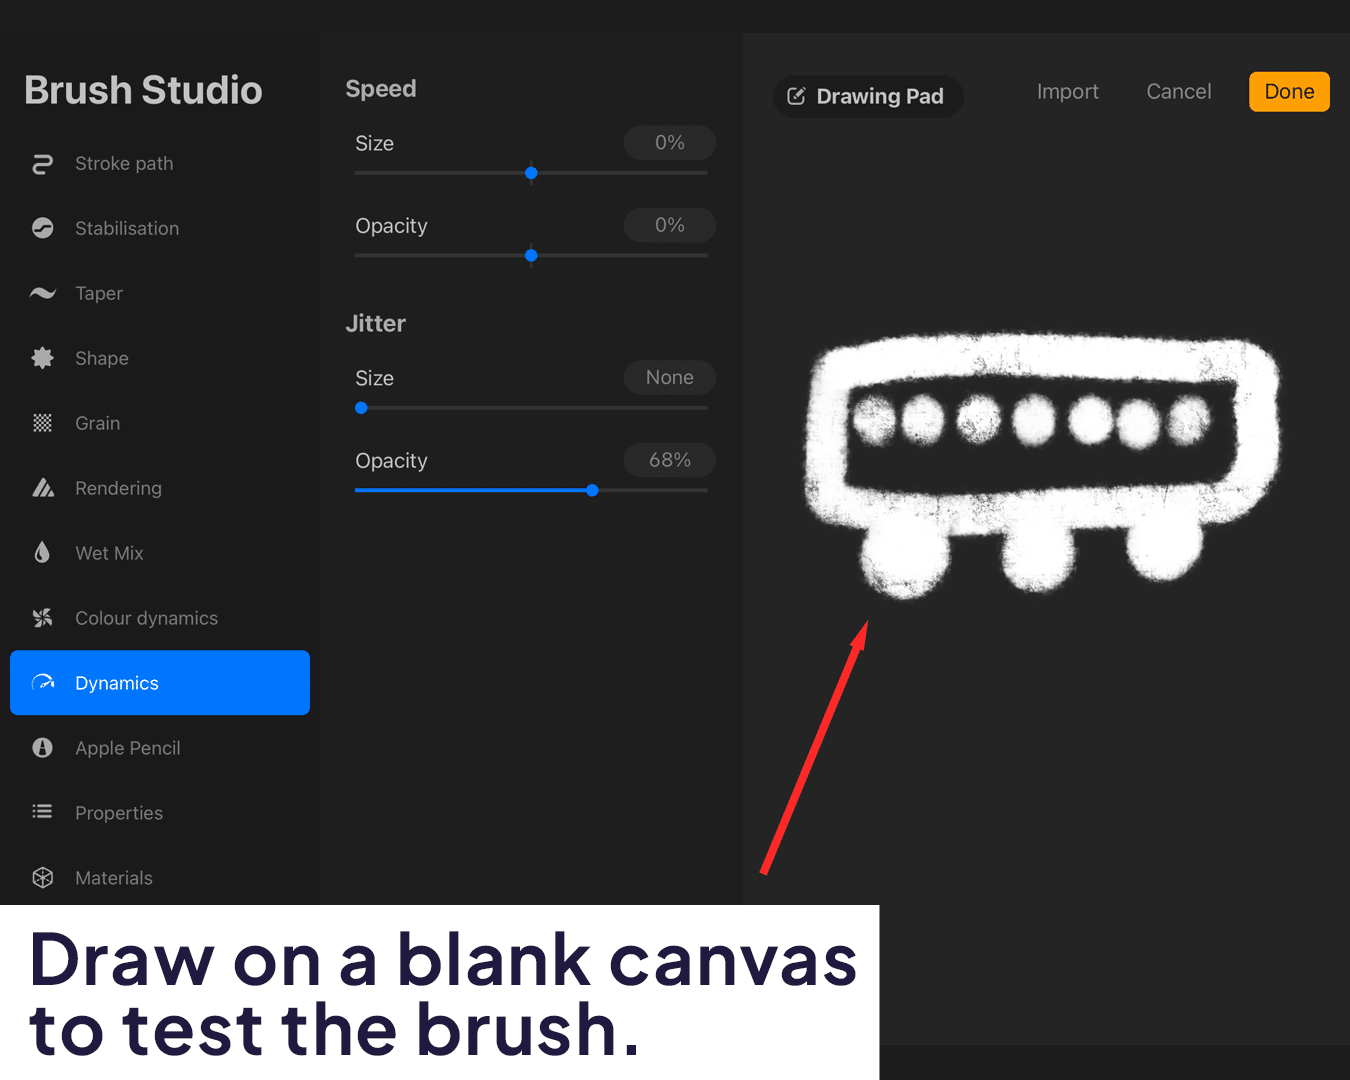
- Draw on a blank canvas to test the brush.
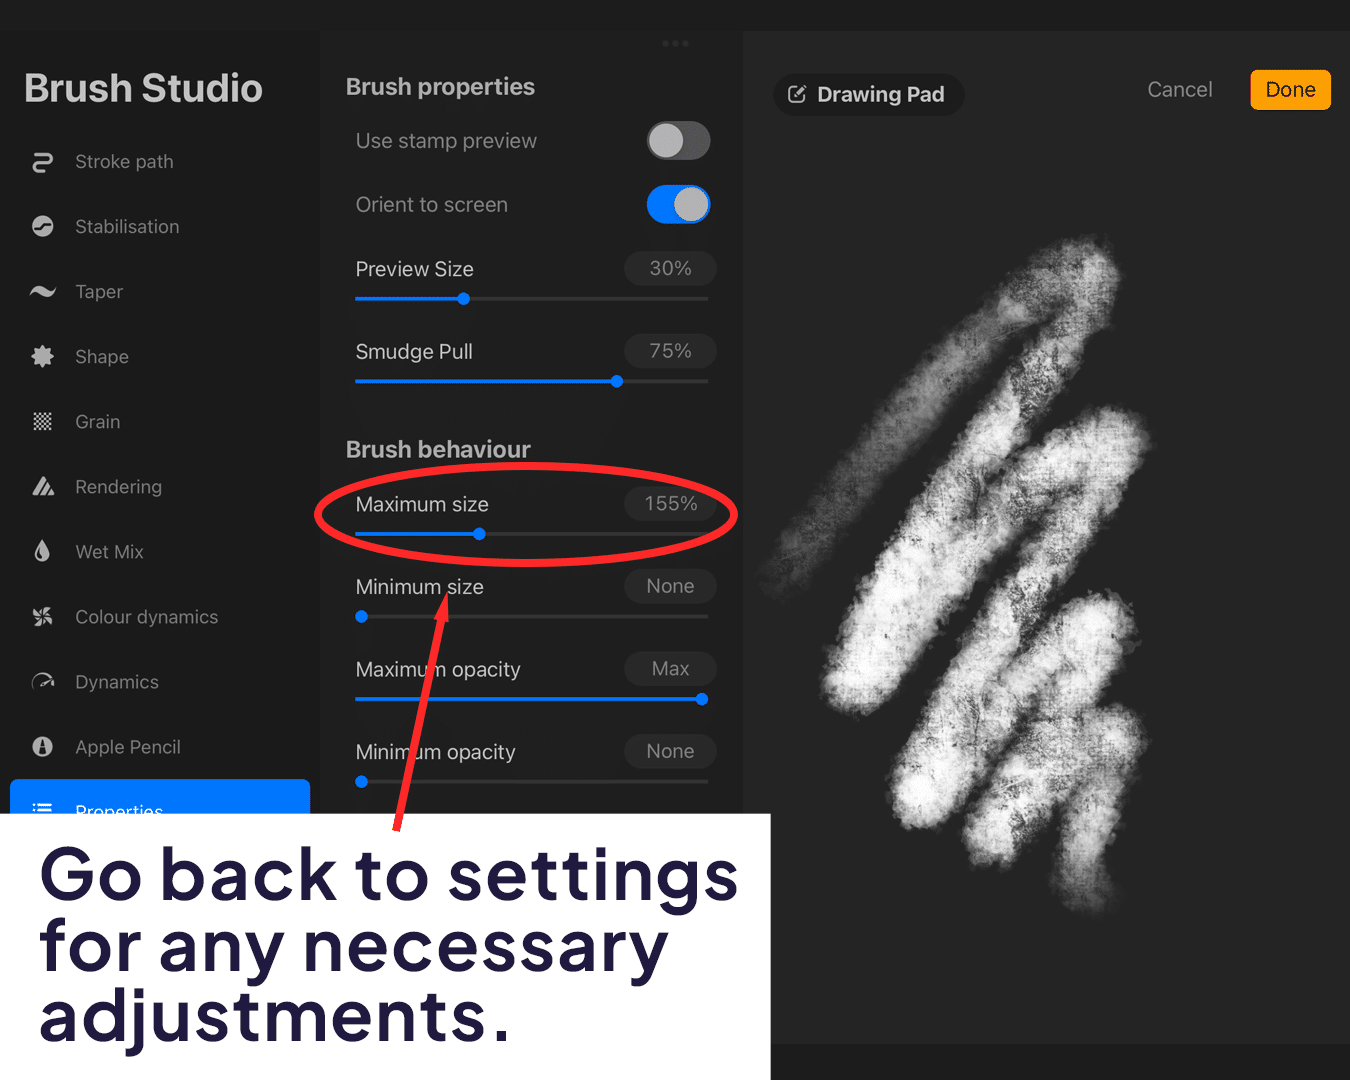
- Go back to settings for any necessary adjustments, focusing on how the brush mimics alcohol ink.
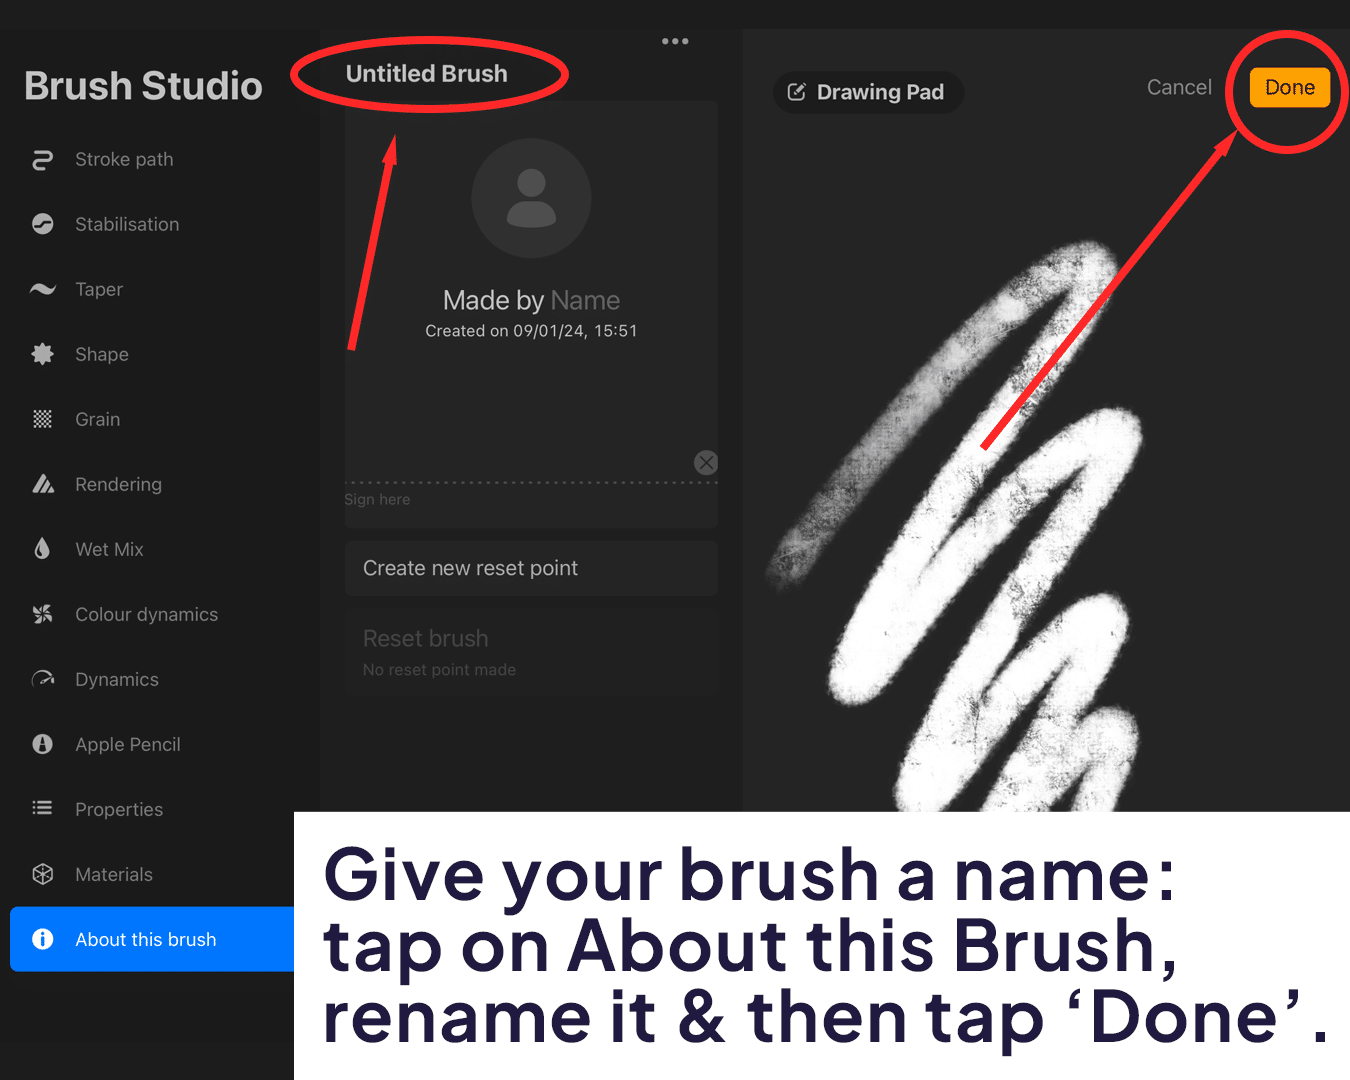
Step 6: Save and Name Your Brush
- After finalizing the brush, tap ‘Done’ to save it.
- Name your brush for easy future reference.
