How To Create a Webtoon in Procreate
Ever found yourself lost in the colorful world of webtoons, only to snap back to reality and think, “Hey, I could make one of these!”?
Well, guess what? With Procreate and a dash of creativity, you absolutely can. Creating a webtoon isn’t just about drawing; it’s about storytelling, designing, and sharing a piece of your world. It might seem daunting at first – like cooking a gourmet meal when you can barely boil water.
Step 1: Setting the Scene in Procreate
Choosing Your Canvas Size: Since webtoons are typically read on screens, pick a canvas size that’s vertical and long. A common size for webtoons is 800 pixels wide by 1280 pixels tall. You can stitch together several of these canvases later.
A great way to enhance your comic creation process is by utilizing Procreate comic brushes, which can add depth and texture to your drawings.

Organizing Your Workspace: Familiarize yourself with Procreate’s interface. Keep your brush library, layers, and colors easily accessible as they’re your main tools in this journey.
Step 2: Sketching Your Story
Start with a Script: Before you draw, write a simple script or storyboard. It doesn’t have to be Shakespeare – just a rough guide of your storyline and dialogue.

Rough Sketches: Using a basic pencil brush, start sketching your panels. Don’t worry about perfection; these are just your guides.

Step 3: Bringing Characters to Life
Designing Characters: This is where you give life to your characters. Think about their personalities and how these can be reflected in their appearances.

Consistency is Key: Keep character designs consistent. Procreate’s layering system is great for this. You can have a reference layer of your characters for easy access.
Step 4: Inking and Coloring
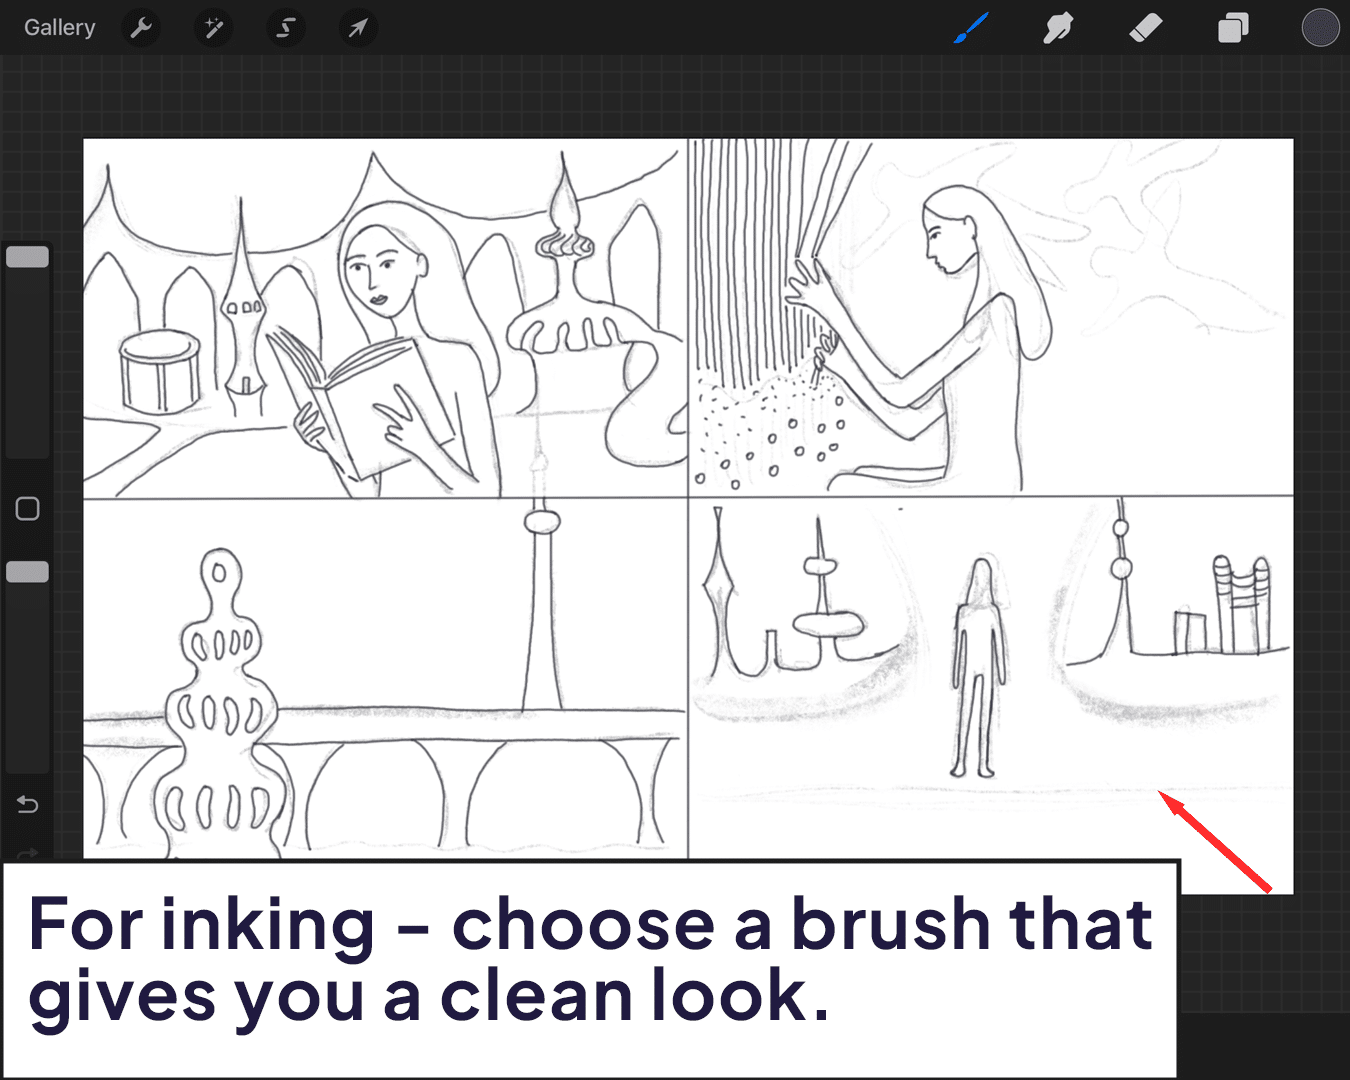
Inking: Once your sketches are ready, add a new layer for inking. Choose a brush that gives you clean, crisp lines – essential for a polished look.


Coloring: After inking, add another layer for colors. Webtoons are usually vibrant and colorful, so don’t be afraid to experiment with different palettes.


Step 5: Adding Text and Dialogue
Speech Bubbles: Procreate doesn’t have dedicated tools for speech bubbles, but you can easily draw them manually. Use a smooth, round brush for uniform bubbles.
Adding Text: Type out your dialogue using Procreate’s text tool. Make sure it’s legible and fits well within your bubbles.

Step 6: Final Touches and Exporting
Review Your Work: Look over your completed panels. Check for any inconsistencies or errors in both artwork and text.
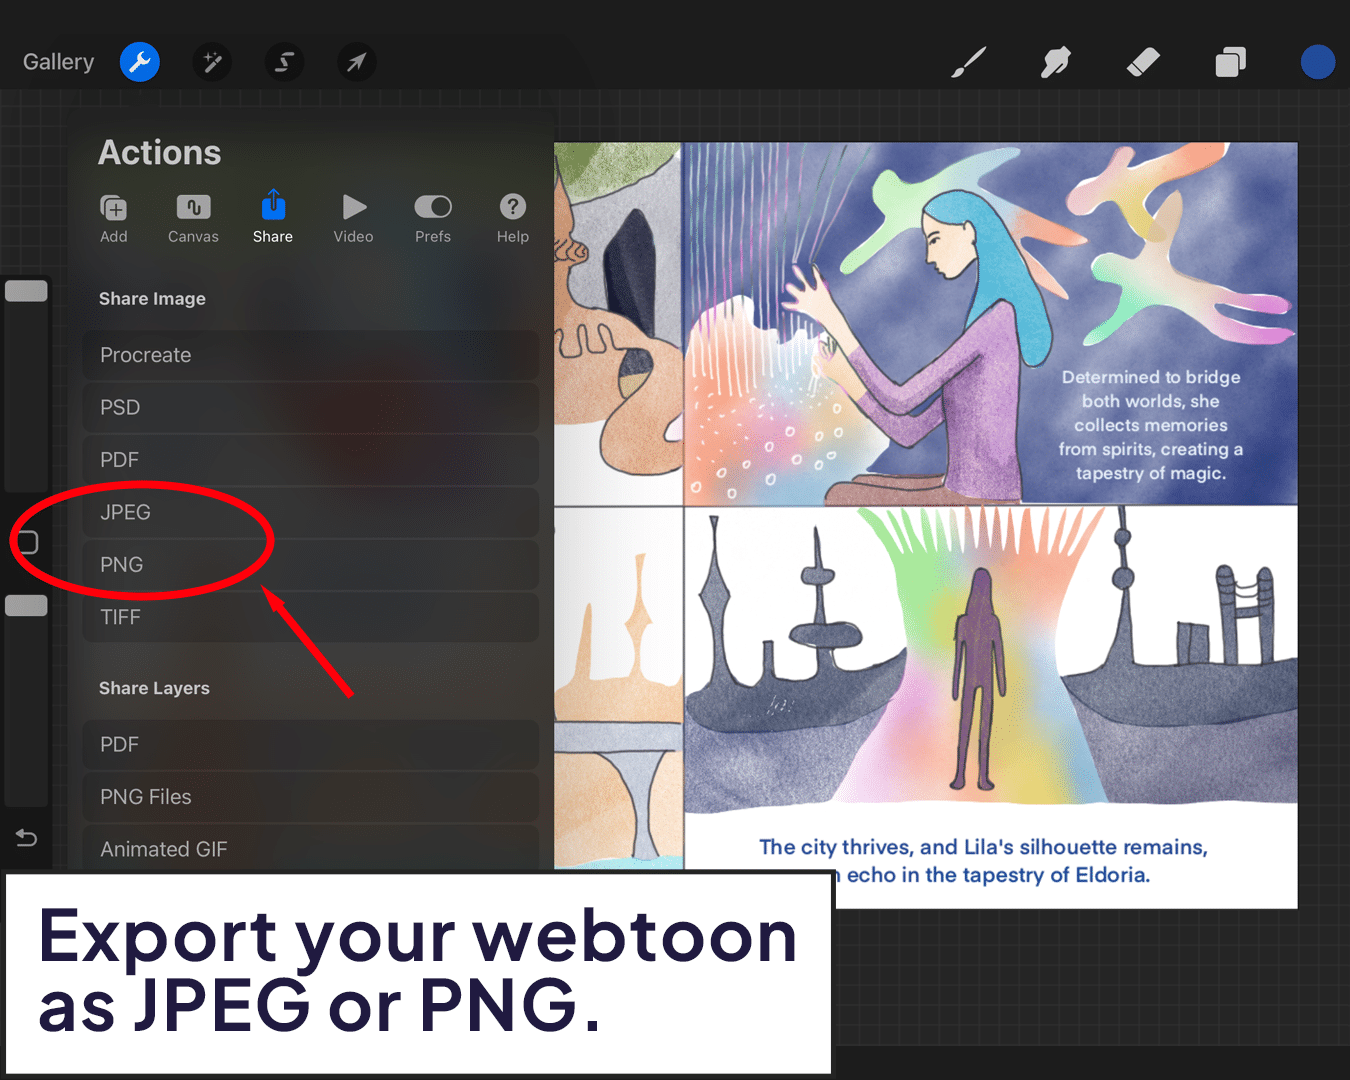
Exporting: Export your panels as JPEG or PNG files. Since webtoons are read in a scrolling format, you might need to stitch your individual panels into a longer, continuous scroll. This can be done in a separate app or software.

Conclusion: Your Webtoon, Your Story
Creating a webtoon in Procreate is a journey of imagination and creativity. It’s about bringing your ideas to life and sharing them with the world.
Remember, every great webtoon started as a simple sketch. So, fire up your Procreate, grab your digital pen, and start creating! Your audience awaits. Curious about Procreate’s capabilities for comic and webtoon creation?
Discover if Procreate is good for comics and how it can be a game-changer for your digital art process.
Happy creating, and may your webtoon journey be as exciting as the stories you’re about to tell!
P.S.: Keep exploring and learning. Procreate is a powerful tool in your artistic arsenal, and with practice, you can master the art of webtoon creation. 🌟🎨💬


