
Difference Between Pencil and Smudge Brush in Procreate

Ever felt like you’re in a Wild West duel when choosing between the pencil brush and the smudge brush in Procreate? Picture this: In one corner, we have the sharp-shooting pencil brush, known for its precision and clarity.
In the other, the mysterious smudge brush, a master of blending and softness. But how do you choose your weapon? I’m here to guide you through the showdown and help you understand the key differences between these two formidable foes in the digital art world.
Pencil Brush: The Sharp Shooter
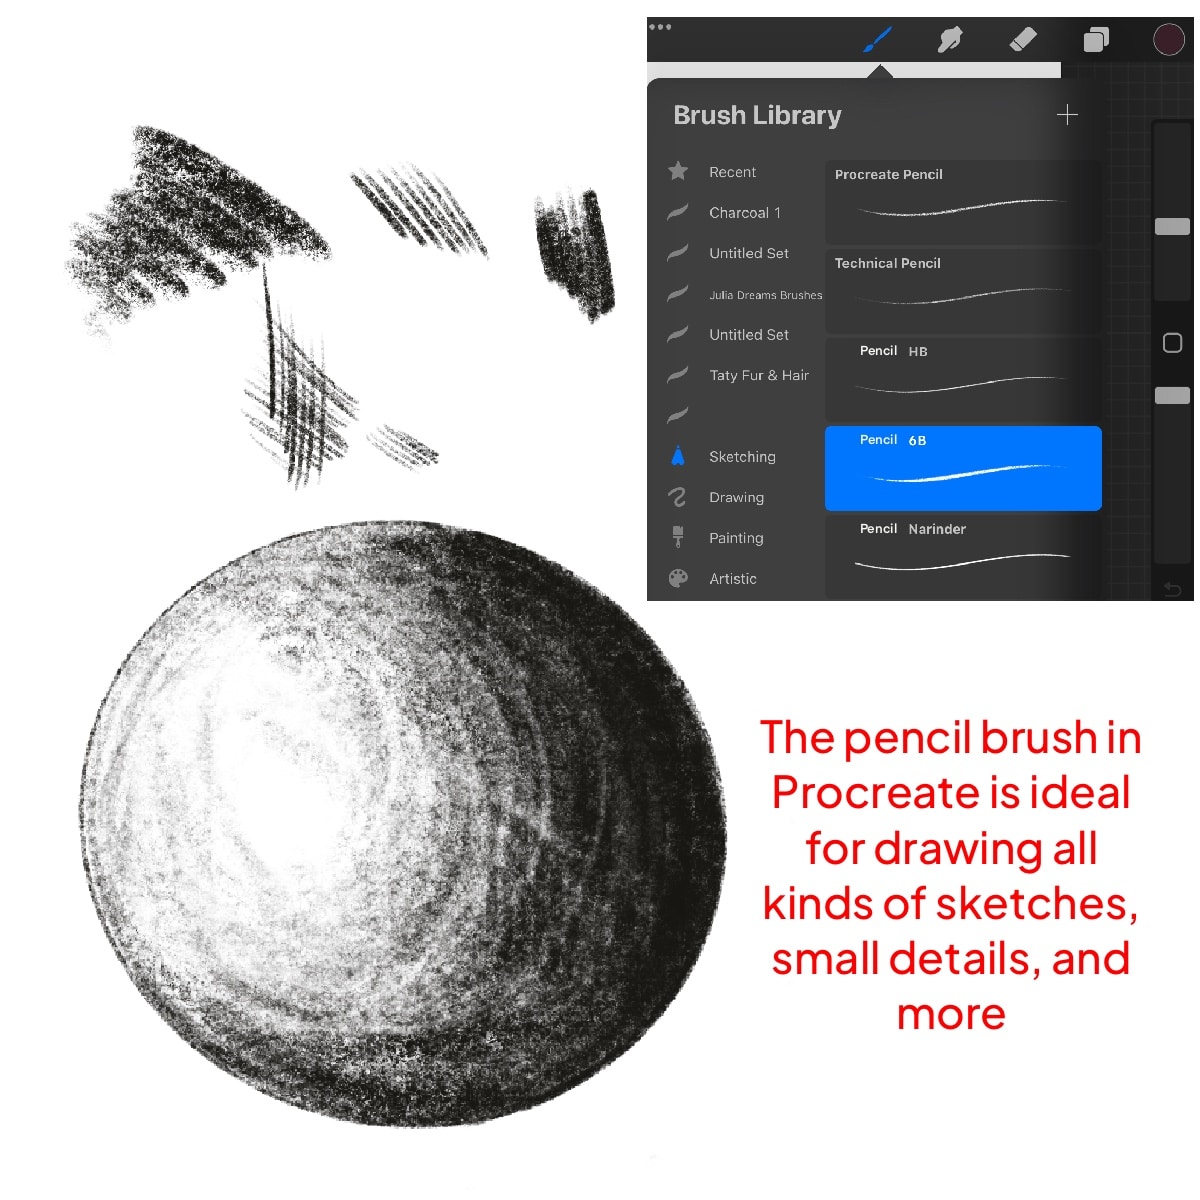
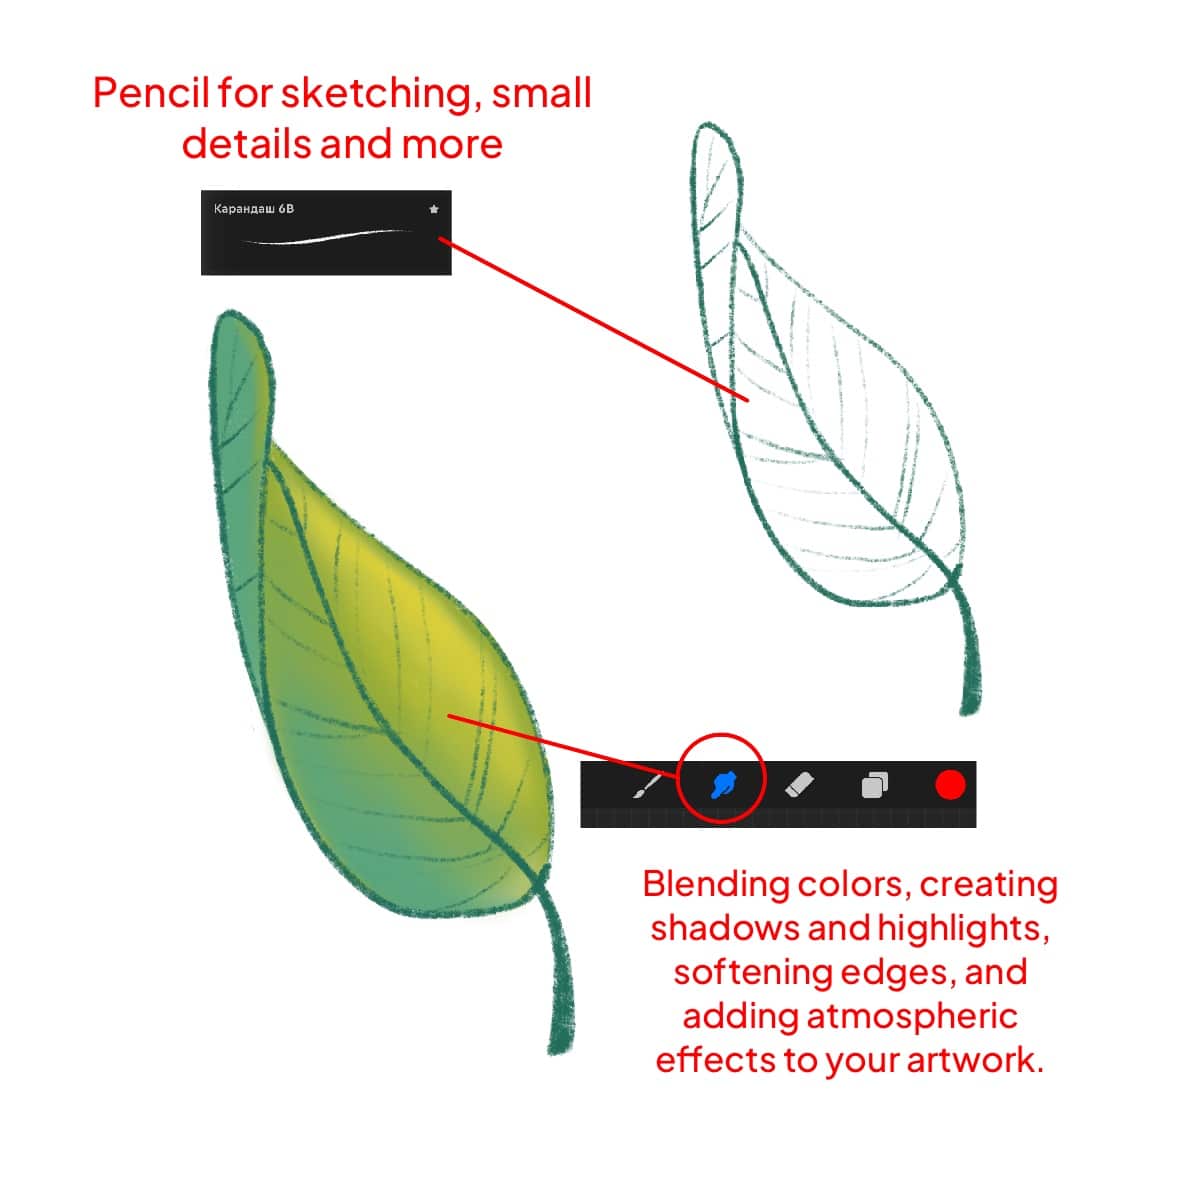
The pencil brush in Procreate is your go-to for detail and texture. Think of it as the digital equivalent of your favorite graphite pencil.
Precision and Control
The pencil brush offers incredible control, making it perfect for sketching, outlining, and adding fine details.
Texture Galore
One of the coolest things about the pencil brush is the texture it provides, mimicking the feel of a real pencil on paper.
Pressure Sensitive
Just like a real pencil, the harder you press, the darker and more pronounced your lines become.
Smudge Brush: The Blender in the Shadows
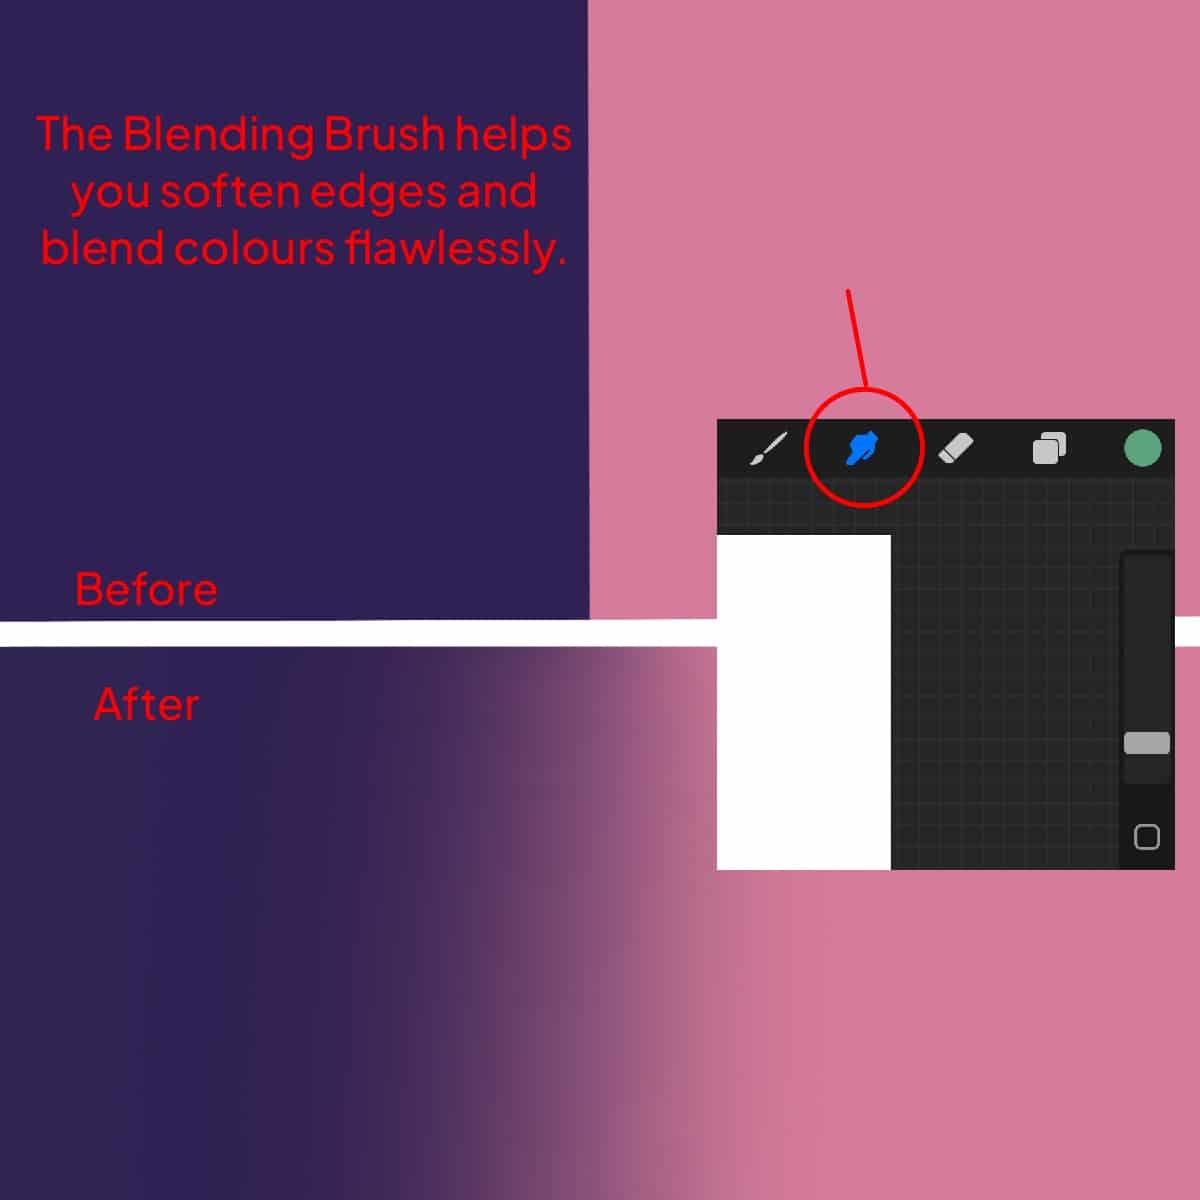
On the flip side, the smudge brush is all about subtlety and blending. It’s the tool that helps you soften edges and mix colors seamlessly.
The smudge brush is your secret weapon for creating gradients, softening lines, and merging colors.
Adjustable Intensity
You can control how much you want to smudge your artwork, from a slight blur to a complete blend.
Versatility
While primarily used for blending, creative artists also use the smudge brush for texturing and even painting in its own unique way.
When to Use Which Brush
Use pencil brush for: Sketching, detailed line work, adding texture, and when precision is key.
Use a smudge brush for Blending colors, creating shadows and highlights, softening edges, and adding atmospheric effects to your artwork.
For a deep dive into mastering this versatile tool, check out how to use a smudge brush in Procreate.
Tips for Mastering Both Brushes
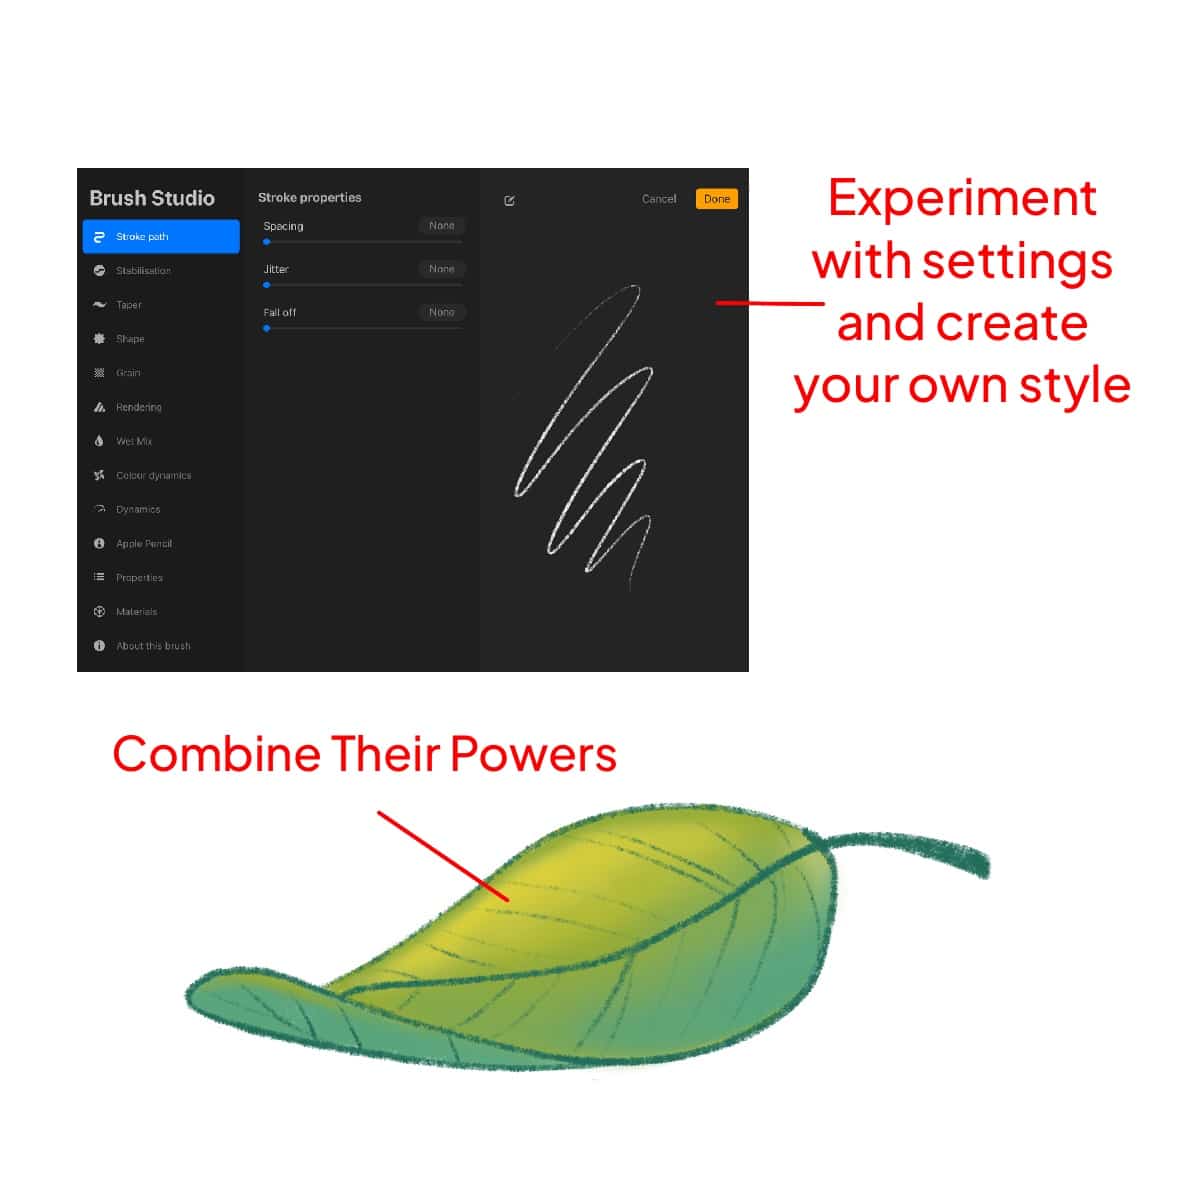
Experiment with settings.
Both brushes come with a range of settings you can tweak. Play around with them to find your perfect setup.
Sometimes, the best results come from using both brushes in harmony. Sketch with the pencil brush, then blend and soften with the smudge brush.
Conclusion
The pencil and smudge brushes in Procreate each have their unique strengths, and understanding these can significantly elevate your digital art.
Whether you’re sketching a detailed portrait or creating a dreamy landscape, knowing when and how to use each brush can make all the difference.
So arm yourself with both, and head into your next digital art project with confidence and creativity!
Happy drawing, and may your lines be sharp and your blends be smooth!
P.S.: Stay tuned for more tips and tricks on navigating the exciting world of digital art in Procreate! 🖌️🎨✨


Share this article


