
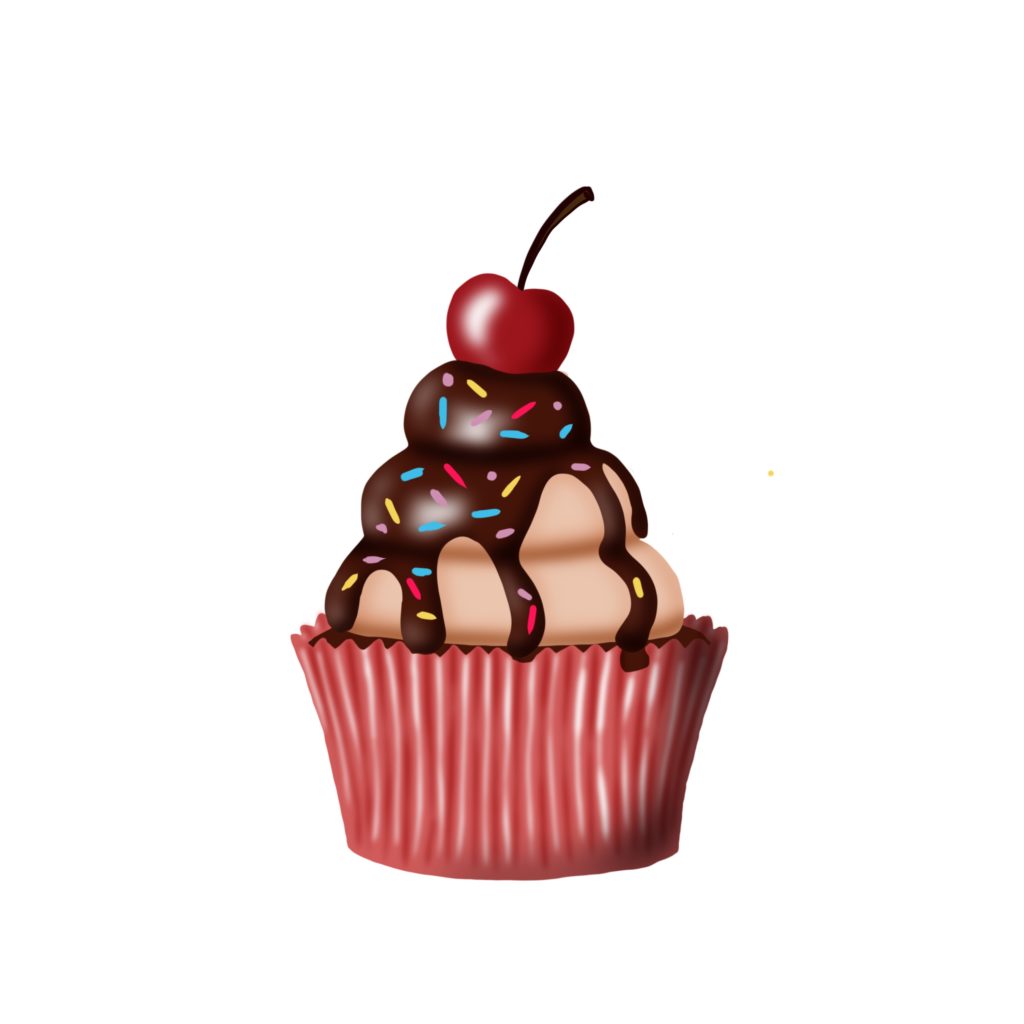
How to Draw a Cupcake in Procreate on iPad
Procreate Drawing Ideas: Step By Step Tutorial On How To Draw A Cute Cupcake In Procreate On iPad!
For today’s tutorial, we are going to show you step by step how to draw, color and shade this cute cupcake! So, get your iPad and Apple pencil and start drawing along with us!
For this tutorial we will be walking you through each of the following steps:
- Sketching the cupcake.
- Laying flat colors onto the sketch.
- Shading the cupcake.
- Highlighting the Cupcake.
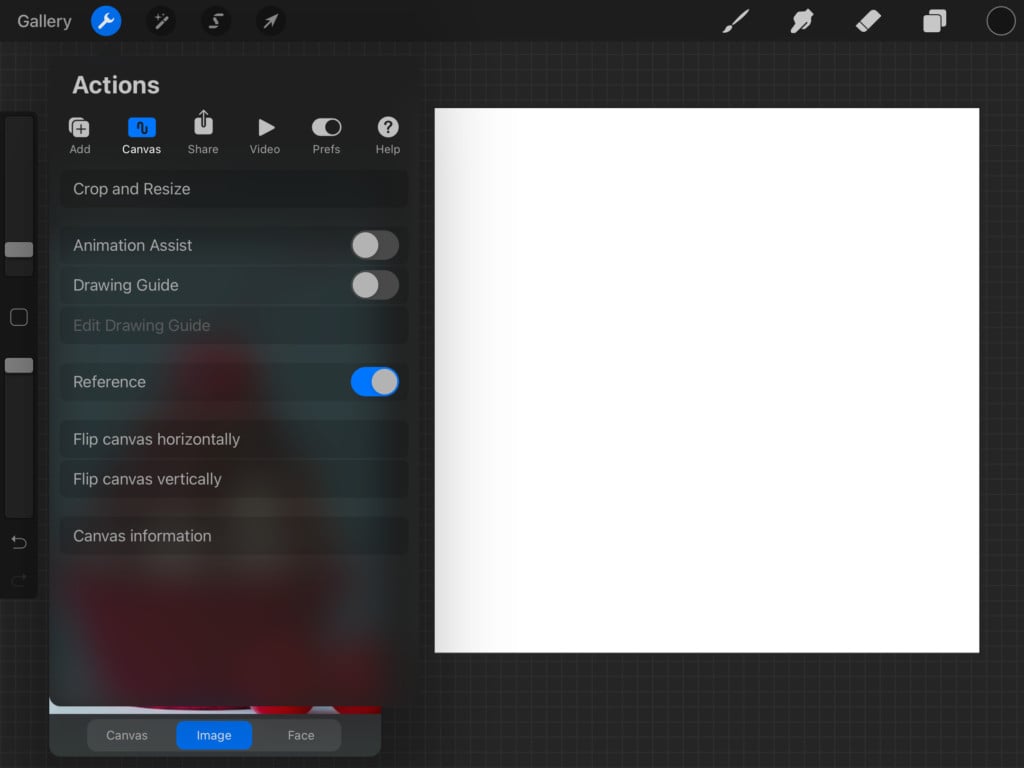
First off, start by creating a new canvas. Whatever size you would like. We prefer to create a square canvas (so that it is Instagram-worthy, right?) 3000*3000 and 300 DPI.
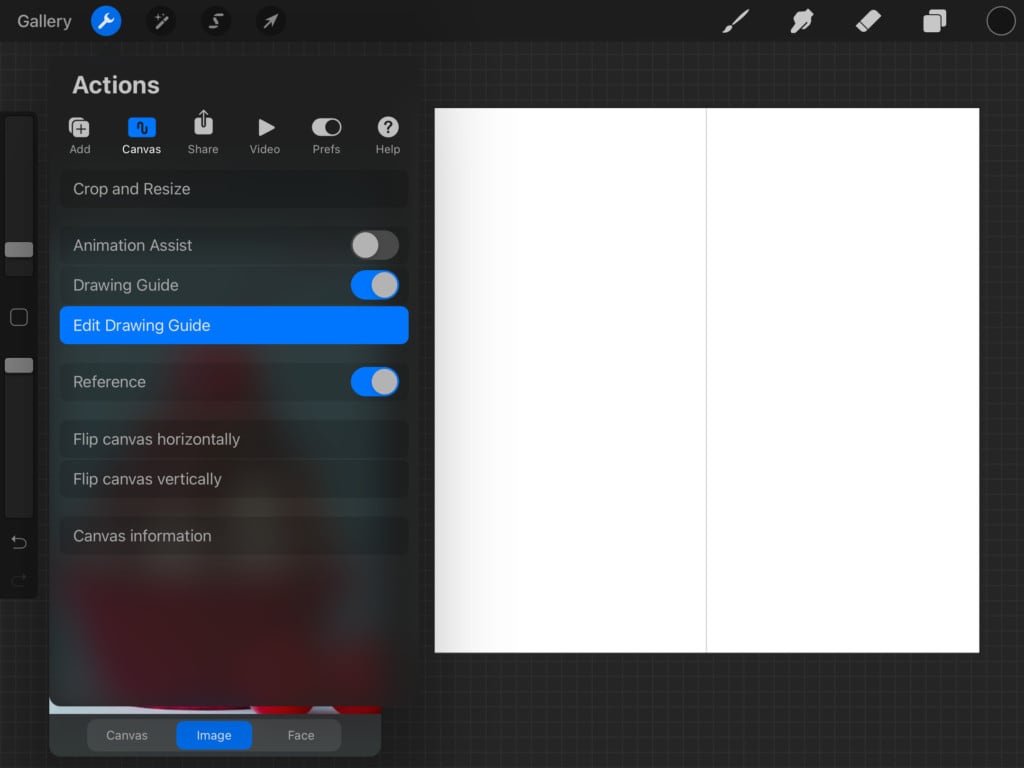
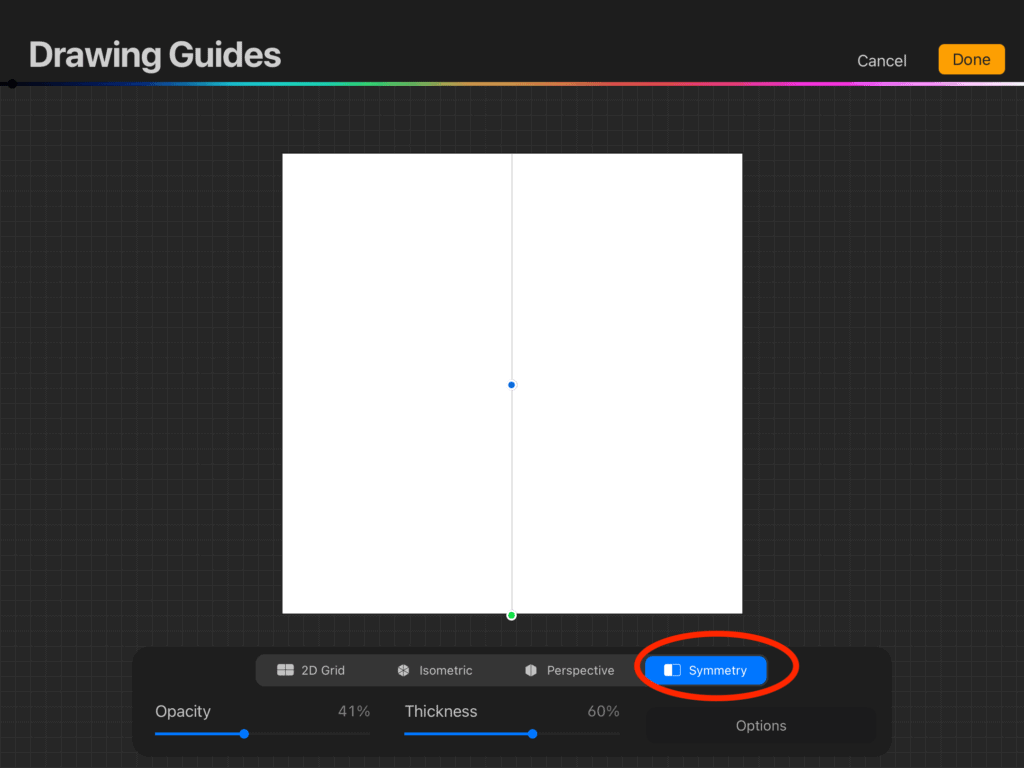
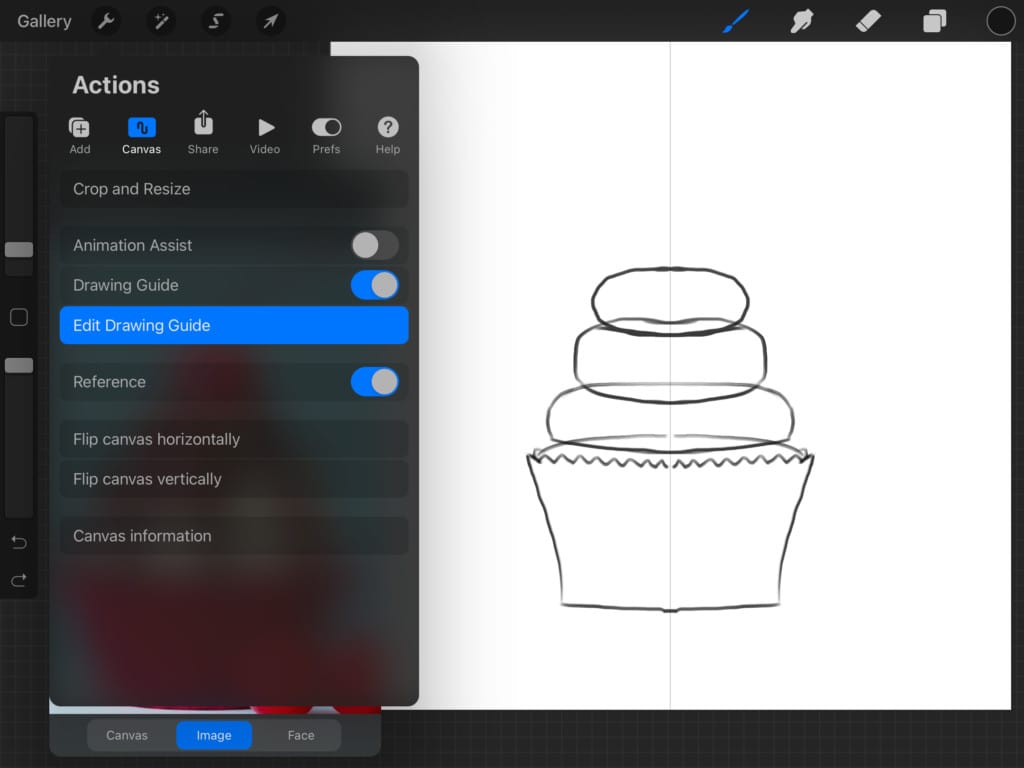
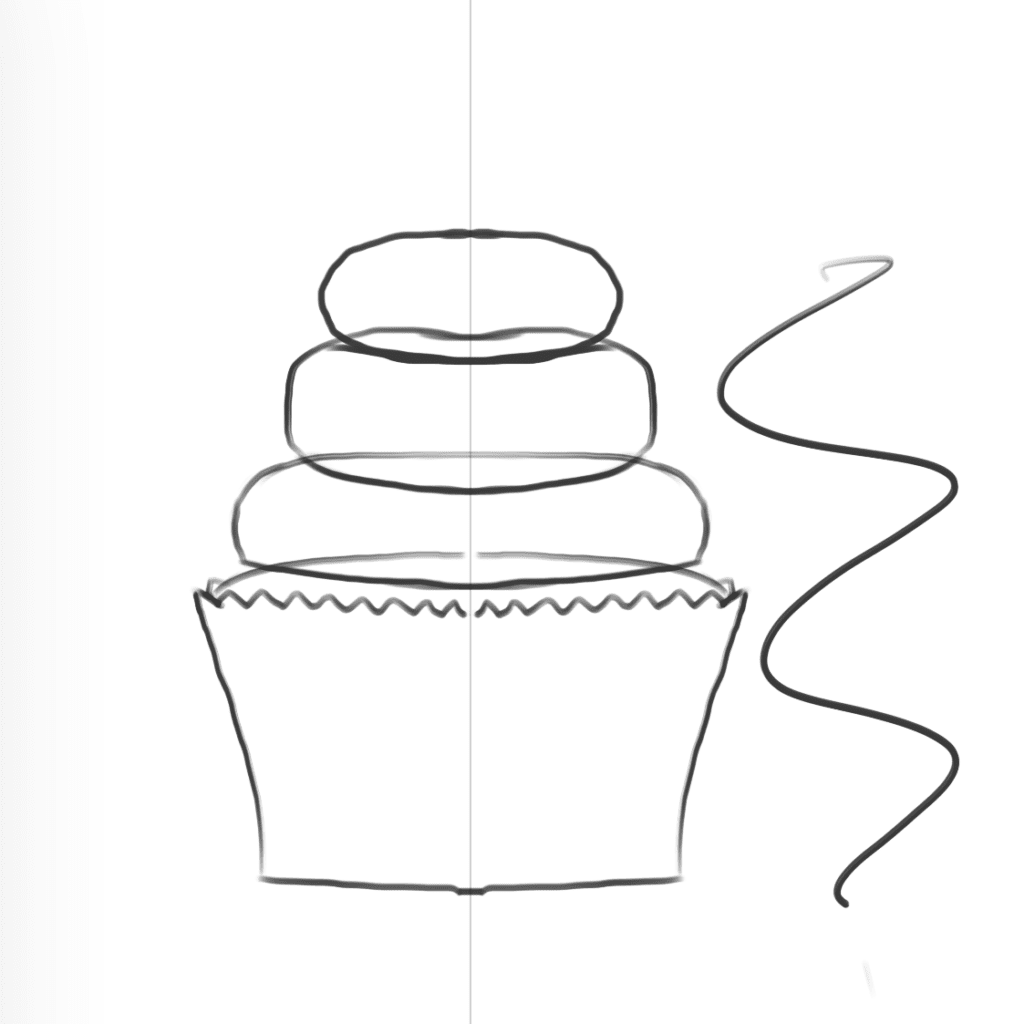
Head over to the “Actions” menu, choose “Canvas“. Turn on the Drawing guide. And we are doing that too then be able to tap “Edit Drawing Guide“.
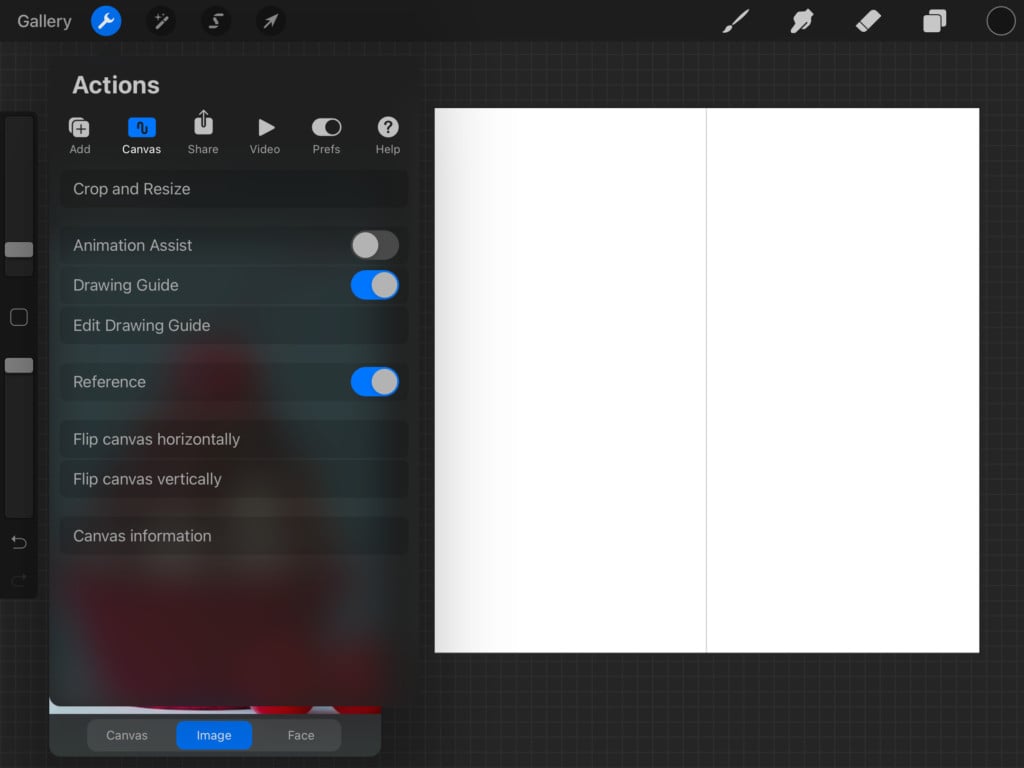
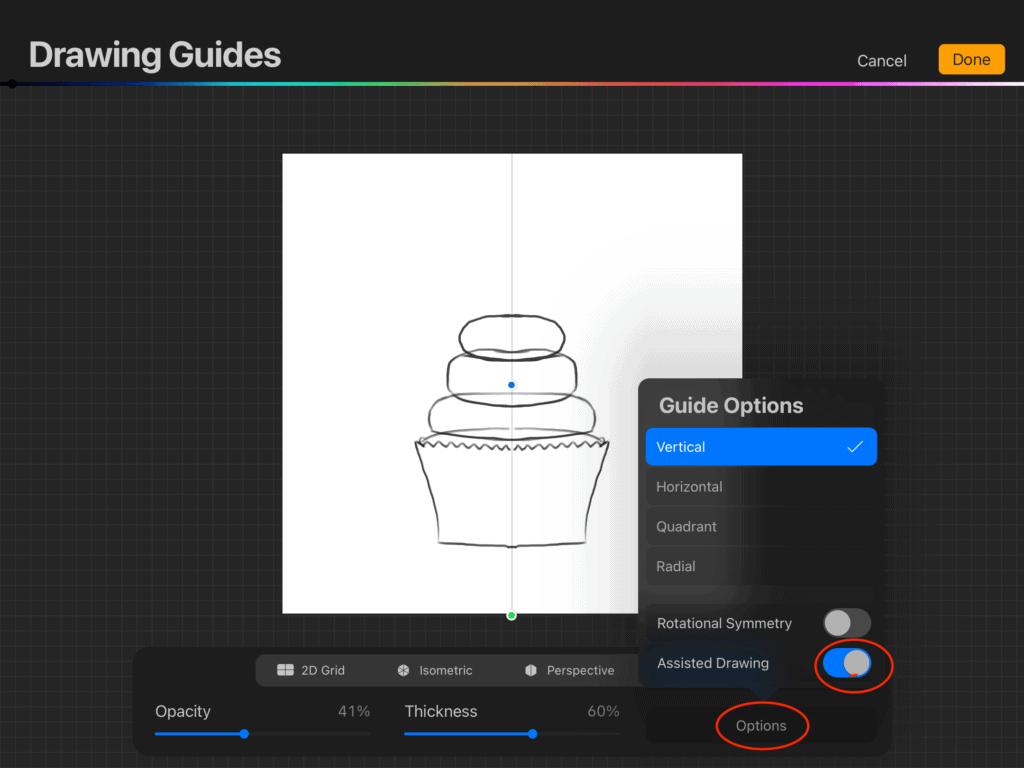
It will open up the options you have for drawing guides. Select the “Symmetry” option. And what that does is that it is going to mirror whatever you are drawing on one side of the canvas to the other side of it. Cool, huh?
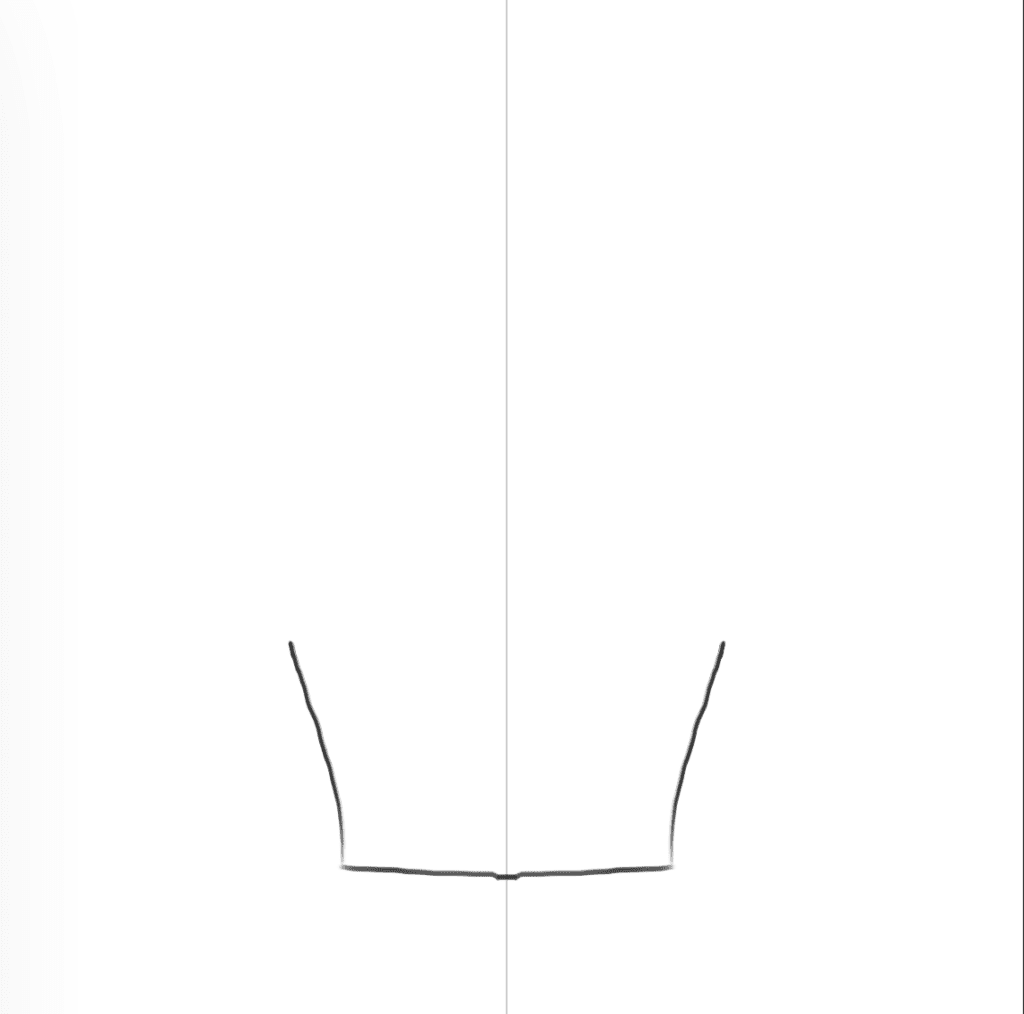
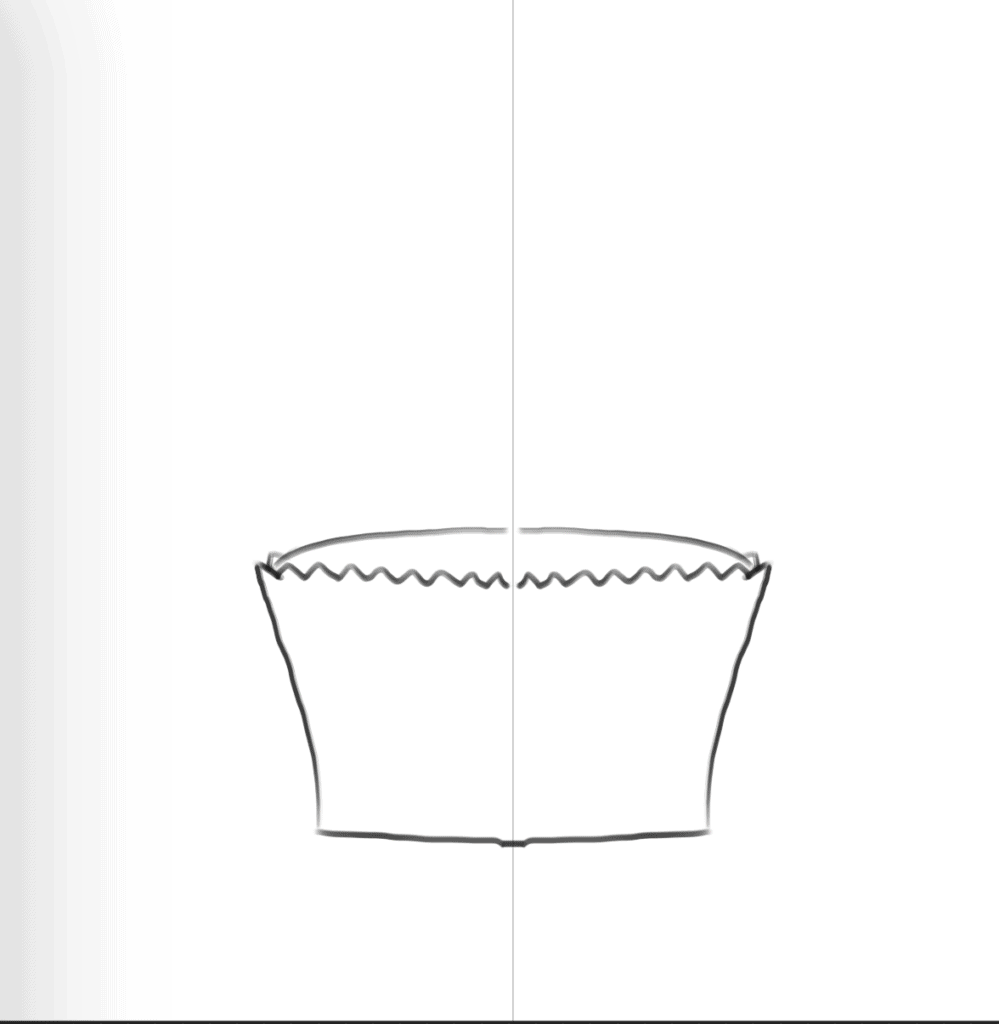
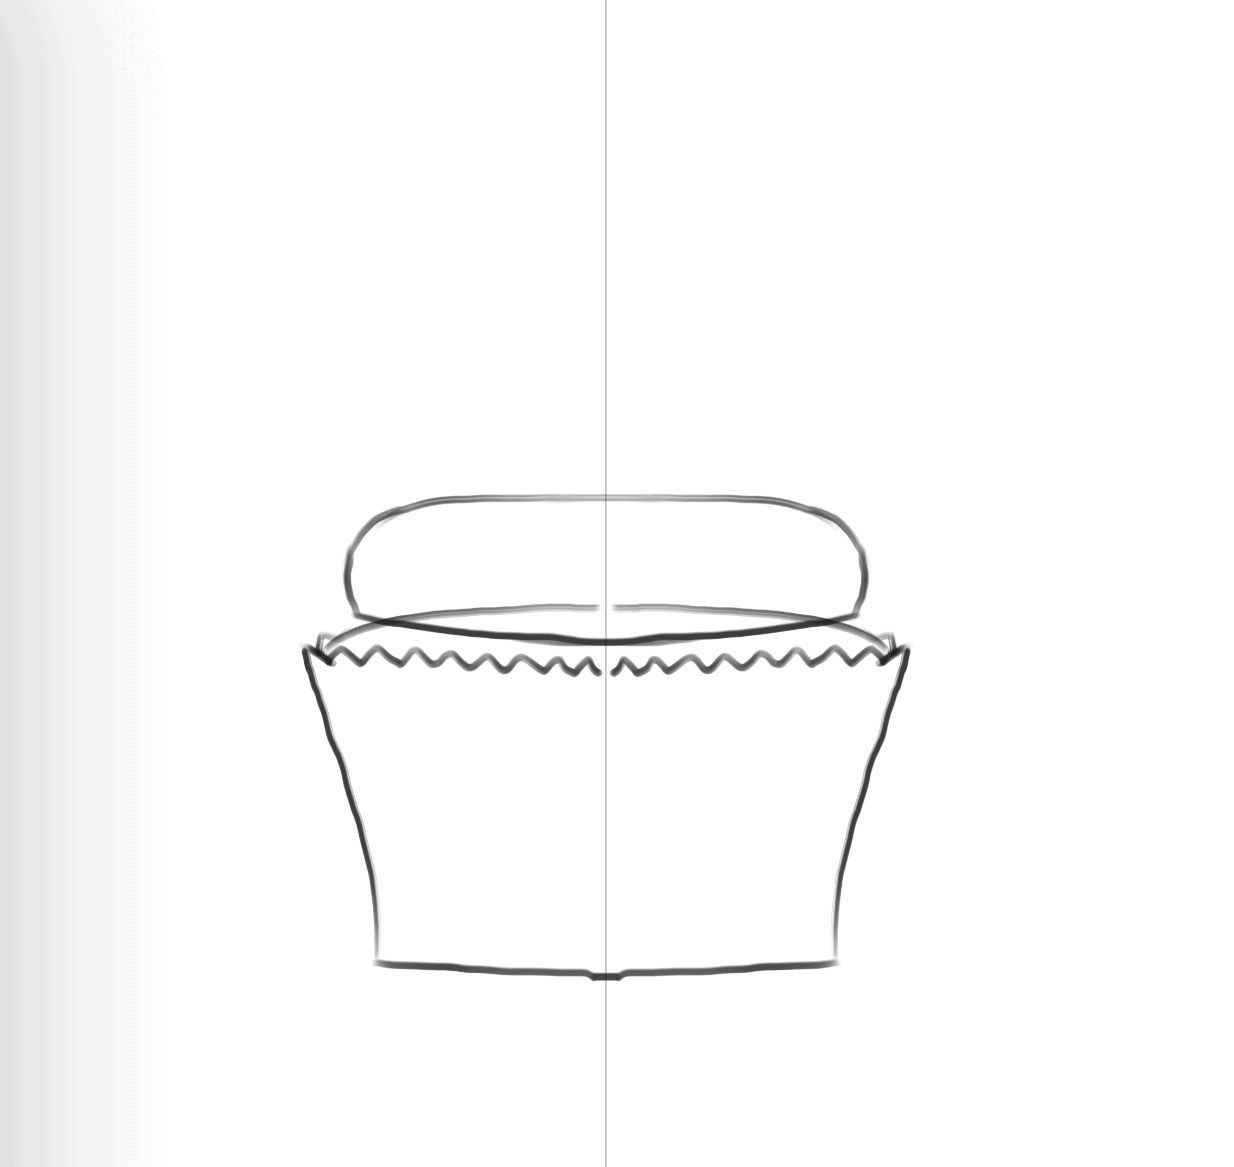
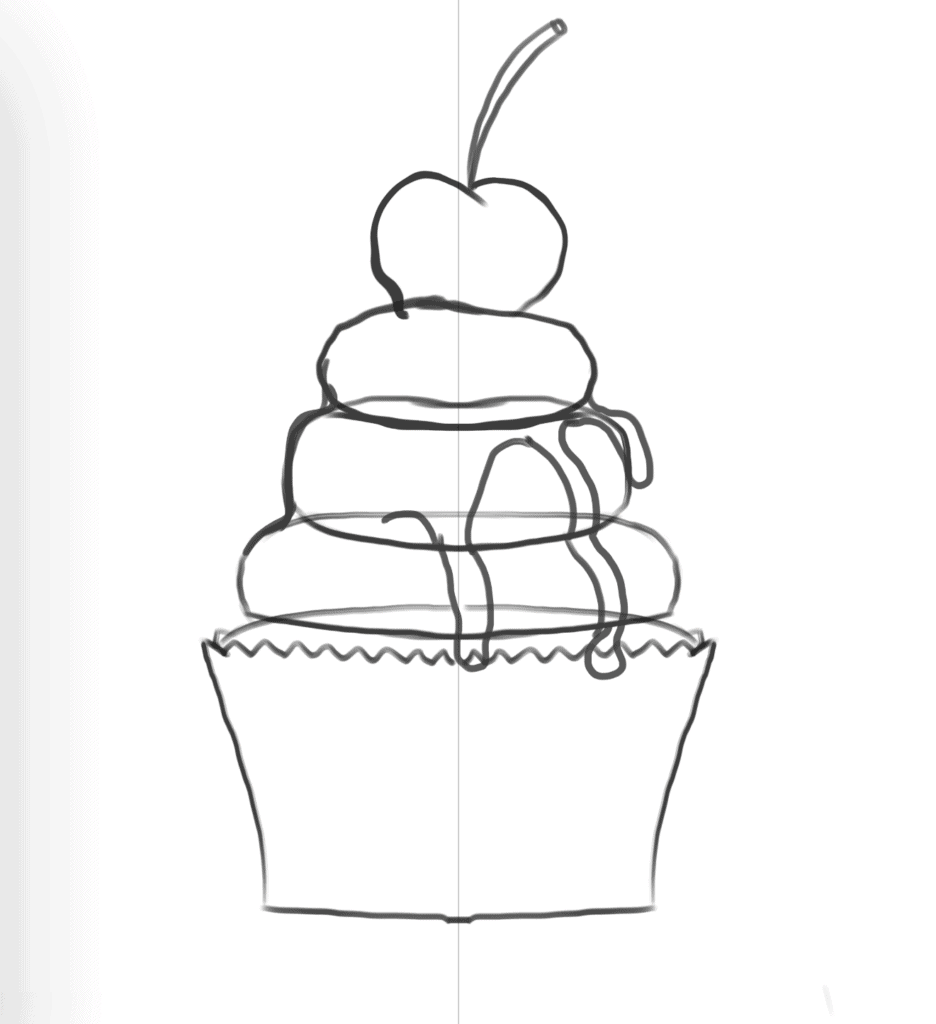
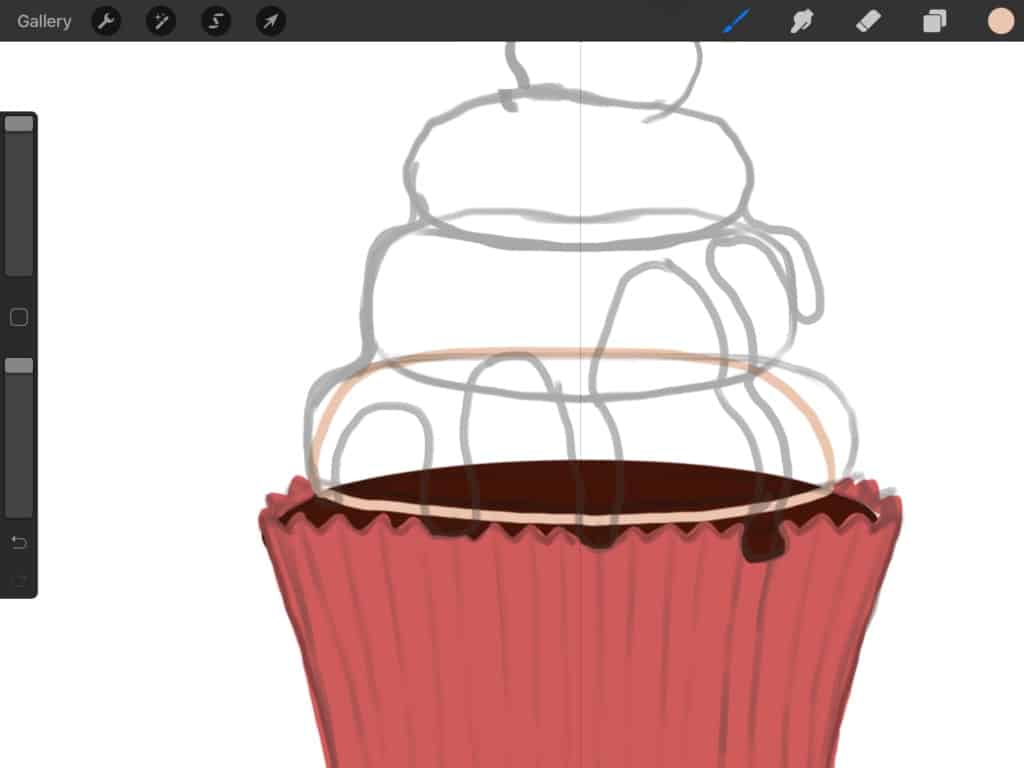
Now, start by drawing the cupcake base, then add a zigzag line to the top. Add the curve to represent the cake top, which we will add frosting to later. For sketching, we used one of our favorite brushes for sketching, the “X Soft Round” brush from the “X Fantasy Portrait” brush set. However, you can use whatever sketching brush you like to sketch it out.
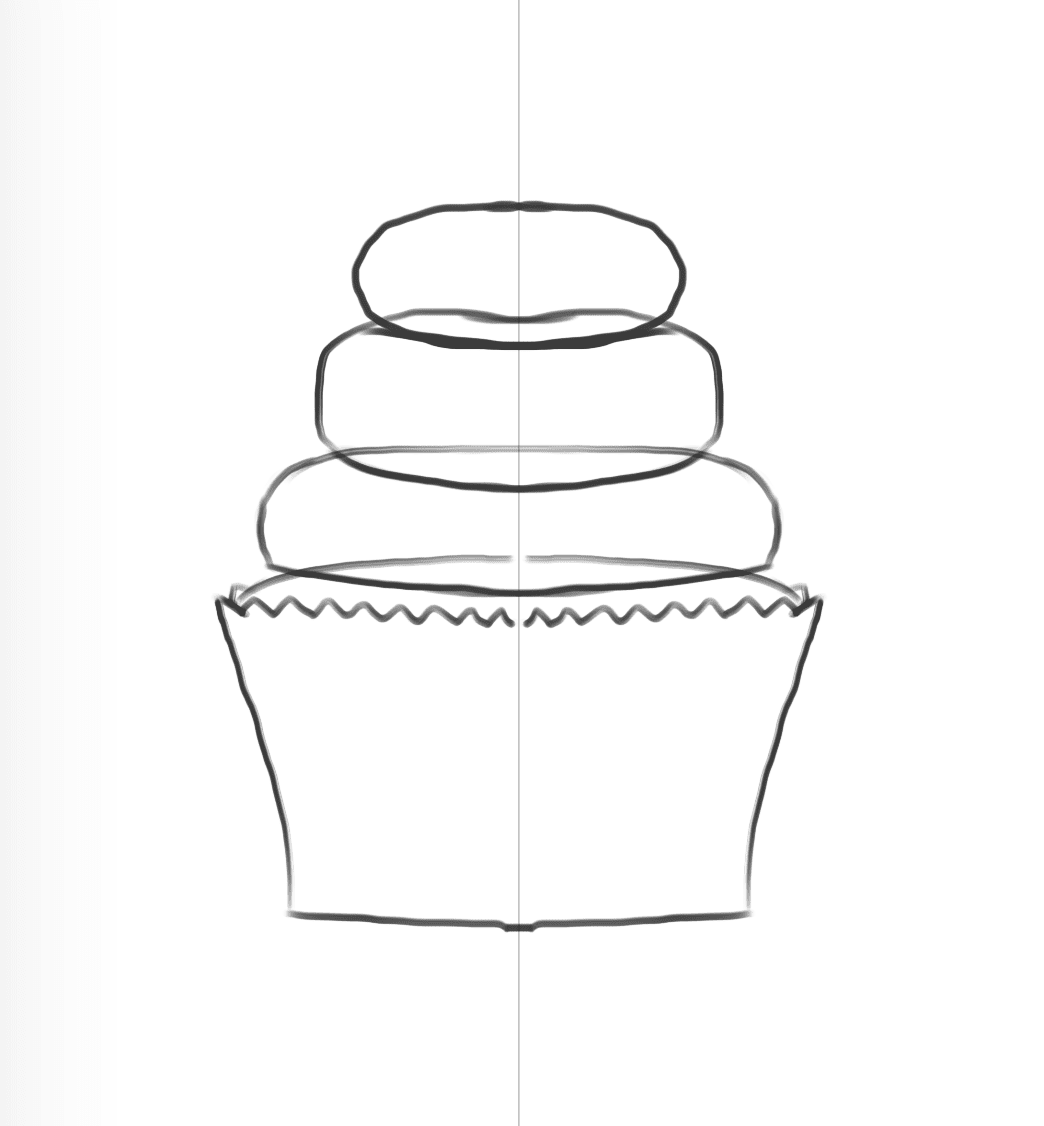
Next, we are going to move on to drawing the frosting. We do that by adding overlapping oval shapes to the cake. Three layers are about enough!
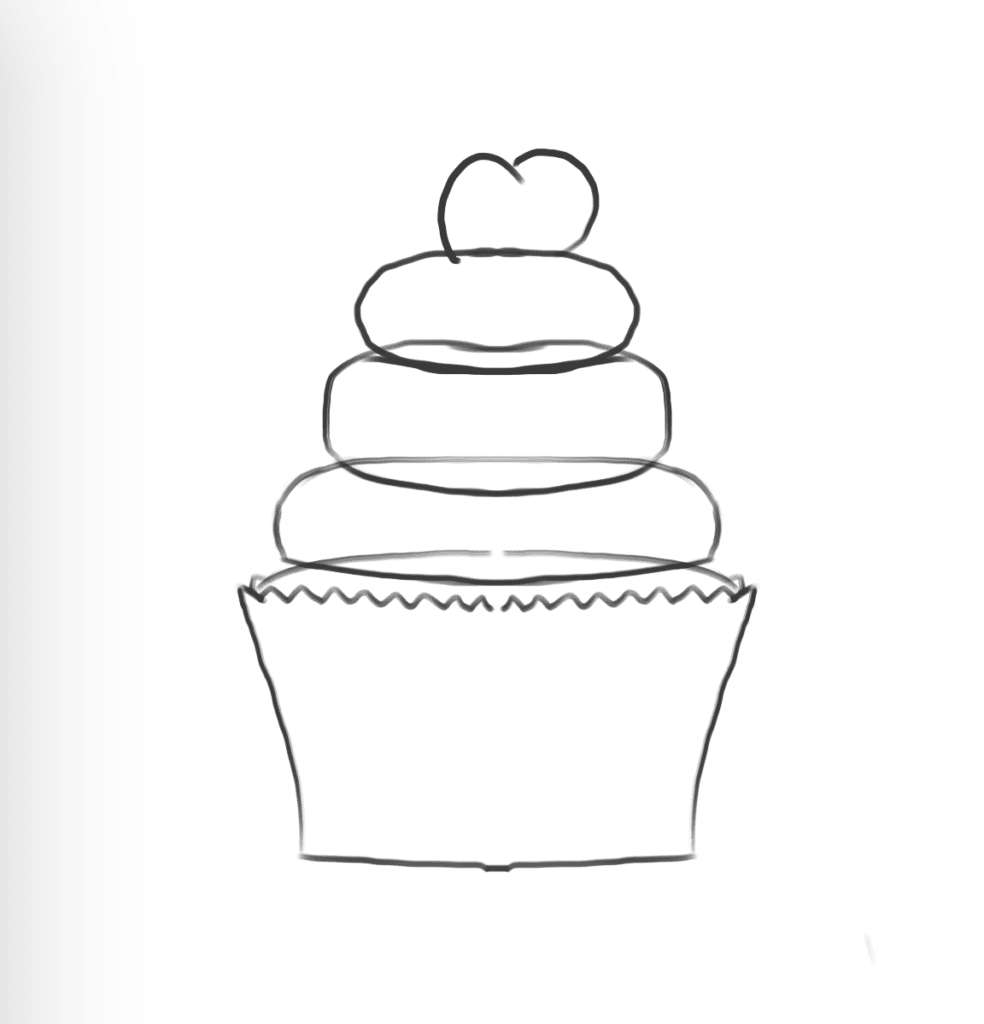
Don’t rush yourself to coloring just yet! We need to add the cherry on top! But in order to do that we need to first turn off assisted drawing so that we can draw the cherry asymmetrically.
Again, head over to the “Actions” menu. Select “Edit Drawing Guide“. Then select “Options“, and untoggle the “Assisted Drawing“.
And now you can basically draw any random thing, without it being mirrored to the other side of the canvas.
Now, go ahead and draw the cherry. Don’t worry, you don’t have to do it perfectly! Take a look at our cherry right here. We believe it could use a little editing, right? So, let’s get to fixing it.
We are going to head over to the “Adjustments” menu. Then select “Liquify“. You will see the “push” option is automatically selected. And what that does is allow us to manipulate (or push) the edges of our drawing, until we are satisfied with how it looks. So, pretty much no more erasing and redrawing. Awesome, right?

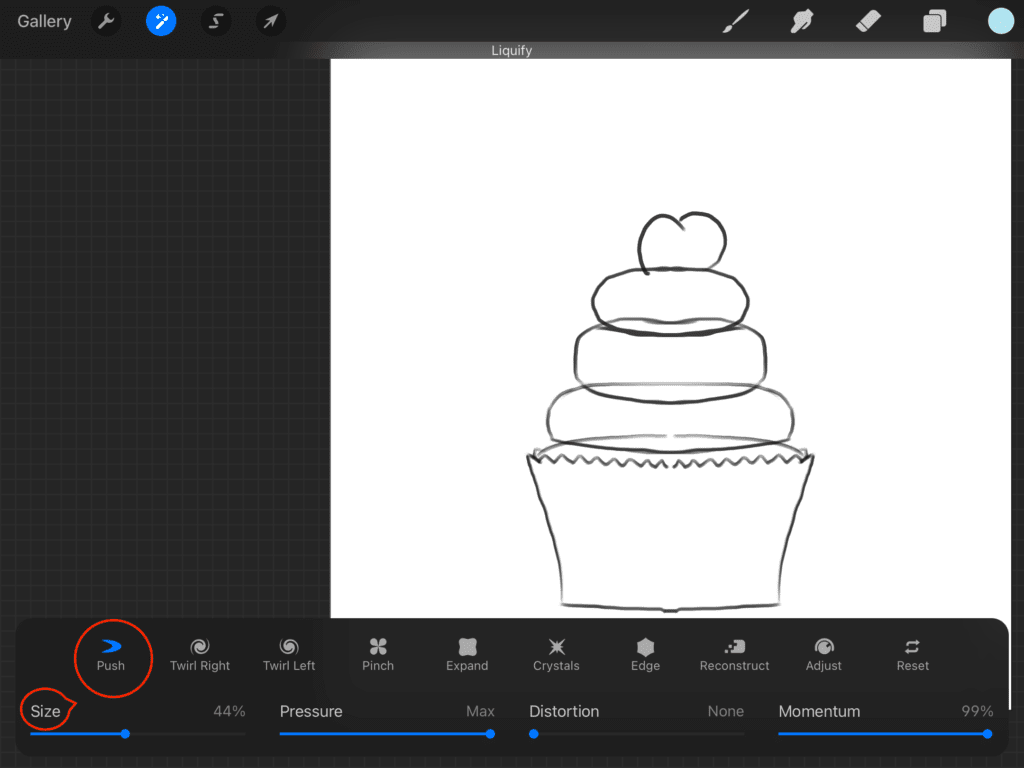
Note that you can always change the size of the brush that you are using to push the lines around from the lower panel that appears when you select the option “Liquify“. Check it out in the above middle image.
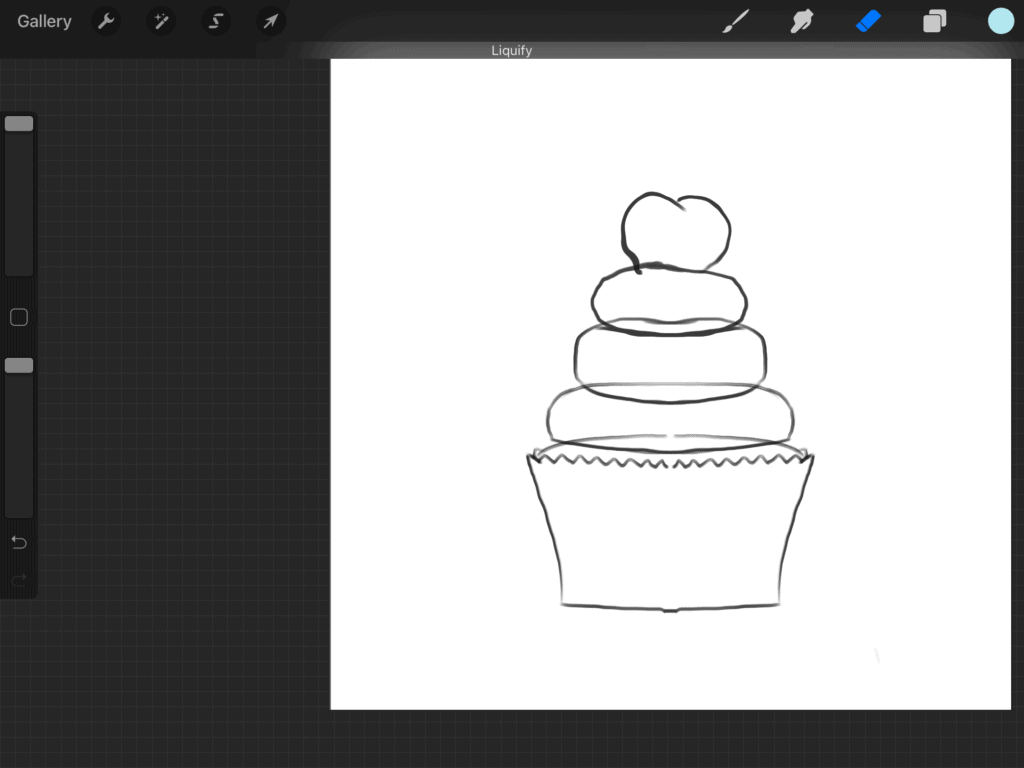
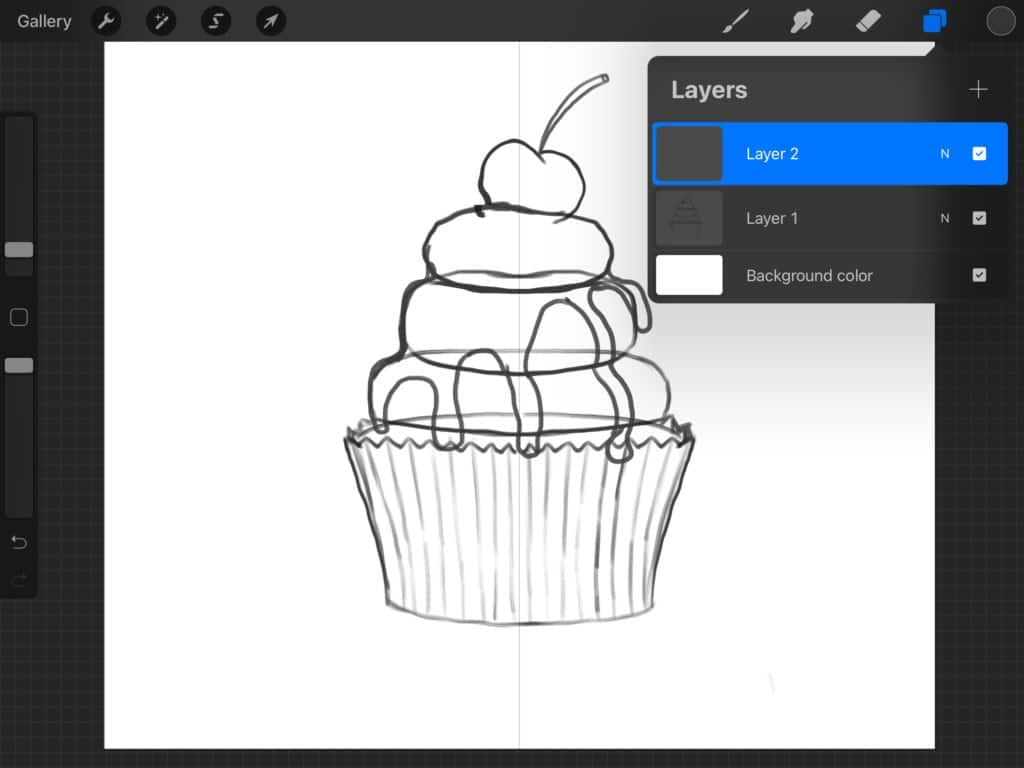
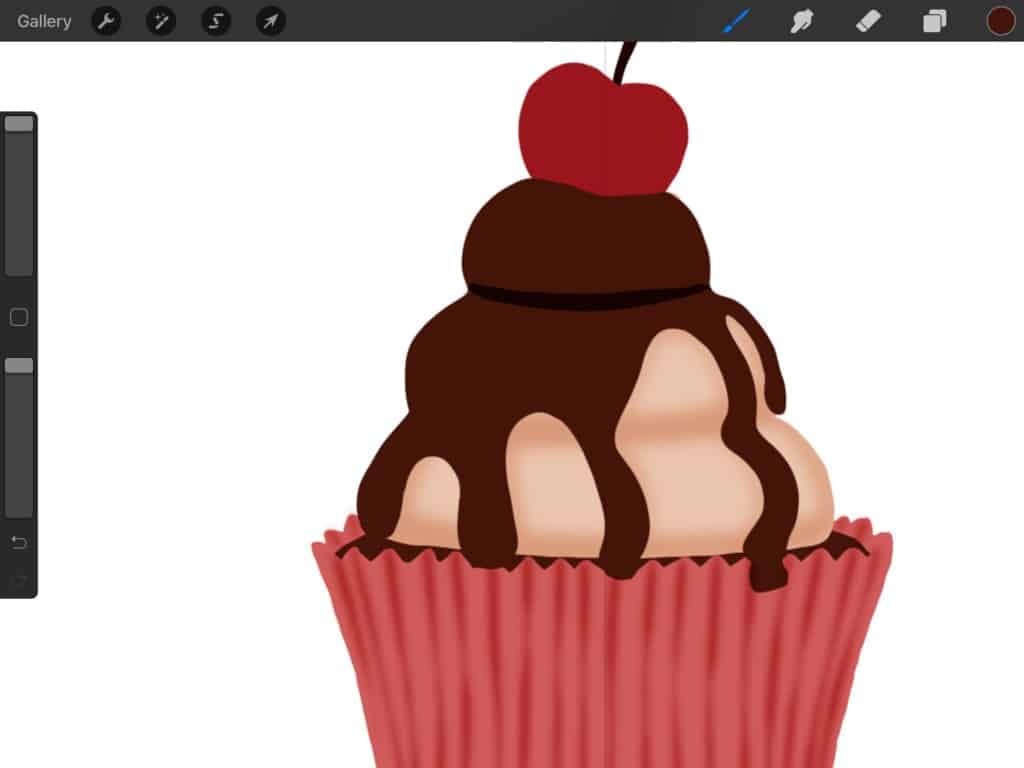
Now, we went ahead and added a stem for the cherry. We also started adding chocolate sauce to the frosting. Make sure to get the sauce to look like it is sliding on each frosting layer.
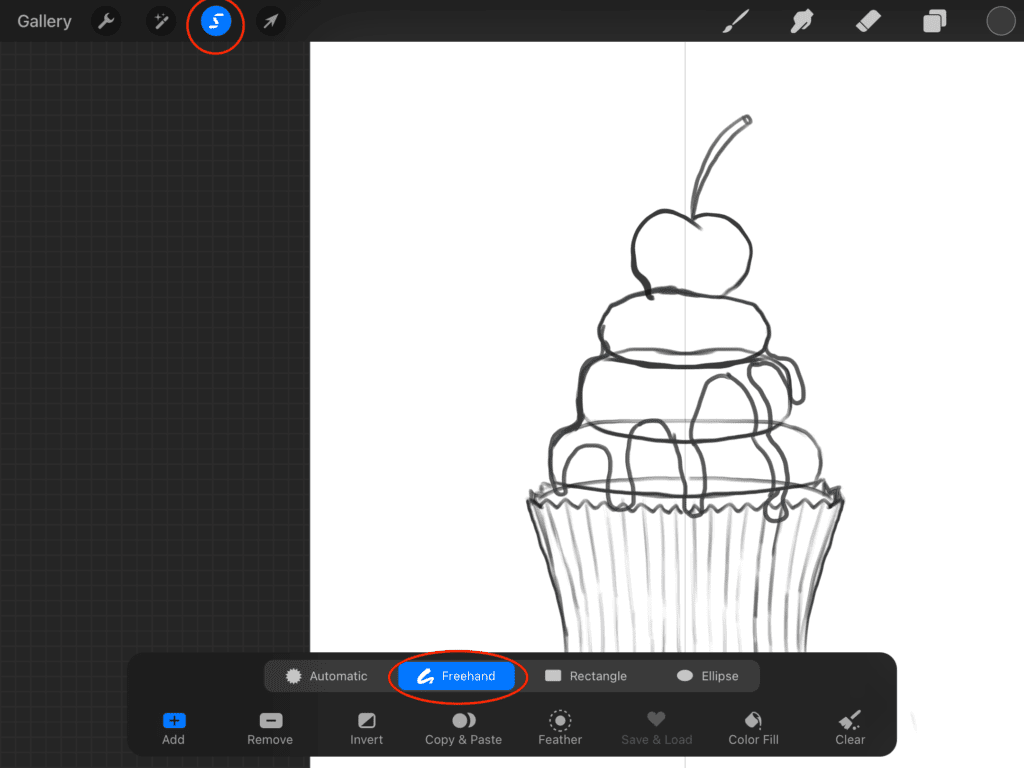
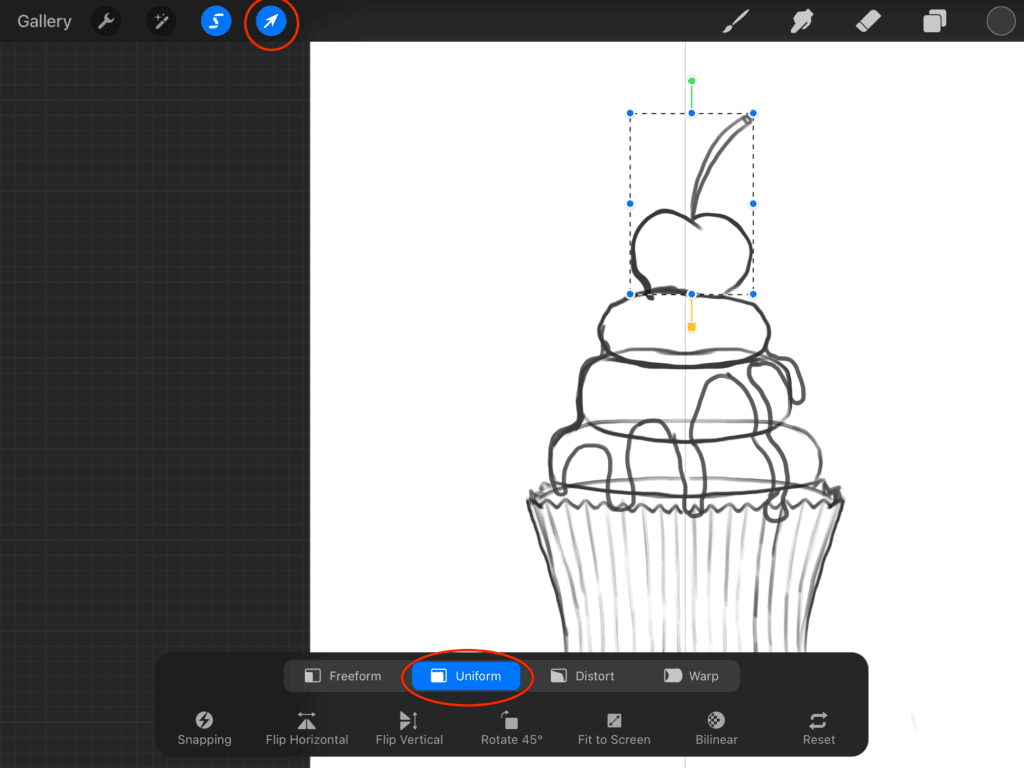
Next, we wanted to adjust the cherry a little so it would look realistic. So, we used “Freehand” selection. and selected the cherry, then selected the arrow on the top to be able to move our cherry around, resize it and rotate it.

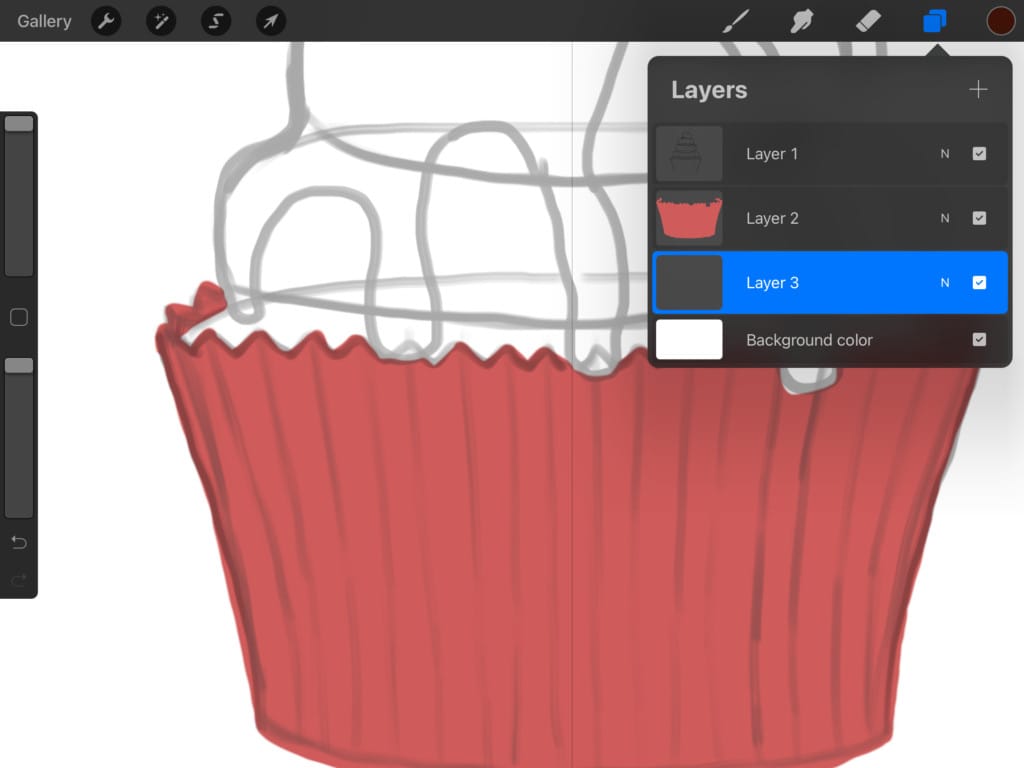
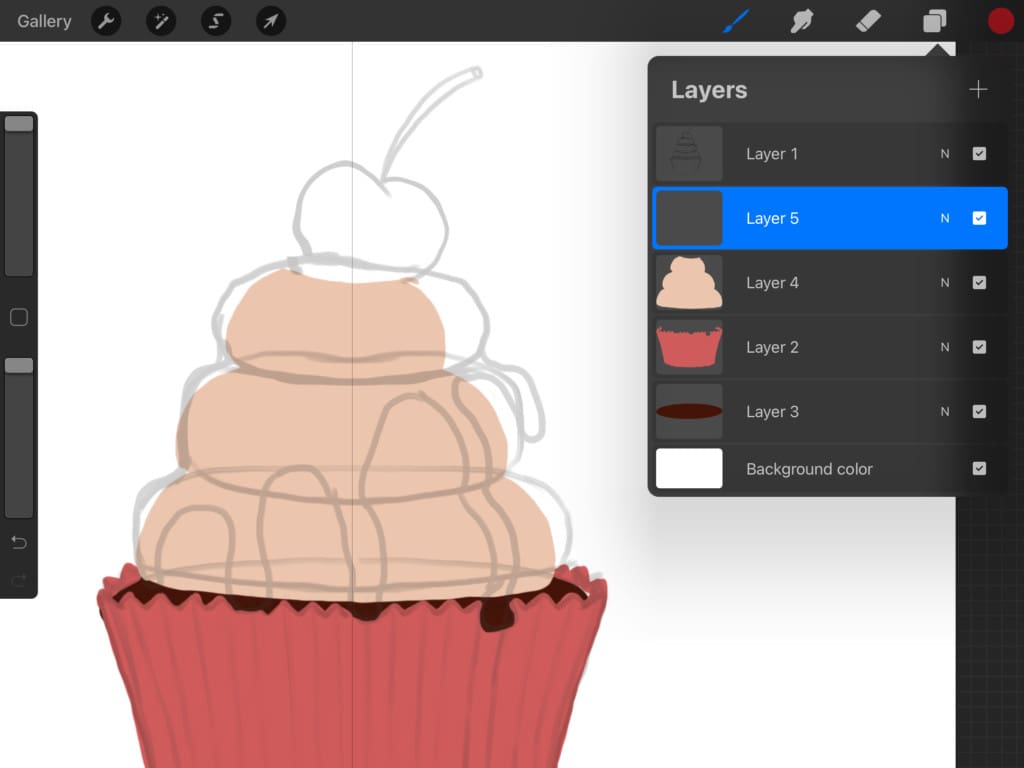
And we finally got to the part that we love most. And the one you are probably waiting for as well, and that part is “Coloring“. We start off by pressing the “N” next to “Layer 1” to lower the opacity of the sketch layer to about 40 %. So that we will be able to add a flat colors layer beneath the sketch layer which we can still see because it is not totally transparent. And we can also see where our coloring lines land because the sketch lines are not totally opaque.
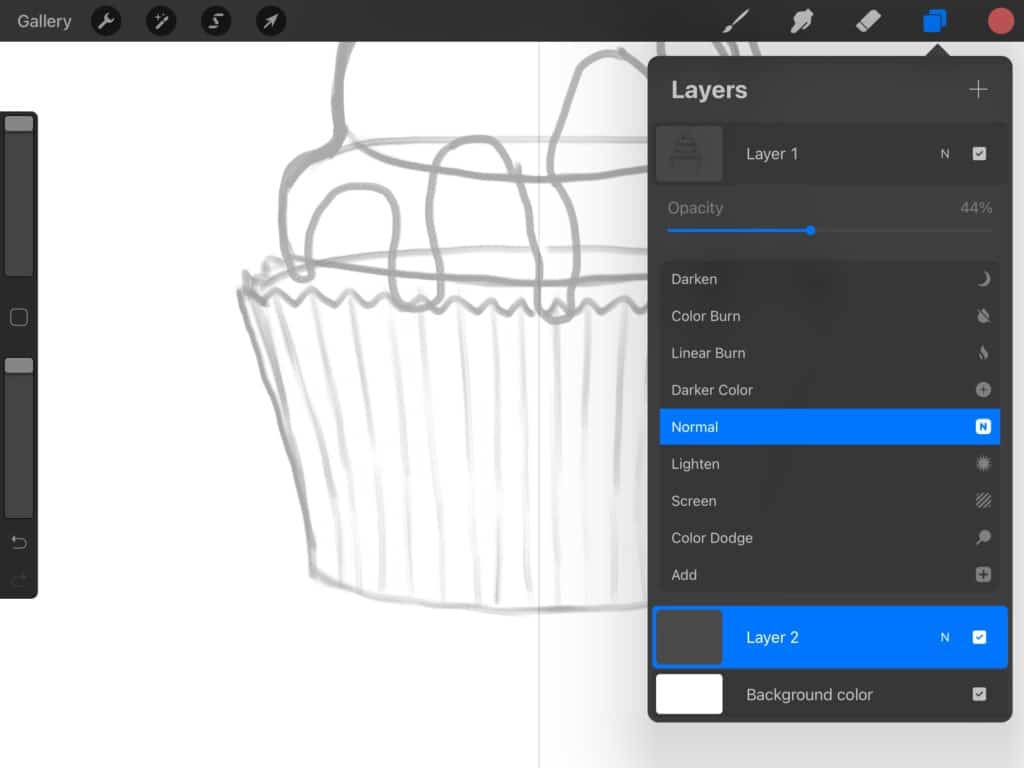
We then add a new layer. Drag it beneath the sketch layer as we mentioned above. Now, it’s time to choose colors.

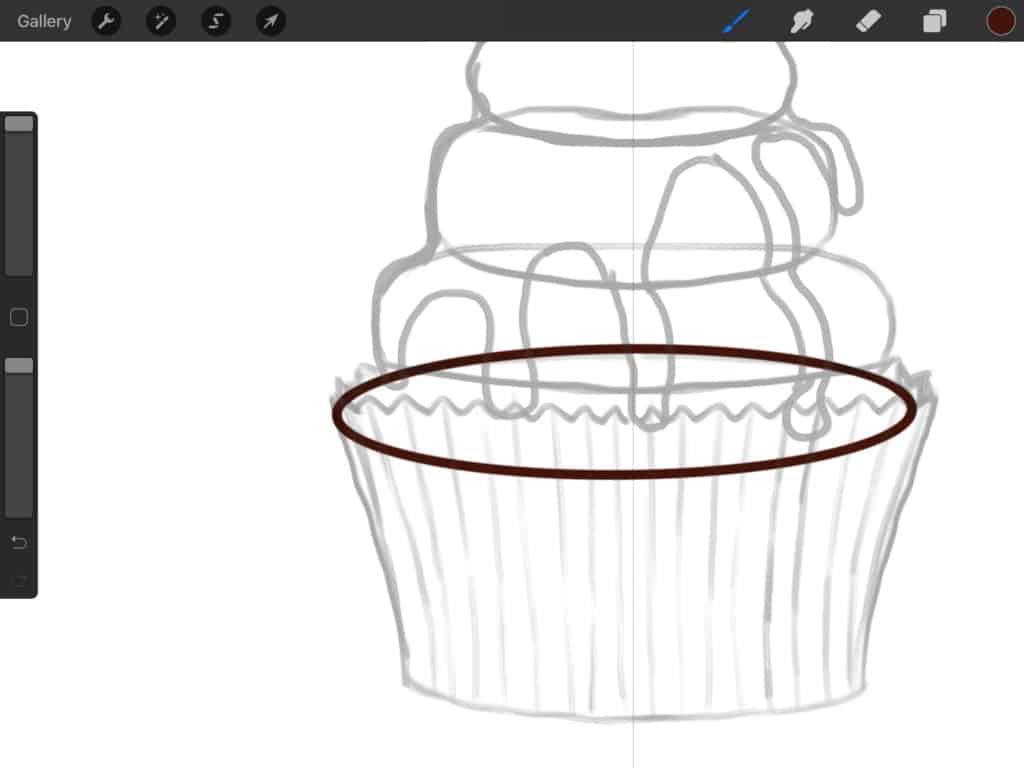
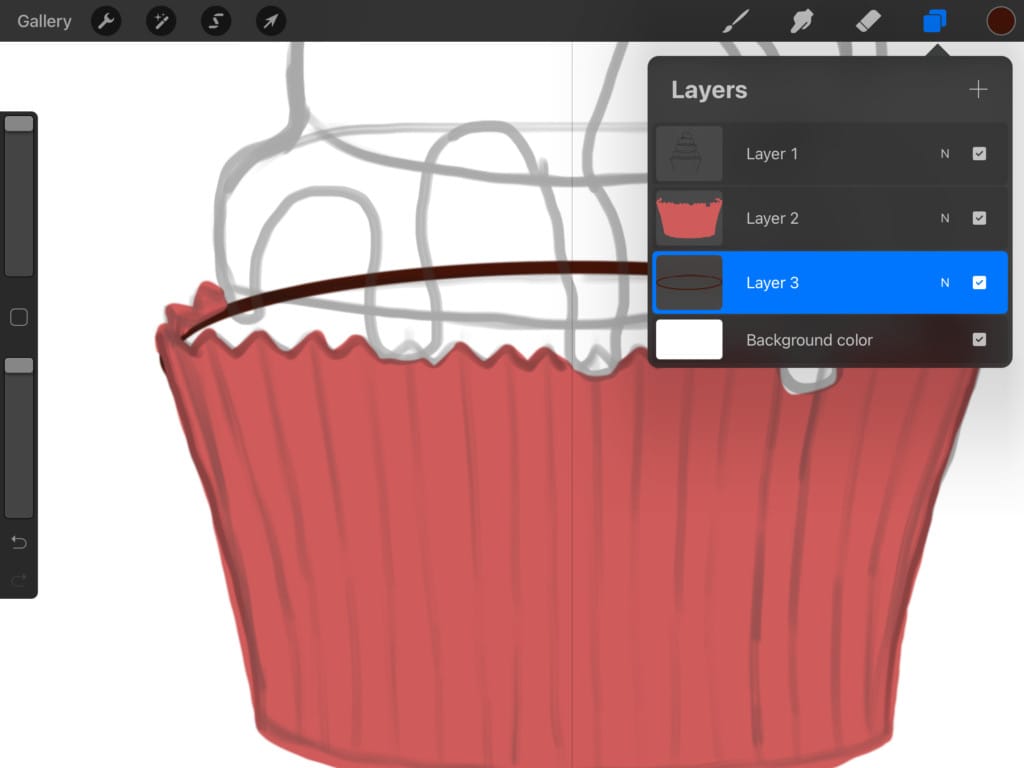
Start by outlining the cup of the cake with the color you chose, and make sure you don’t leave out any gaps.
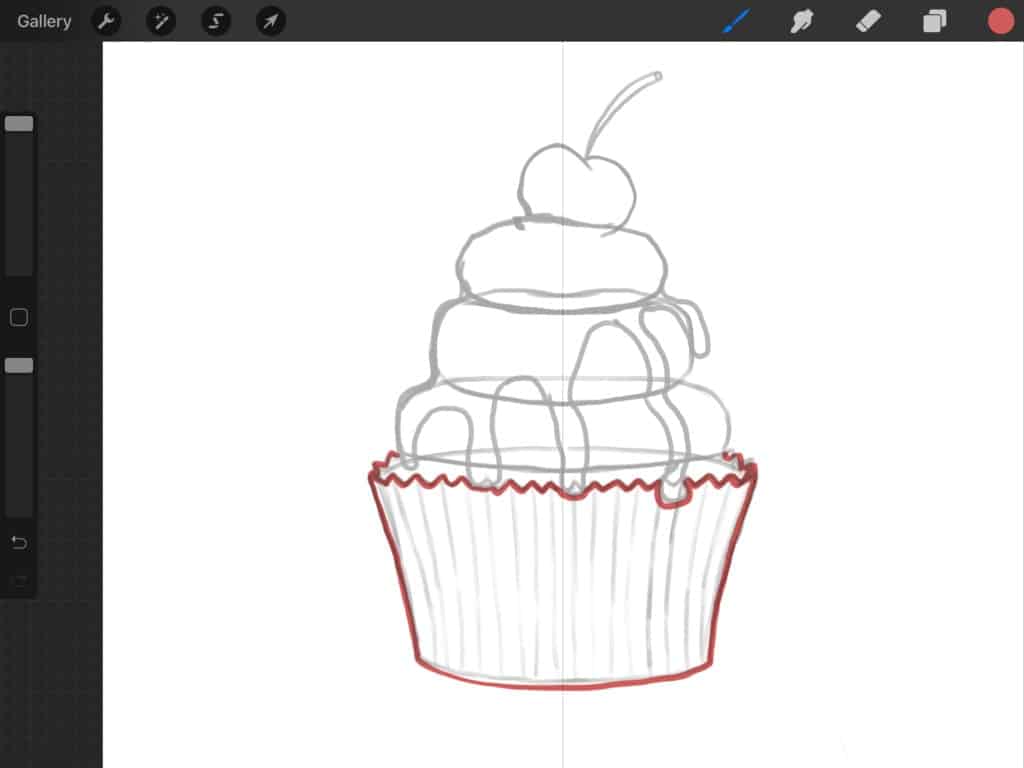
once you are done outlining drag the color into the outline you created like so to autofill.
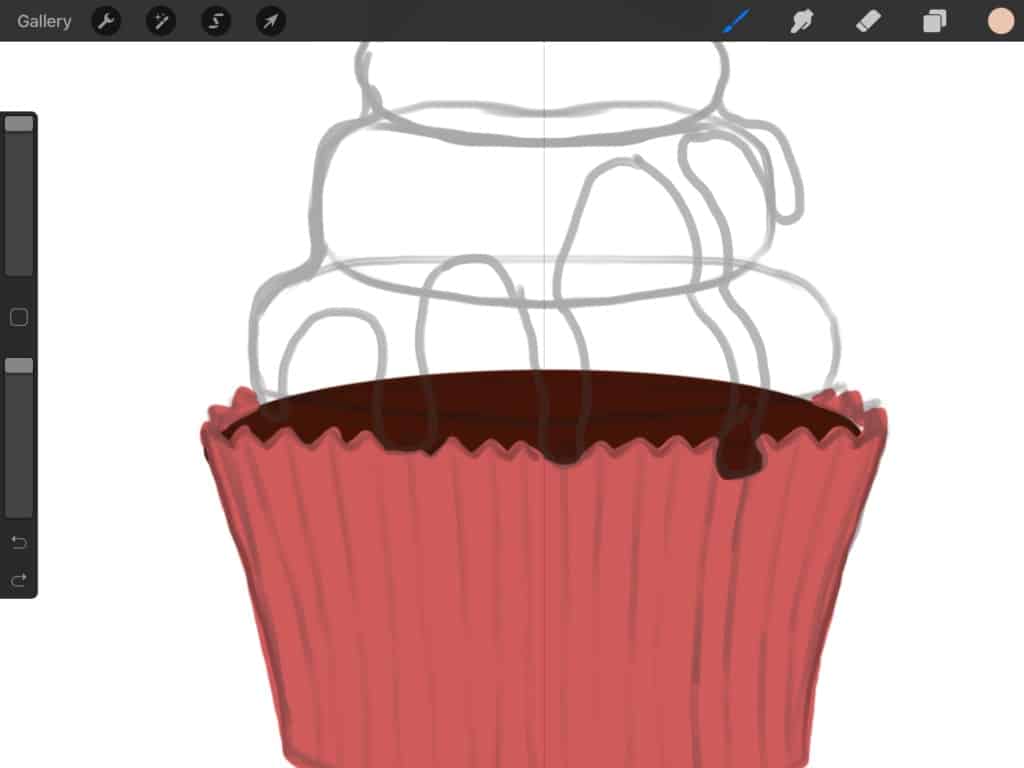
Add a new layer beneath the cup layer. This one will represent the cake color layer.
Now, draw an oval shape. Doesn’t have to be perfect in any way since we will cover it in a minute by layering frosting and chocolate sauce on top. We are then going to autofill it with a chocolaty color using the same drag and drop method we showed you above.
Create a new layer on top of the brown cake layer to be used for frosting color. What you want to do now is trace the sketched frosting using the color you choose for it. We went for a cream color. After we outlined it was time to autofill again.
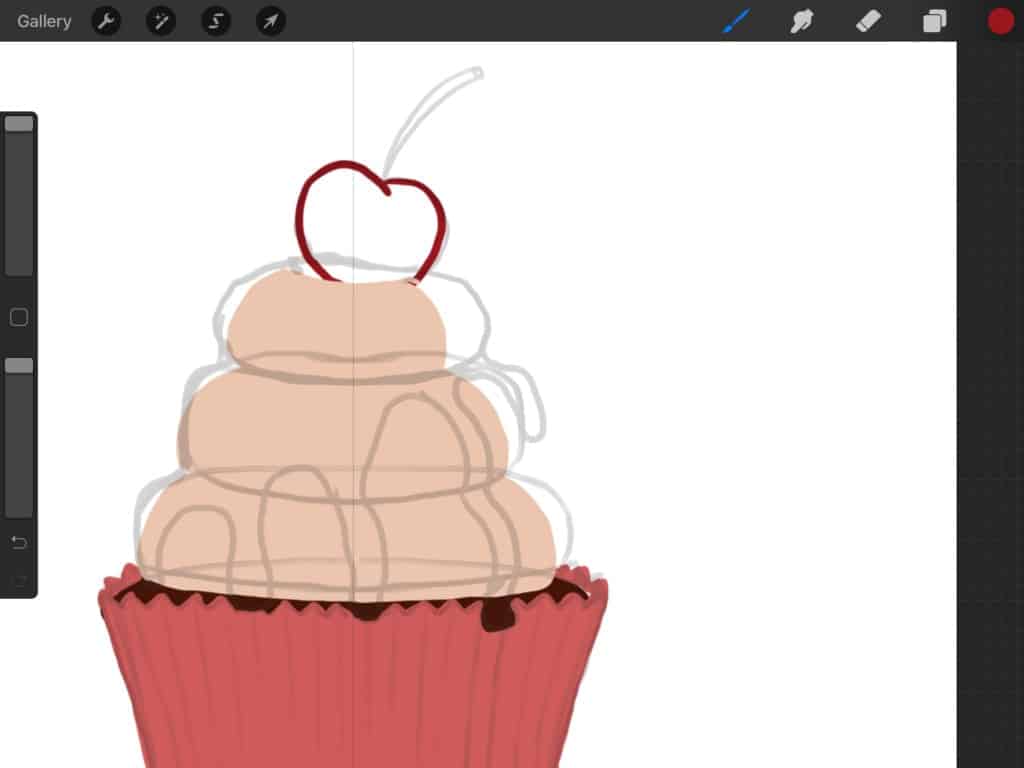
Nothing new here all easy and manageable. We created a new layer beneath the frosting layer for coloring the cherry. Outline the cherry then drag and drop the color to autofill.
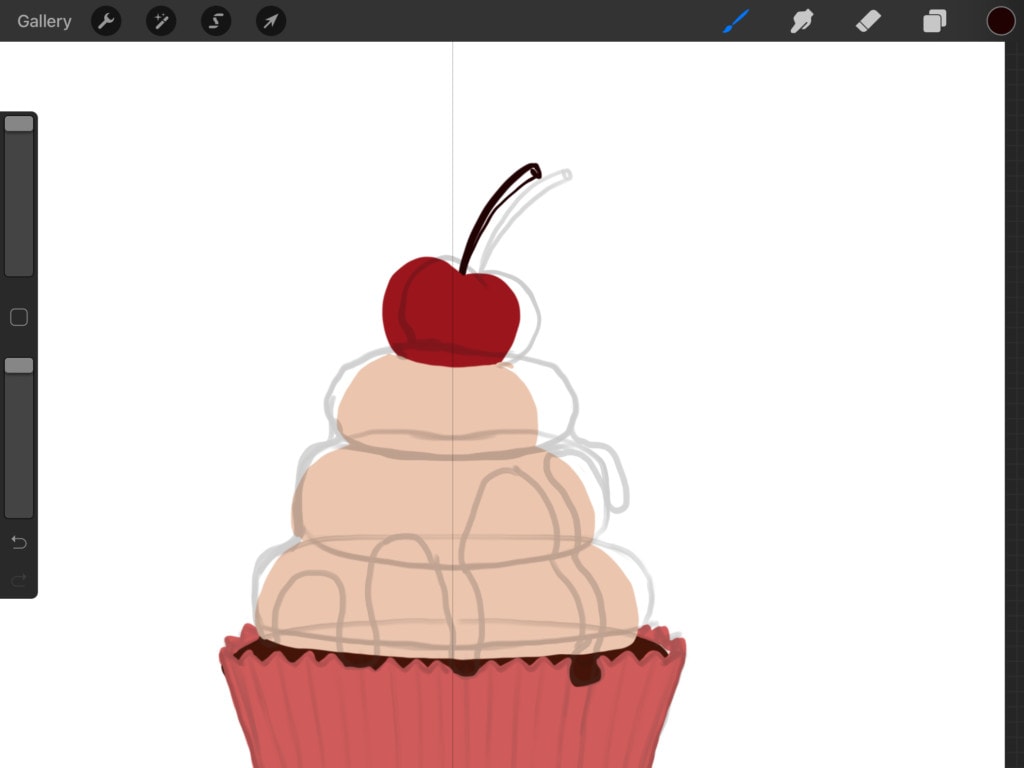
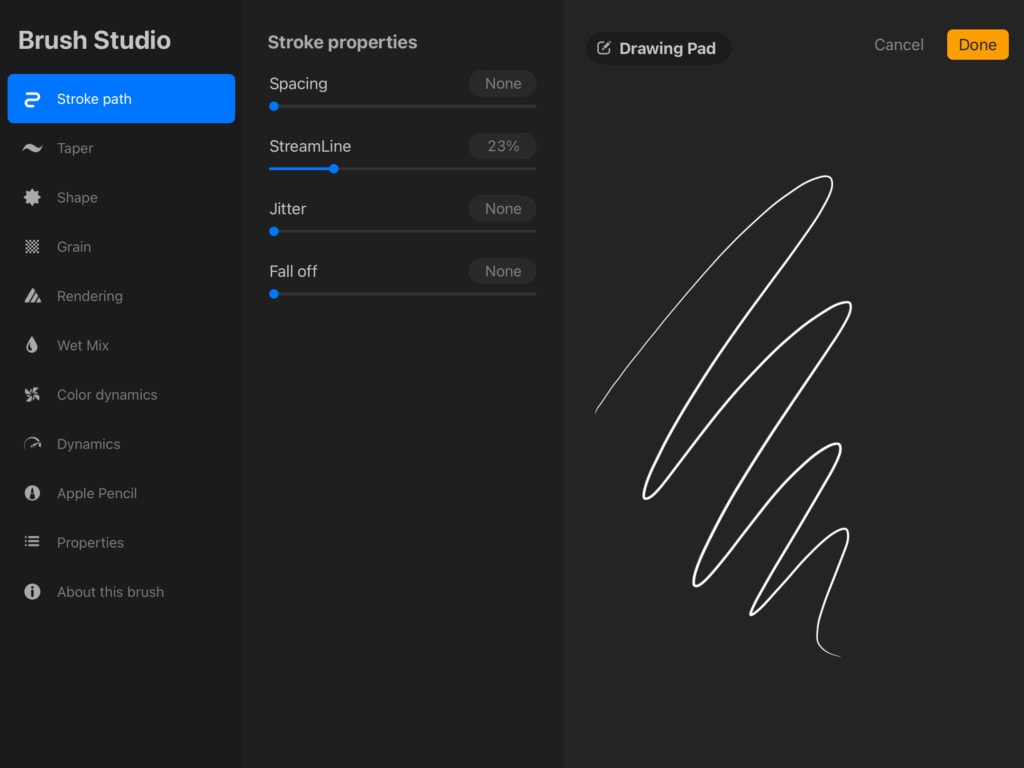
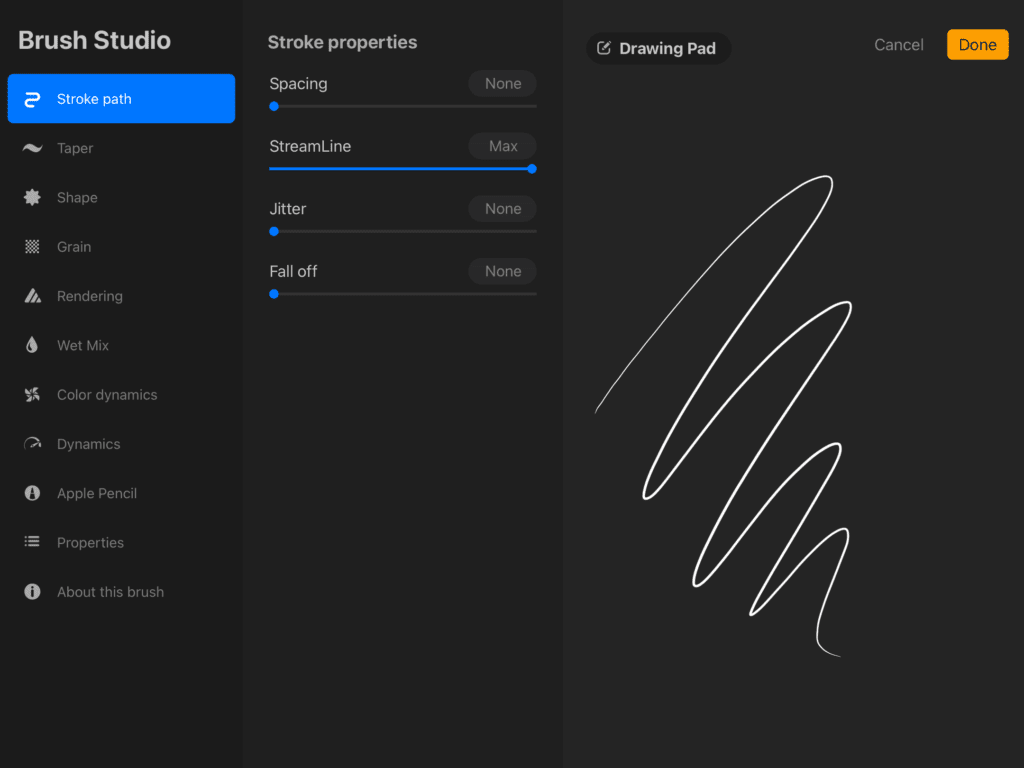
Now, for the very next step. we want clean flowing lines for coloring the smooth sliding chocolate sauce. We chose a technical pen for the sauce, selected it and tapped on it one more time. We are then going to increase the streamline by dragging the pointer to the very right.
Start tracing the chocolate sauce, and then color-fill it with a slightly darker shade than the cake. How easy is that?!
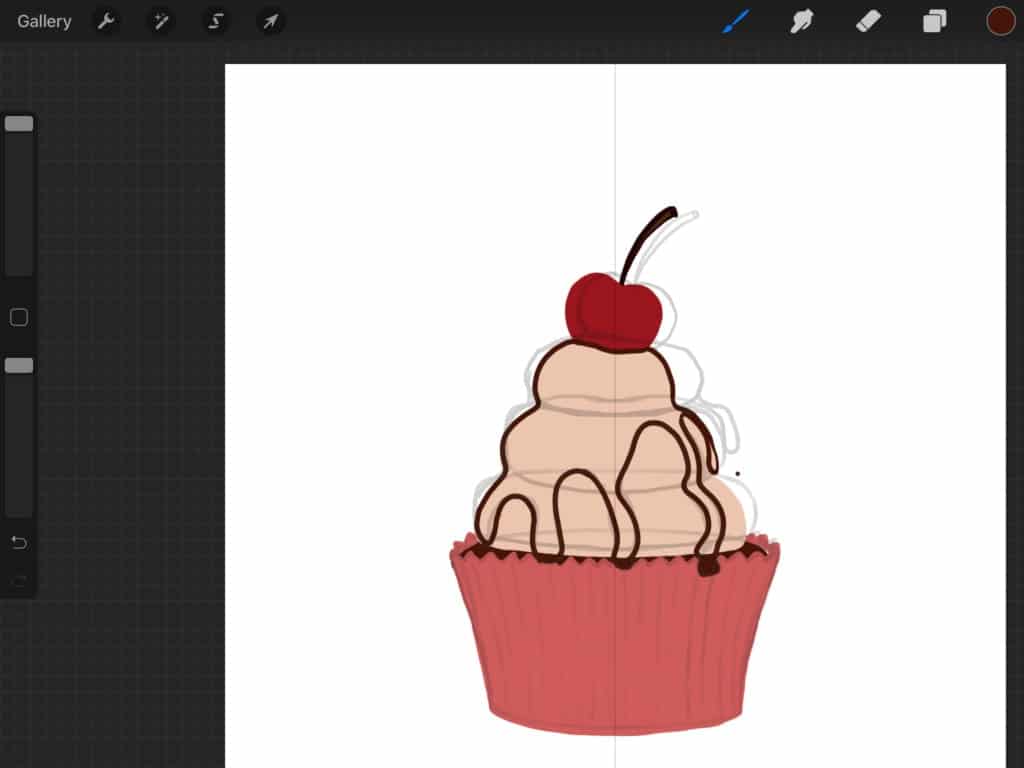
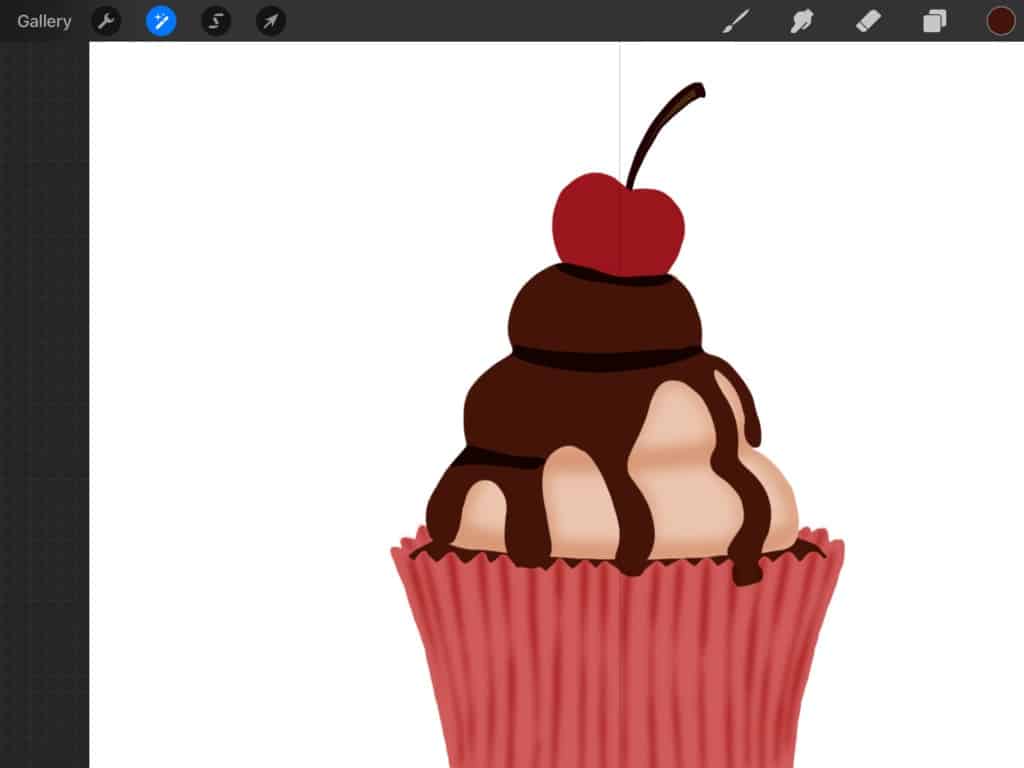
Wow, we have come a long way! We are now done with the flat colors for this drawing. Let’s get started on the shading and highlighting, shall we?
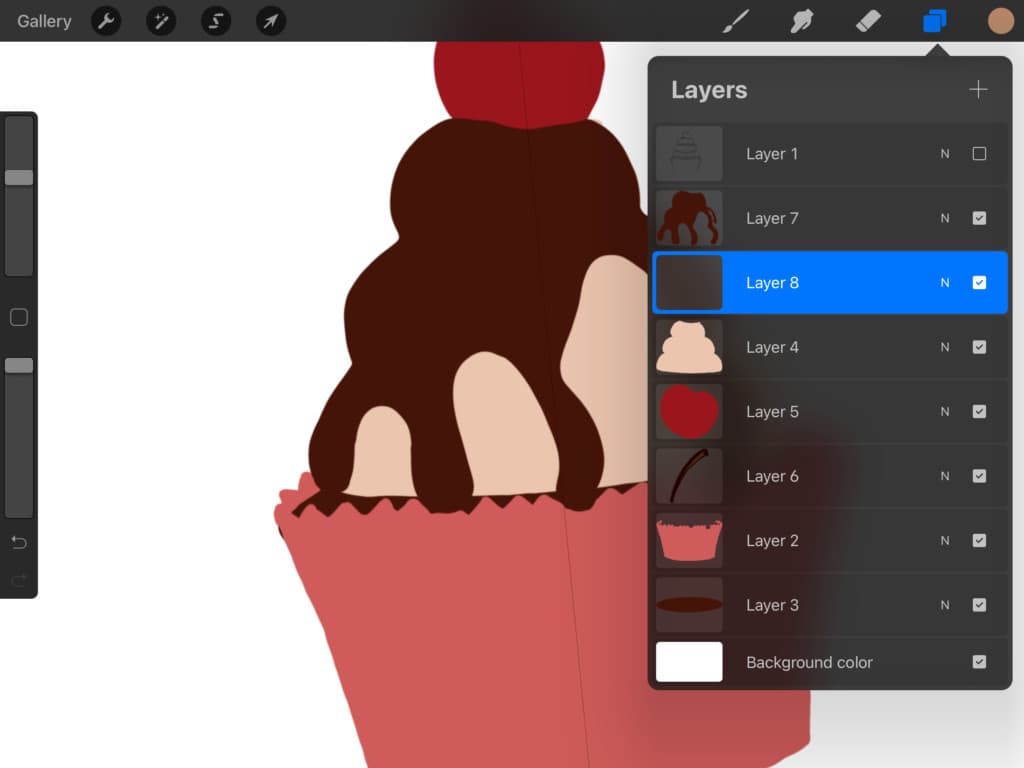
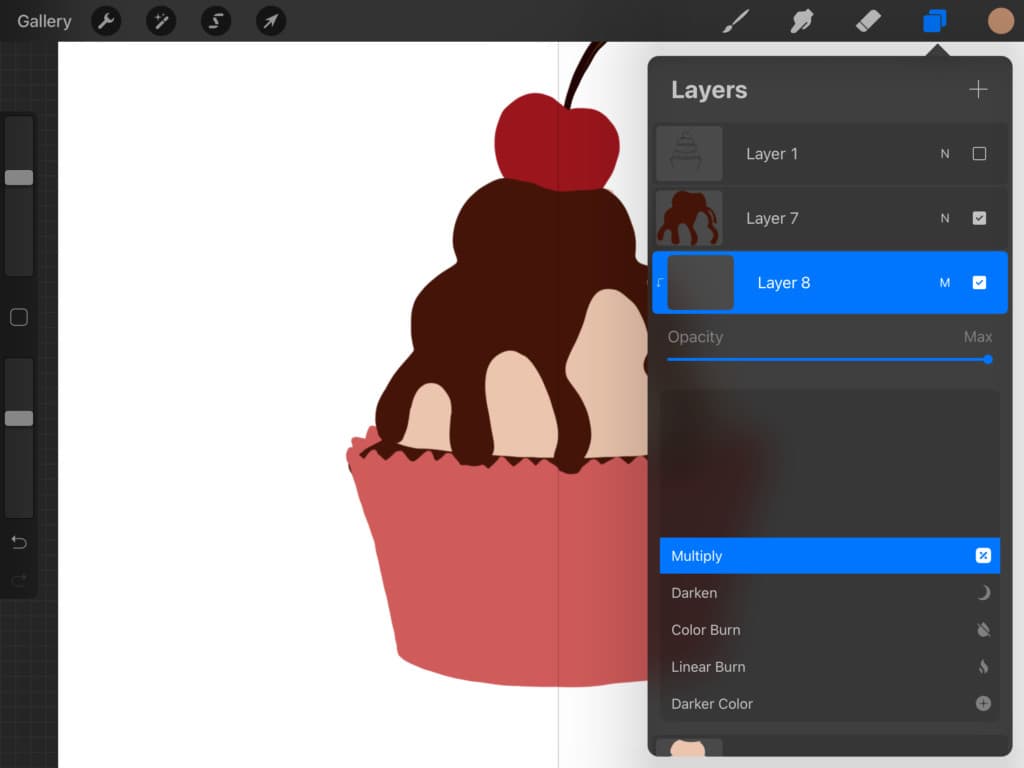
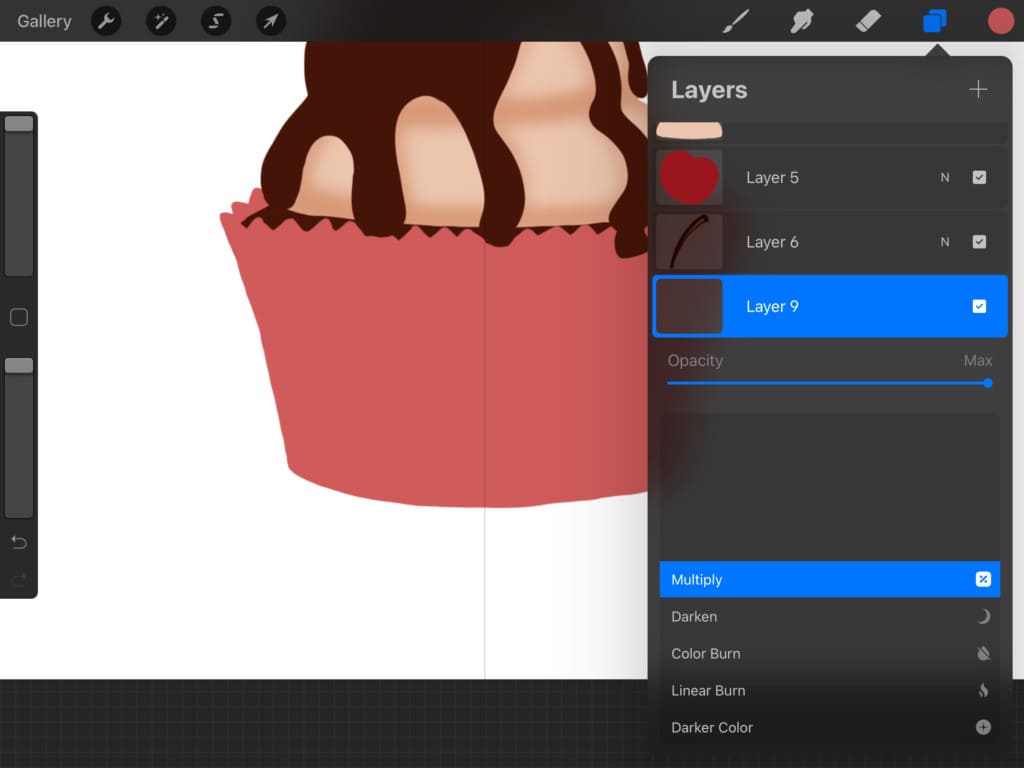
Okay, let’s start by shading the frosting. Add a new layer on top of the frosting color layer but beneath the chocolate sauce layer. Tap “N” and set the layer to “Multiply” instead of “Normal”. We can now use the same colors that we used on the drawing but when applying it to the Multiply layered it will look darker.

We, are going to select the same color of the frosting by long tapping the frosting and color matching tool shall appear and then we are going draw a line in between the layers of frosting.
This line will represent the shadow the layers are casting being close to each other.
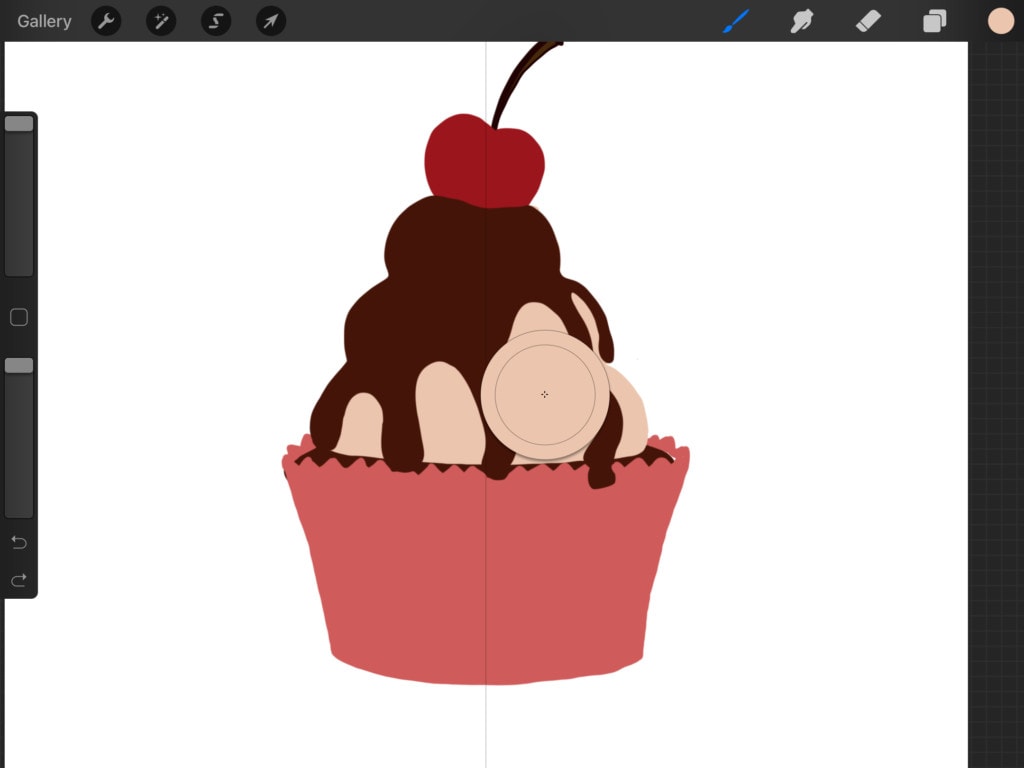
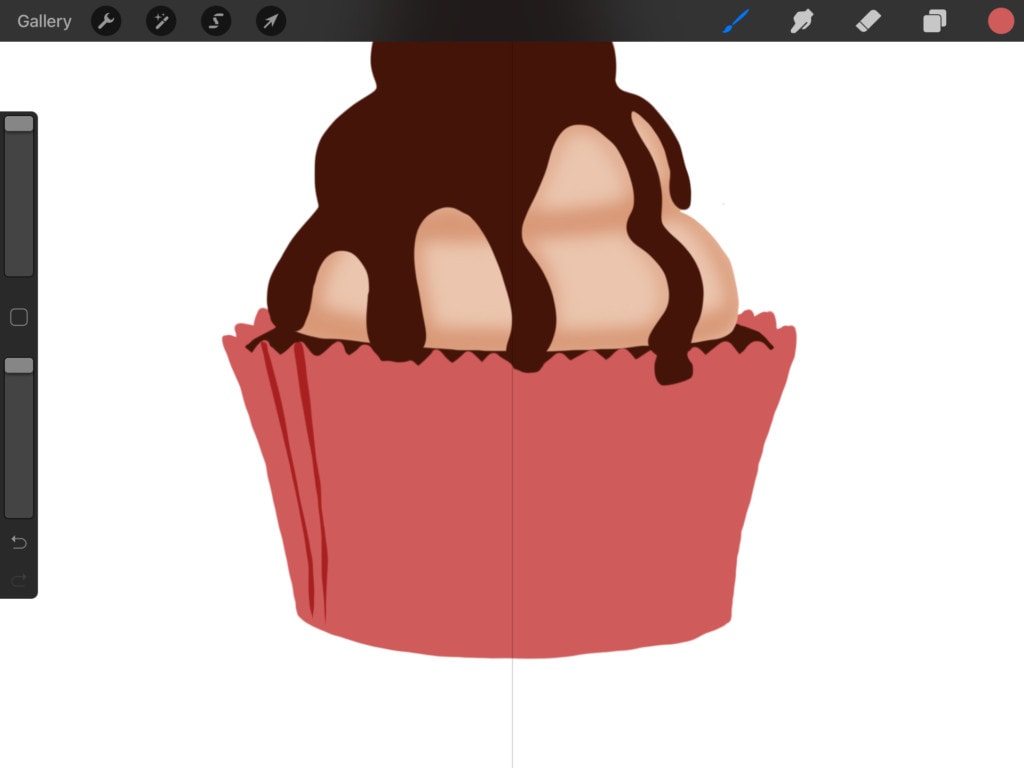
Now, we are going to continue shading the frosting. Assuming the light is hitting the cupcake on the left side so the right side is going to be a little darker. We will also add shading beneath the chocolate sauce, assuming it casts a shadow on the frosting.
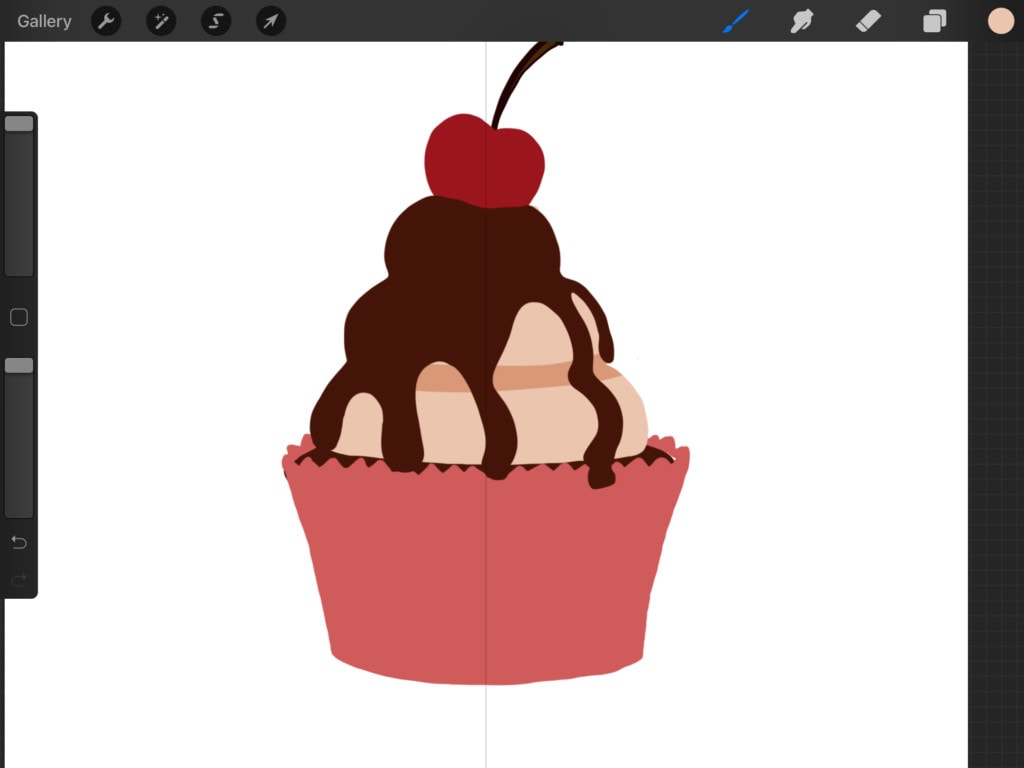
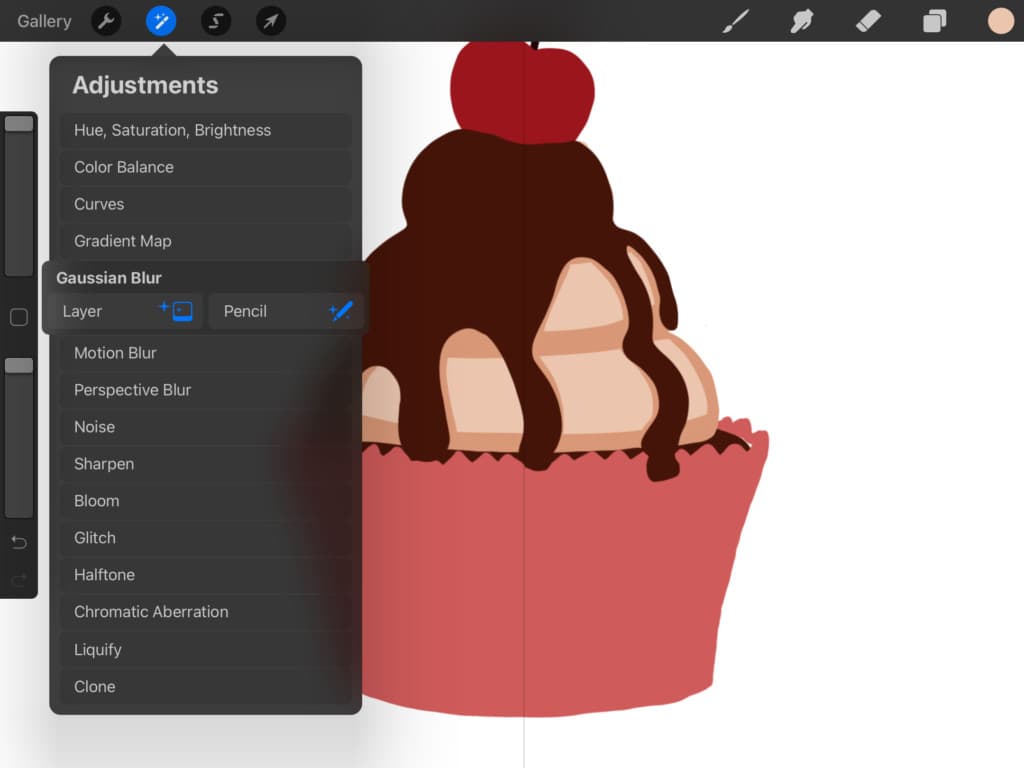
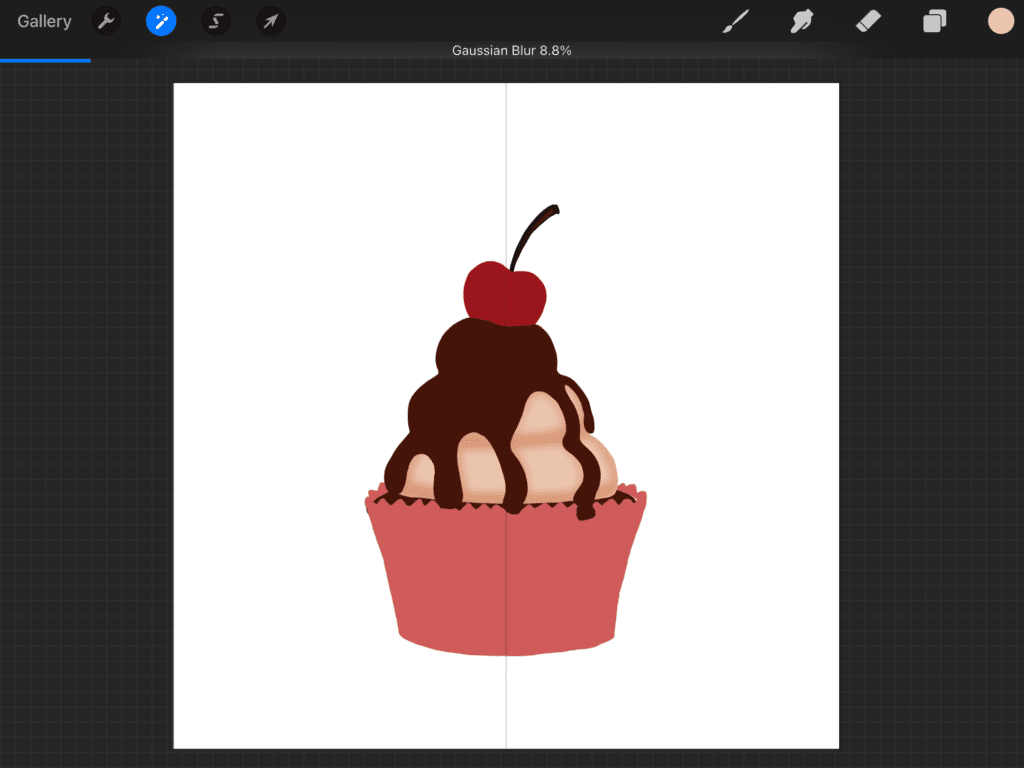
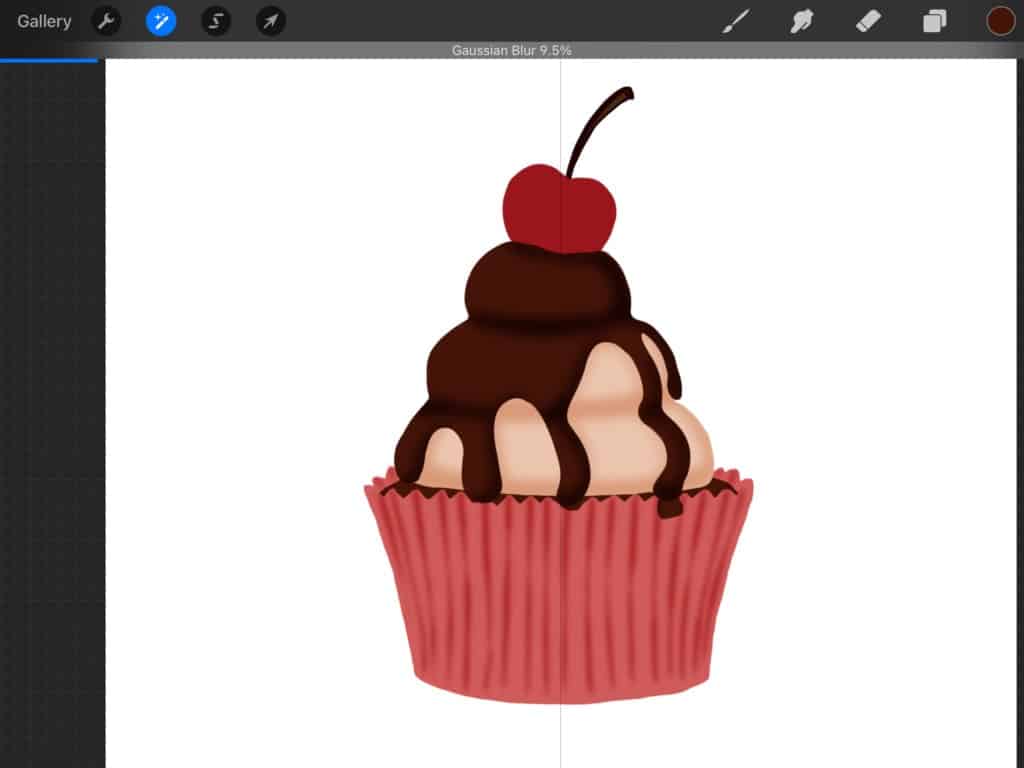
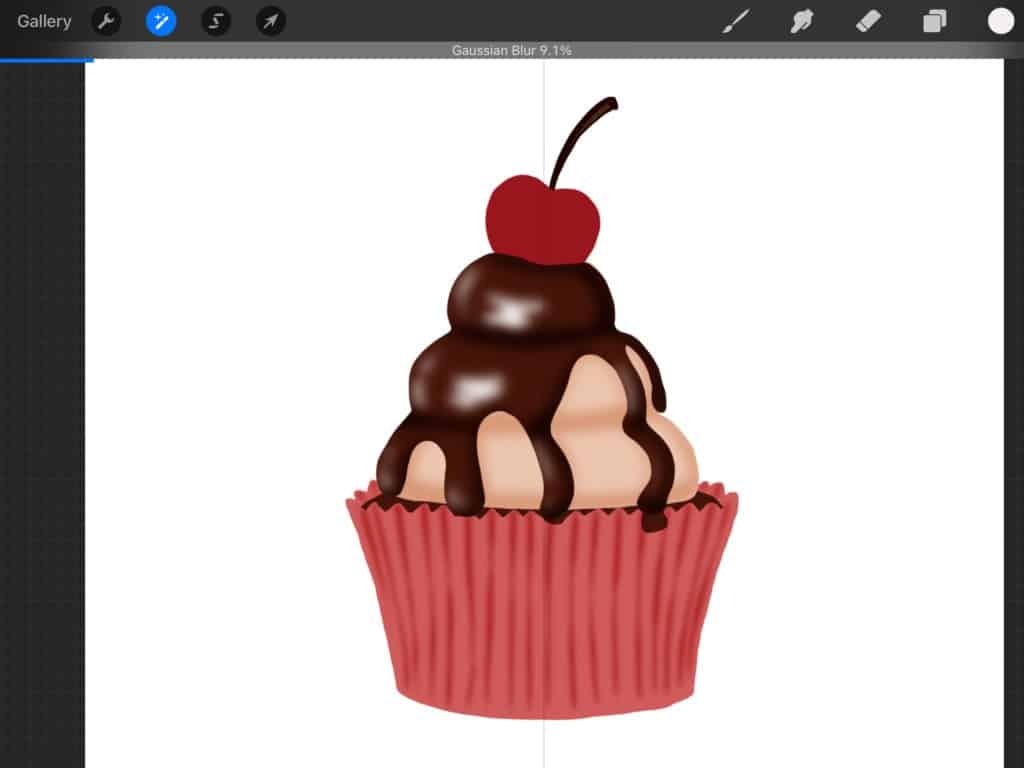
Next, we will head over to the “Adjustments” menu, select “Gaussian Blur” and then layer. We will use it to blend our shading layer by sliding the top blurring bar to the right.
Now, it’s time to make the cupcake “cup” look realistic. So, we will start adding the creases to it. However, we would first need to create a new layer for that in case -you know- we mess things up, LOL. We will set the new layer to “Multiply” and add the lines connecting the tips of the zigzag edge to the bottom of the cup, using the same color of the cup. Colors get darker on multiply, remember?
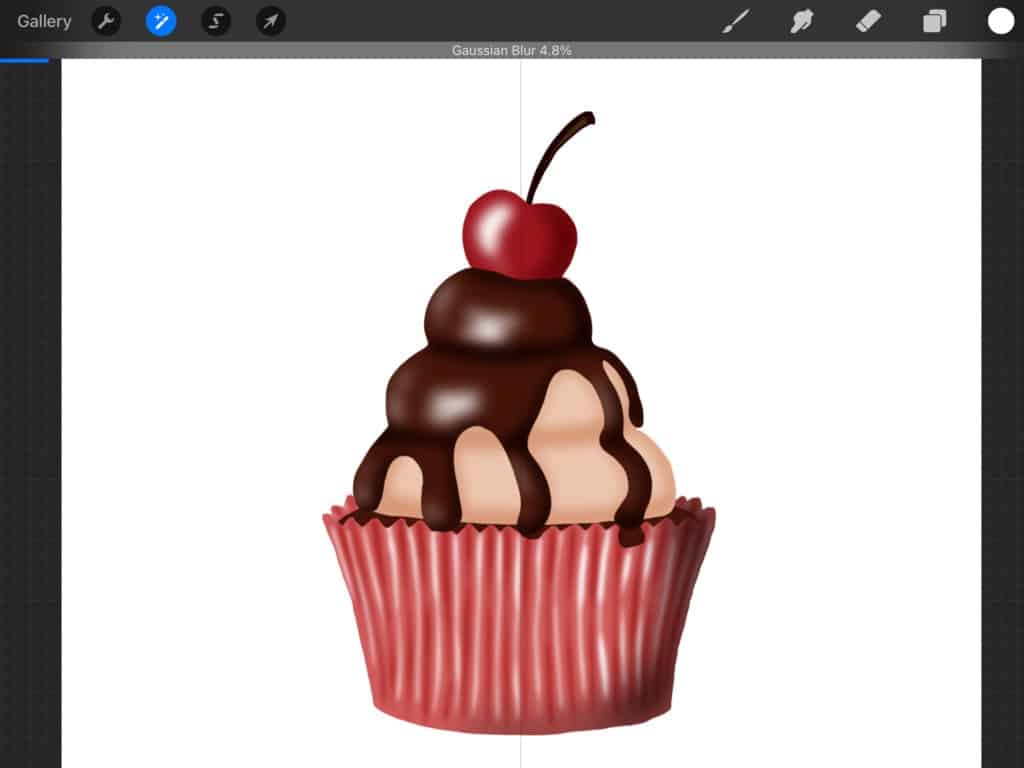
Use Gaussian Blur to Blur it a bit.
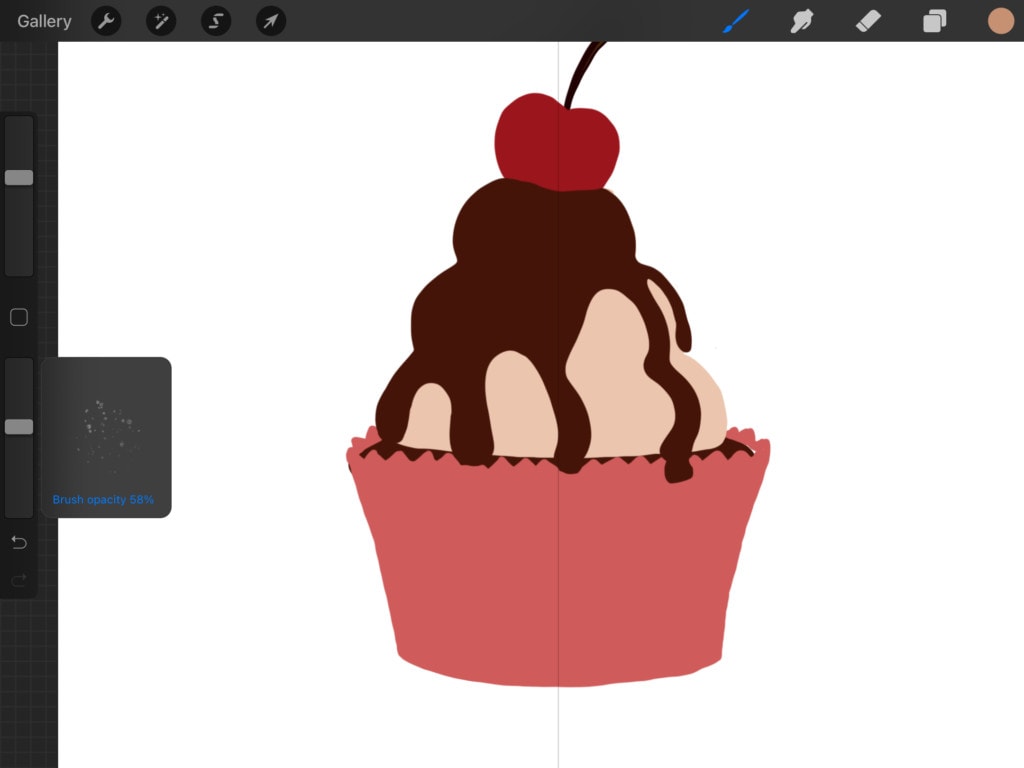
We are then going to do exactly the same previous steps, however this time we are going to be shading the chocolate sauce. Create a new layer on top of the chocolate sauce color layer and set it to multiply. And again we will shade the right side of it as well as in between the layers.

Then using “Gaussian Blur” we Blur it a little to make the shading look a bit more realistic.
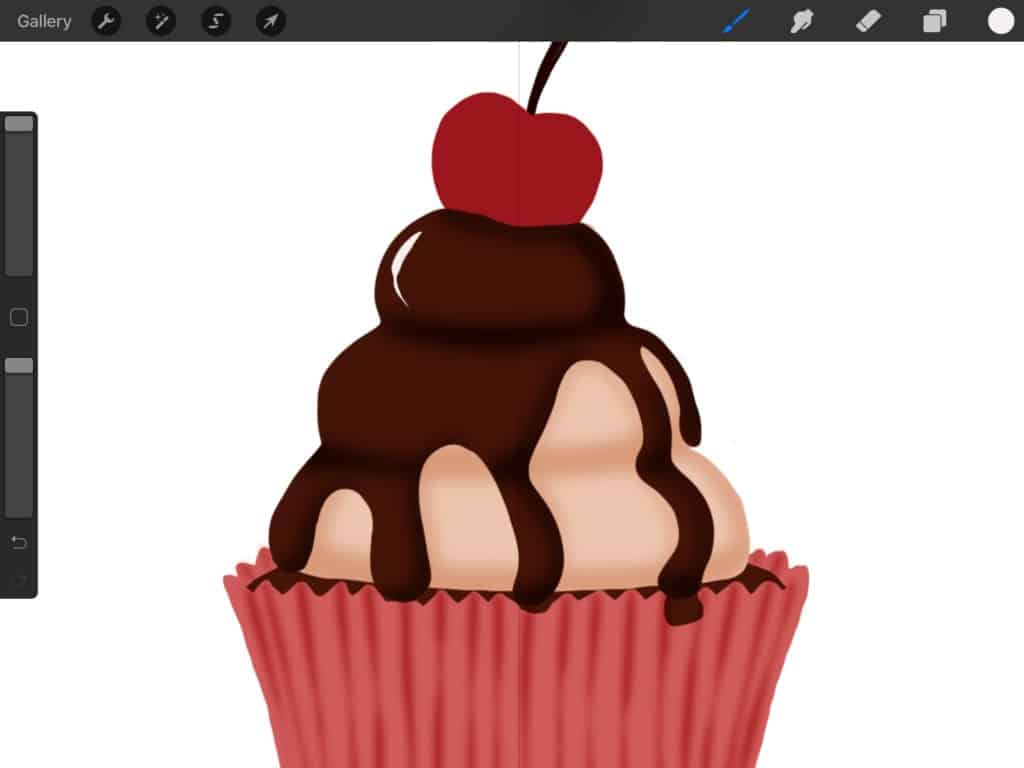
Next, we are going to light things up a bit by adding a highlighter. Using the same “Technical Pen” but this time in white and we are going to go ahead and highlight parts that we think the light might hit.
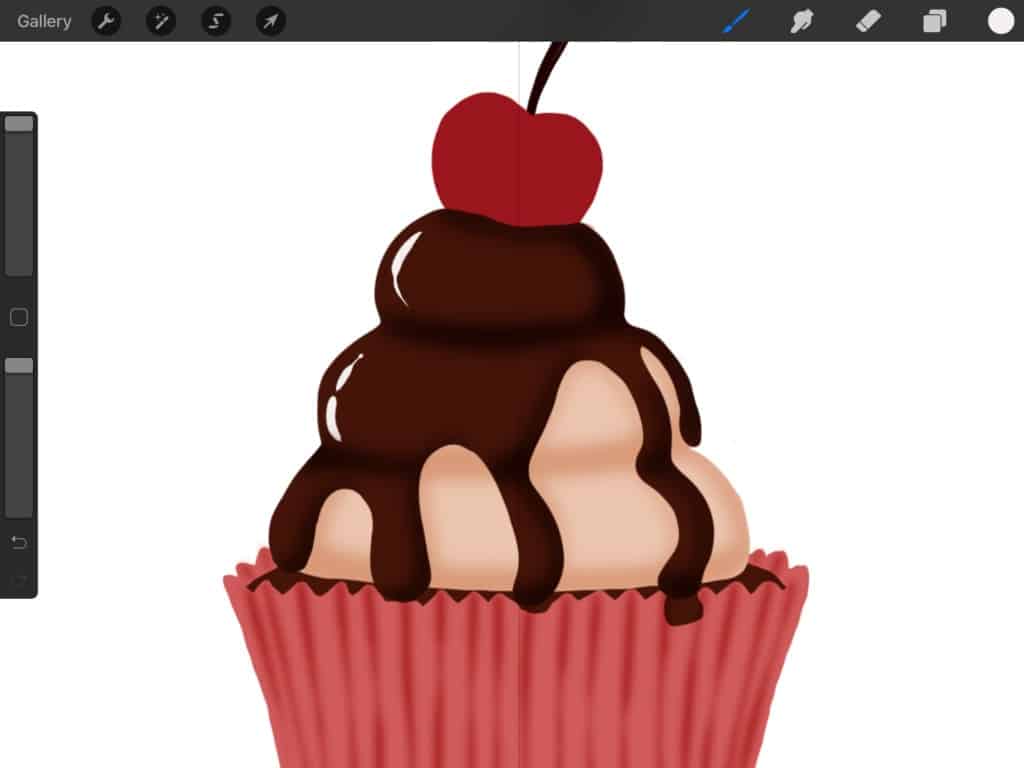

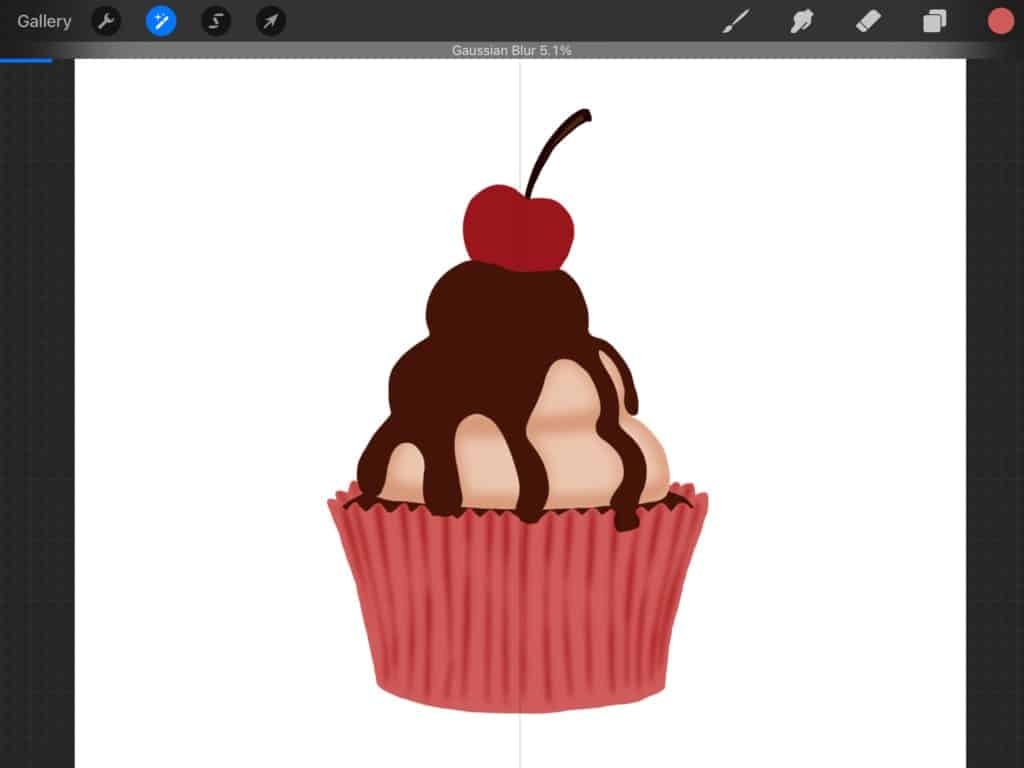
And then we will blur it using “Gaussian Blur”… How many times have we said “Gaussian Blur” so far?? Well, we hope you are keeping count because we are not anymore, hehe. And bear with us, because we are going to say it more! What? it is a favorite tool of ours. And by the end of this post, it should be one of yours as well.
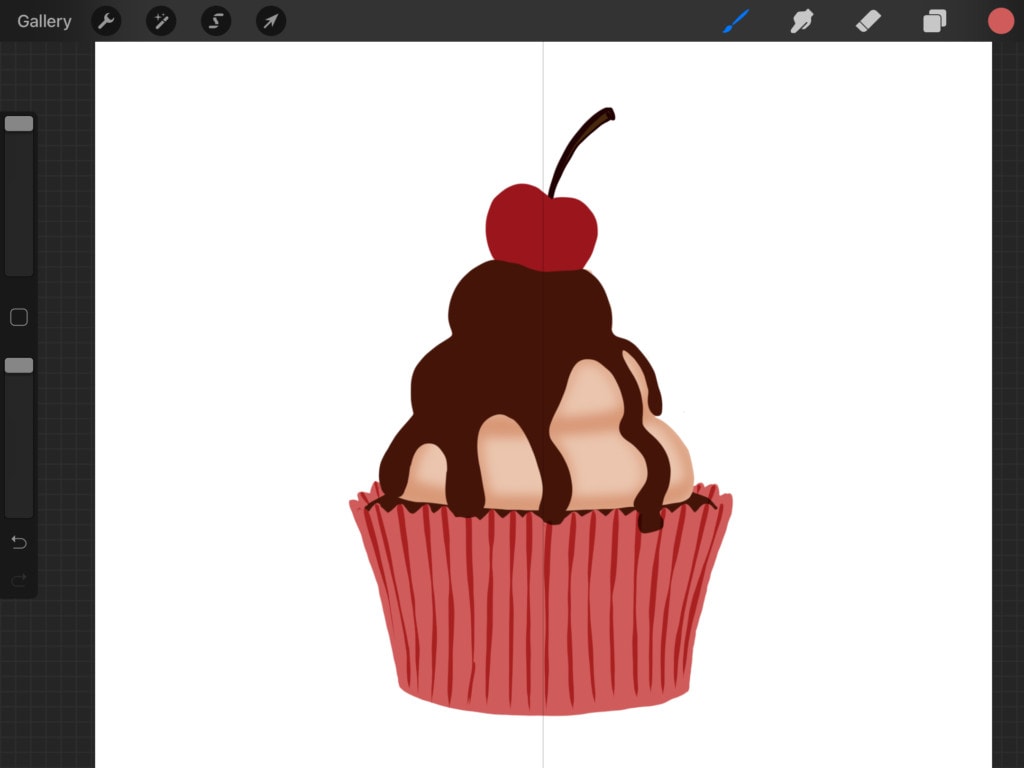
We are going to repeat all the steps above to highlight shade the cherry as well as the sides of the cup and we should have something that looks like this. We will also use white stripes in the same way to highlight the high points of the paper cup.
Then, for the finishing touches we will add colored chocolate sprinkles, by just randomly drawing them on top of the chocolate sauce.
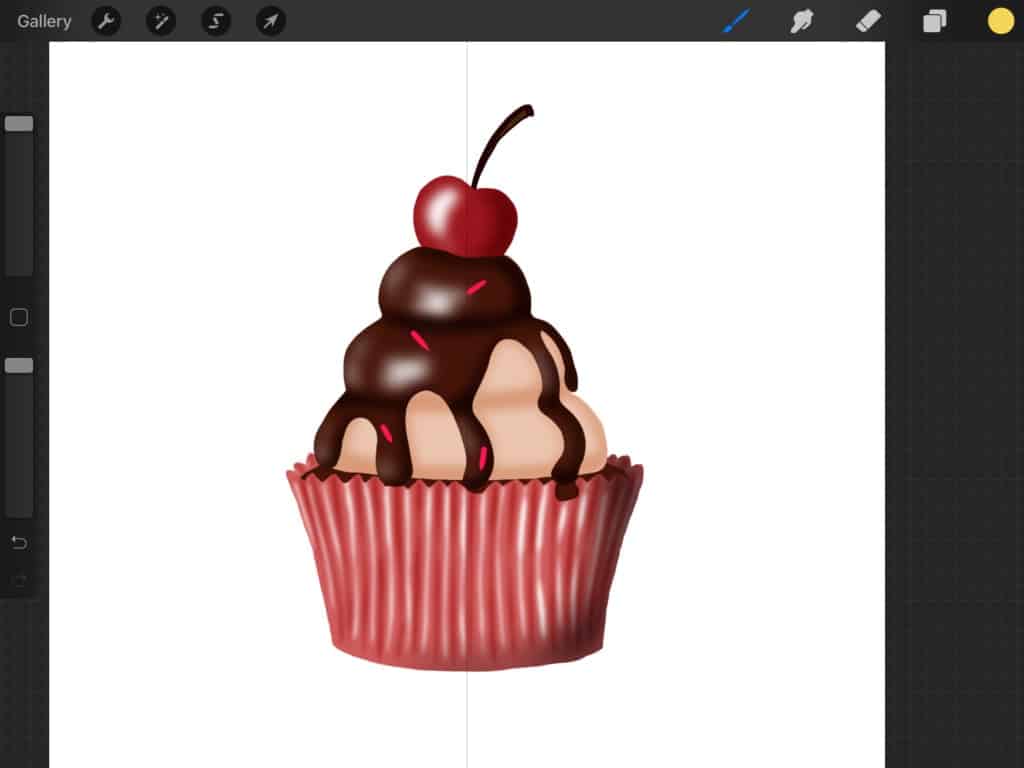
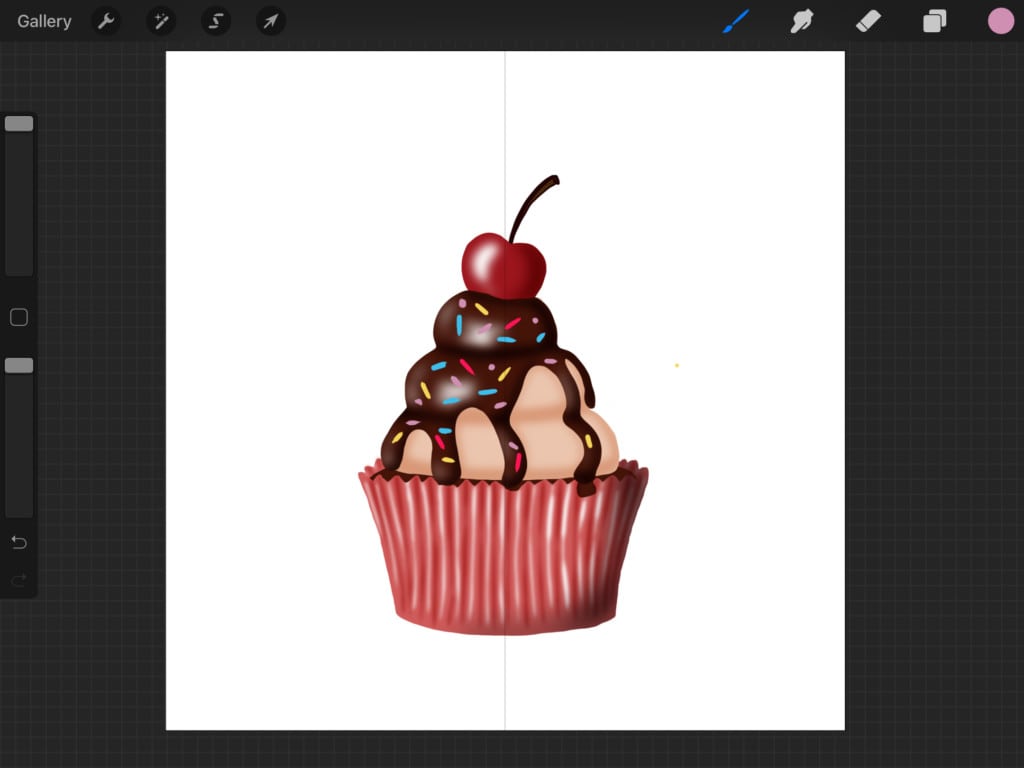
And here it is. Our cupcake!
We hope you had fun drawing along with us in this tutorial! Feel free to share your cupcake on Instagram and tag us (https://www.instagram.com/brushgalaxy) so that we can see your creation!
And if you are a Procreate brush lover, feel free to check our collection of more than 50.000 brushes that can help you on your way to becoming an excellent artist. Keep on creating!


Share this article


