
Procreate Color Adjustment – How To Change Colors Easily

Mastering the art of color transformation in Procreate elevates your digital artwork, empowered by the diverse array of Procreate brushes at your fingertips.
Procreate’s user-friendly interface and robust color management tools simplify the process of altering colors, whether you’re applying fresh hues to new brush strokes or modifying the color palette of existing elements.
This guide unfolds the seamless methods to change colors in Procreate, accommodating both the inception of new elements and the refinement of existing ones.
Selecting and Applying New Colors
Using the Color Picker
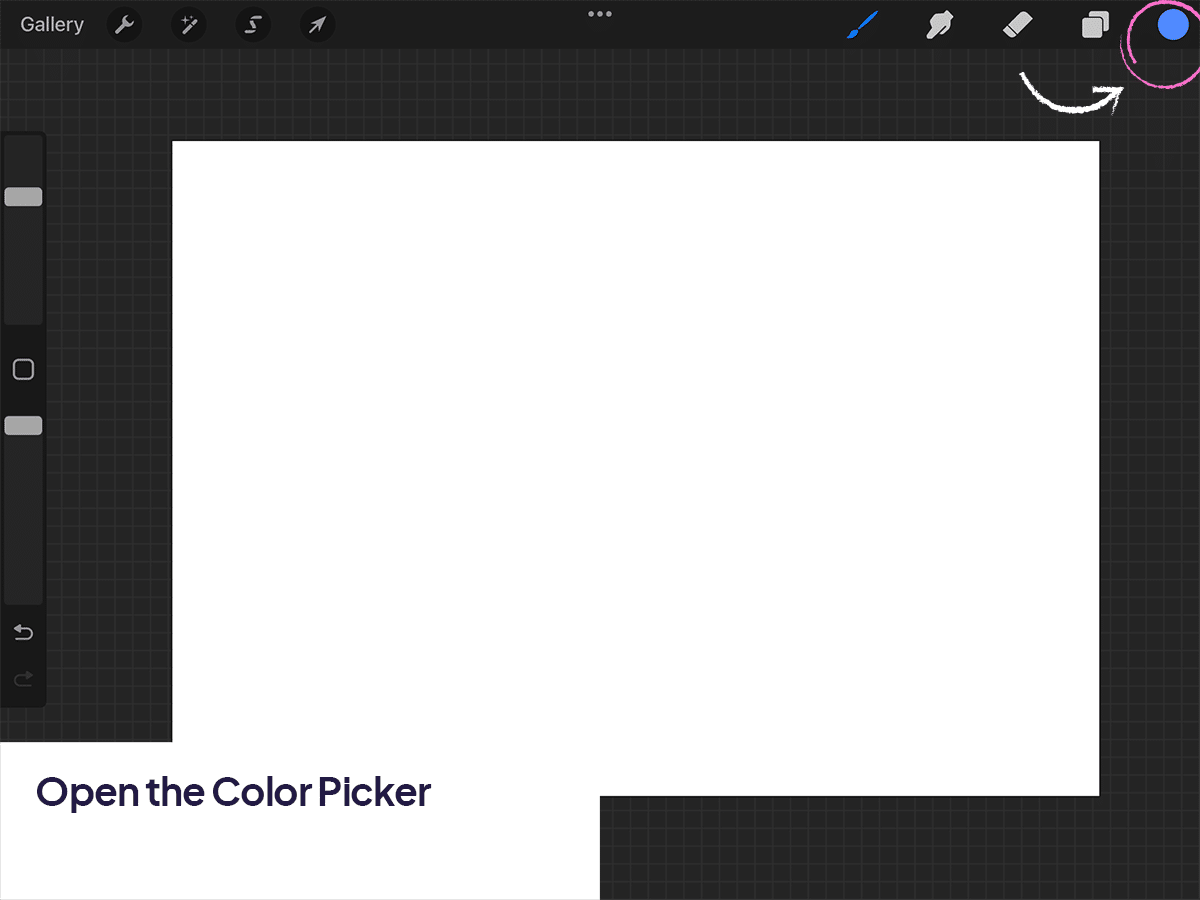
Open the Color Picker:
Tap on the color circle in the top-right corner of your screen to open the Color Picker.
Choose Your Color:
You can select a color in several ways:
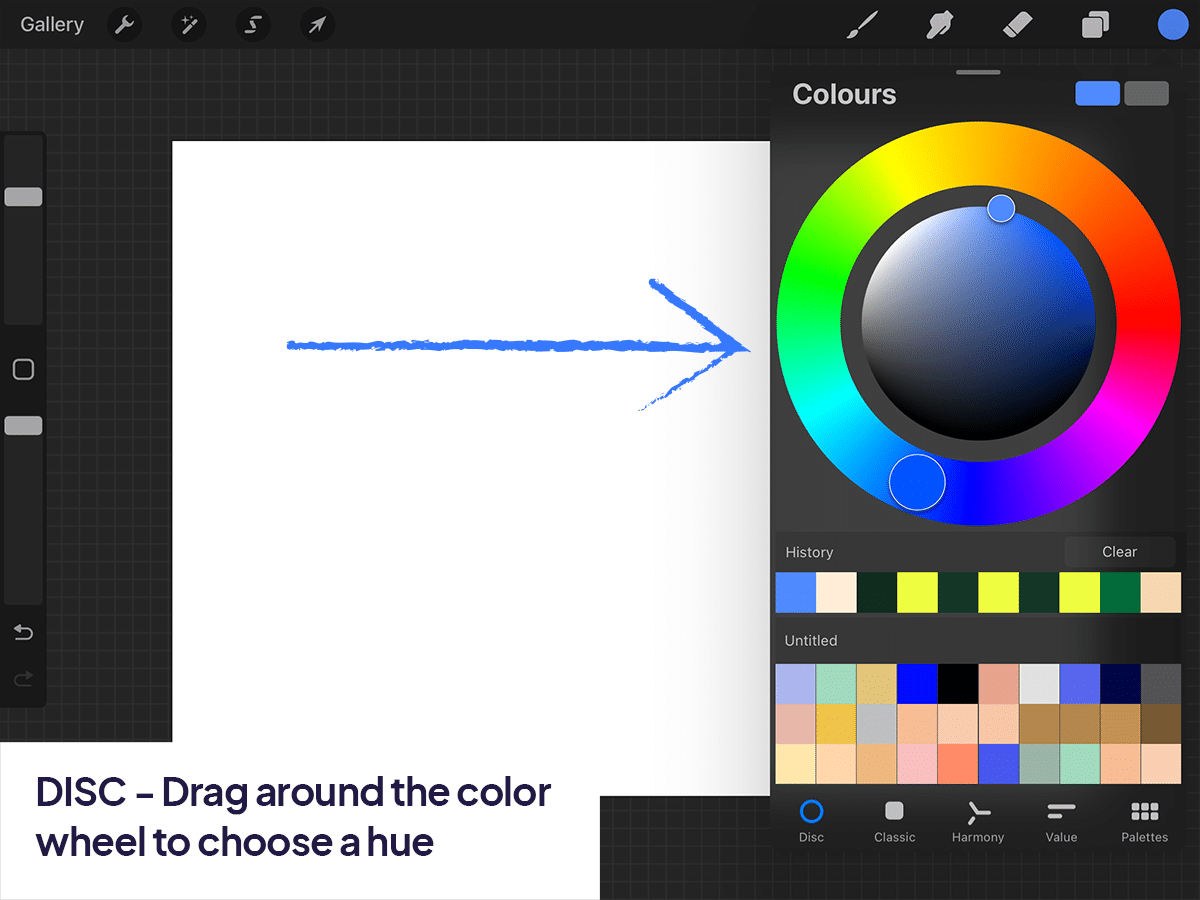
Disc:
Drag around the color wheel to choose a hue, then adjust the saturation and brightness in the center square.
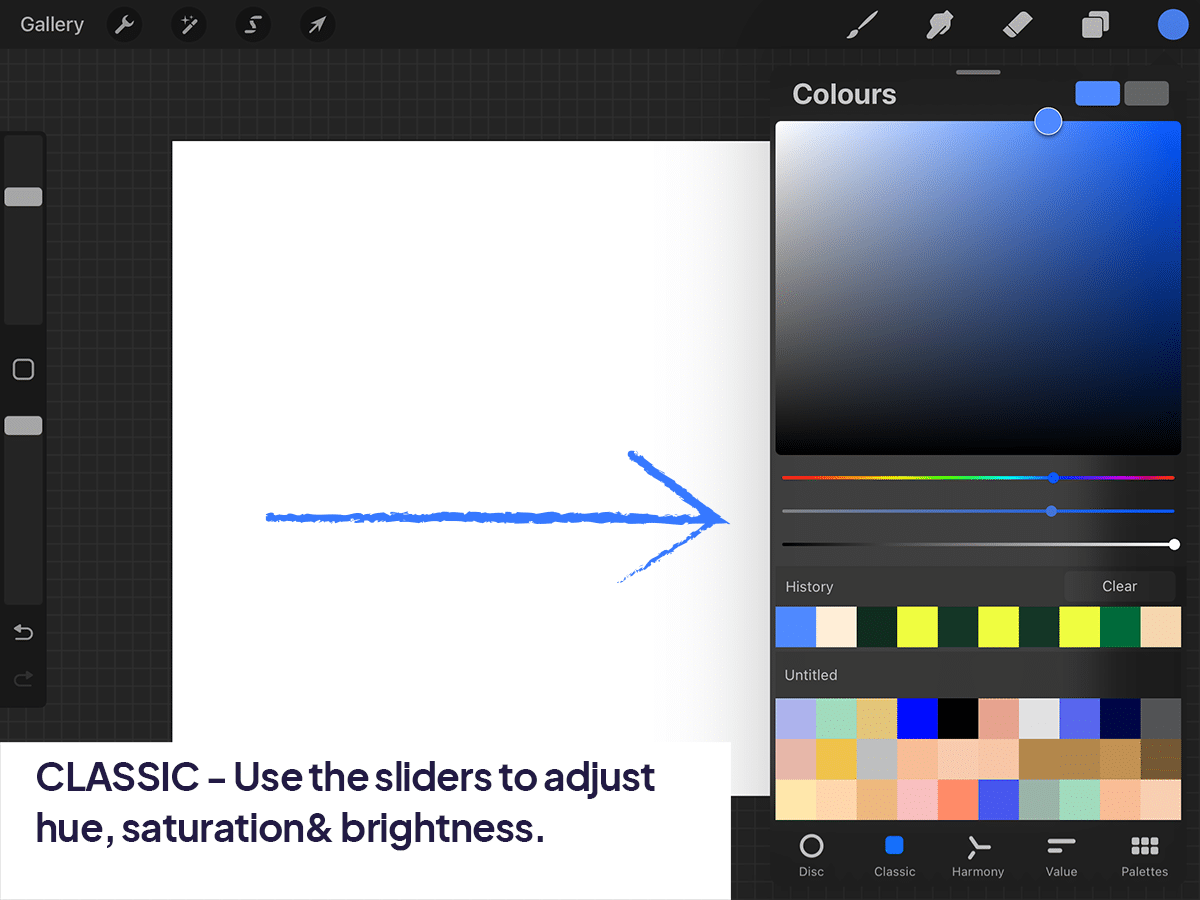
Classic:
Use the sliders to adjust hue, saturation, and brightness.
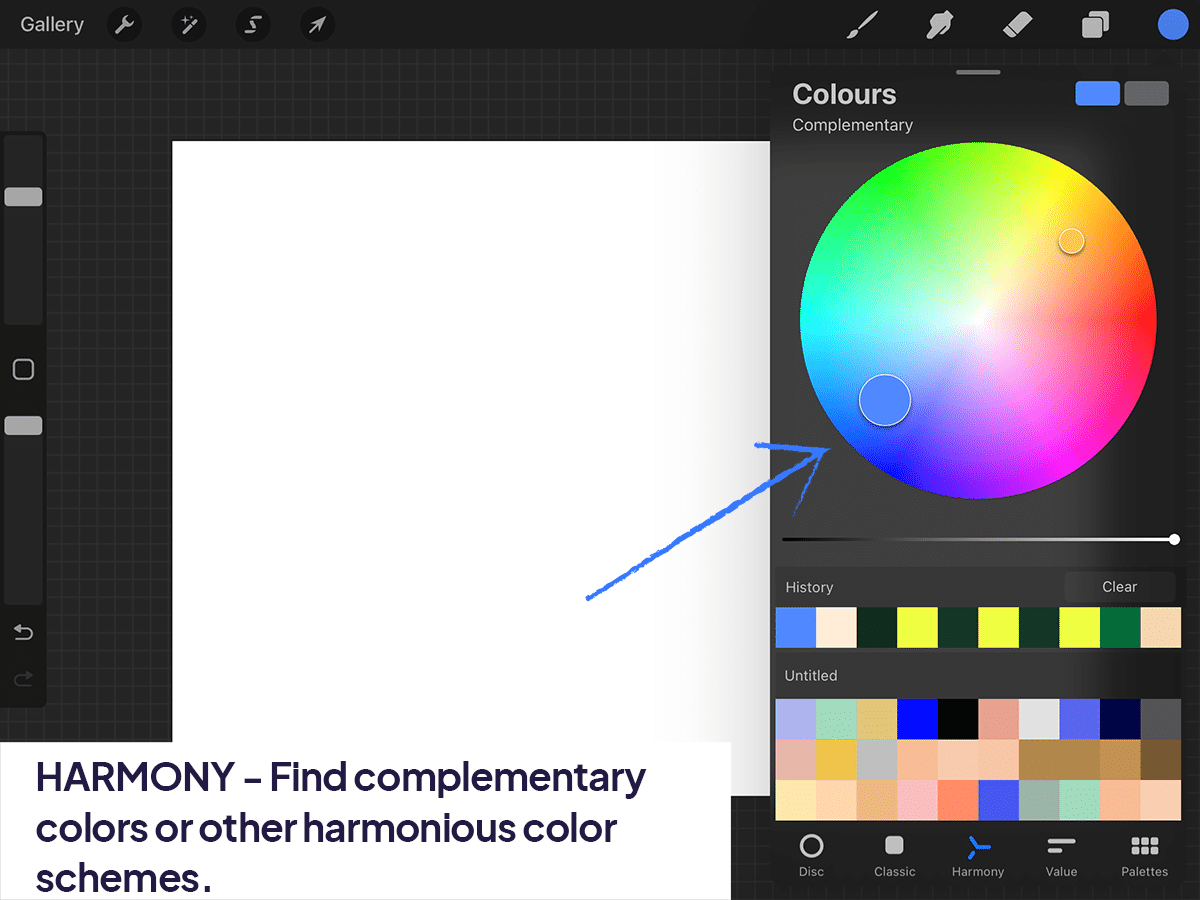
Harmony:
Find complementary colors or other harmonious color schemes.
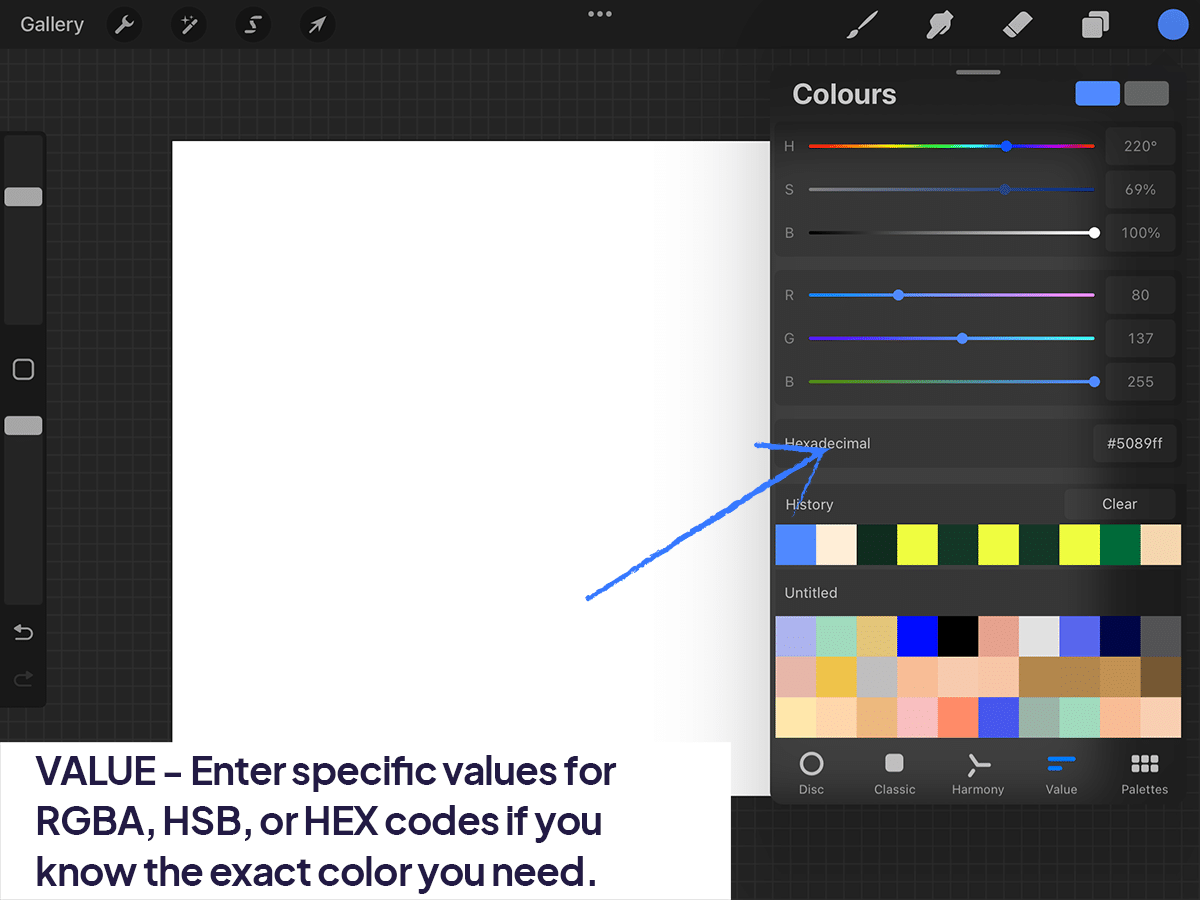
Value:
Enter specific values for RGBA, HSB, or HEX codes if you know the exact color you need.
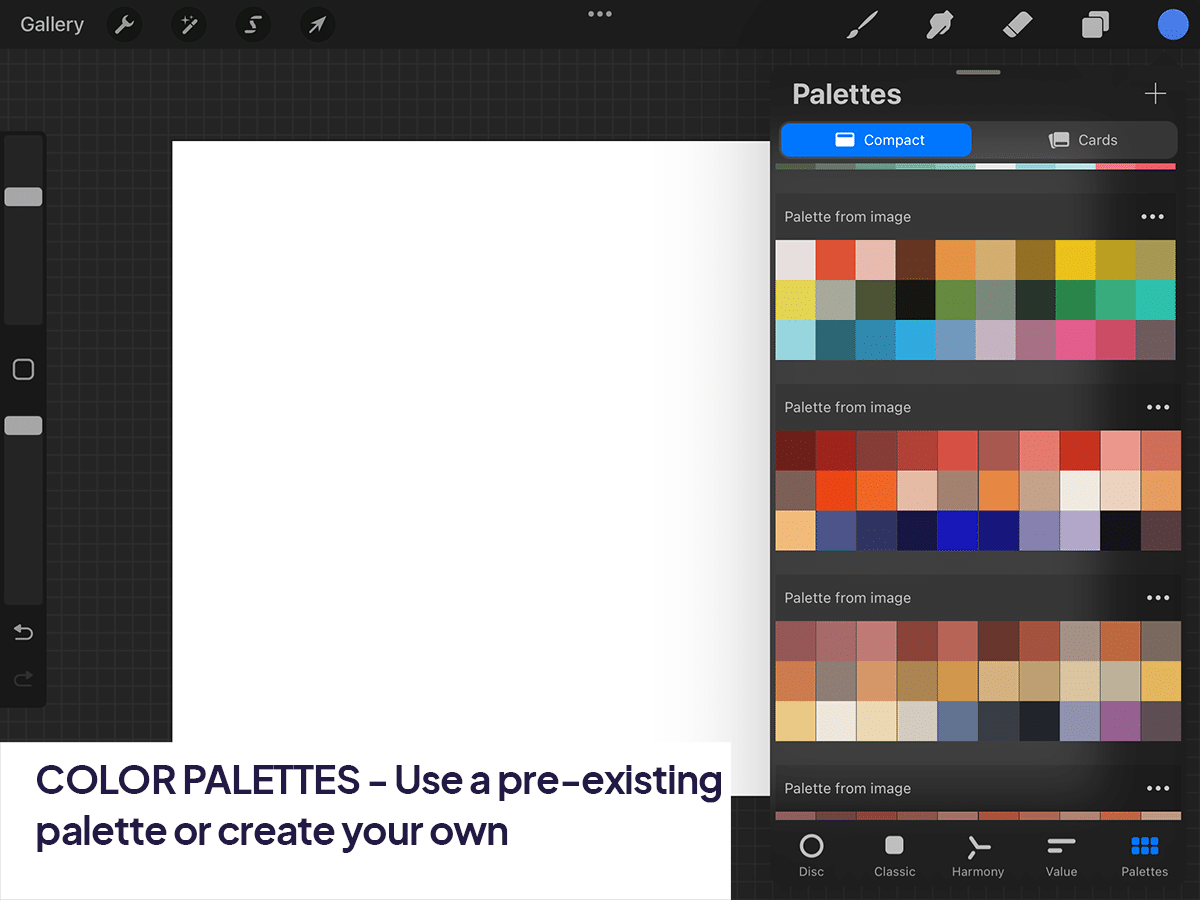
Palettes:
Use a pre-existing palette or create your own for consistent color themes.
Applying the Color
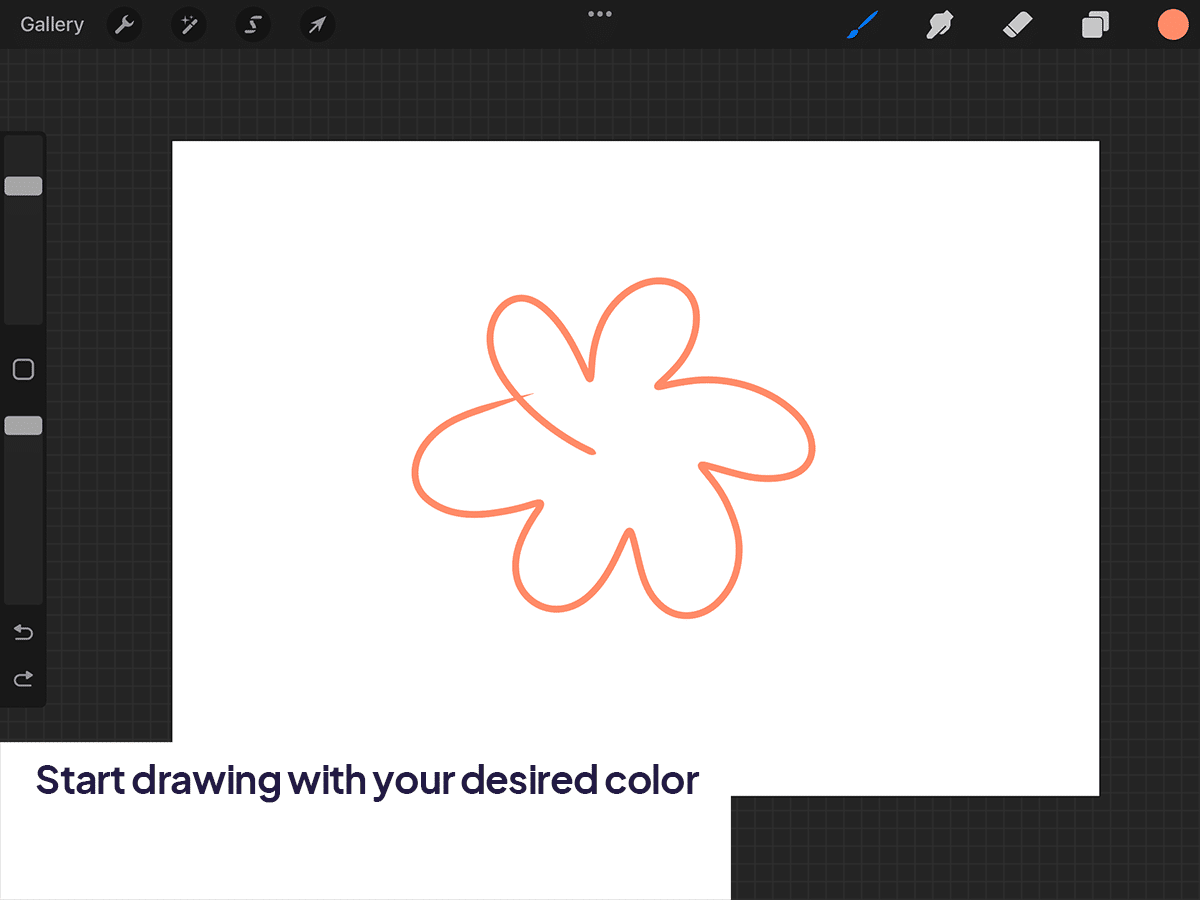
With a Brush:
Simply select your desired brush and start drawing. The color you picked will be applied to your new strokes.
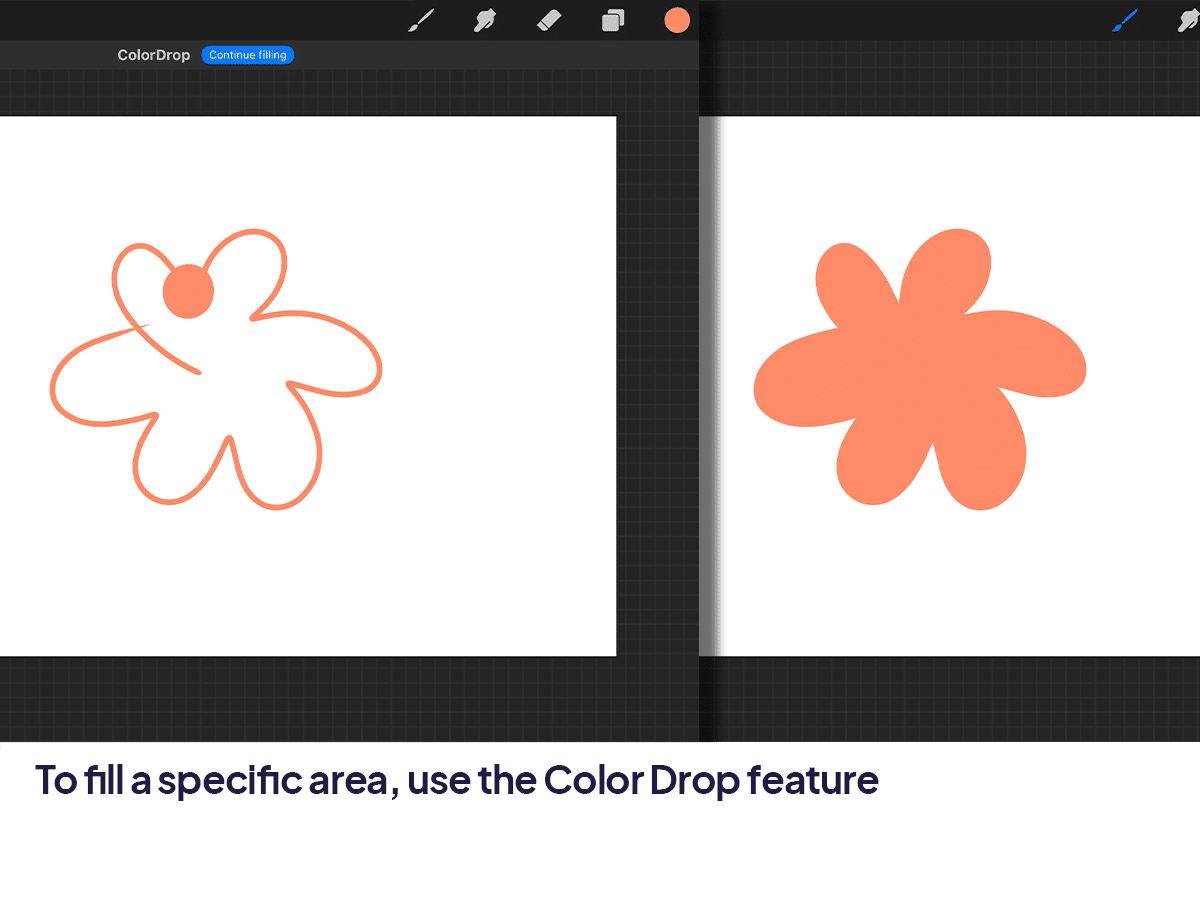
Fill Tool:
To fill a specific area, use the Color Drop feature by dragging the color from the top-right circle into the area you want to fill. Adjust the threshold by holding and sliding left or right before releasing.
Adjusting Colors of Existing Elements
Using the Adjustments Menu
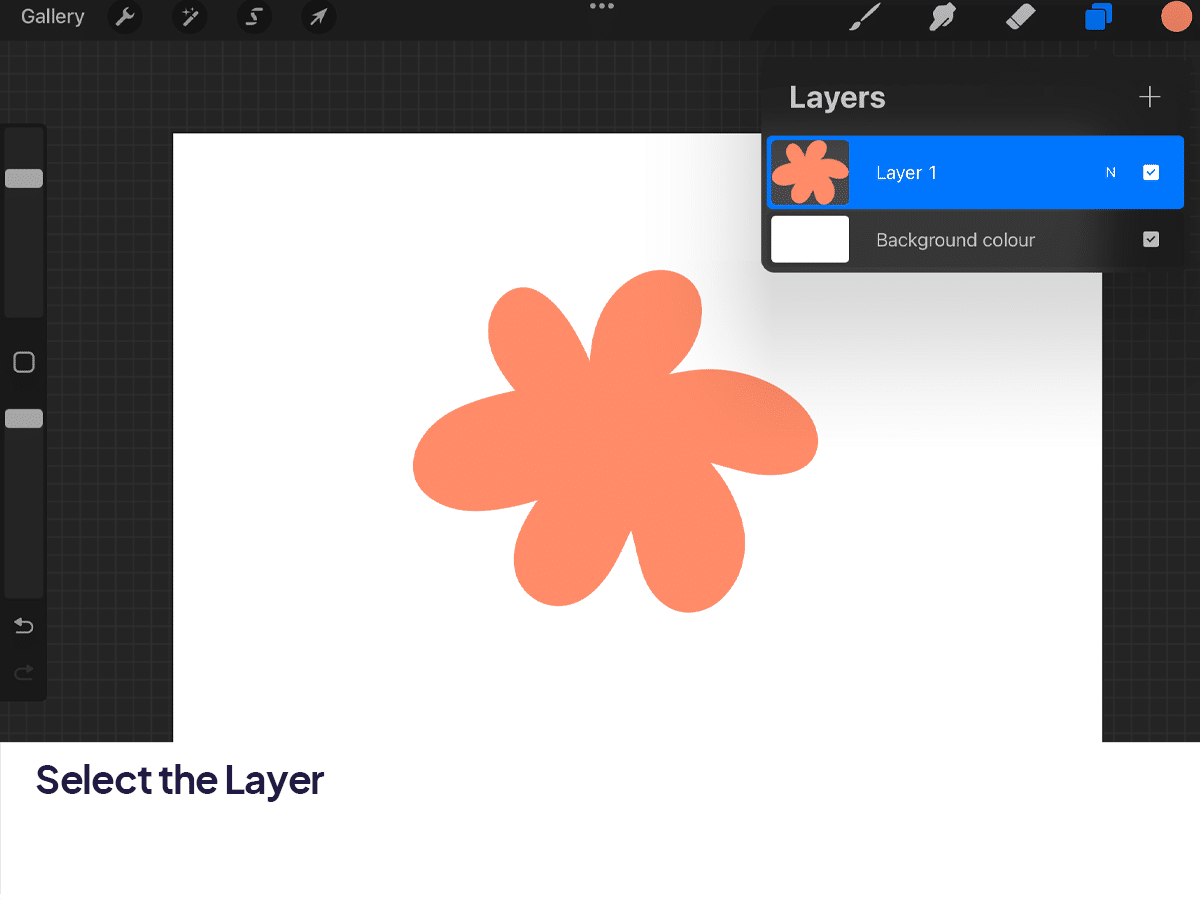
Select the Layer:
Tap on the layer that contains the element you wish to change.
Open Adjustments:
Tap on the magic wand icon at the top-left corner of the screen.
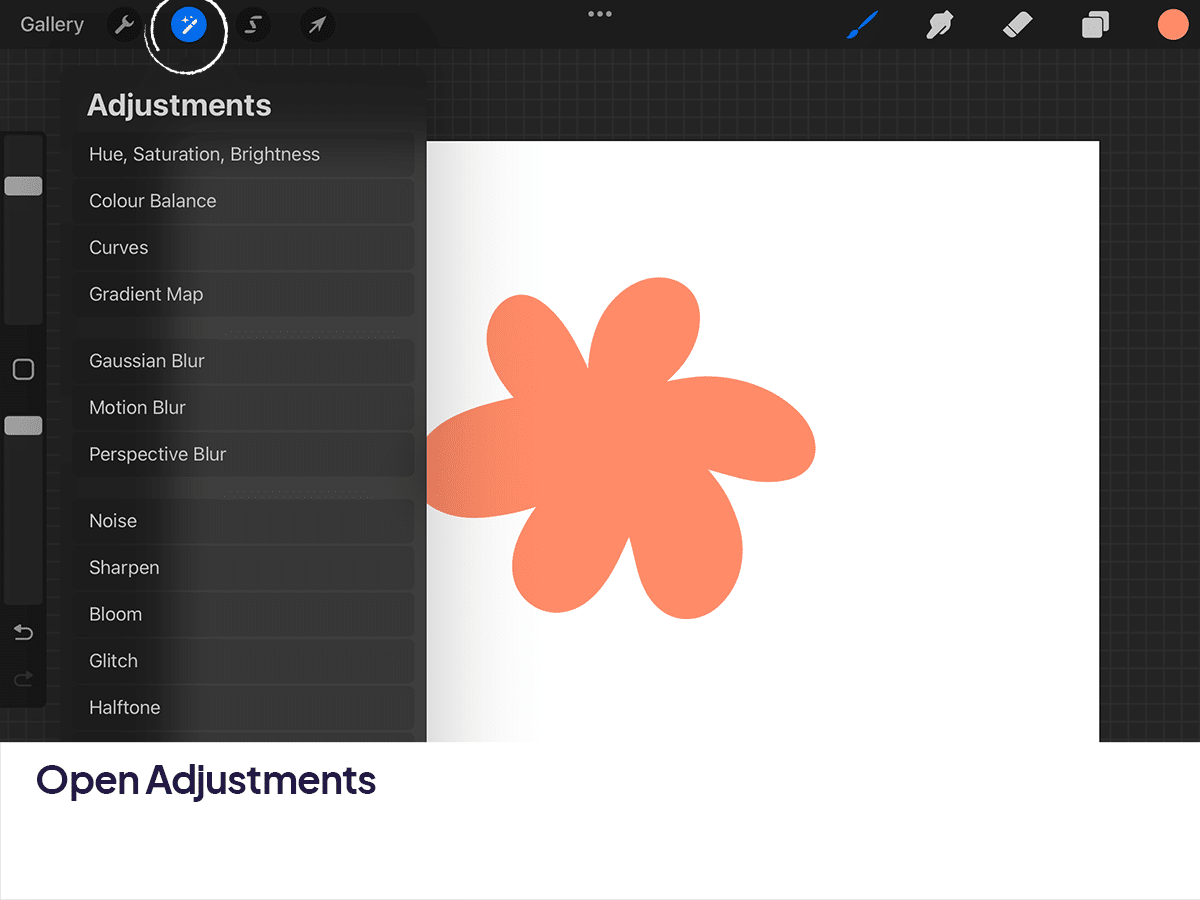
Choose a Tool:
For color adjustments, you have several options:
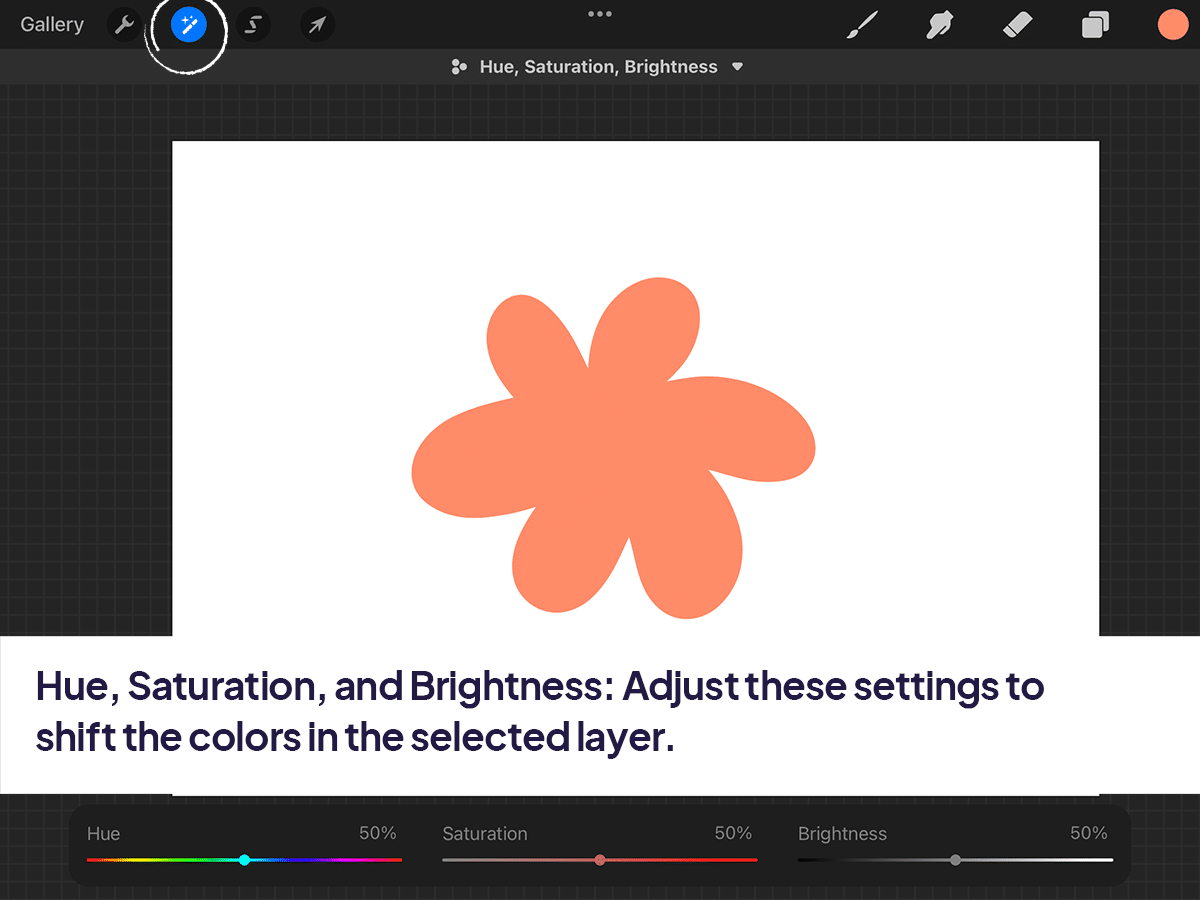
Hue, Saturation, and Brightness:
Adjust these settings to shift the colors in the selected layer.
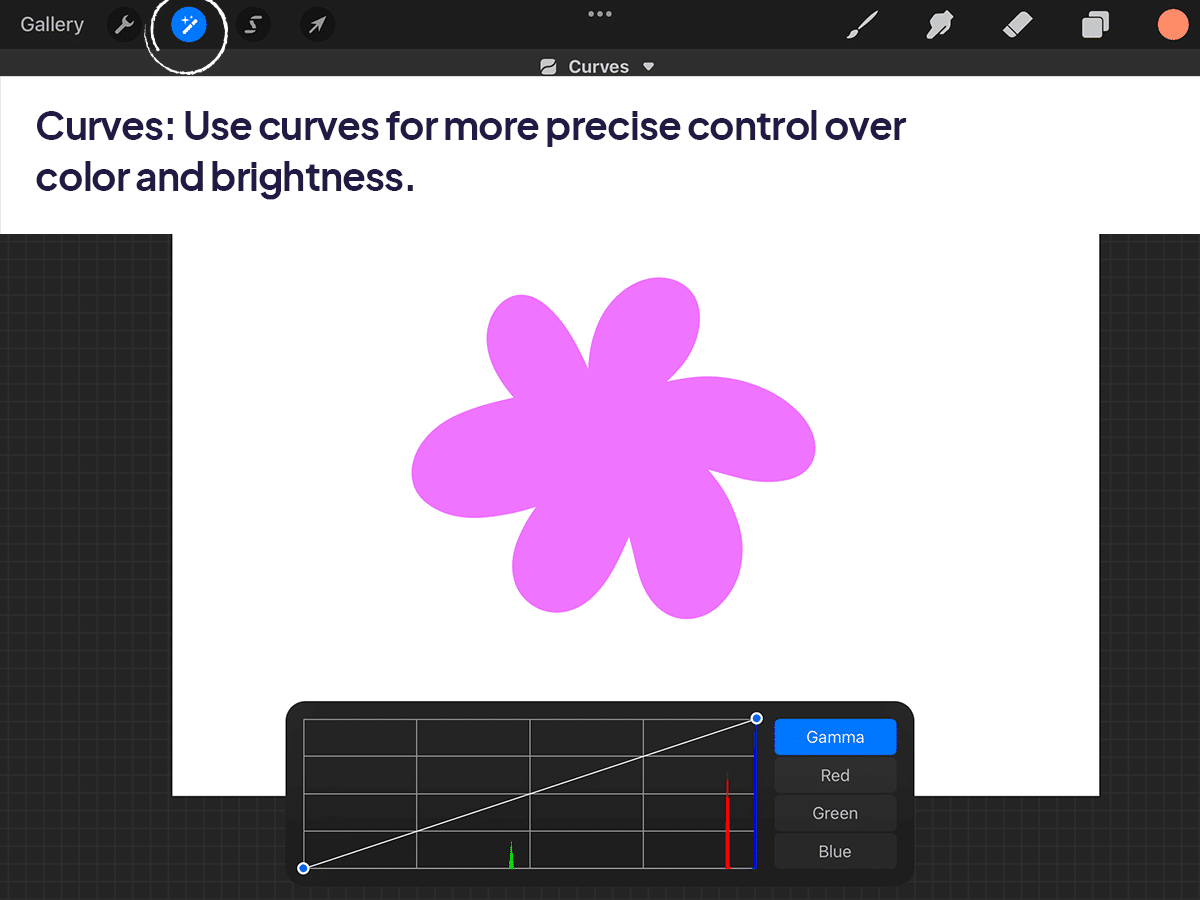
Curves:
Use curves for more precise control over color and brightness.
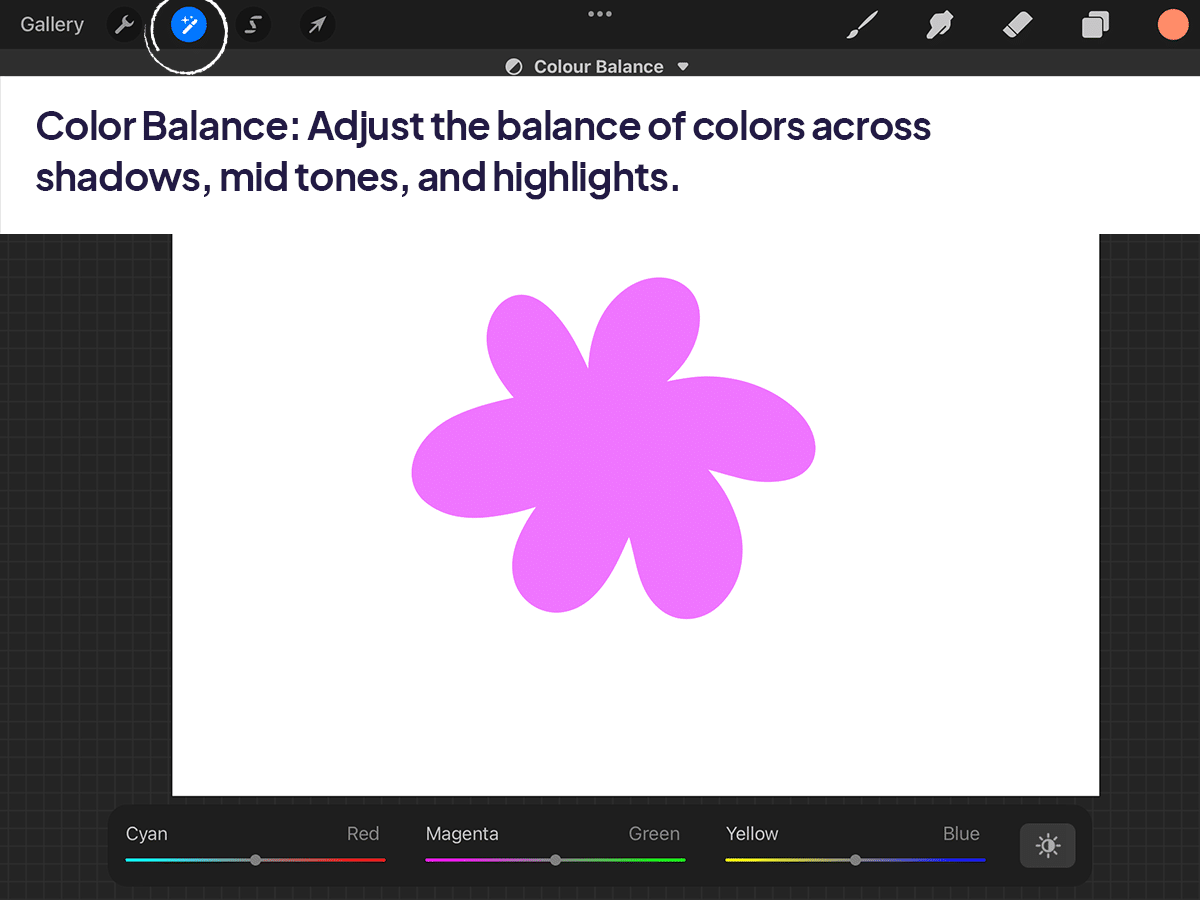
Color Balance:
Adjust the balance of colors across shadows, mid tones, and highlights.
Tips for Color Changing
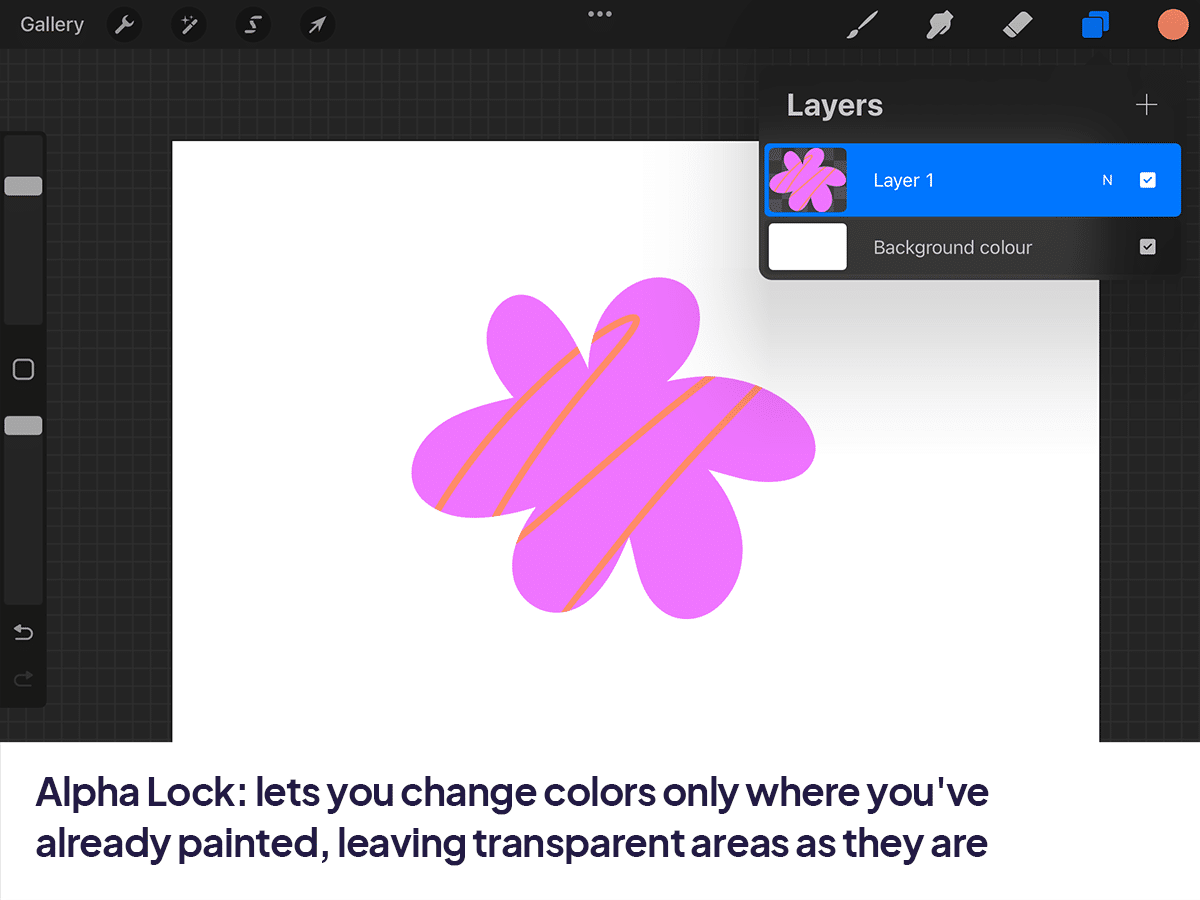
Alpha Lock:
Use Alpha Lock on a layer to change colors only where you’ve already painted, leaving transparent areas untouched. Swipe right with two fingers on a layer to activate it.
Clipping Masks:
Create a clipping mask for non-destructive color changes. This way, you can add or adjust colors on a new layer that clips to the shape of the underlying layer.

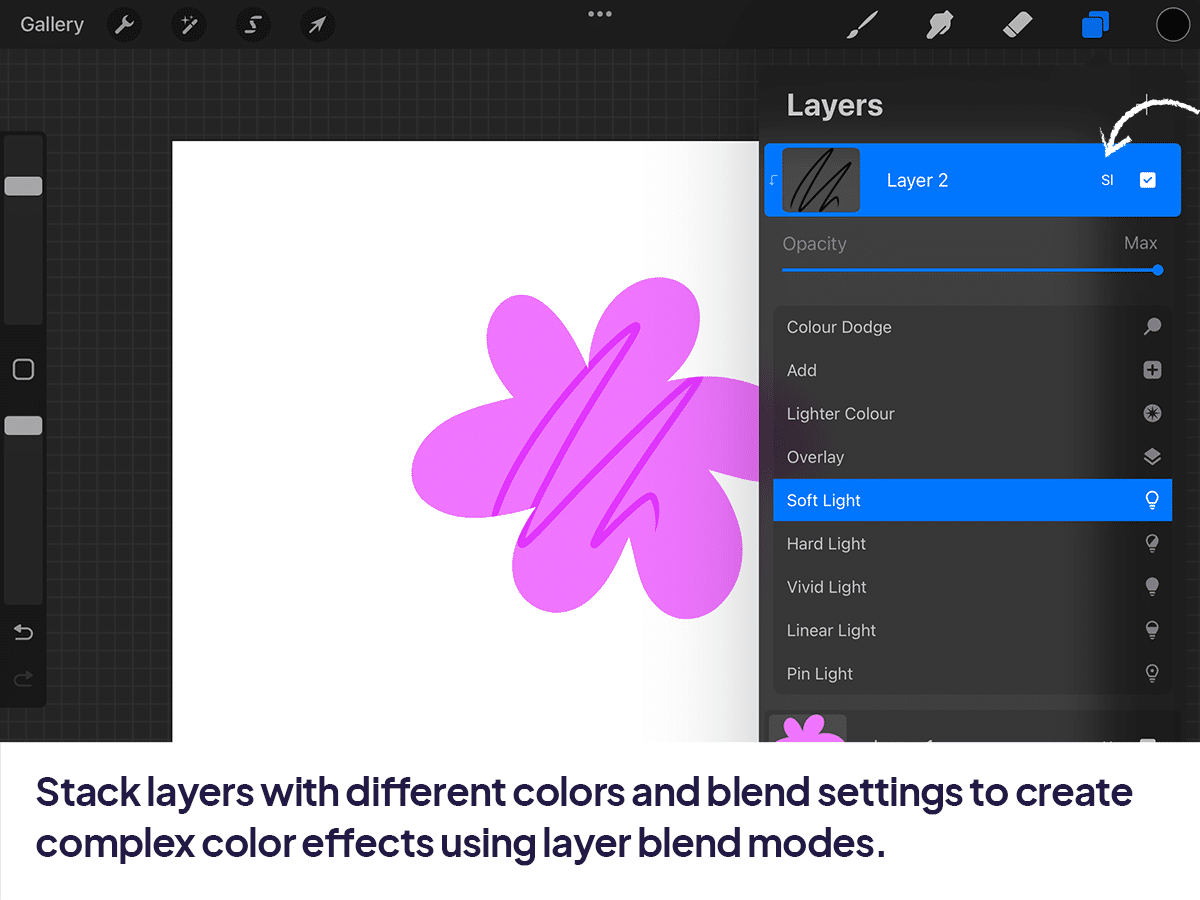
Layer Blend Modes:
Experiment with layer blend modes to create complex color effects by stacking layers with different colors and blend settings.
Procreate’s color tools are designed to be flexible and powerful, catering to artists’ needs at every skill level.
Whether you’re adjusting on the fly or meticulously planning your palette, these features ensure that you have total control over the color in your digital art.


Share this article


