
How To Record Screen in Procreate: 2 Methods

Before diving into the world of screen recording in Procreate, consider enhancing your digital canvas with the perfect Procreate brushes to truly bring your artwork to life.
Recording your screen while working in Procreate is not just about capturing your art; it’s a fantastic way to share your creative process, make tutorials, or document your progress using the brushes that best complement your style.
Procreate simplifies this process with its built-in time-lapse recording feature, ensuring that no stroke goes unrecorded. Here’s a guide to getting started, plus a tip for utilizing your iPad’s screen recording feature for added flexibility.
Use Procreate’s Built-in Time-lapse Feature
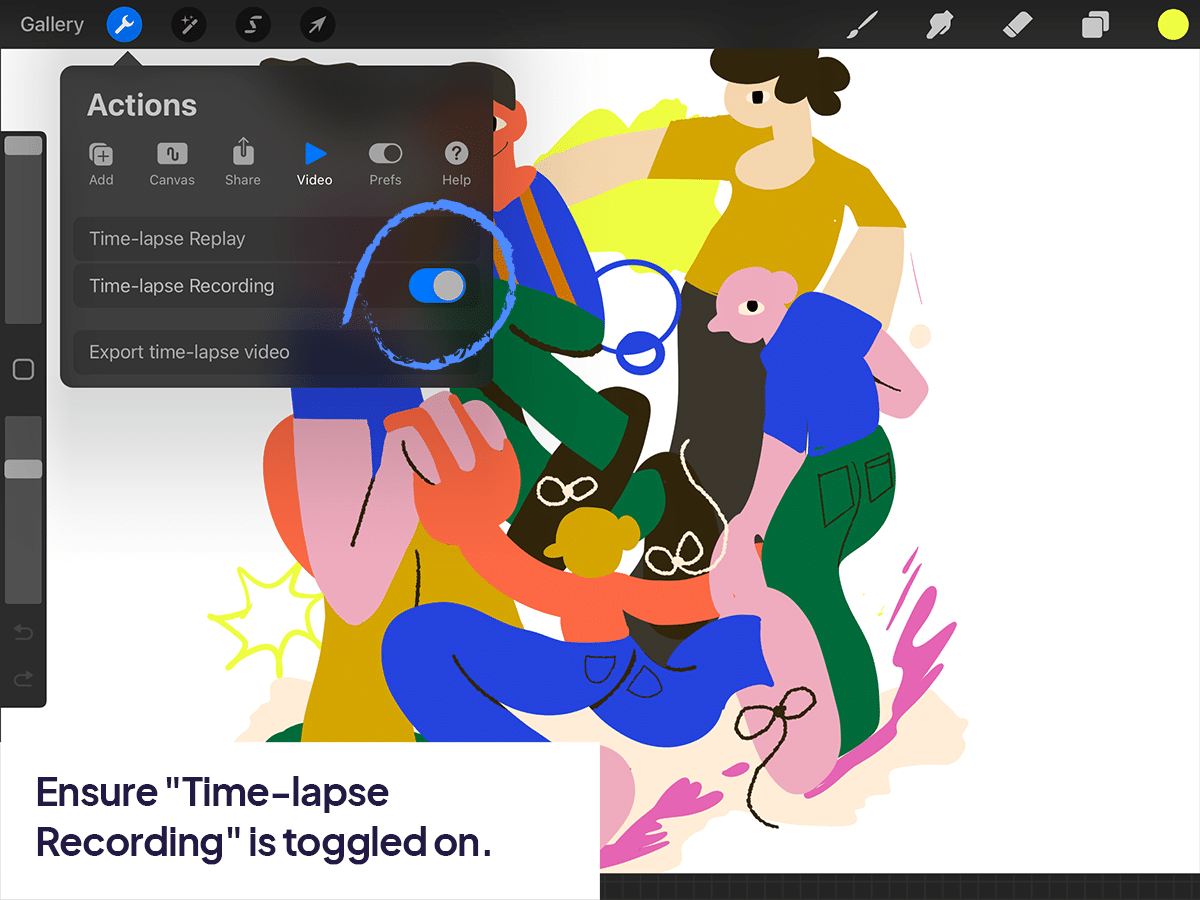
Open Procreate and go to “Actions” (the wrench icon).

Tap on “Video” and find the “Time-lapse Recording” section.
Ensure “Time-lapse Recording” is toggled on. This starts recording the canvas from the moment you begin your artwork.
If you forgot to enable time-lapse before you started, no worries! You can turn it on at any time, and Procreate will begin recording from that point onwards.
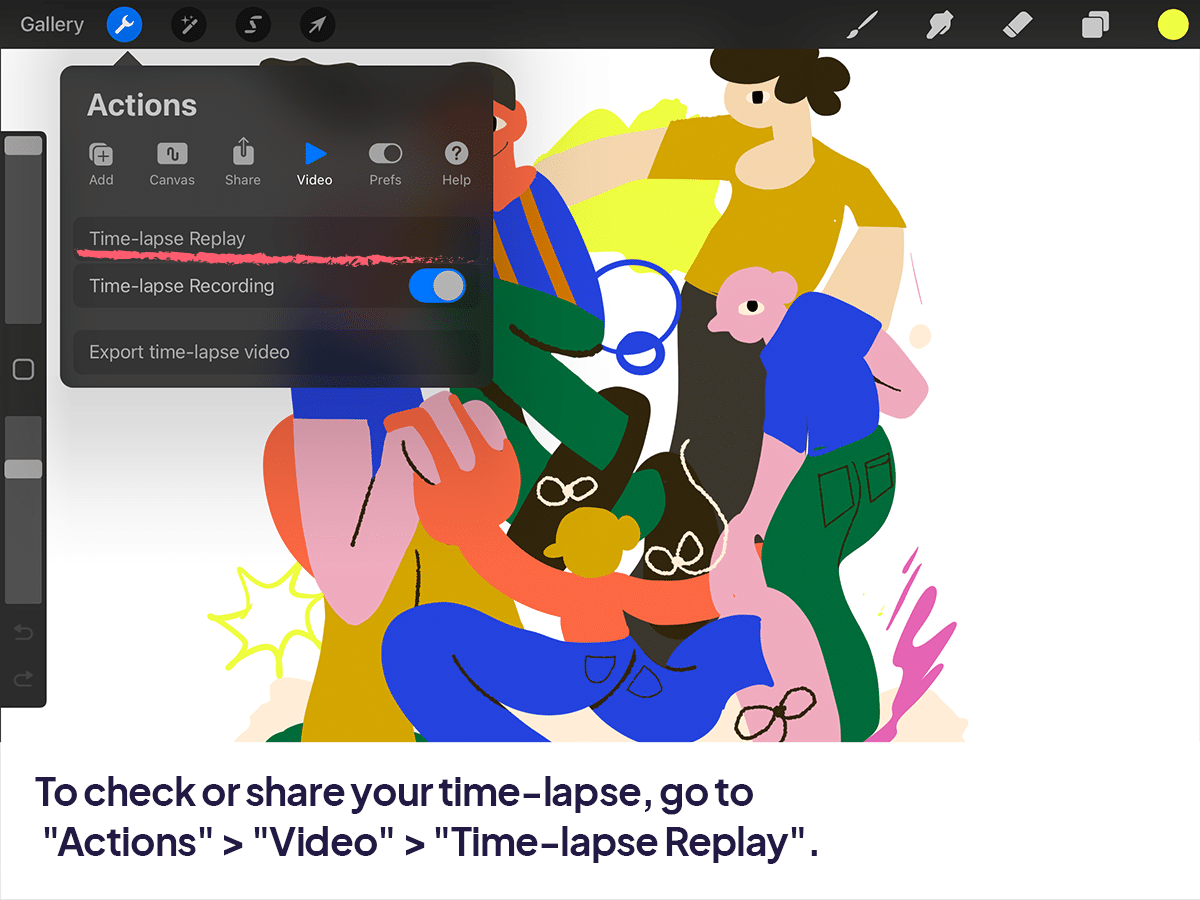
Once you’re ready to view or share your time-lapse, go back to “Actions” > “Video” > “Time-lapse Replay”.
Here, you can watch the replay and export it to your device. This allows you to share your creative process on social media, with friends, or keep it for your own reference.
Use iPad’s Screen Recording Feature for More Flexibility
If you want to record more than just the canvas—maybe you want to include your tool selections, layer adjustments, or use other apps simultaneously—using the iPad’s built-in screen recording feature is the way to go.
Add Screen Recording to Control Center
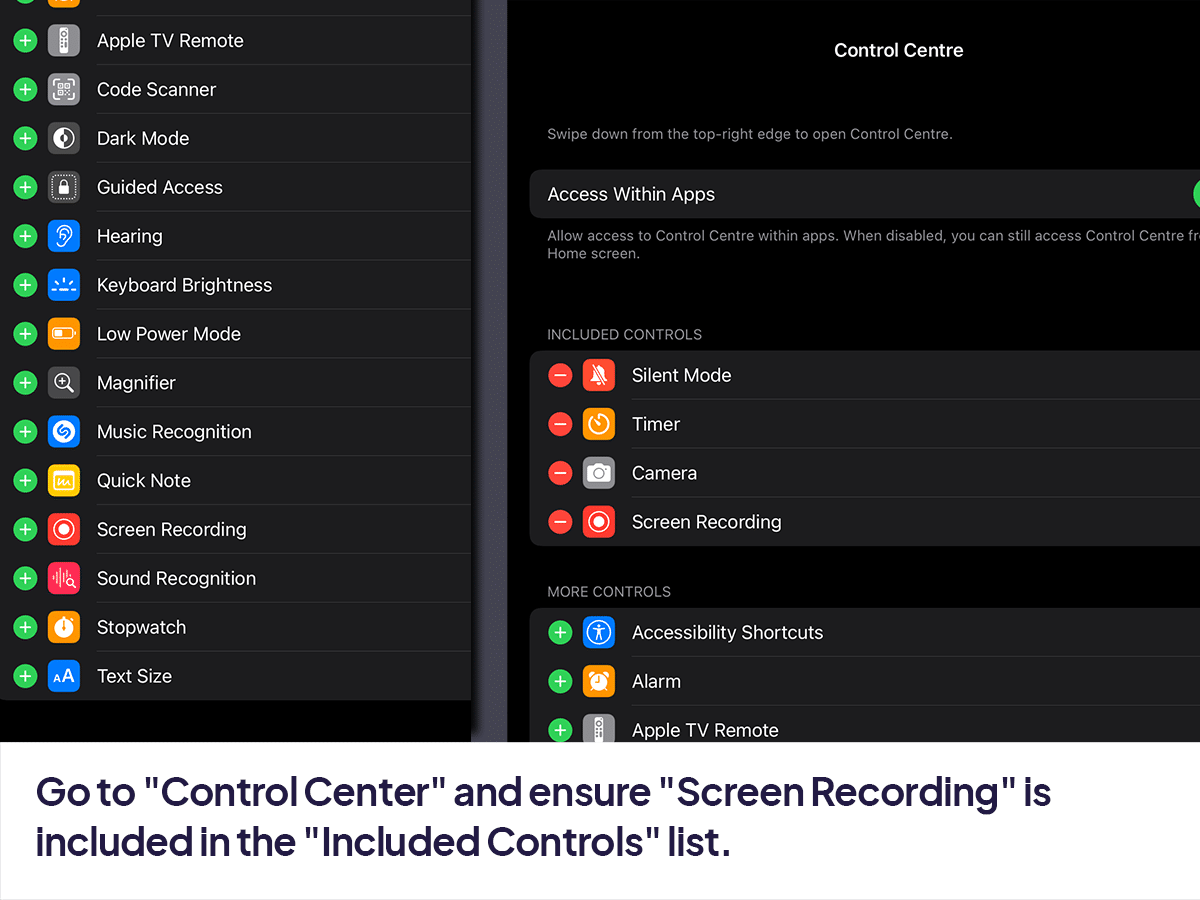
Open the “Settings” app on your iPad.
Go to “Control Center” and ensure “Screen Recording” is included in the “Included Controls” list. If it’s not, tap the green plus icon next to “Screen Recording” under “More Controls”.
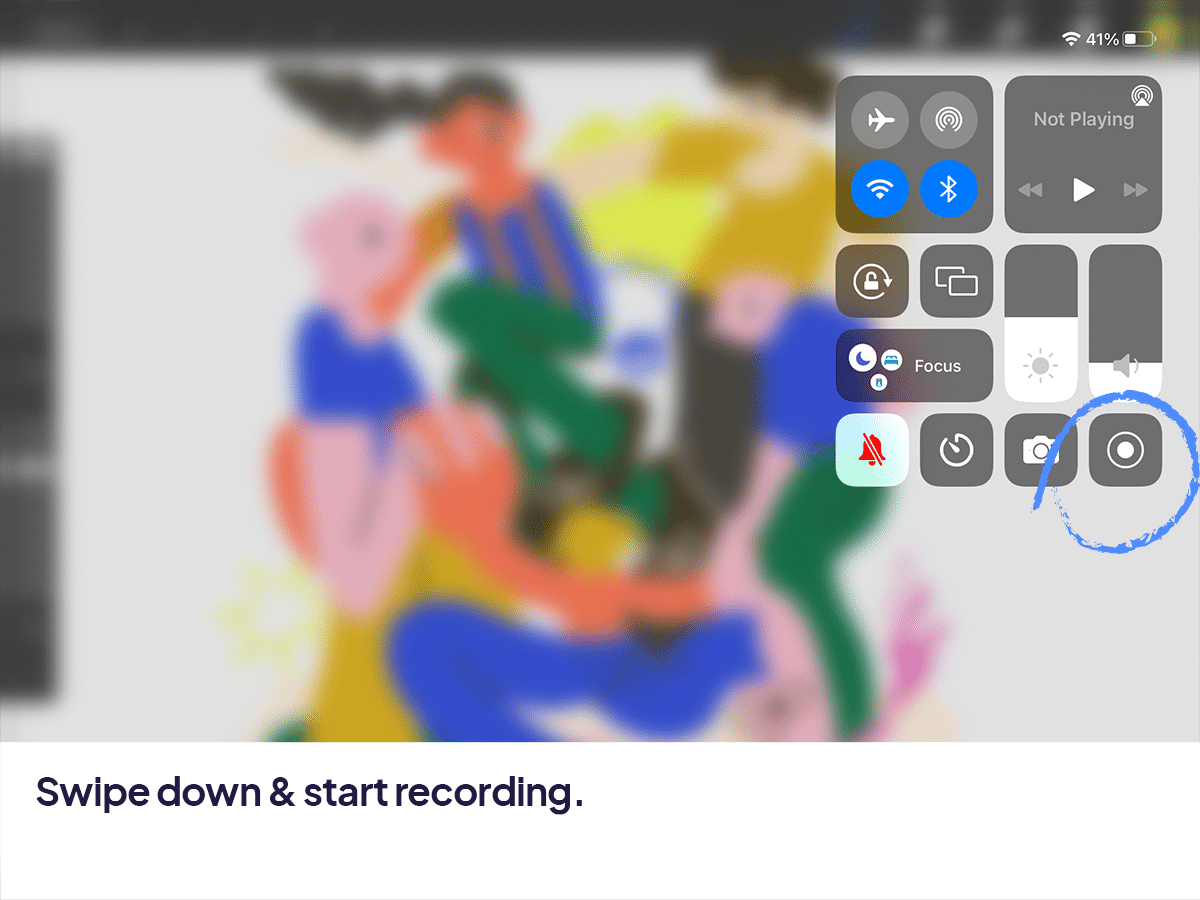
Swipe down from the top-right corner of your screen to access the Control Center.
Tap the Screen Recording button (it looks like a solid circle within a circle) to start recording. There’s a three-second countdown before it begins.
To record your voice or external sounds as well, press and hold the Screen Recording button and tap the microphone icon before starting.
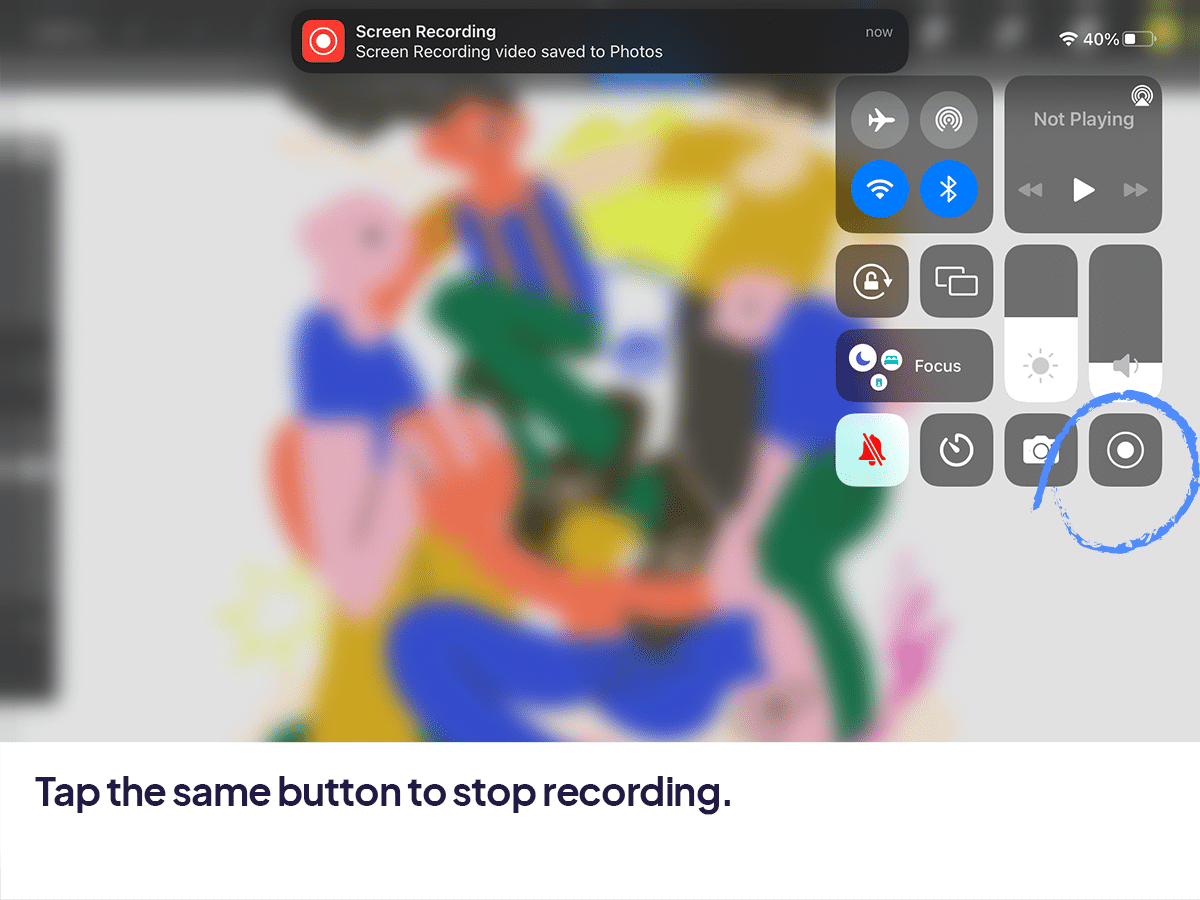
Let’s stop recording. Access the Control Center again and tap the Screen Recording button, or tap the red status bar at the top of your screen and confirm you want to stop.
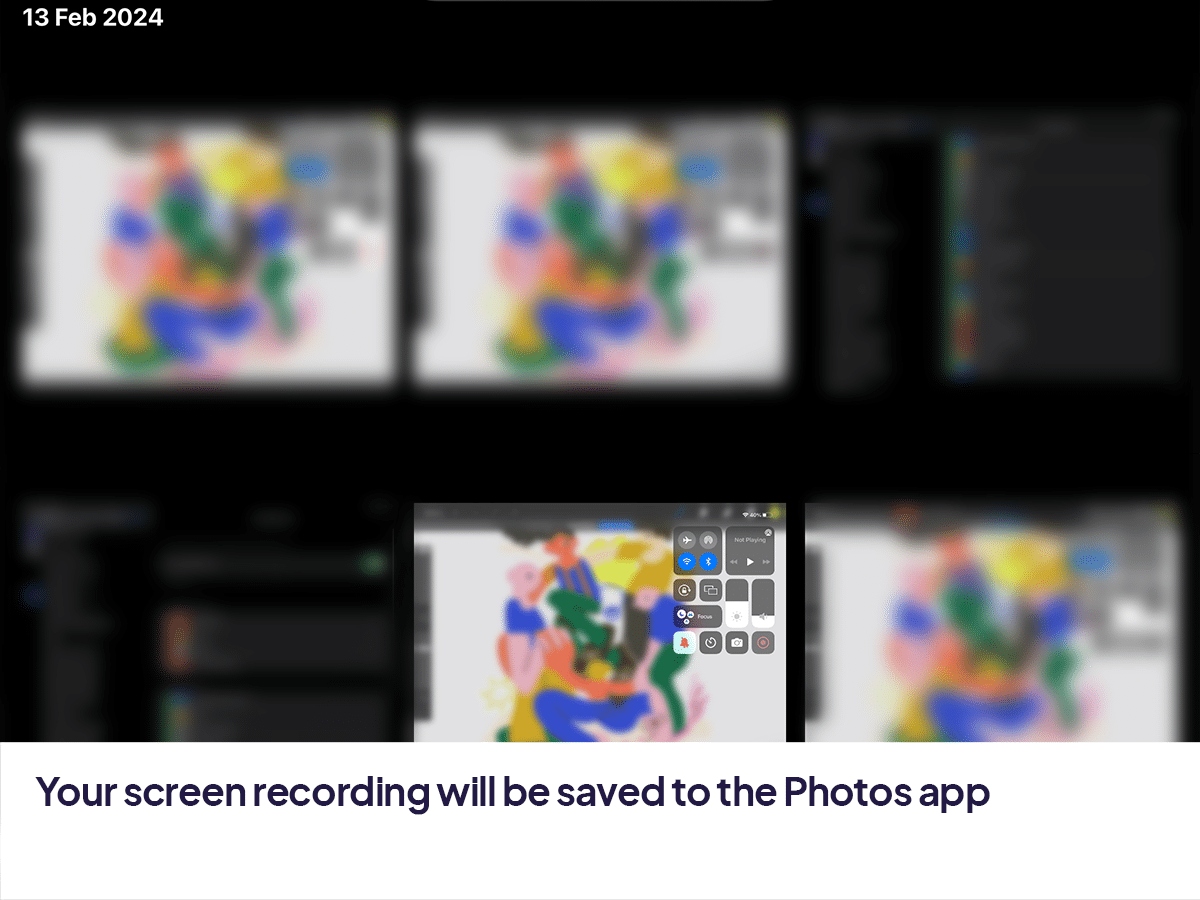
Once stopped, your screen recording will be saved to the Photos app, where you can view, edit, or share it.
Tips for a Great Recording Experience
Plan Your Session:
Whether using Procreate’s time-lapse or the screen recording feature, planning what you want to capture can help in creating a more engaging and informative video.
Edit for Impact:
Consider editing your recordings to highlight key parts of your creative process, add voiceovers, or incorporate music to enhance the viewer’s experience.
By using Procreate’s built-in time-lapse recording or your iPad’s screen recording feature, you can easily capture and share your artistic journey, offering insights into your creative process and showcasing your skills. Happy creating!


Share this article


