
How To Make Stickers in Procreate

Transform your artistic visions into captivating stickers with Procreate, complemented by the versatile selection of Procreate brushes.
Whether you’re aiming to bring your digital art into the tangible realm with physical stickers or enhance your digital content, this step-by-step guide will walk you through the process of creating stickers in Procreate, from the initial sketch to the final touches for printing or digital sharing.
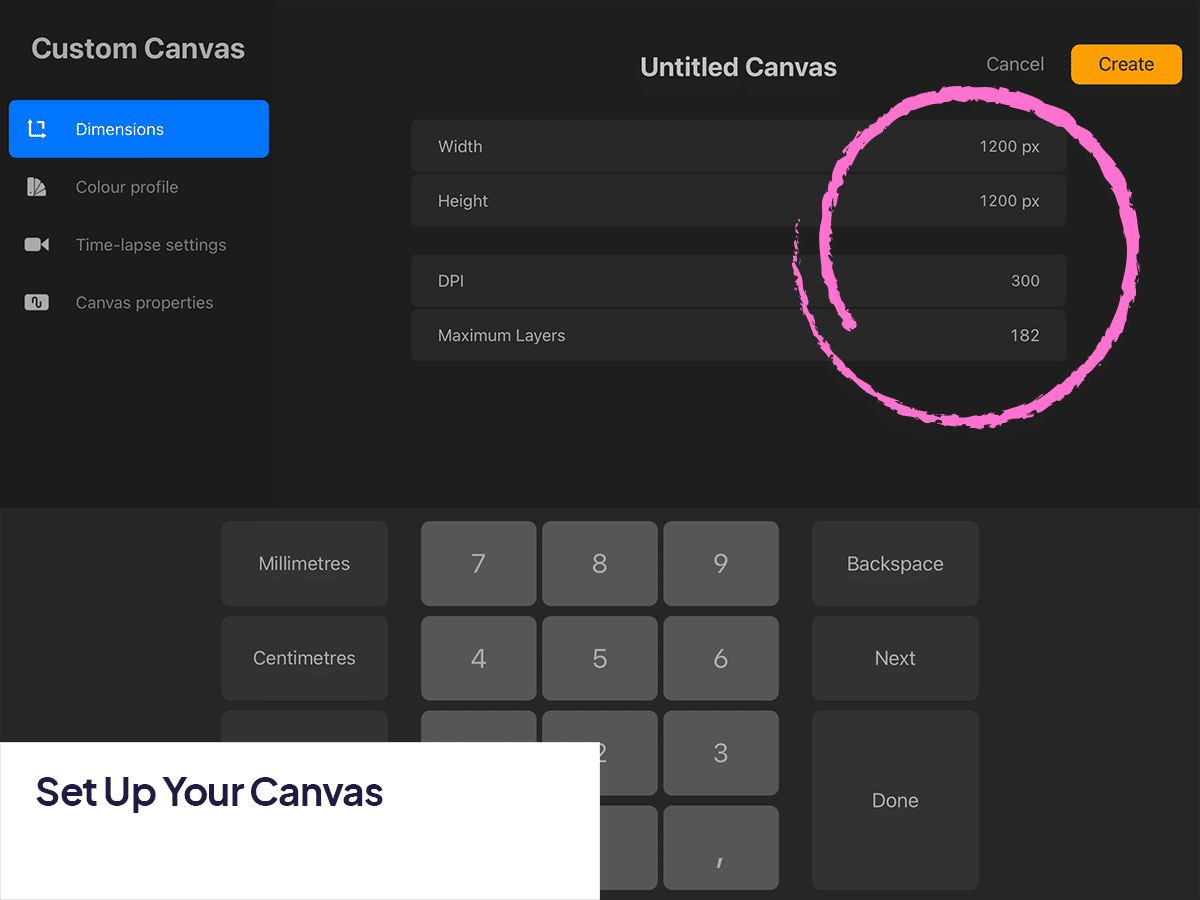
Step 1: Set Up Your Canvas
Open Procreate and tap the “+” icon to create a new canvas. For sticker making, a canvas size of about 1200×1200 pixels at 300 DPI (dots per inch) is a good starting point for clear and detailed stickers.
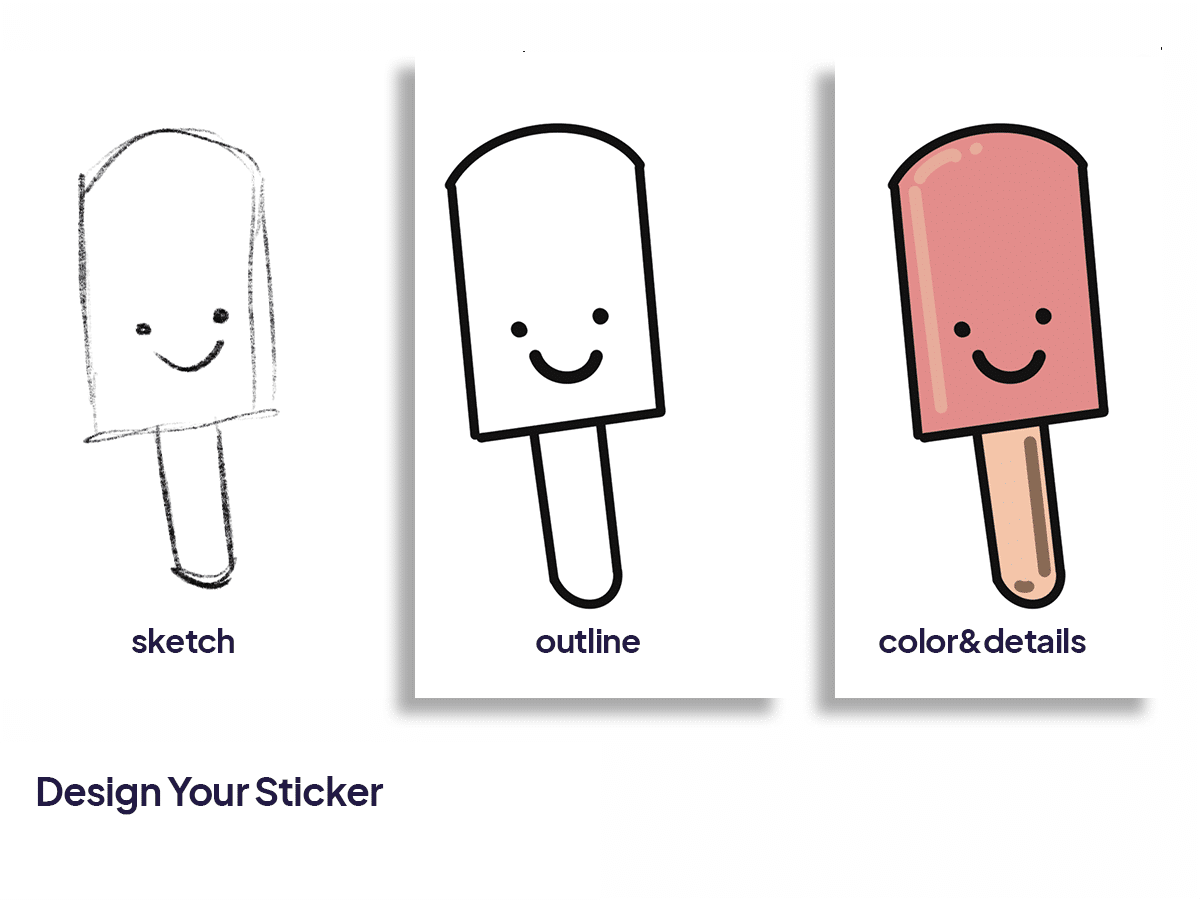
Step 2: Design Your Sticker
Sketch: Start with a rough sketch of your sticker idea using a pencil brush. This can be anything from cute characters, phrases, or any design you love.
Outline: Create a new layer above your sketch and trace over your design with a more precise, clean line using a fine-tip brush. This will be the outline of your sticker.
Color: Add color by creating a new layer beneath your outline layer. Use Procreate’s color fill tool or brushes to color your design.
Details and Textures: Add any final details or textures on new layers above or below your color layer, depending on the effect you’re aiming for.
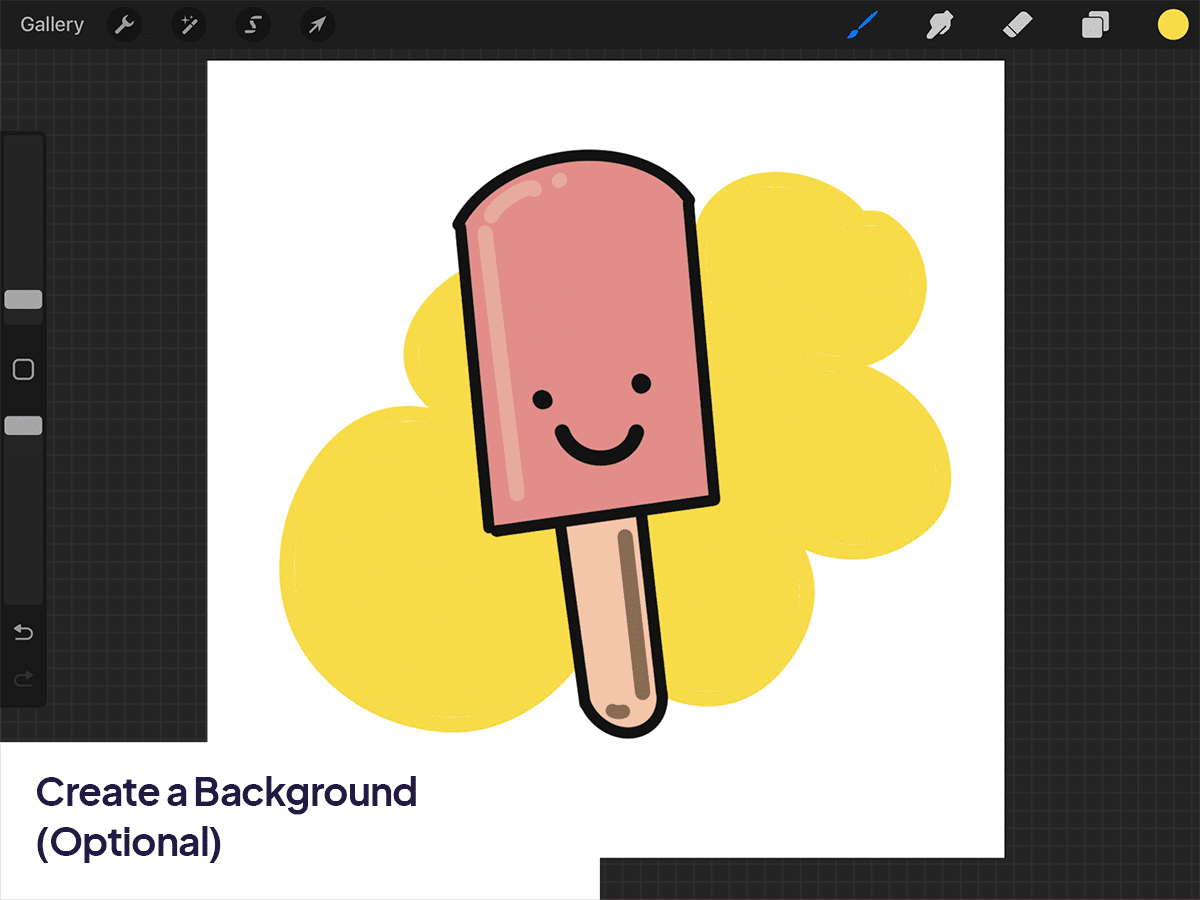
Step 3: Create a Background (Optional)
If you want your sticker to have a specific background color or design, create it on a new layer. If you prefer a transparent background for printing on clear sticker paper, skip this step.
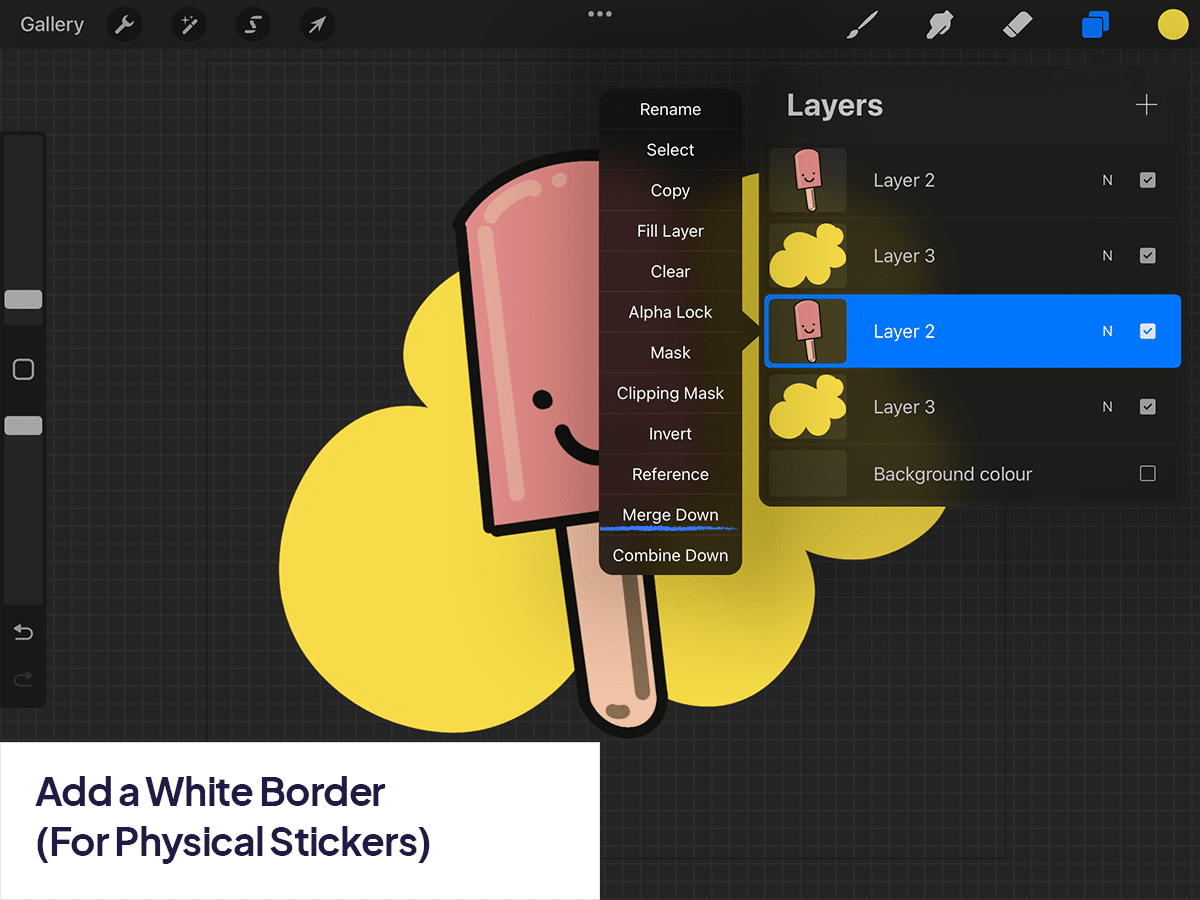
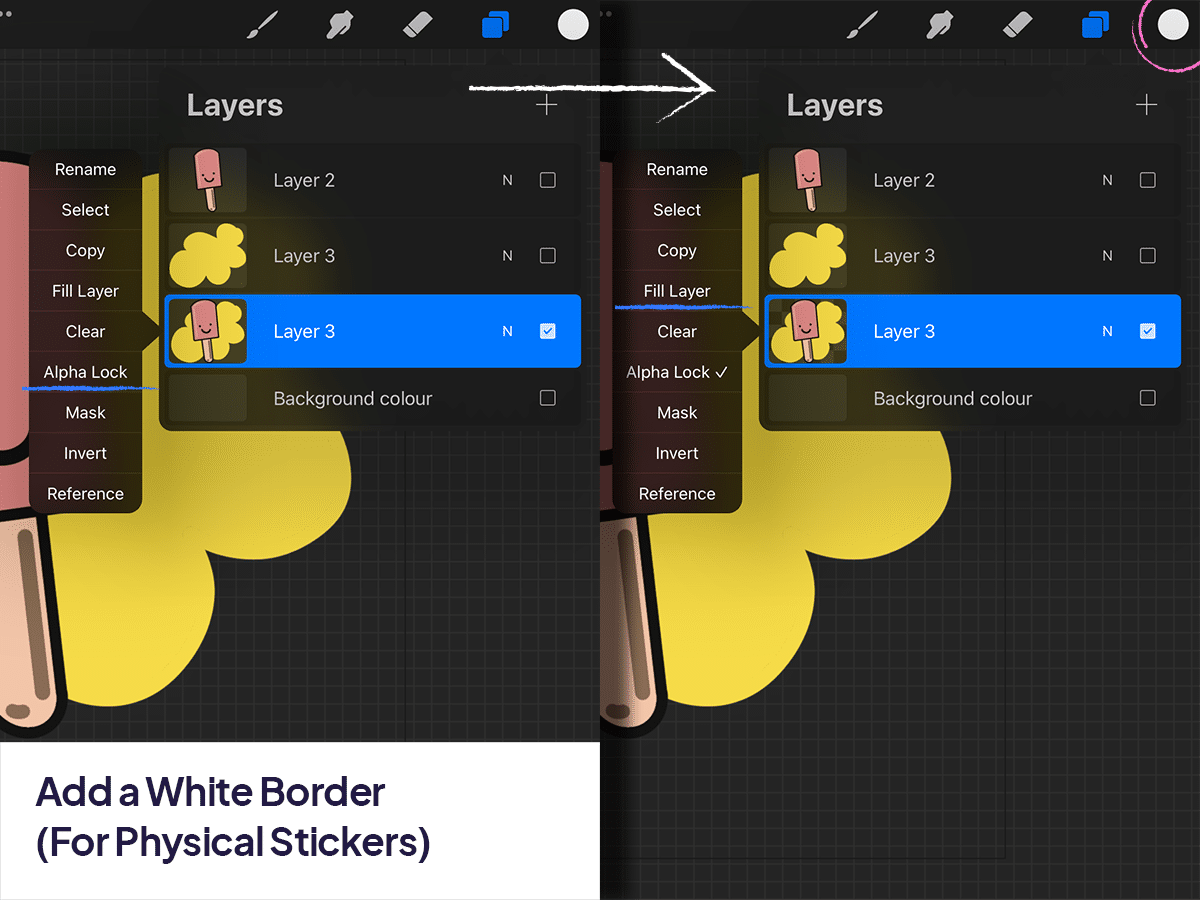
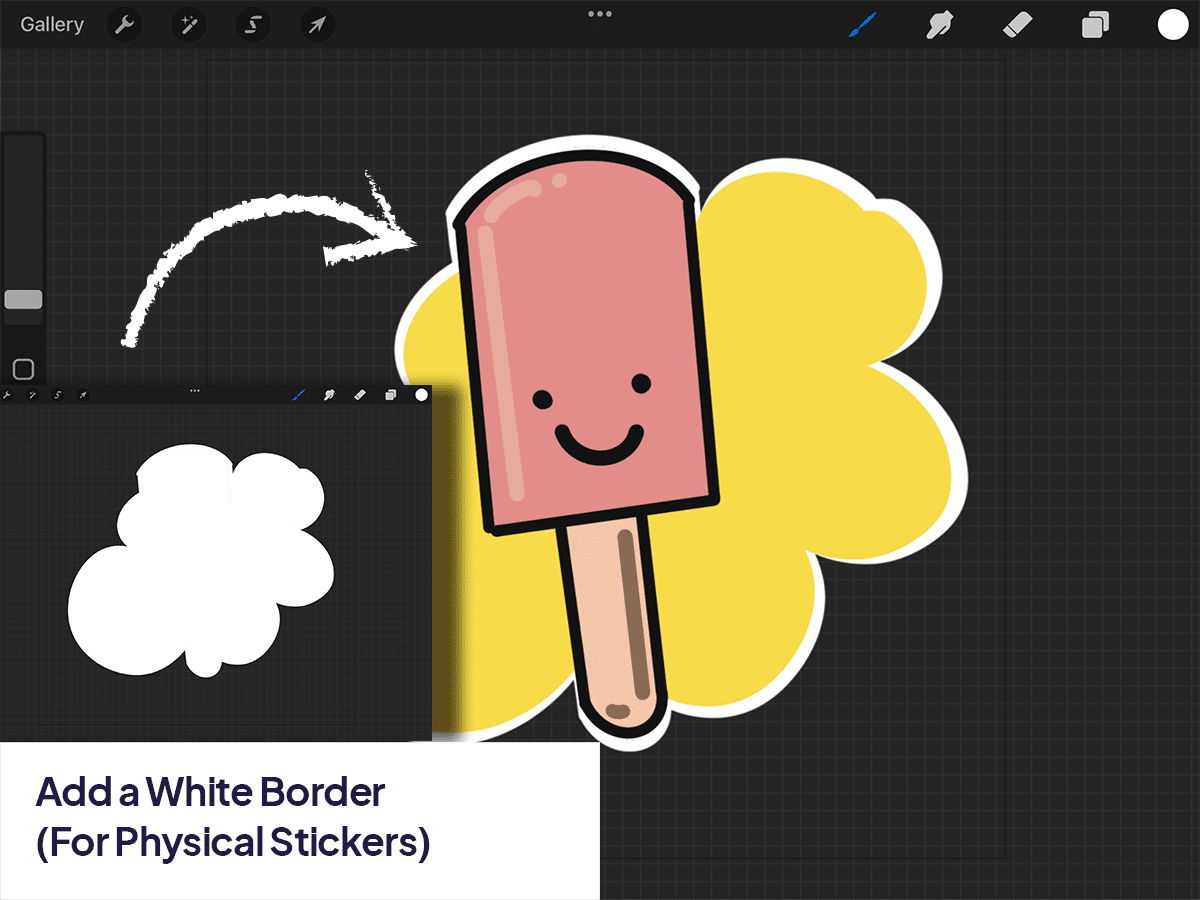
Step 4: Add a White Border (For Physical Stickers)
Duplicate Your Illustration Layer: Before merging your illustration layers, duplicate the layer containing your illustration. This ensures that you have a backup copy of your original artwork.
Merge Duplicate Layers: Combine the duplicate illustration layers into one single layer. Select all the duplicate layers and then tap on the “Merge Down” option in the layer menu to merge them into one layer.
Fill with White: With the merged layer selected, tap on the layer and select “Alpha Lock”. This will allow you to paint only on the existing content of the layer without affecting the transparent areas. Choose the color palette and select pure white as your color. With the color selected, tap on the layer again and choose “Fill Layer”. This will fill the entire duplicated layer with pure white color.
Enlarge: Use the “Freeform” tool to slightly enlarge the white outline, creating a border around your sticker. This helps define the sticker’s edges, especially useful for cutting.
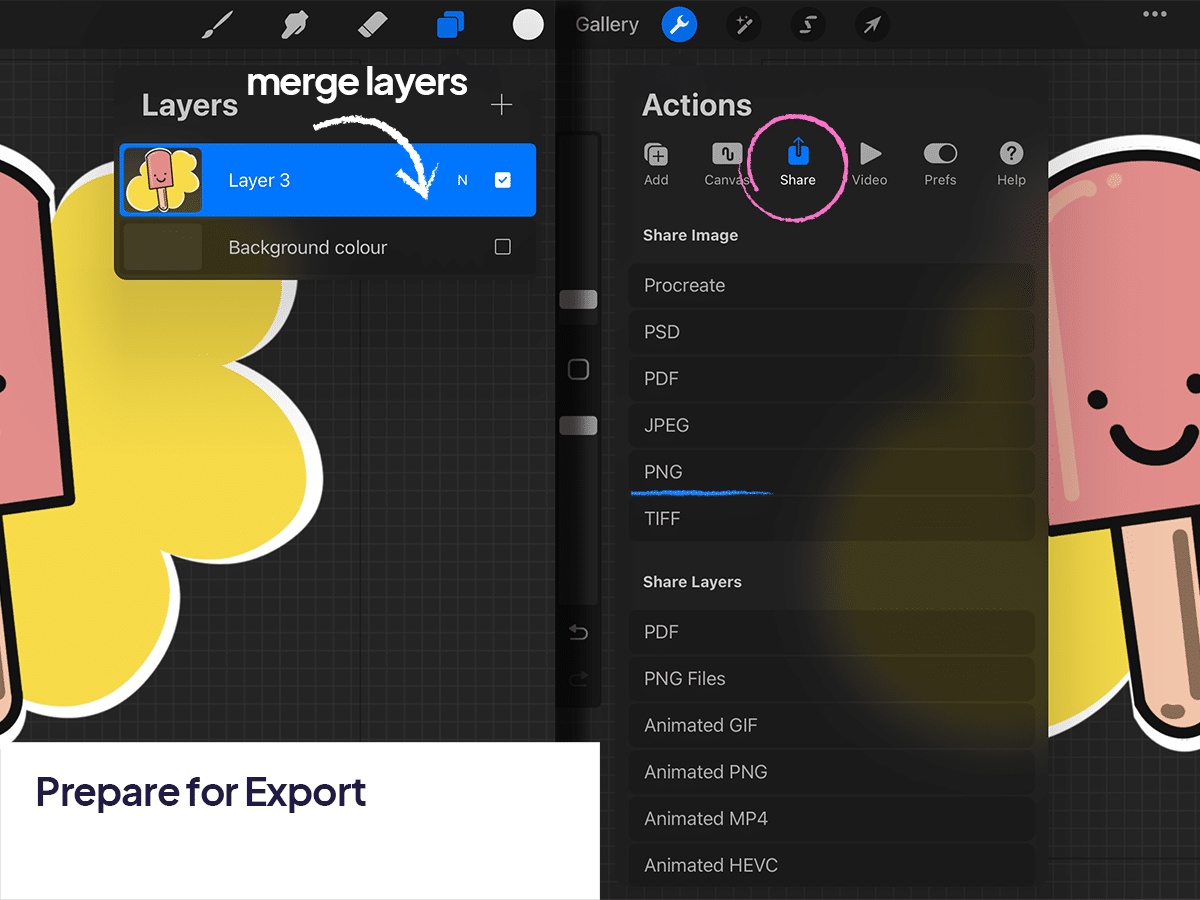
Step 5: Prepare for Export
Merge Layers: Once satisfied with your design, you can merge your layers. For physical stickers, ensure the background is transparent if you don’t want a specific background color.
Export: Tap the wrench icon, go to “Share,” and select “PNG” for a transparent background or “JPEG” for a non-transparent background.
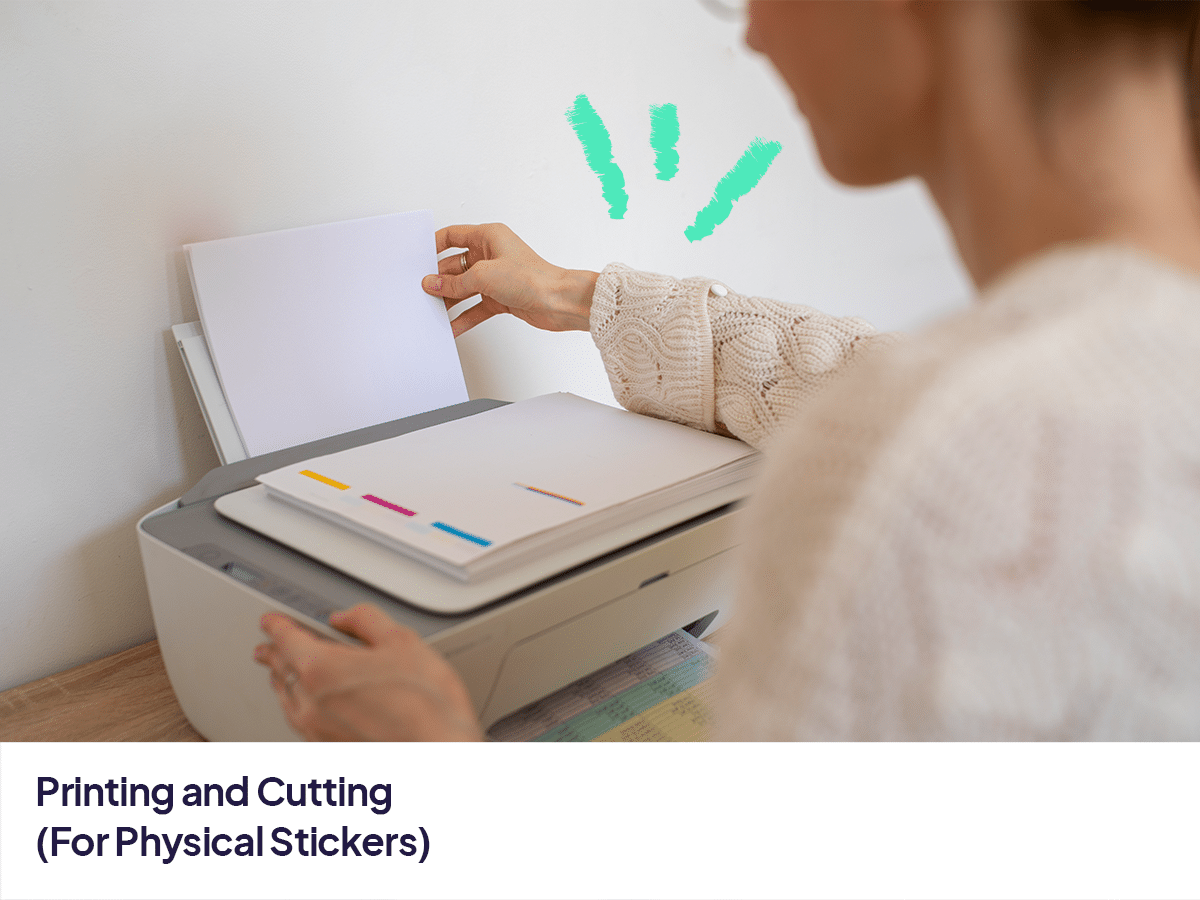
Step 6: Printing and Cutting (For Physical Stickers)
Print: Use a high-quality printer and sticker paper (vinyl or matte, depending on your preference) to print your sticker designs. Ensure your printer settings are adjusted for the best quality and correct paper type.
Cut: Cut out your stickers by hand with scissors or a craft knife for more intricate designs. For a more professional finish, you can use a cutting machine like a Cricut or Silhouette, which can precisely cut around your designs.
For Digital Stickers
Digital stickers can be used in digital planners, messaging apps, or social media. Simply export your designs as PNG files with transparent backgrounds and share them or upload them to the platform of your choice.
Pro Tips
Experiment with Styles: Procreate offers a vast array of brushes and effects. Don’t hesitate to experiment with different styles to make your stickers unique.
Layer Organization: Keep your work organized by naming your layers and grouping related elements together. This makes it easier to adjust specific parts of your sticker design without affecting the whole image.
Creating stickers in Procreate allows you to bring your digital art into the physical world or enhance your digital content. Whether for personal use, gifts, or selling, stickers are a versatile way to showcase your creativity.


Share this article


