
How To Draw Lineart in Procreate

Welcome to the practical world of line art in Procreate! This guide is designed to equip you with the skills to transform your digital canvas into striking line art.
I’ll cover everything from setting up your canvas to refining your final piece, providing you with practical tips and insights to enhance your digital drawing experience.
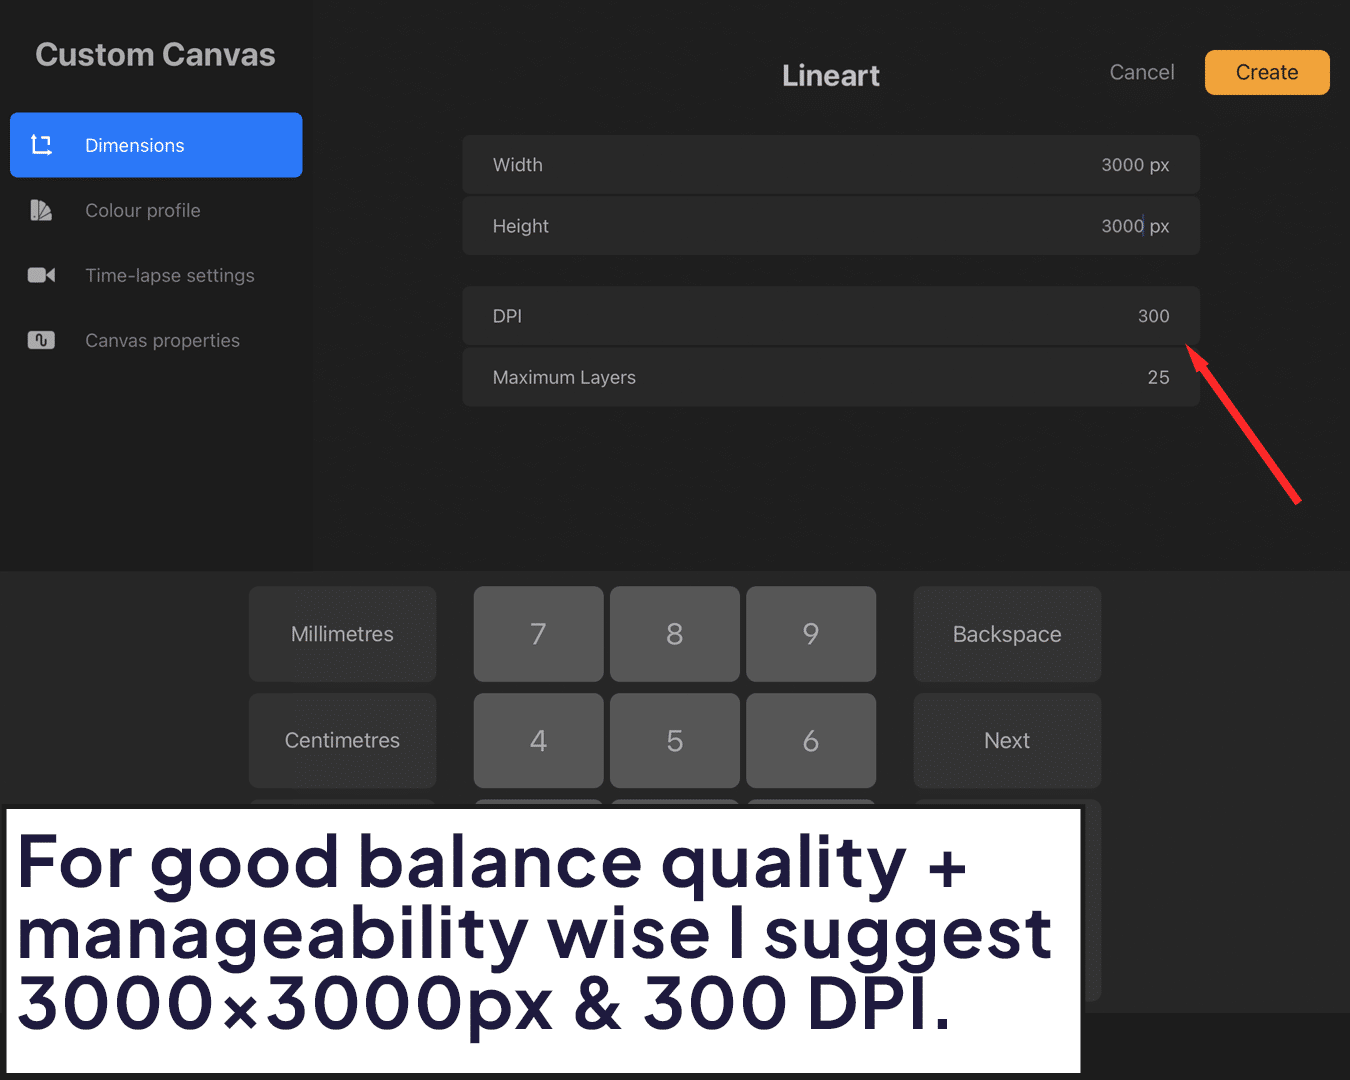
Setting Up Your Canvas
First things first, let’s set the stage. Open Procreate and select a canvas. I usually go for something like 3000 x 3000 pixels at 300 DPI. This size gives you a good balance between quality and manageability.
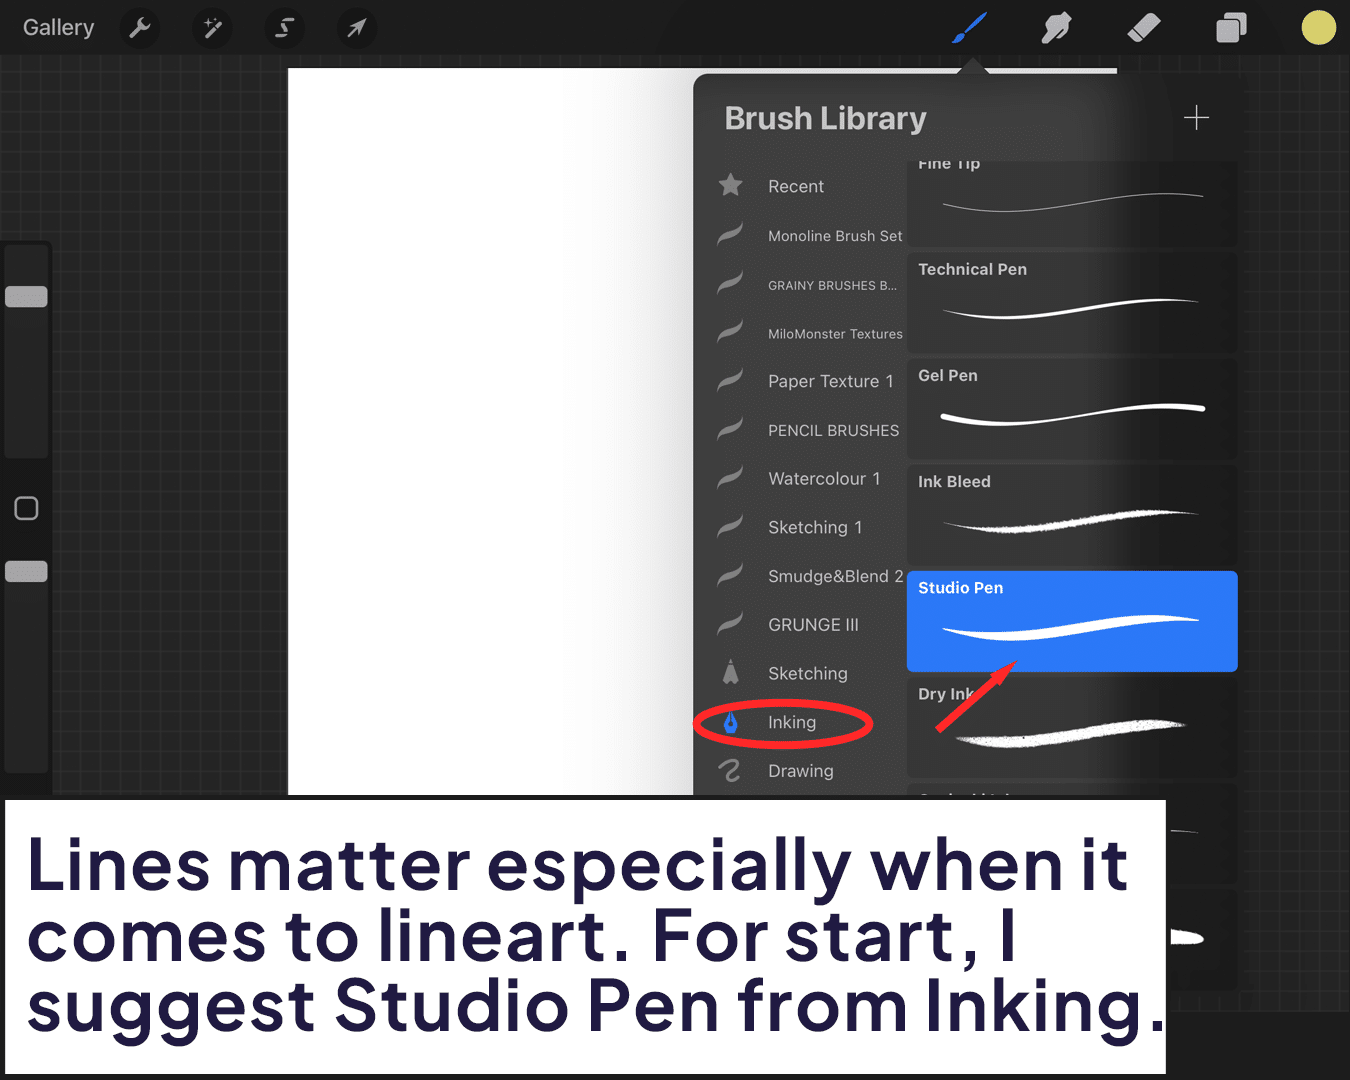
Unleash The Brushes
Line art is all about the brush, and in Procreate, the choices are endless. For starters, try the Studio Pen under Inking. It’s smooth, versatile, and perfect for line art. Remember, the right brush feels like an extension of your soul – or, at least, your artistic vision! Exploring Procreate lineart brushes can significantly impact the outcome of your art, offering a variety of strokes and effects to choose from.
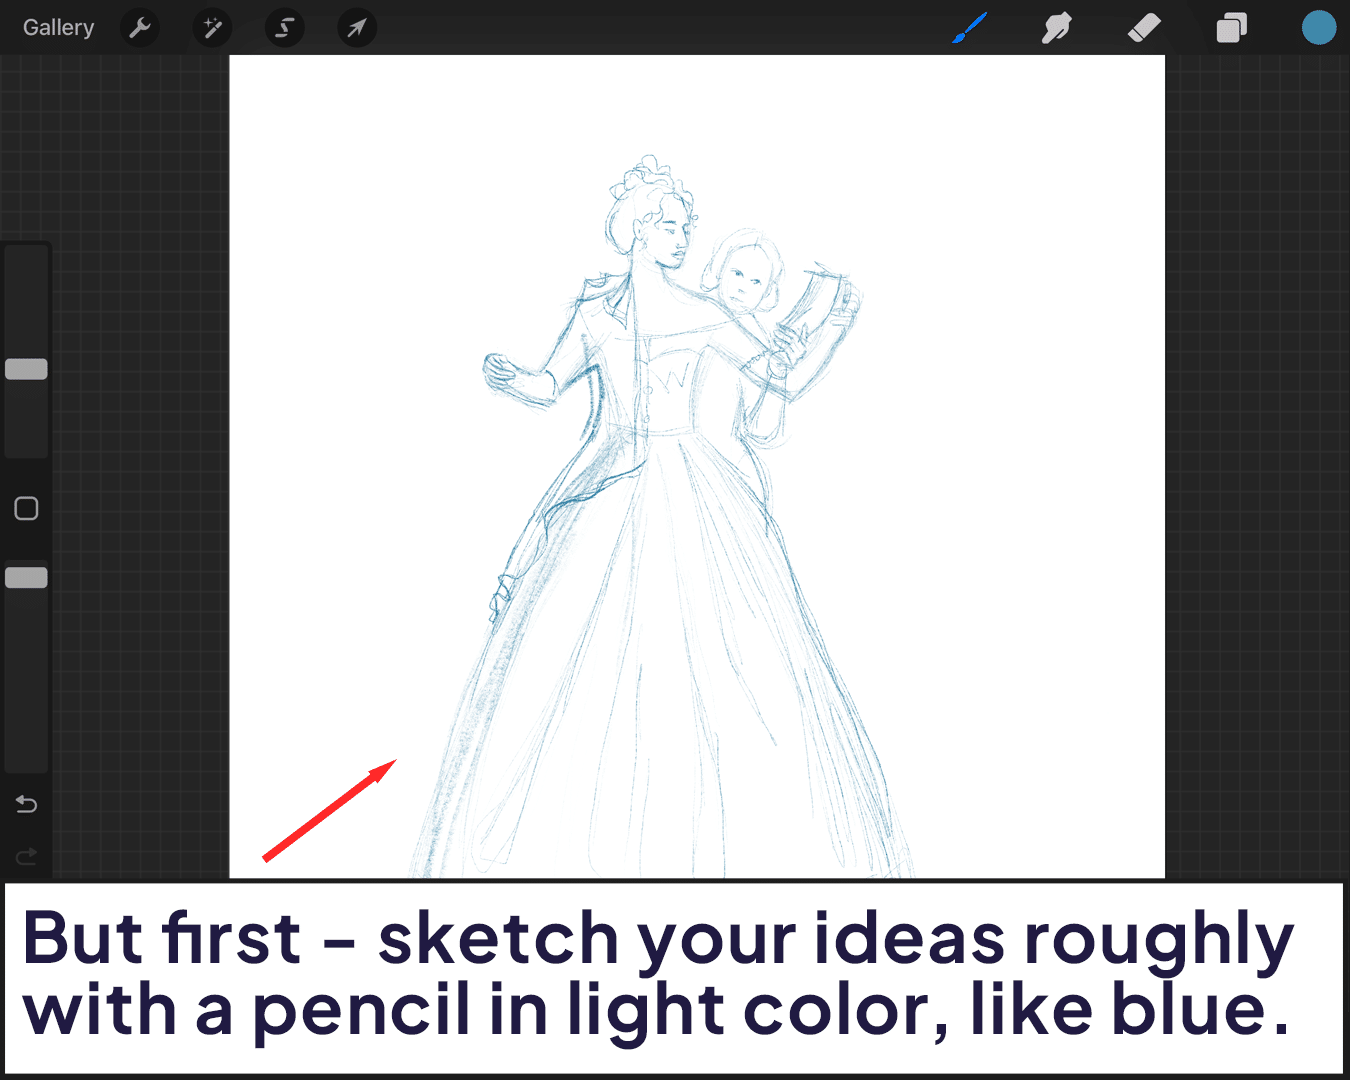
Blueprint Sketching
Now, don’t dive into line art just yet. Start with a rough sketch. Use a light color like blue or red for the sketch – it’s easier on the eyes and makes the line art process smoother. Sketch out your ideas. It doesn’t have to be perfect; it’s just a guide.
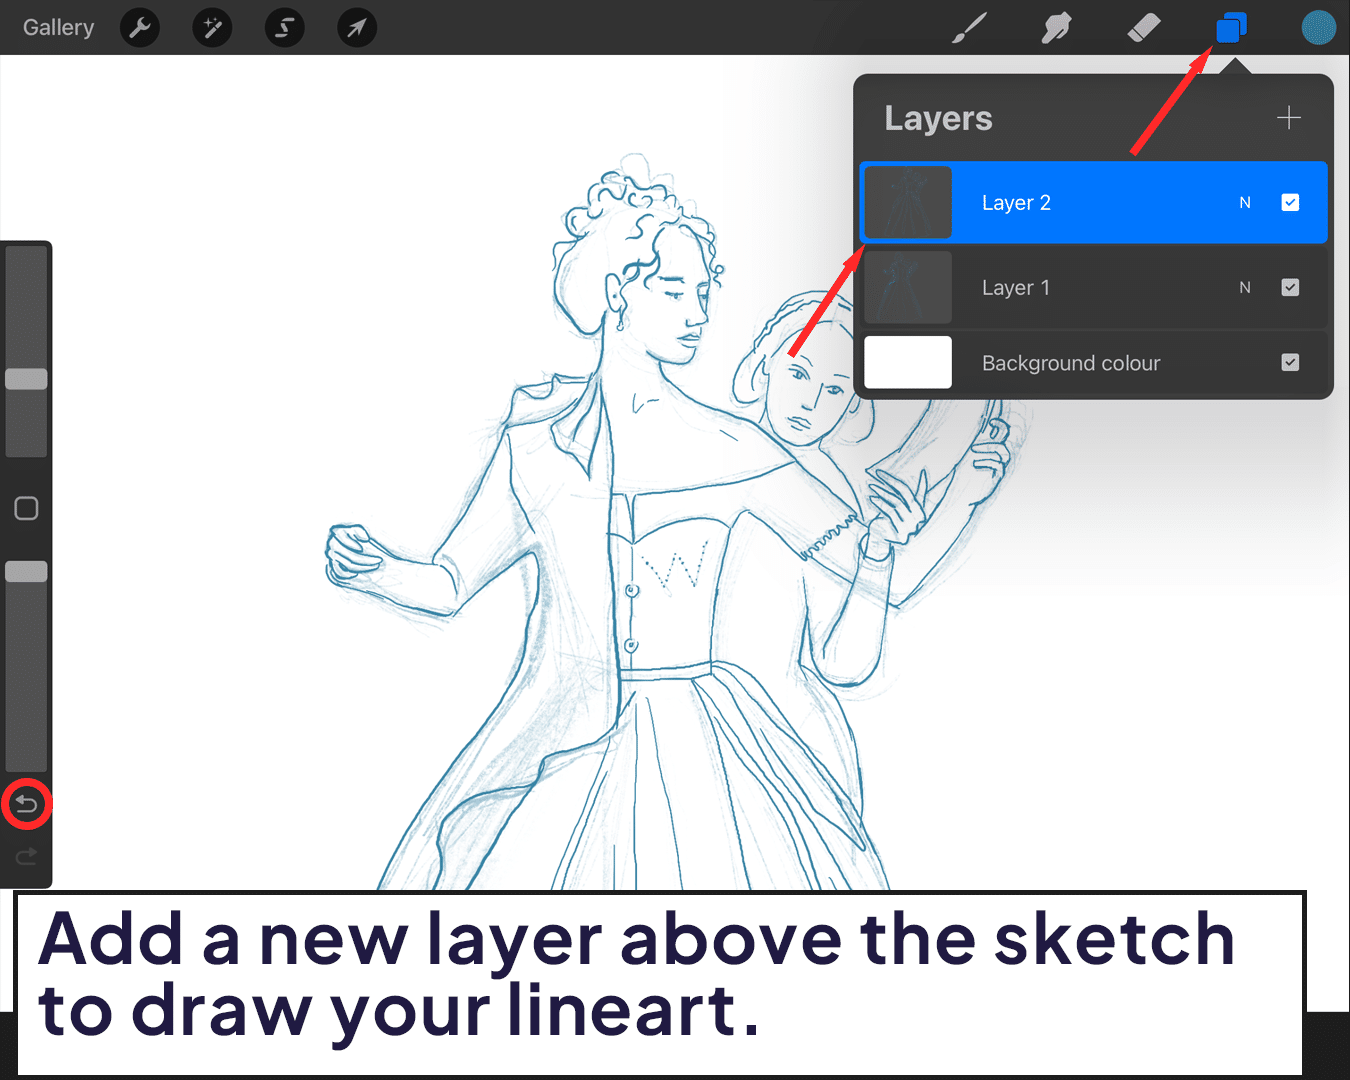
Transforming Sketches into Masterpieces
Here’s where the magic happens. Add a new layer on top of your sketch for your line art. Zoom in and start tracing over your sketch with your chosen brush. Take your time, and don’t rush. If you mess up, the Undo button is your best friend.
Adding Depth and Drama
This is where you add character to your drawing. Adjust the thickness of your lines to add depth and dimension. Remember, variety is the spice of life – and line art! Thicker lines can bring objects to the foreground, and thinner lines can add subtlety.
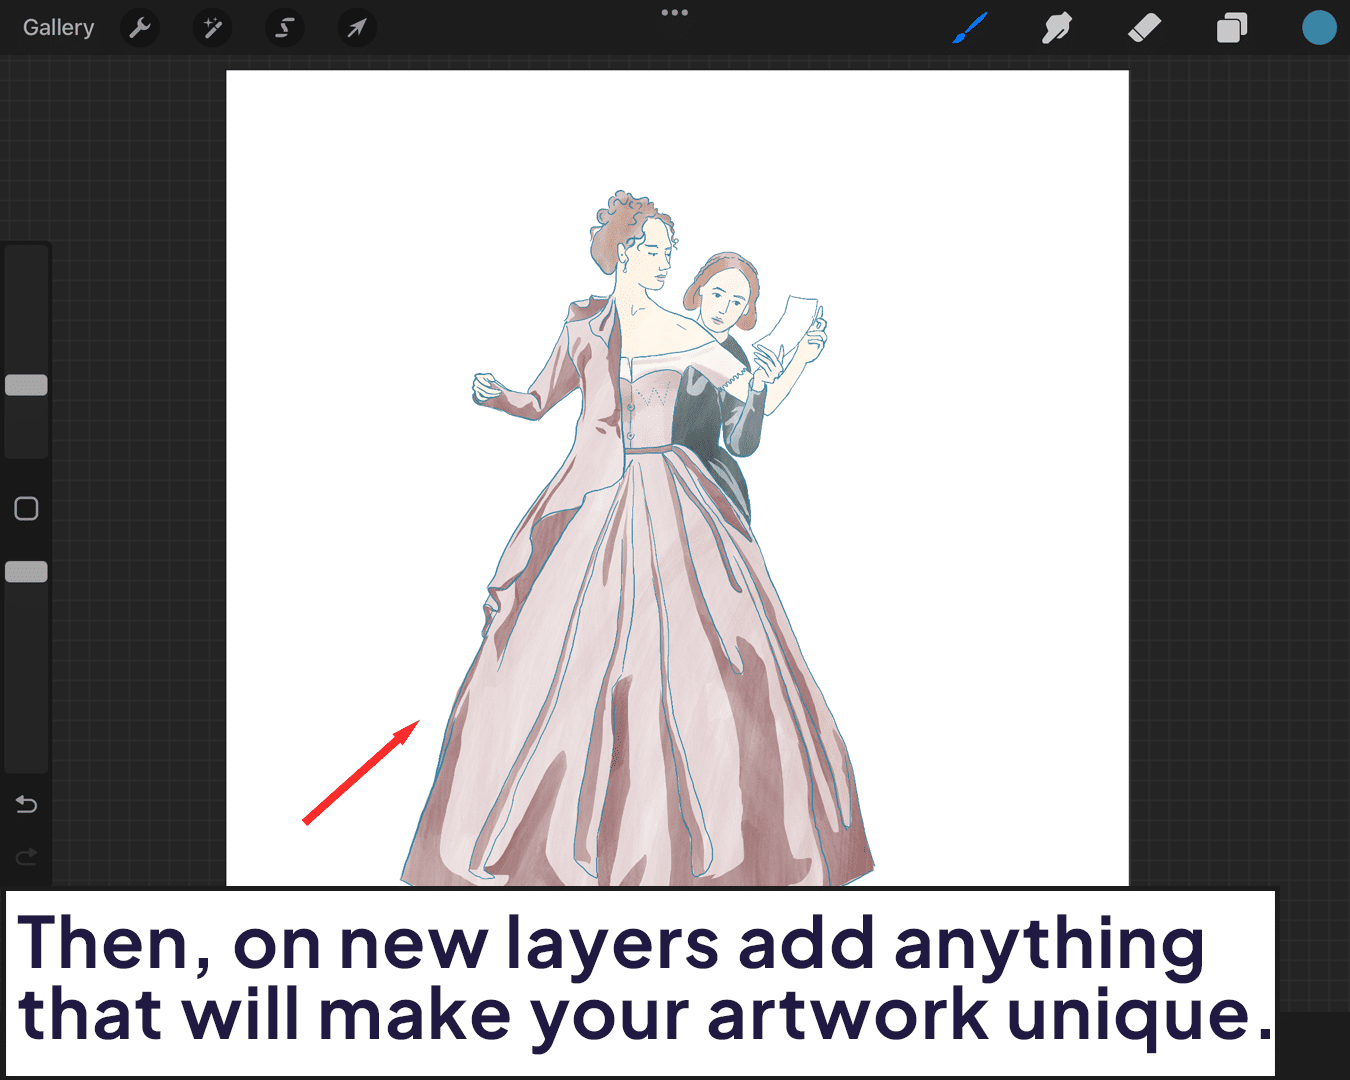
Adding Details and Textures
Once your basic lines are down, it’s time to get creative. Add textures, shadows, and details to bring your artwork to life. This is where you can really show off your style.

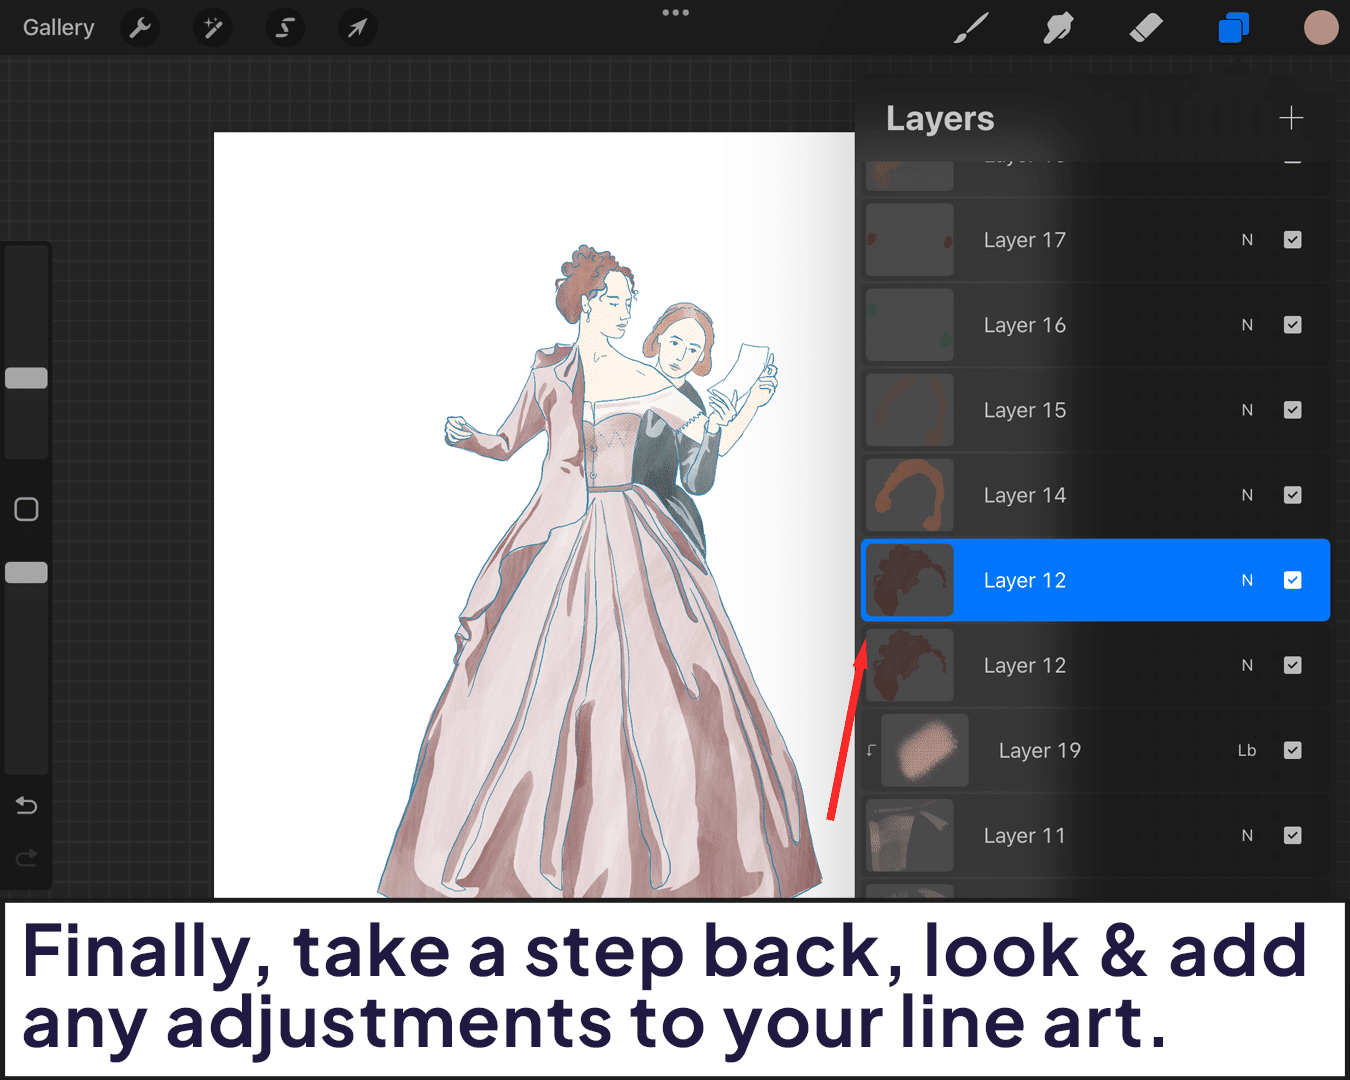
The Artistic Finale
Take a step back. Look at your piece with a critical eye. Make any final adjustments to your line art. Maybe add some shading or color if that’s your jam.
Pro Tip:
Line art in Procreate is like a dance. It’s about finding your rhythm and style. Experiment with different brushes and techniques. The more you practice, the more your unique style will shine through.
There you have it – a simple, step-by-step guide to creating stunning line art in Procreate. Hope you found it usefull. Don’t be afraid to make mistakes; they are just the steps that will help you grow. Now go forth and create!


Share this article


