How To Draw Eyelash in Procreate
Enhance your digital portraits by mastering the art of drawing realistic eyelashes with the aid of Procreate brushes.
This tutorial simplifies the process, making it accessible even for beginners.
By incorporating lifelike eyelashes into your work, you elevate the depth and expression of your art, imbuing your digital canvases with a new level of realism.
Let’s embark on this artistic journey together.
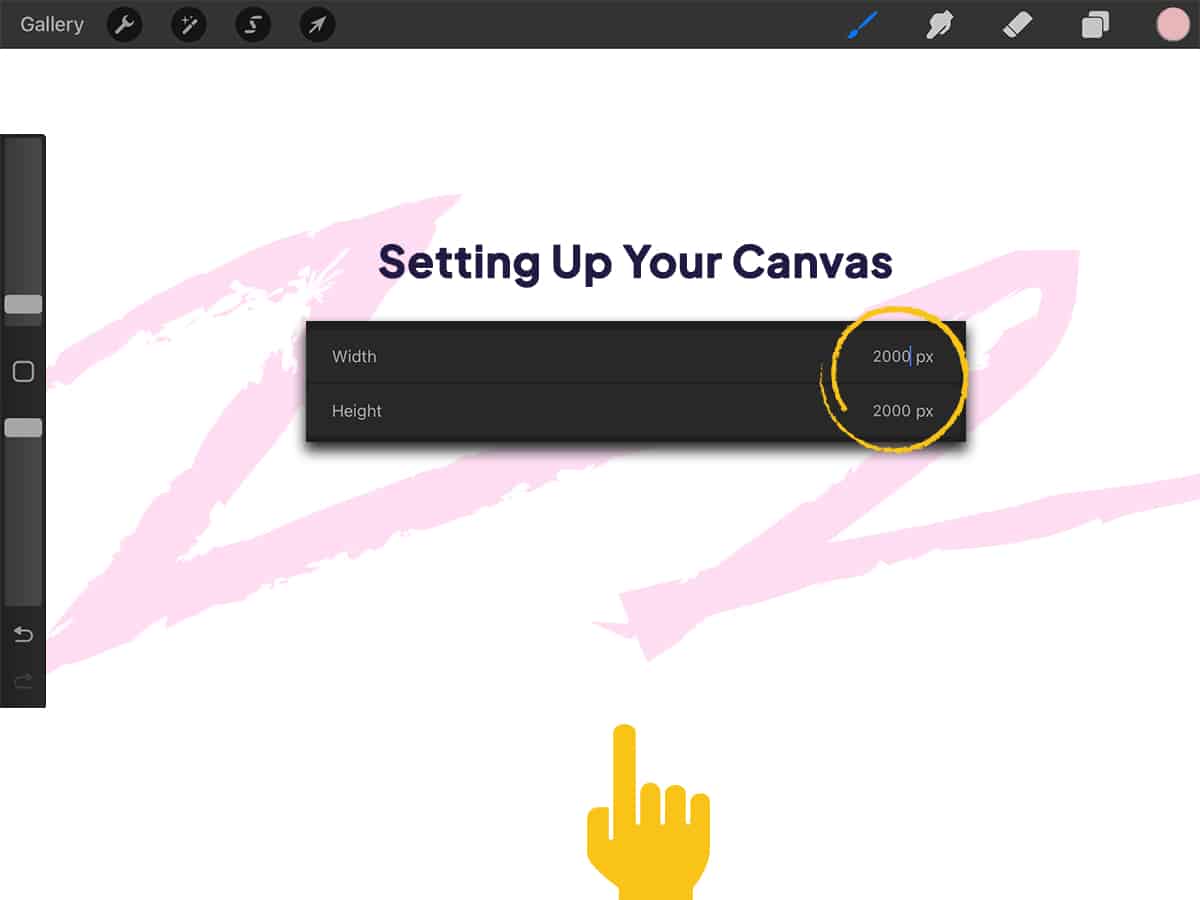
Step 1: Setting Up Your Canvas
Open Procreate and create a new canvas. A size of 2000×2000 pixels is sufficient for practice.
Select a background color that contrasts well with black or dark brown to ensure your eyelashes stand out.
Step 2: Sketching the Eye
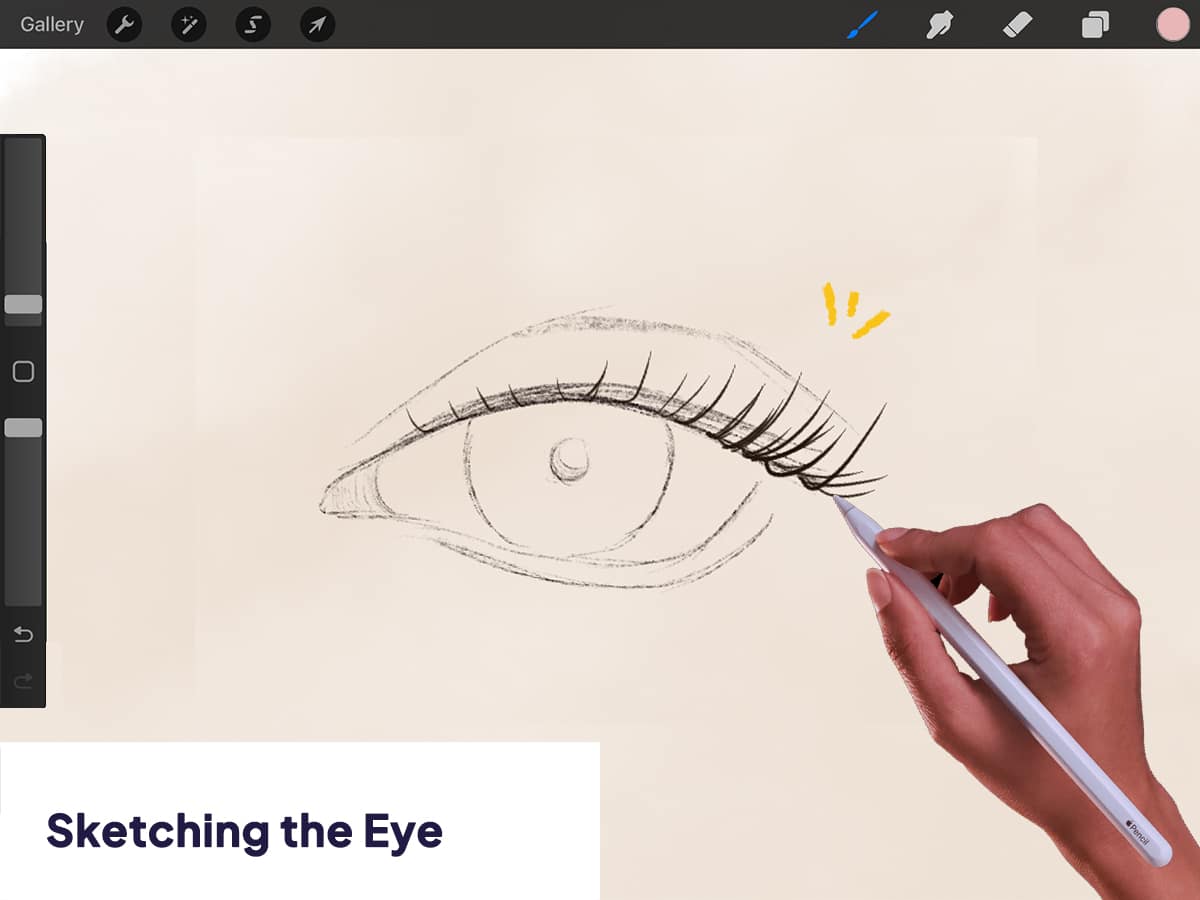
Create a New Layer for your sketch. This will serve as the foundation for your eyelash drawing.
Select a Sketching Brush from the Brush Library. The 6B Pencil under “Sketching” is ideal for its texture and versatility.
Sketch the Outline of an Eye, focusing on the shape of the eyelid and the curvature where the lashes will originate. Don’t worry about details inside the eye; the focus is on the lashes.
Step 3: Preparing to Draw Eyelashes
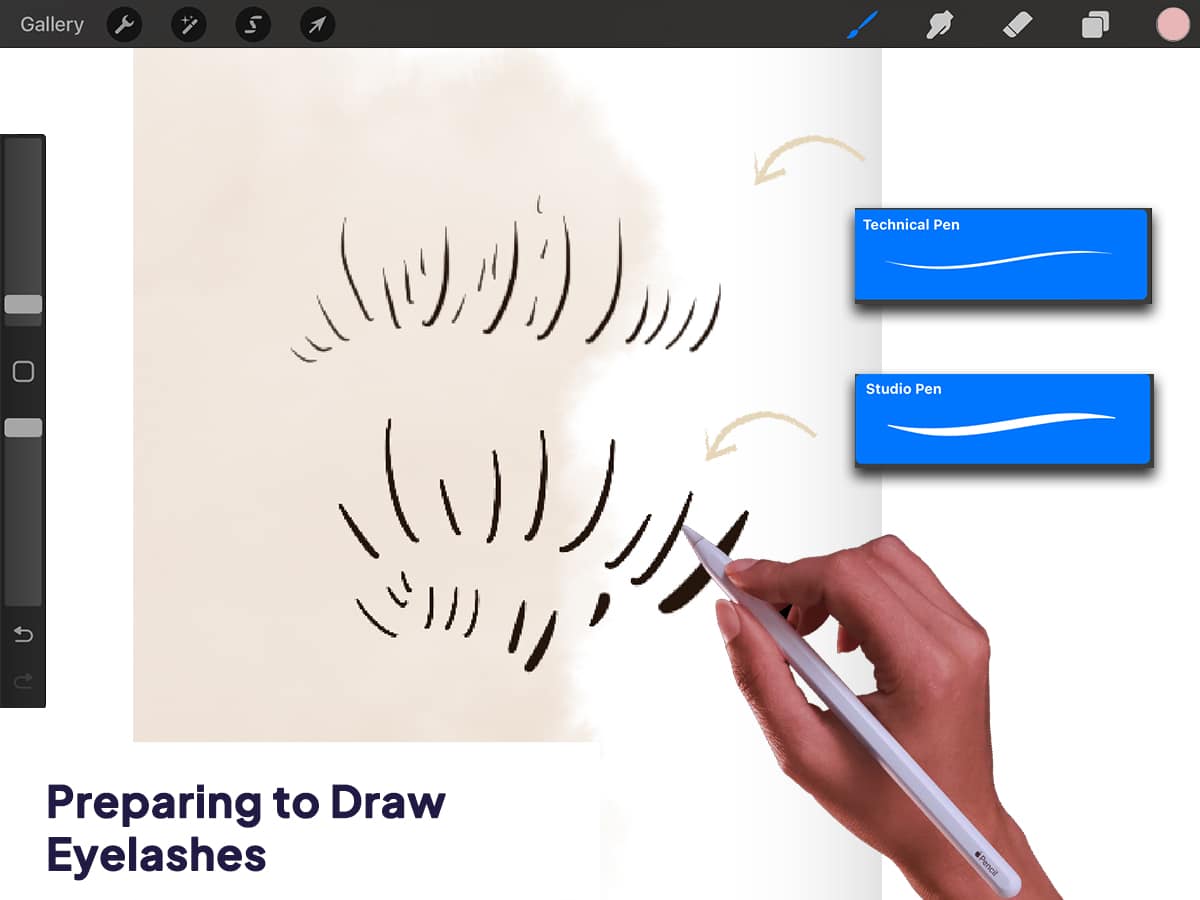
Add a New Layer above your sketch for the eyelashes. This separation allows for adjustments without altering the underlying eye sketch.
Choose an Inking Brush for the eyelashes. The “Studio Pen” or “Technical Pen” in the “Inking” section provides smooth, precise lines ideal for lashes.
Select a Dark Color for the lashes, typically black or dark brown, depending on your subject’s hair color.
Step 4: Drawing the Upper Eyelashes
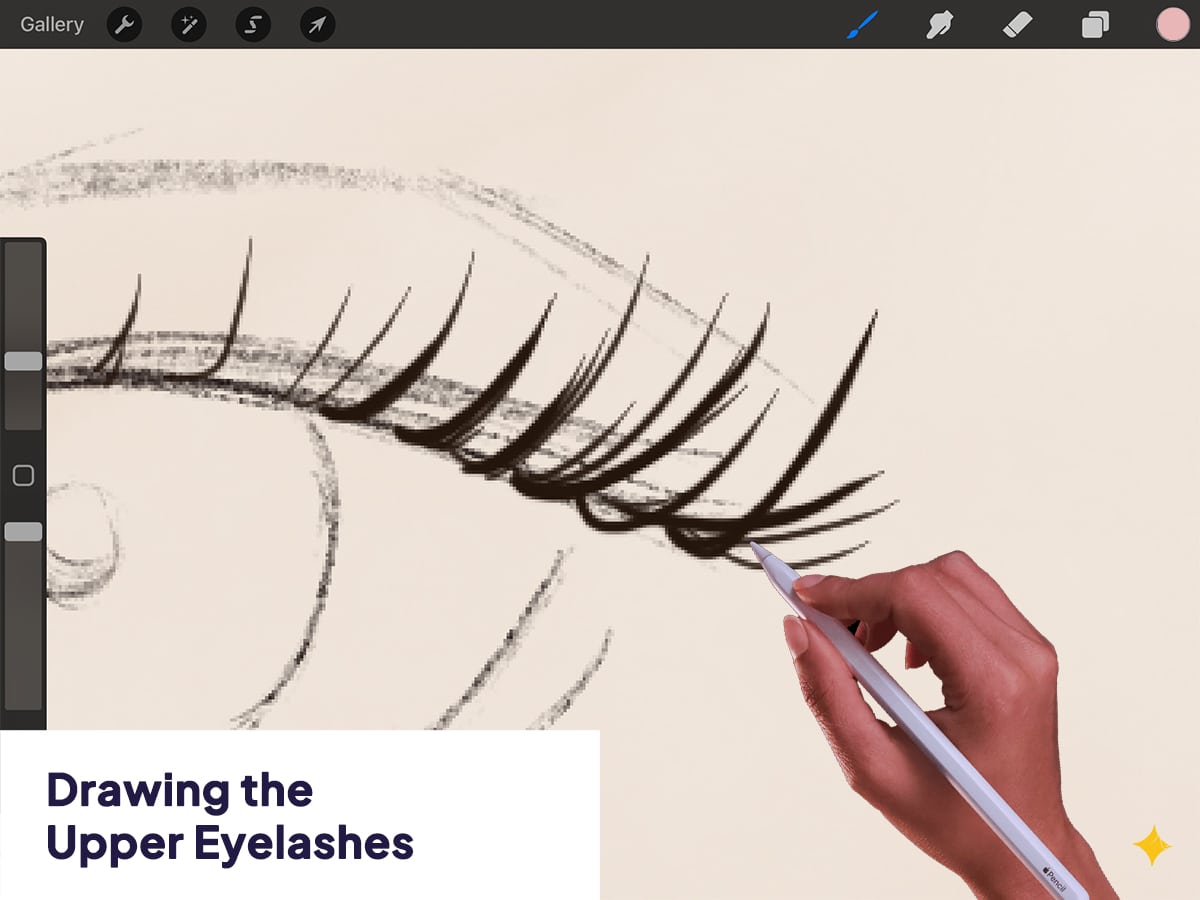
Start at the Outer Corner of the eye. Eyelashes are generally longer and more curved at the outer edge. Draw individual lashes with swift, curving strokes, tapering the end to a fine point.
Vary the Length and Direction of each lash, mimicking natural growth patterns. The lashes should fan out and slightly upwards as you move towards the center.
Use Light Pressure at the beginning of each stroke, increasing in the middle, and then tapering off to create a thin tip. This technique gives each lash a realistic appearance.
Layer the Lashes, allowing some to overlap others. This adds depth and volume.
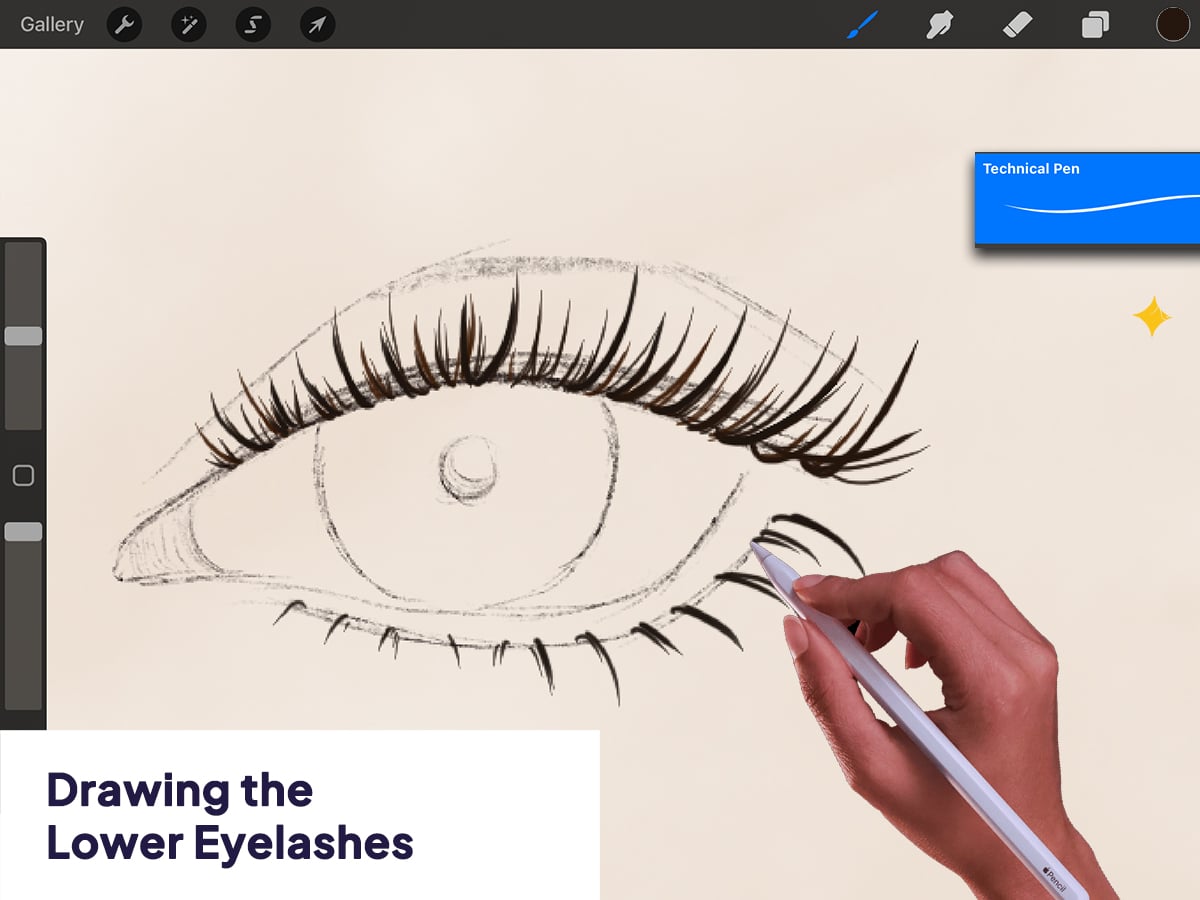
Step 5: Drawing the Lower Eyelashes
Create a New Layer for the lower lashes if you prefer to keep your work organized and easily editable.
Use the Same Inking Brush, but with a lighter touch. Lower eyelashes are typically finer and less dense.
Draw the Lashes Shorter and Less Curved than the upper lashes. They should point slightly downwards.
Space the Lashes More Apart than the upper lashes, reflecting the natural sparseness of lower eyelashes.
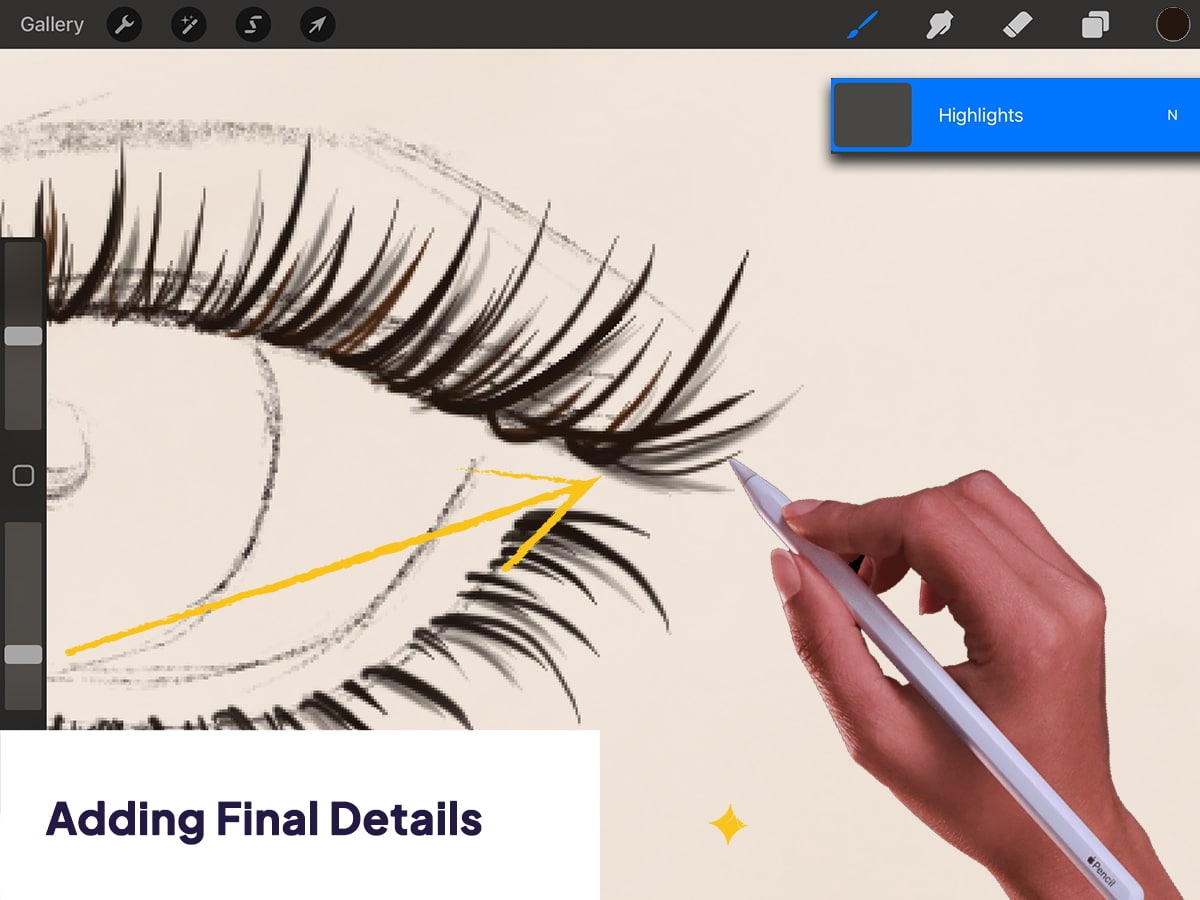
Step 6: Adding Final Details
Adjust the Opacity of the lash layers if needed to blend them more naturally with the eye sketch.
Add Highlights to the lashes by creating a new layer above and using a fine, white brush to gently dot or stroke areas where light naturally hits.
Refine the Eye Sketch, if necessary, to complement the lashes, adding more depth or cleaning up any overlapping lines.
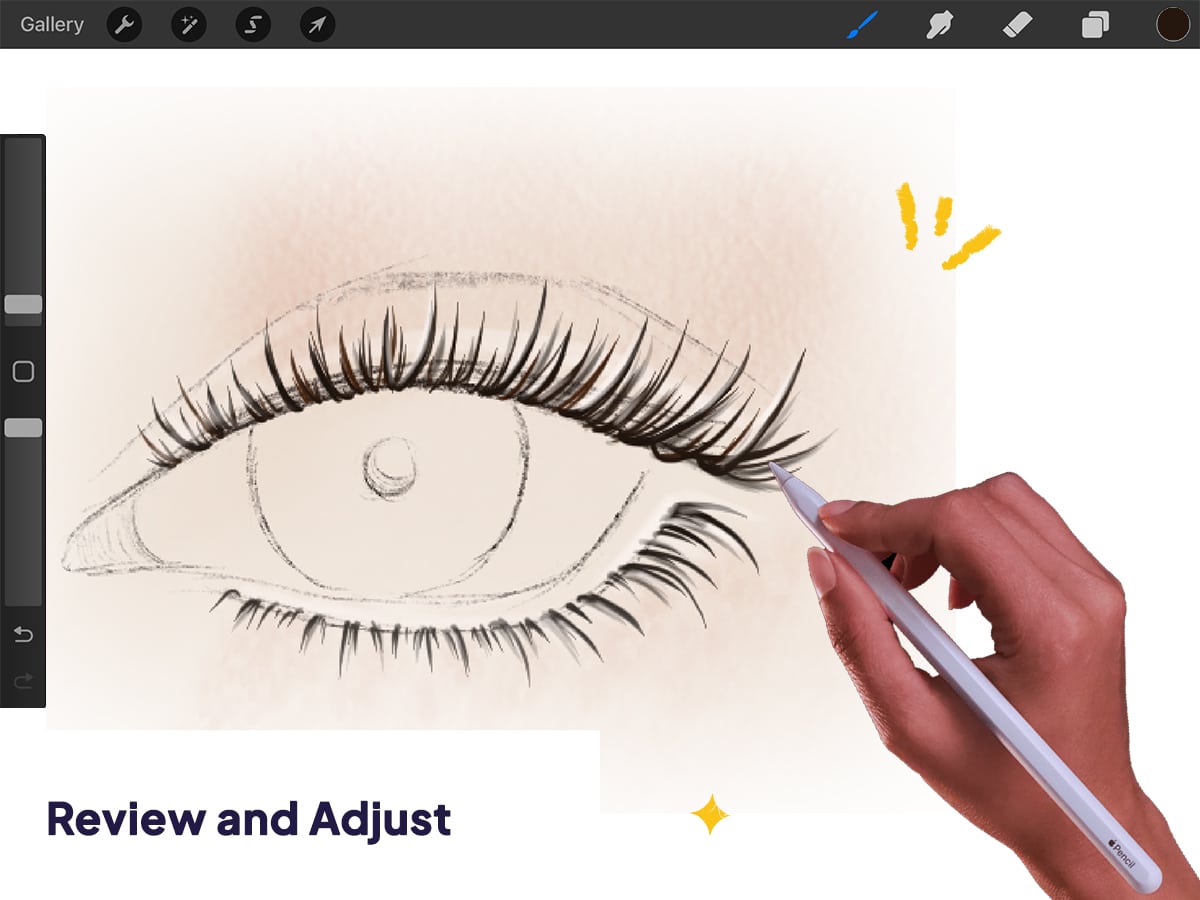
Step 7: Review and Adjust
Zoom Out to view your work from a distance. This helps in spotting any inconsistencies or areas that need more balance.
Make Adjustments as needed. You might add more lashes, adjust their curvature, or refine their thickness.
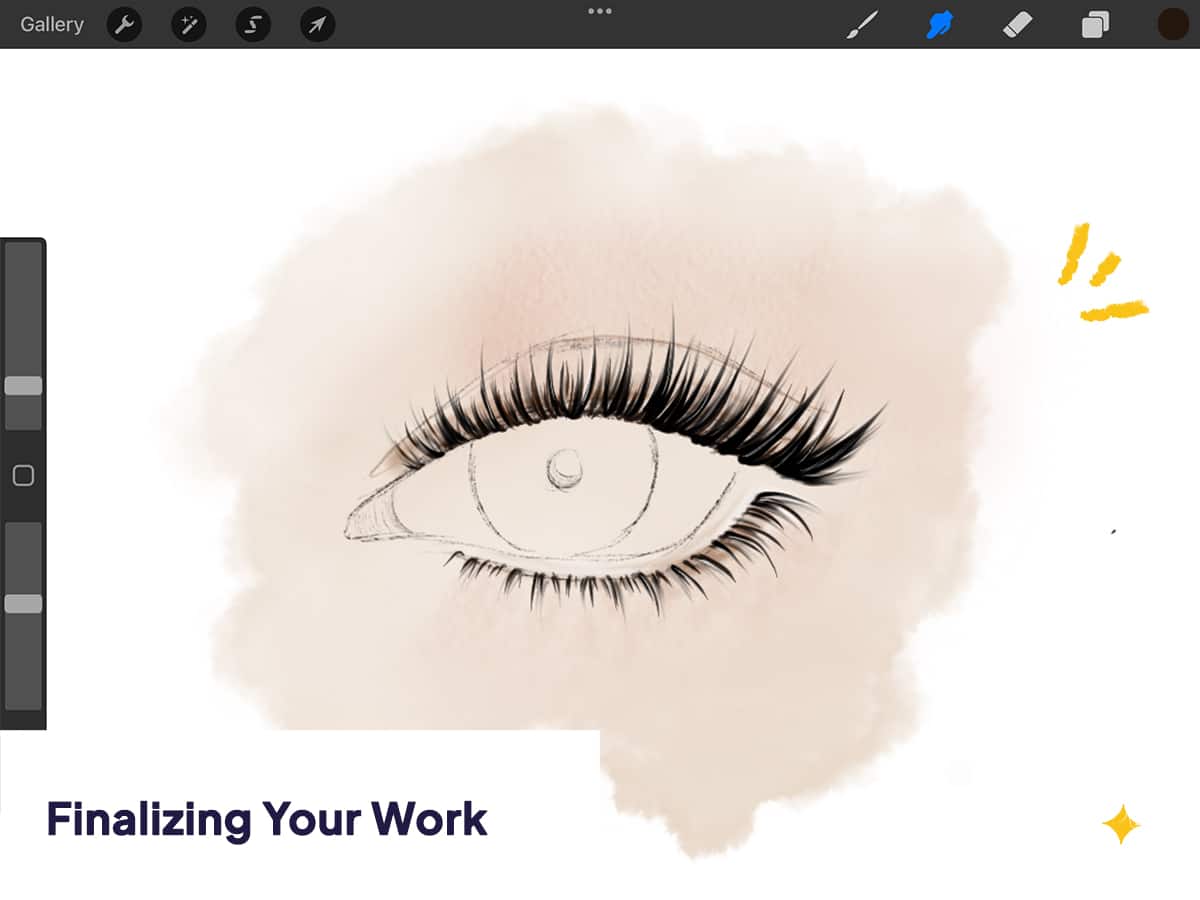
Step 8: Finalizing Your Work
Once satisfied with your eyelashes, you can merge the layers related to the eye to simplify your layer panel. Remember to save your work by tapping on “Actions” (wrench icon) > “Share” > “PNG” or another preferred format to export your artwork.
And there you go. Hope you liked this tutorial. Feel free to check more of our Porcreate guides on Brush Galaxy!


