
How To Draw Clouds in Procreate

Clouds can be tricky subjects to nail in digital art. They’re fluffy, they’re elusive, and they never stay still – kind of like trying to herd cats!
That’s why I’m here to guide how to draw clouds in Procreate the right way. Let’s transform those wispy, cotton-candy skies from a daunting challenge into your next masterpiece. Before we dive in, ensure you have the best tools for the job by checking out our Procreate cloud brushes.
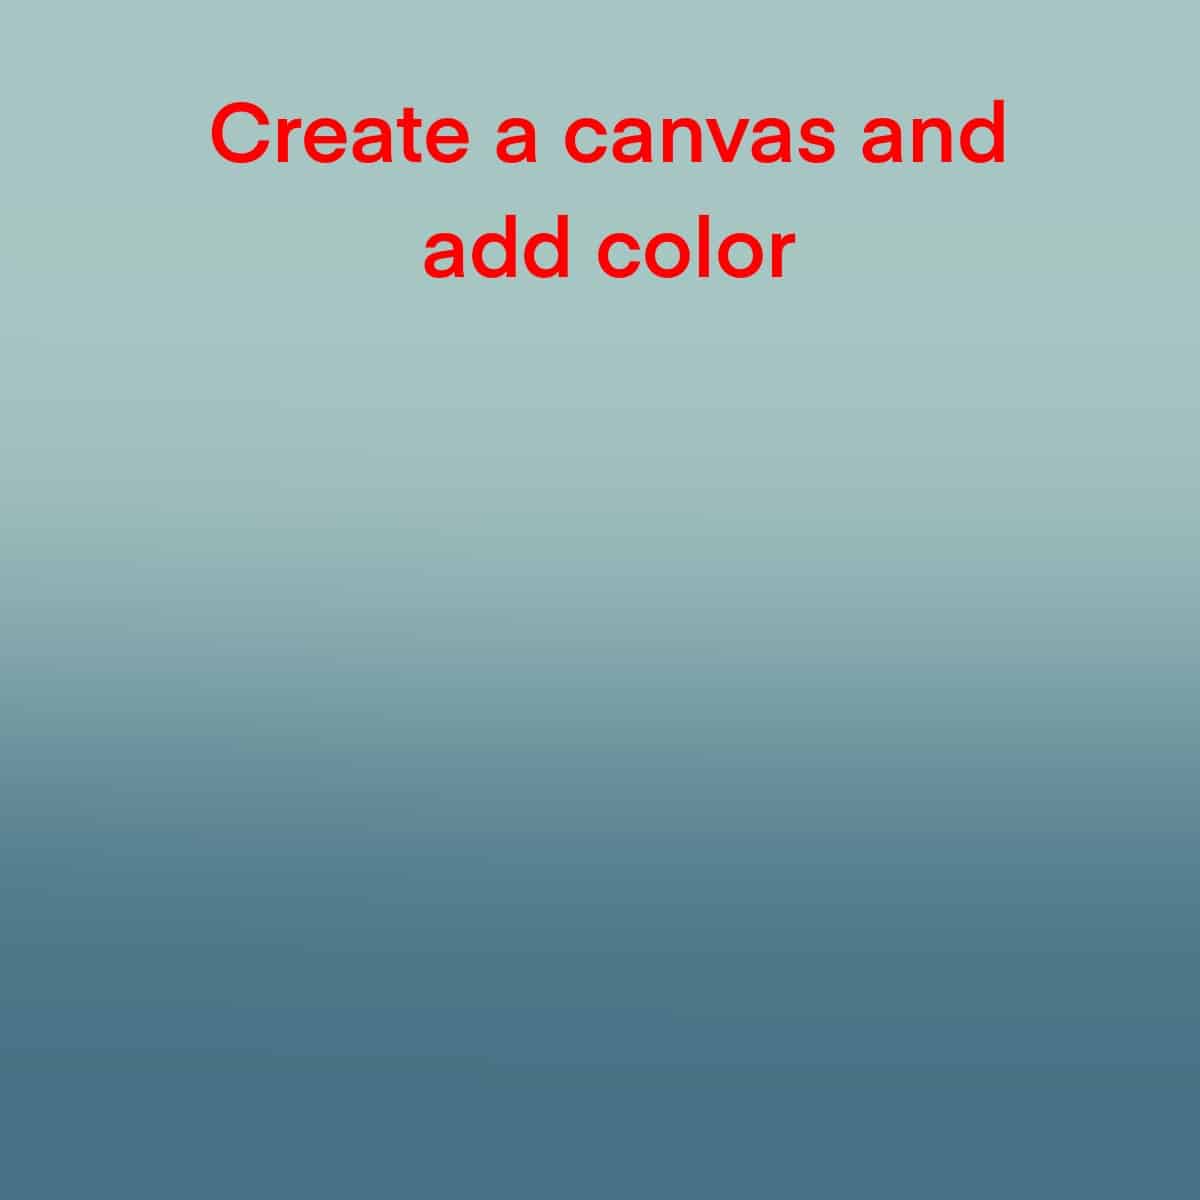
Step 1: Go To The Canvas
Size Matters: Start by opening a new canvas in Procreate. I typically go for a size that’s big enough to add details but not so large that it slows down my iPad.
Color Your World: Choose a nice background color. I like starting with a soft blue or a gradient for that authentic sky feel.
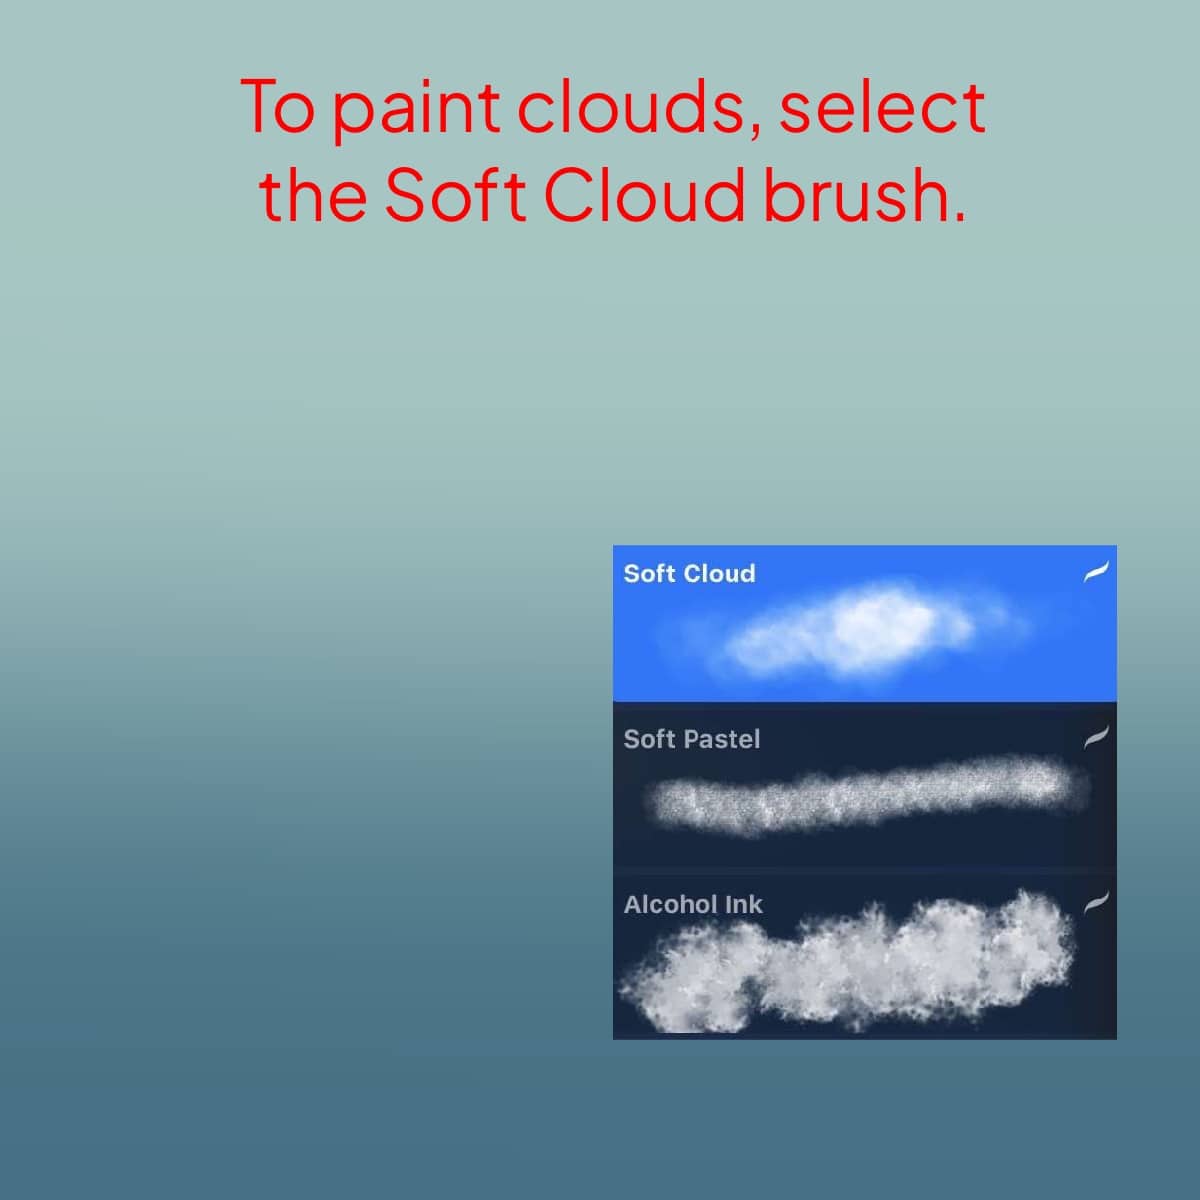
Step 2: Selecting the Right Brushes
Cloud Brushes: Procreate offers an array of cloud brushes, but you can always download more or create your own. I’ll use the ‘Soft Cloud’ brush for this tutorial.
Experiment: Don’t be afraid to play around with the brush settings. Adjusting the size and opacity can make a huge difference.
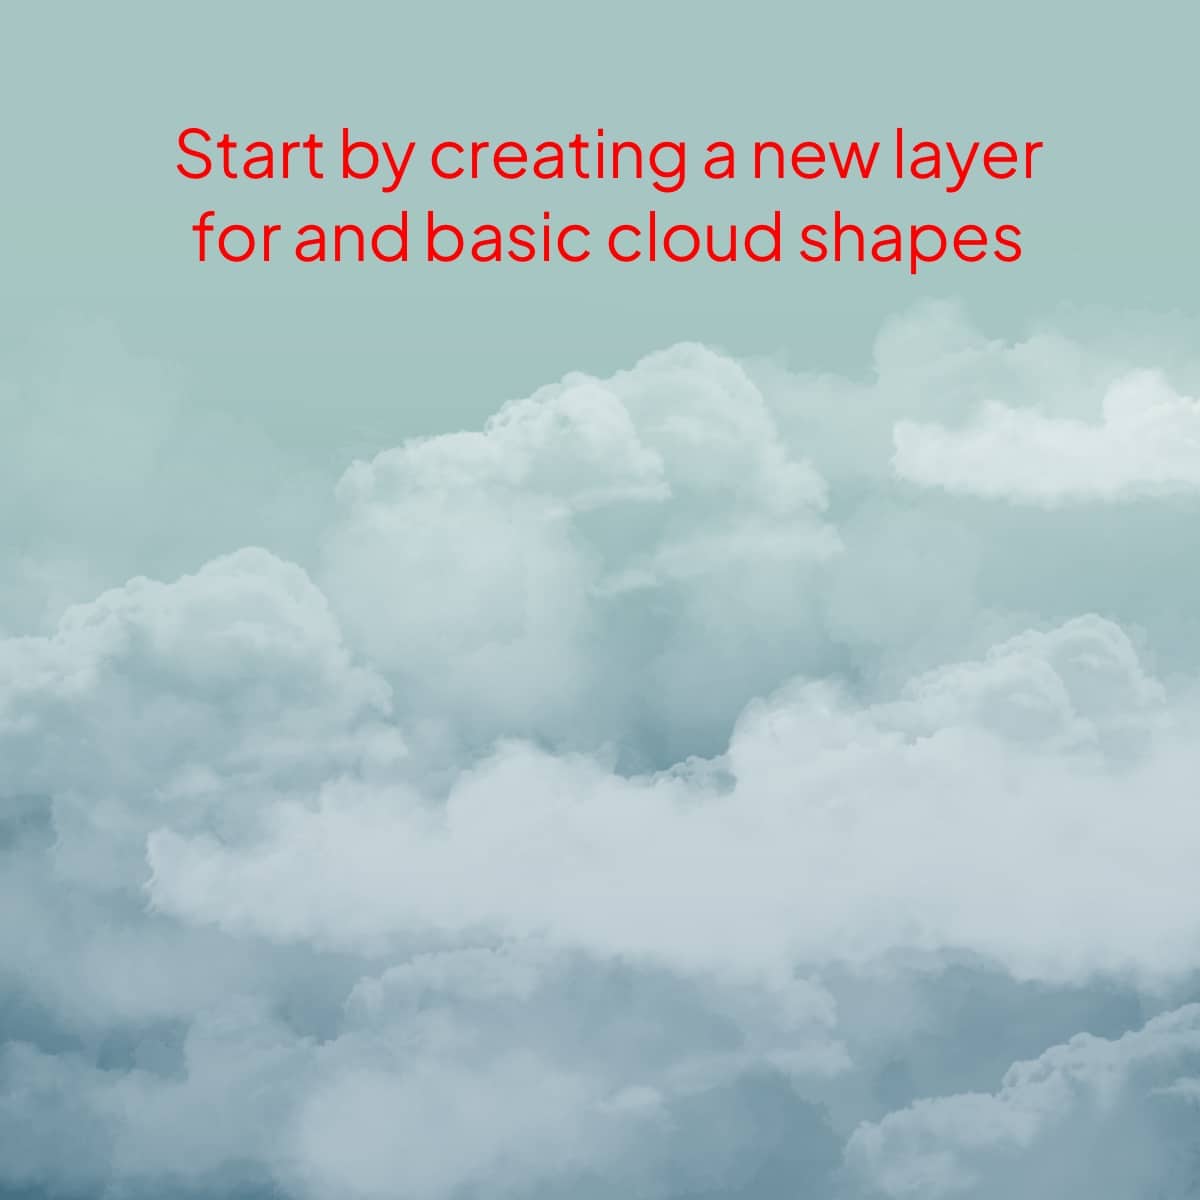
Step 3: The Base Layer
Laying the Groundwork: Start by creating a new layer for your clouds. This will make it easier to edit them later.
Rough Shapes: With your chosen cloud brush, draw the basic shapes of your clouds. Think fluffy, uneven, and random – nature isn’t perfect, and neither are clouds.
Keep It Light: Use a light hand; we’ll add layers and depth as we go.
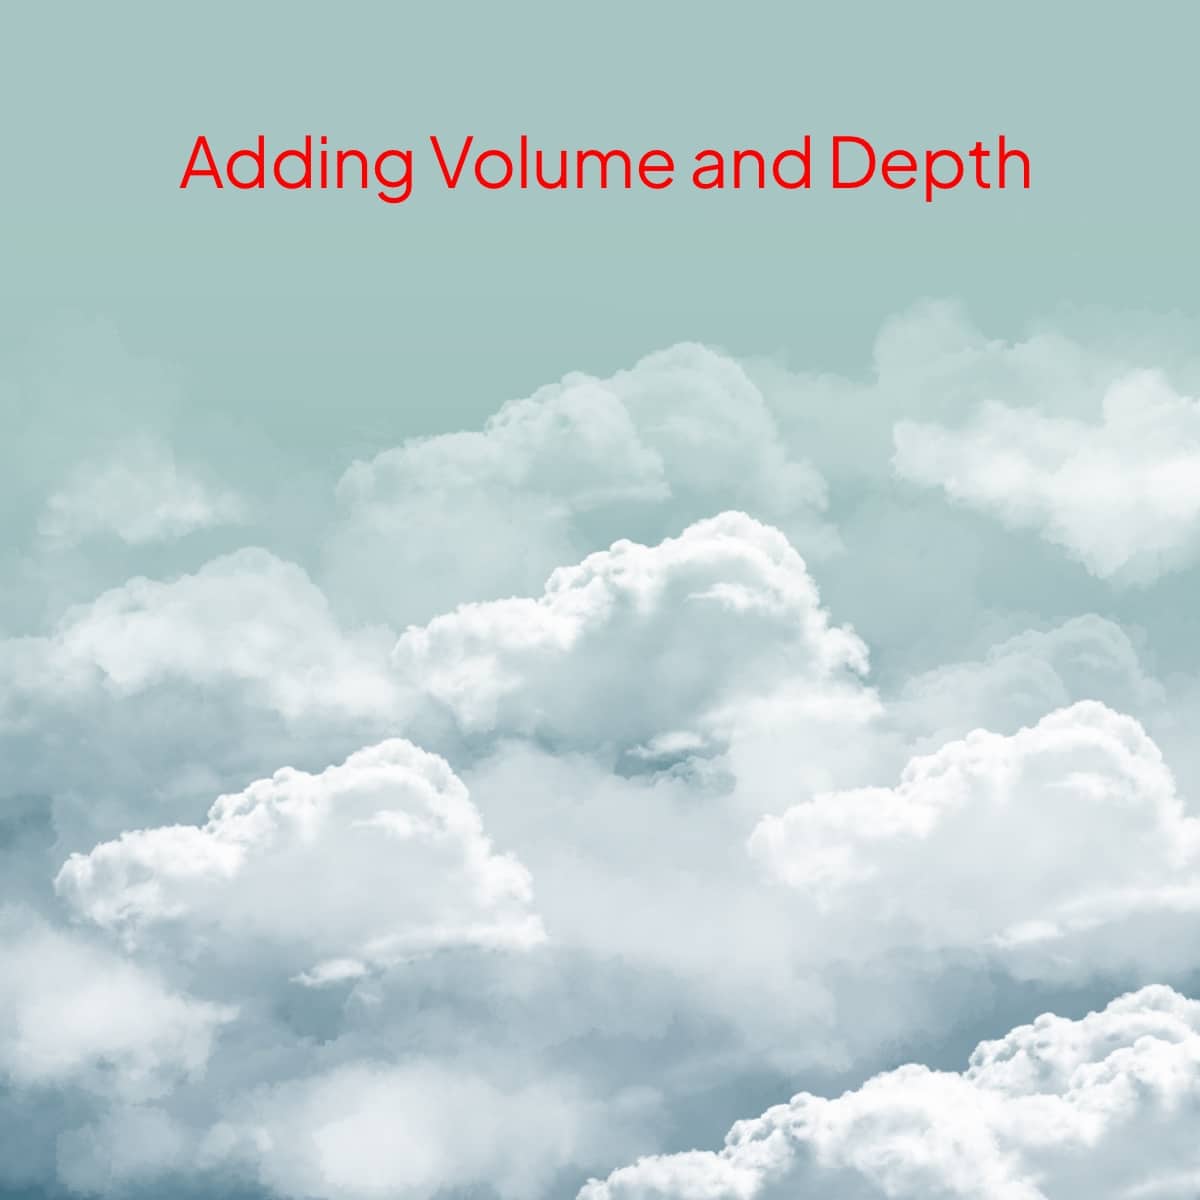
Step 4: Adding Volume and Depth
Build-Up: Add another layer to your cloud. This time, focus on the areas where the clouds are thicker.
Play with Opacity: Adjust the opacity to create a sense of depth. The parts of the cloud that are farther away or thinner should be more transparent.
Step 5: Highlights and Shadows
Highlights: Use a lighter color (like a soft white or pale yellow) to add highlights where the sun hits the clouds.
Shadows: Conversely, use a darker color (like a light grey) to add shadows to the bottom or the denser parts of the cloud.

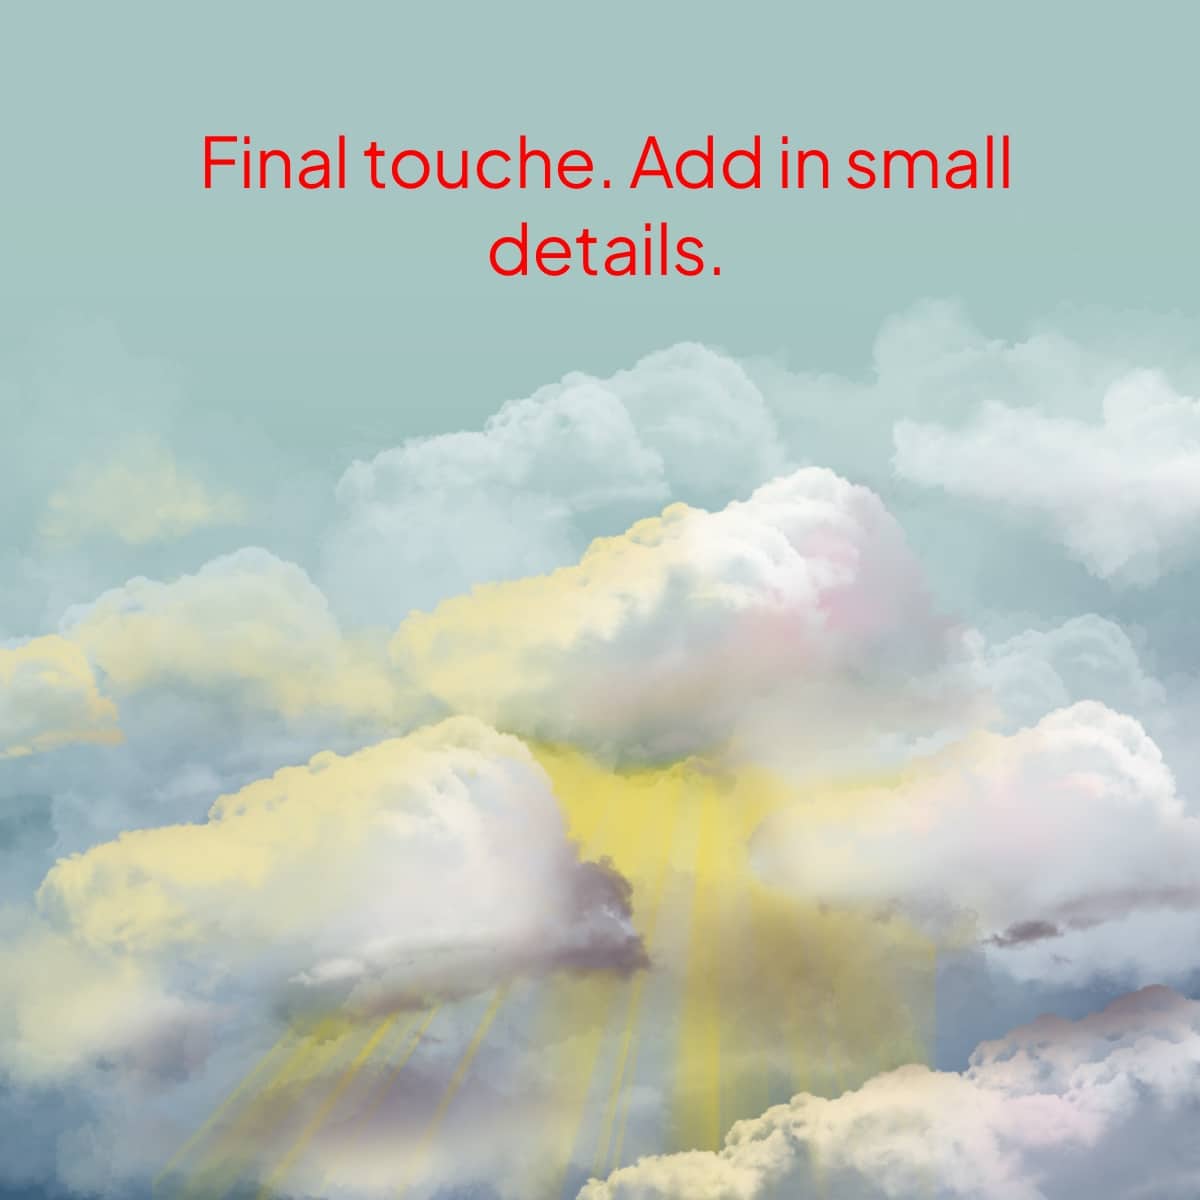
Step 6: Final Touches
Details Matter: Add in small details like wisps or subtle color variations for a more realistic look.
Blend It: Use the smudge tool to gently blend the colors and create a soft, cohesive look.
And voilà, you’ve just created a beautiful, realistic cloud in Procreate! Now, go forth and fill your digital skies with as many clouds as your heart desires!


Share this article


