How To Draw Anime Eyes In Procreate Step-By-Step
How To Draw Anime Eyes in Procreate on iPad
Have you been wanting to draw anime eyes since forever but never quite knew where to start or how to start? We mean there are tons of styles and shapes! Well, we are writing this post today to share with you one of the easiest ways we do it.
We will tackle each of the following:
- How to draw basic eyes.
- Cartoon/ Anime vs Realistic eyes.
- How tweaking eye details communicate different emotions and expressions.
How To Draw Basic Eyes
We are going to explain how we go about doing each of these:
- Positioning the eyes
- Lash Lines
- Eye Balls
- Shading
- Highlighting
- Eyelashes
1. Positioning The Eyes:
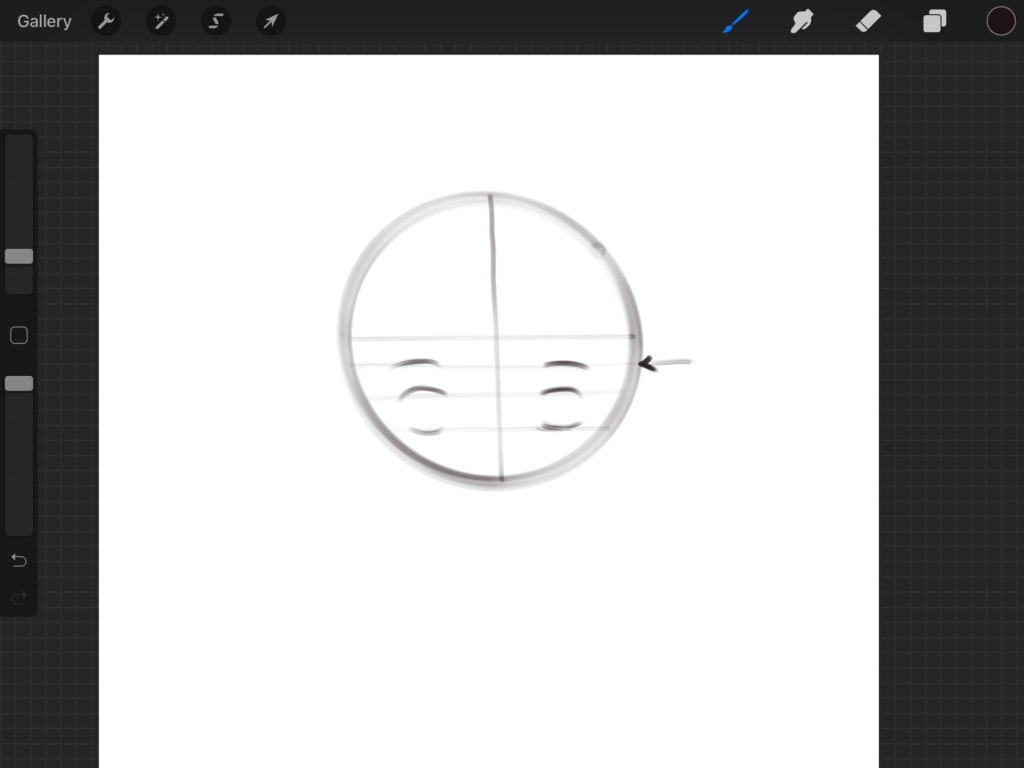
We first start off by drawing a circle, then we divide that circle into four parts by drawing a plus sign right in the middle of it.

Next, we are going to draw three horizontal lines in the lower half of the circle. We want to make sure those lines along with the line in the middle of the circle divide the lower half into three -kinds of- equal parts.

Starting with the second line from the top, that is going to be our eyebrow line. For this tutorial, we are going for emotionless basic eyes, so nothing fancy for the eyebrows. Just curves for now!

2. Lash Lines:
We will then use the third and fourth lines to draw eyes right in between them. We start off by drawing curves similar to the ones we drew for the eyebrows on the third line, but this time they will represent lash lines.

Then we draw the same curves that we drew for the upper eyelid, only this time vertically flipped, so they represent the lower lash line.
3. Eye Balls:
Next, we are going to be drawing the eyeballs by drawing a circular shape between the two eyelids that we just drew. For reference, some say the difference between two eyes should fit one more eye in between. Scary, right?! That is when you know the two eyes are not weirdly close to one another.
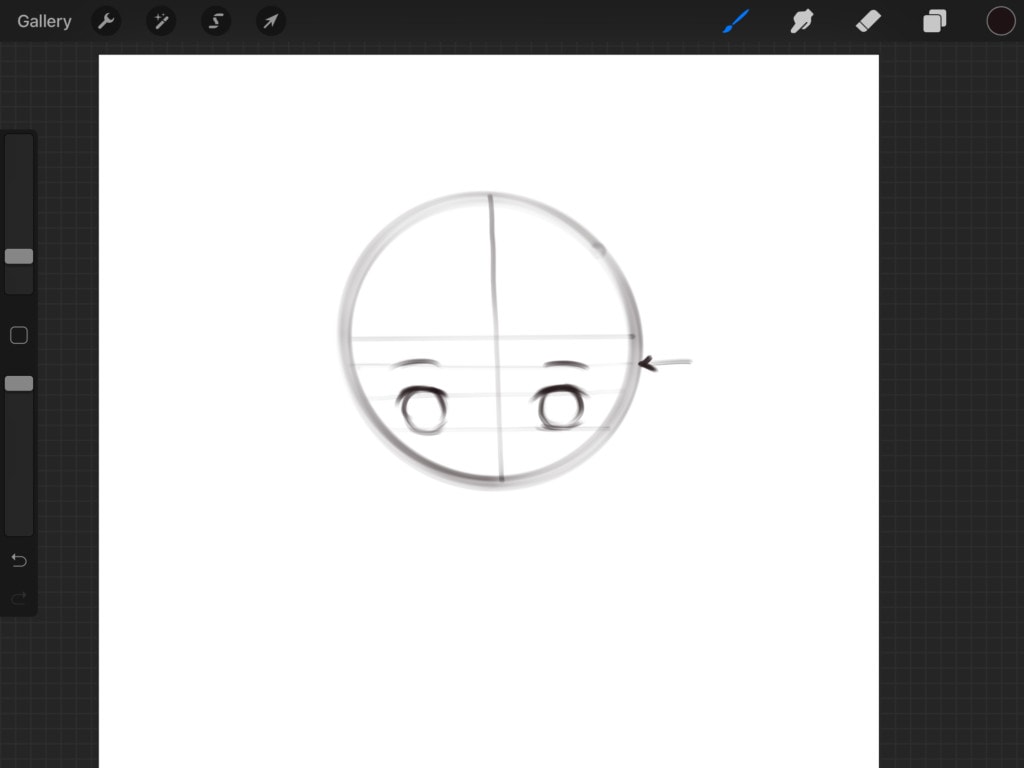
Next, we are going to add two dots to the middle of the eyeball to represent the pupil.

4. Adding Highlights:
We are then going to map out where we are going to add a highlight to the eye, and you can do just about anything from dots to lines of highlight. For this tutorial, we are going to go with lines. We are going to draw two lines extending from the pupils of each eye to the edge of each iris.

5. Shading
Don’t worry if it looks a bit scary, it is going to look normal in just a minute, we promise.
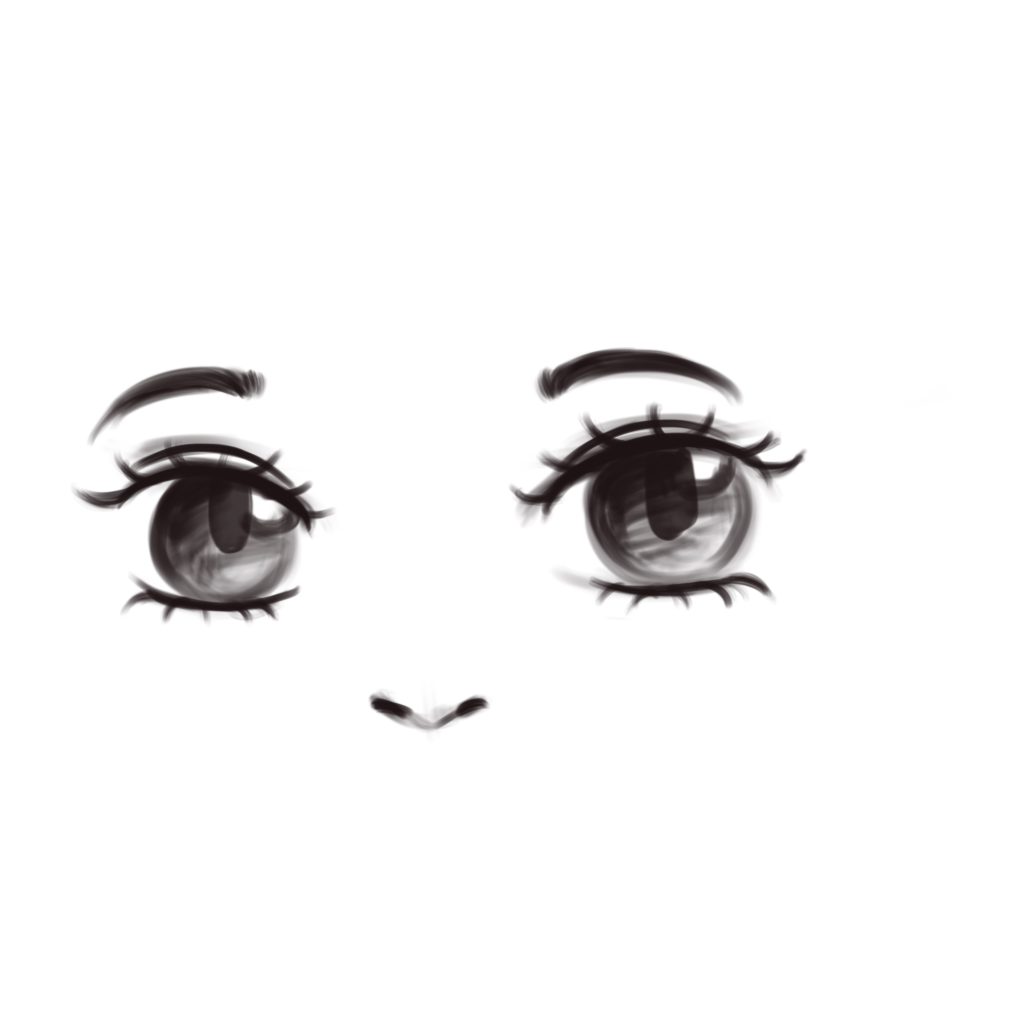
For this very next step we will add shadow to the iris by filling about three-quarters of its white with black. Leaving out -of course- the line that we created for highlight. We decided to add a nose and a mouth so that our scary staring lifeless model looks a little bit more alive.

We are then going to use our smudge tool to blend in the shade that we just created for the eye. Choose a soft blend airbrush as a smudge tool. Note that you don’t want to use it like a regular brush and add more black. You just want to blend the existing black.
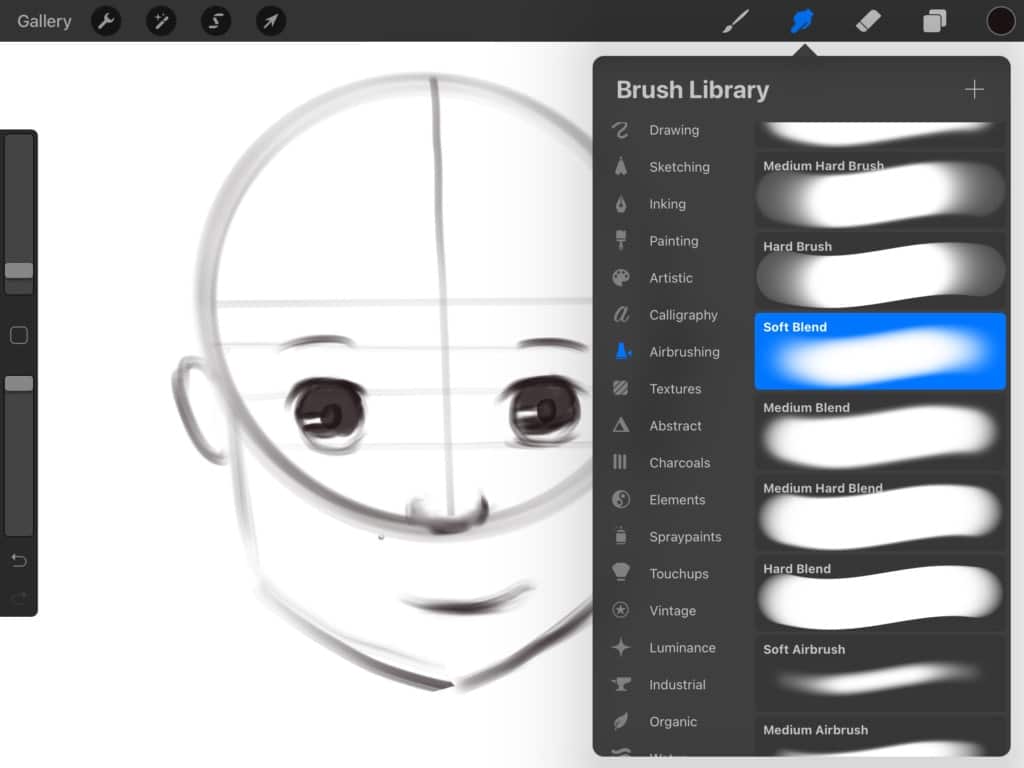
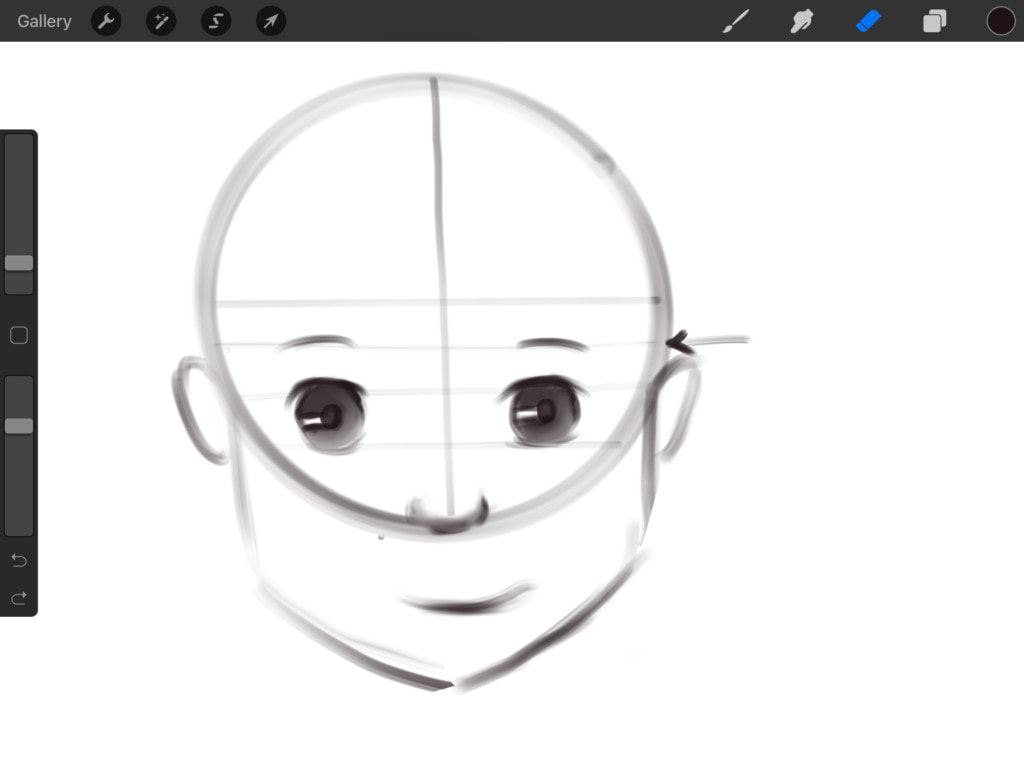
And if you put so much black on the eyes that you are working on, just like we did with the eye on our right, you can go ahead and set the eraser to soft blend and just lightly erase some of it.

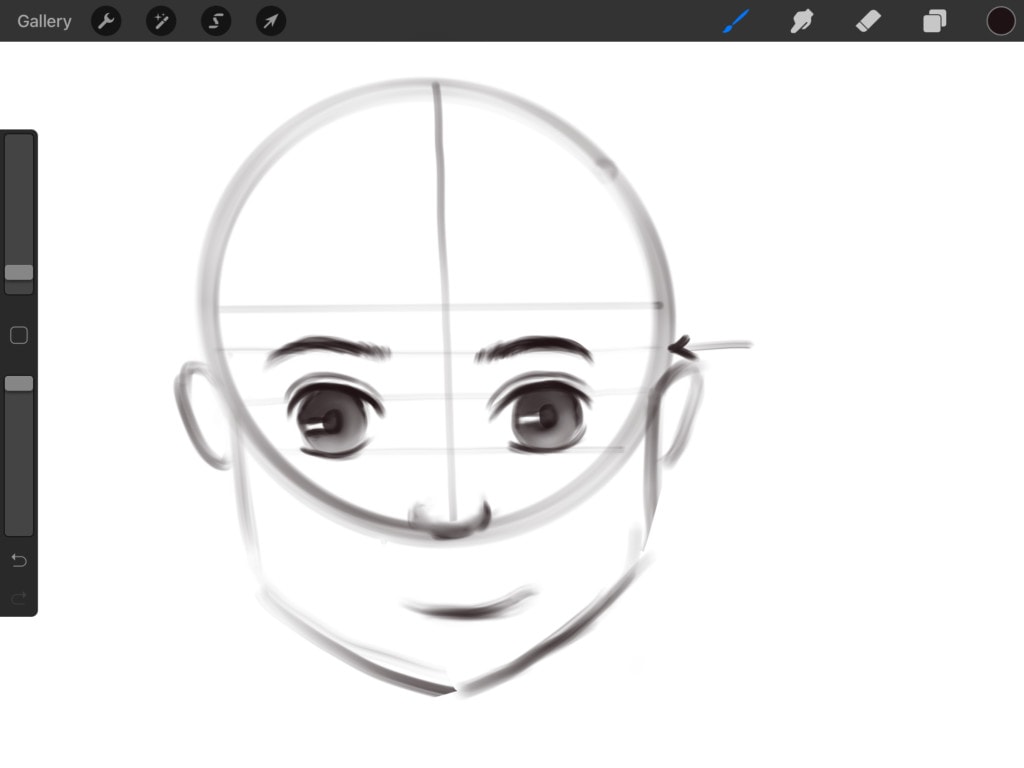
Now after we got an idea of how our eyes look. We are going to go ahead and refine our line art. You can even go ahead and create a new layer for refined line art and just later delete the sketch layer. But we kind of feel that when we do that, the artwork loses some of the random sketchy lines that made it in the first place. So, we are going to keep it for now!
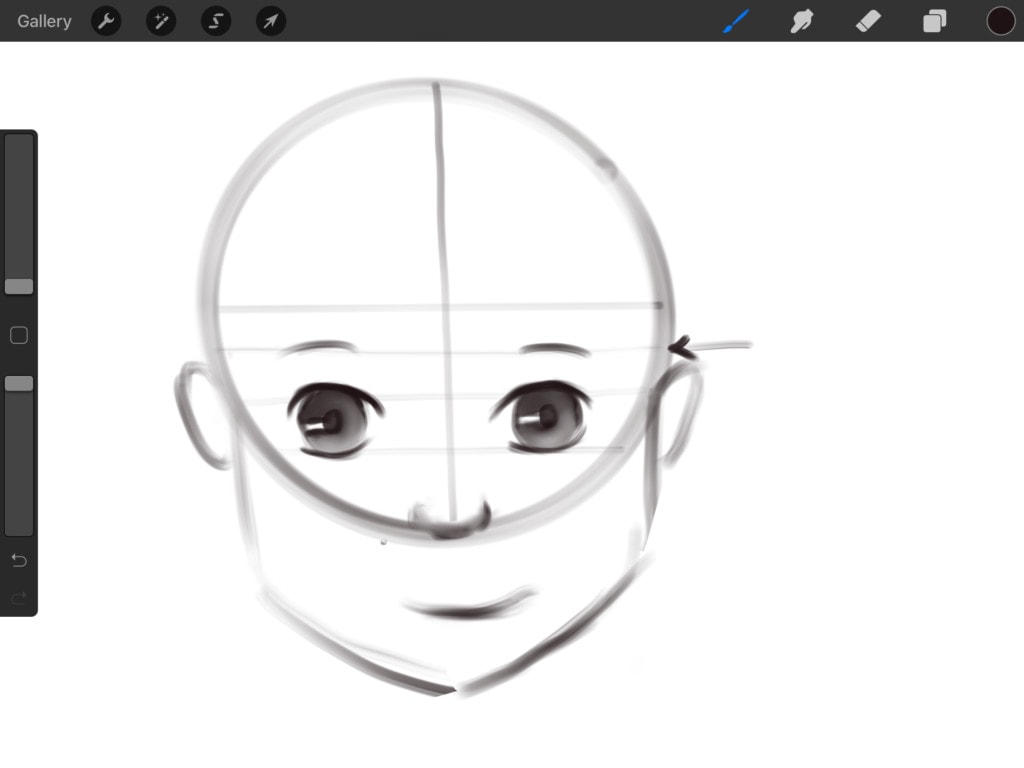
We are then going to add an eyelid crease on top of each lash line. Actually kind of parallel to each lash line. You don’t have to draw it super close to the eyes. It depends where your character is from and therefore how she looks.
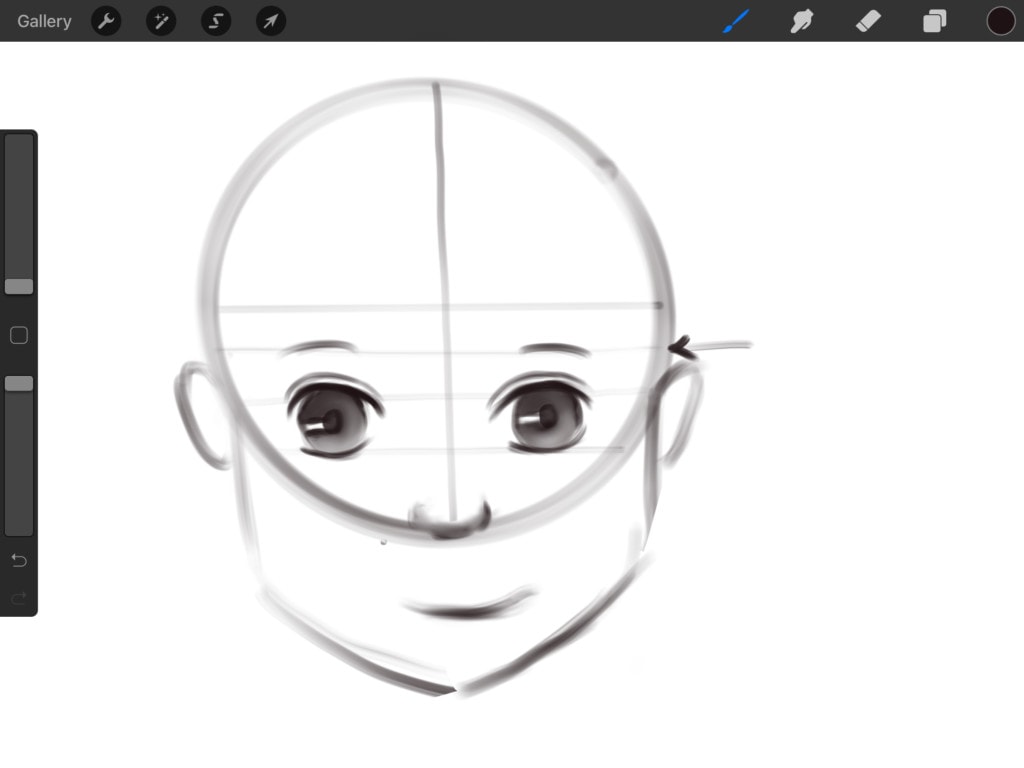
Now, we are going to work on the eyebrows and make them look a little more realistic. by adding some individual feathery hairs to the eyebrow itself,
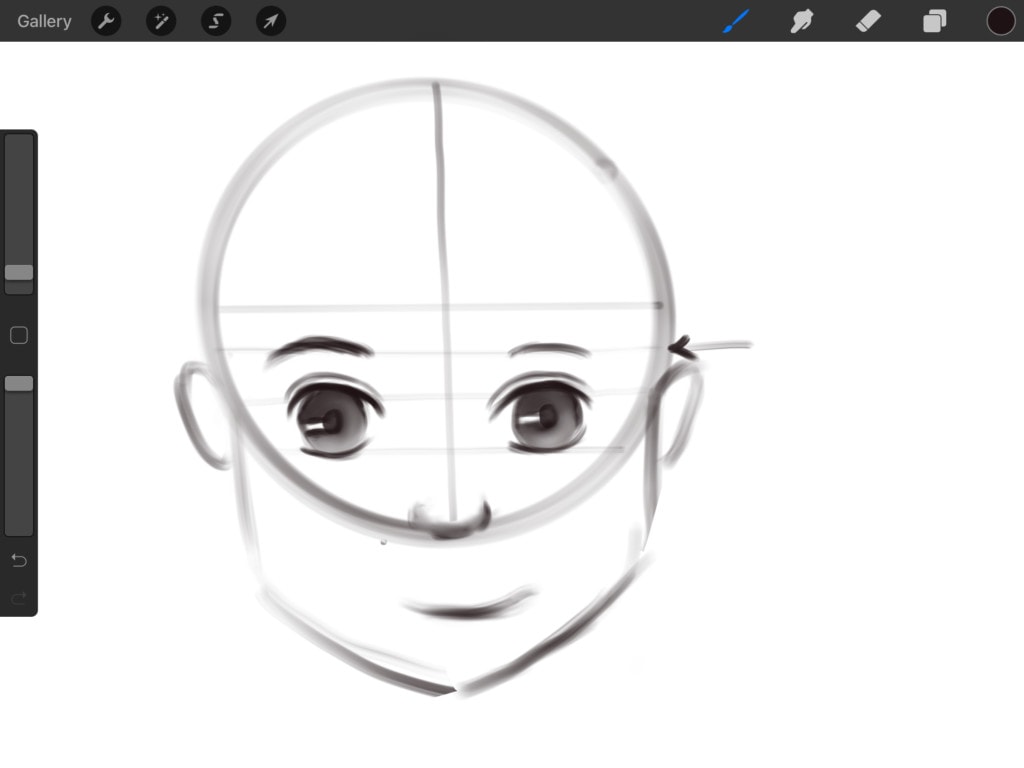

and to the beginning of the eyebrow as well.

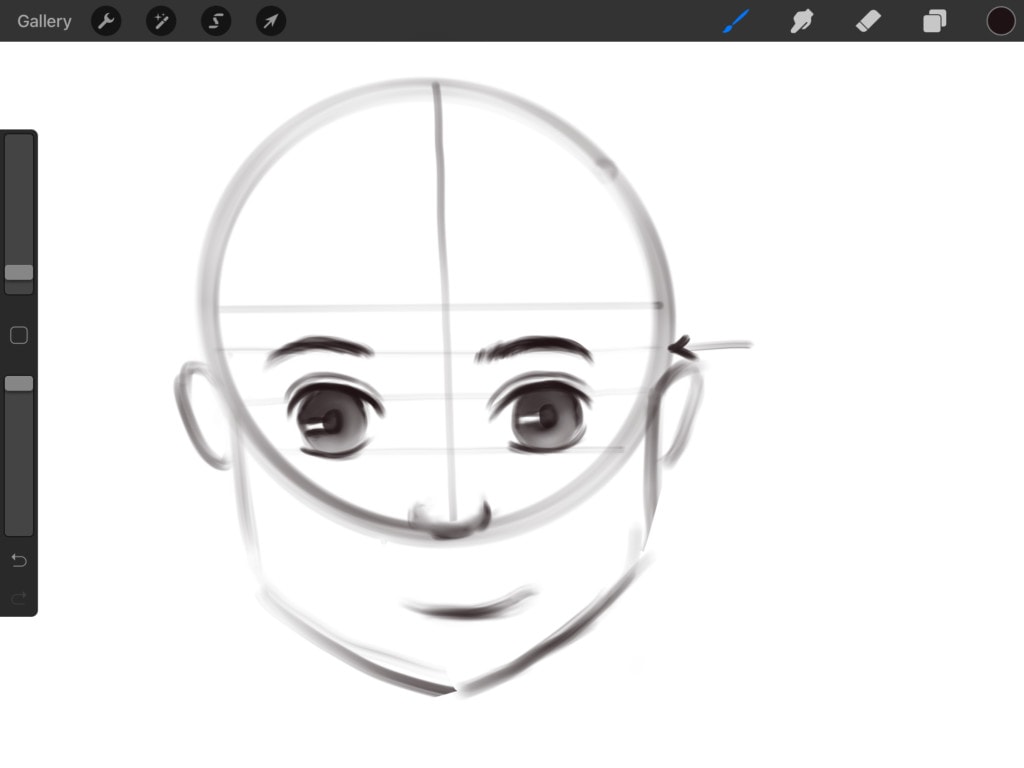
If you are wondering how our lines for the eyebrows and later the eyelashes are looking feathery, hairy, and realistic, that is because we are using our all-time favorite brush for sketching and that is, the “X Soft Round” brush from our “X Fantasy Portrait“ brush set.
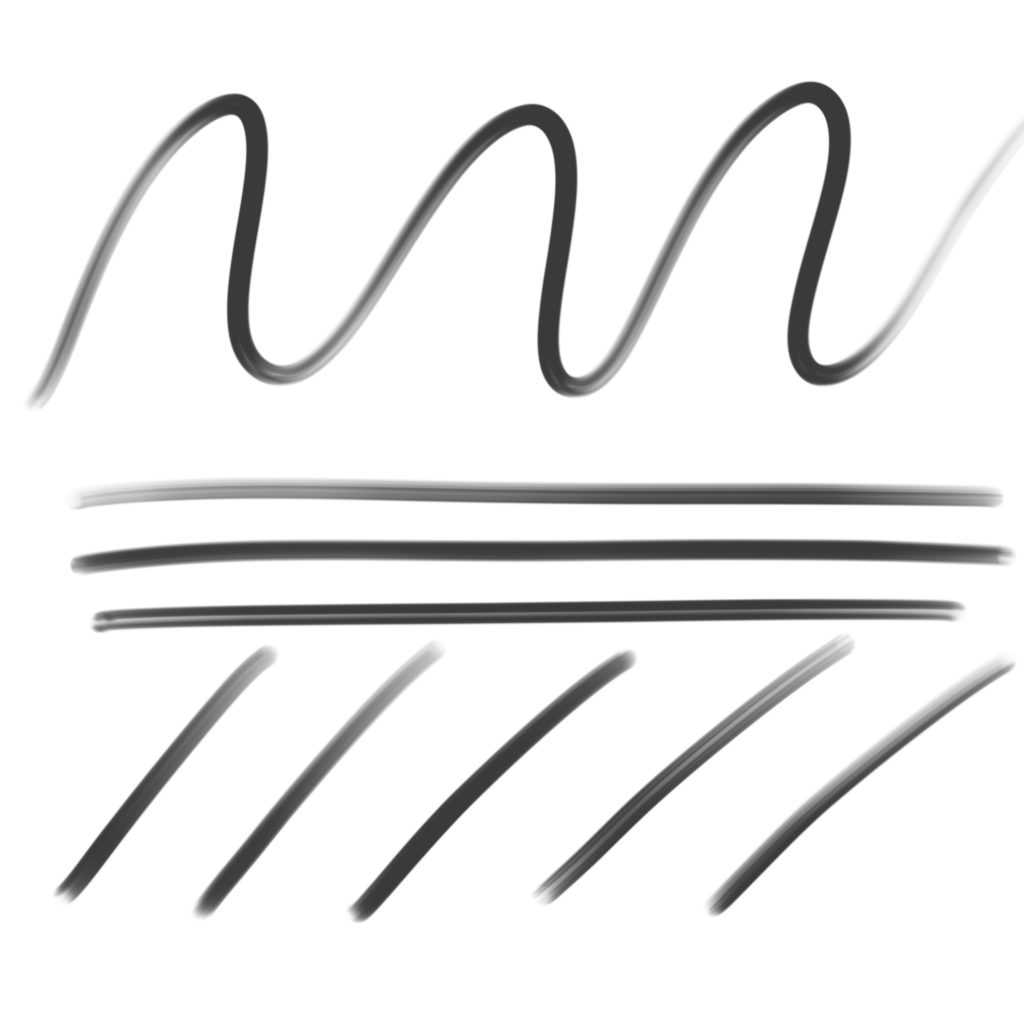
As you can tell the line of the brush is not exactly solid. So it creates a cool sketchy and sometimes forgiving line.
6. Eyelashes:
We are now getting to work on the part that is going to transform the whole way the eyes look! The eyelashes! Using the same brush, we first start off by drawing some sort of wings to the end of each lash line.
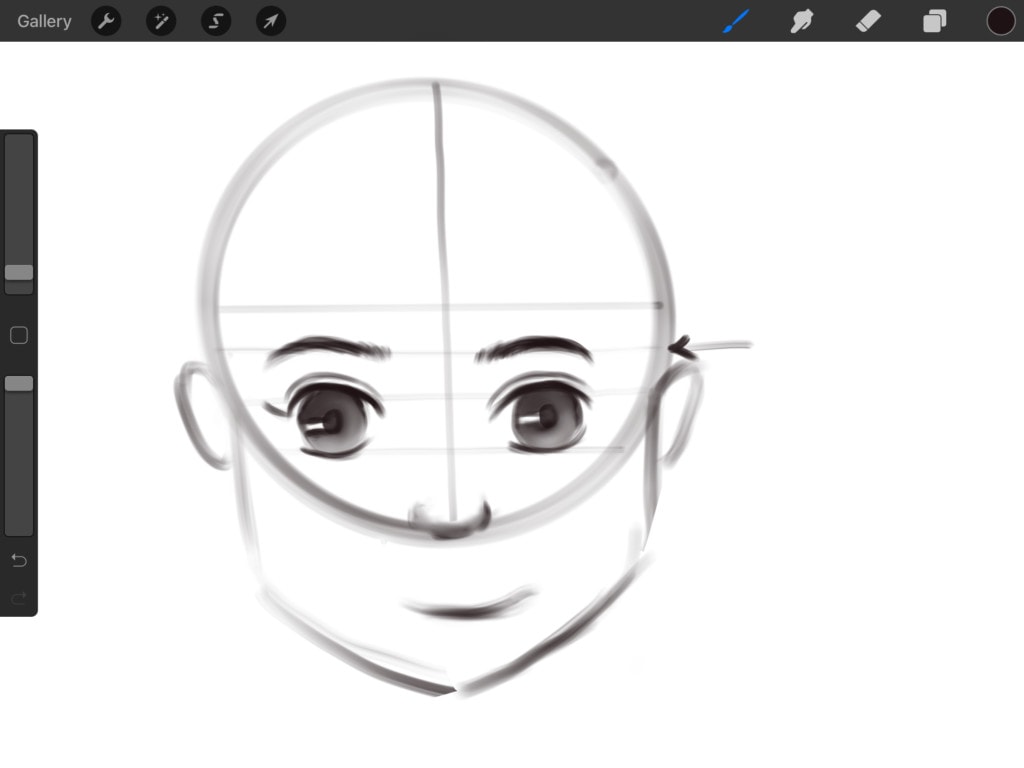

And then we will go ahead and create multiple upward curving lines to the whole lash line. Note that, at about halfway through the lash line the eyelashes tend to curve the other way as if they are horizontally flipped. And that is going to help give the eye a realistic look.

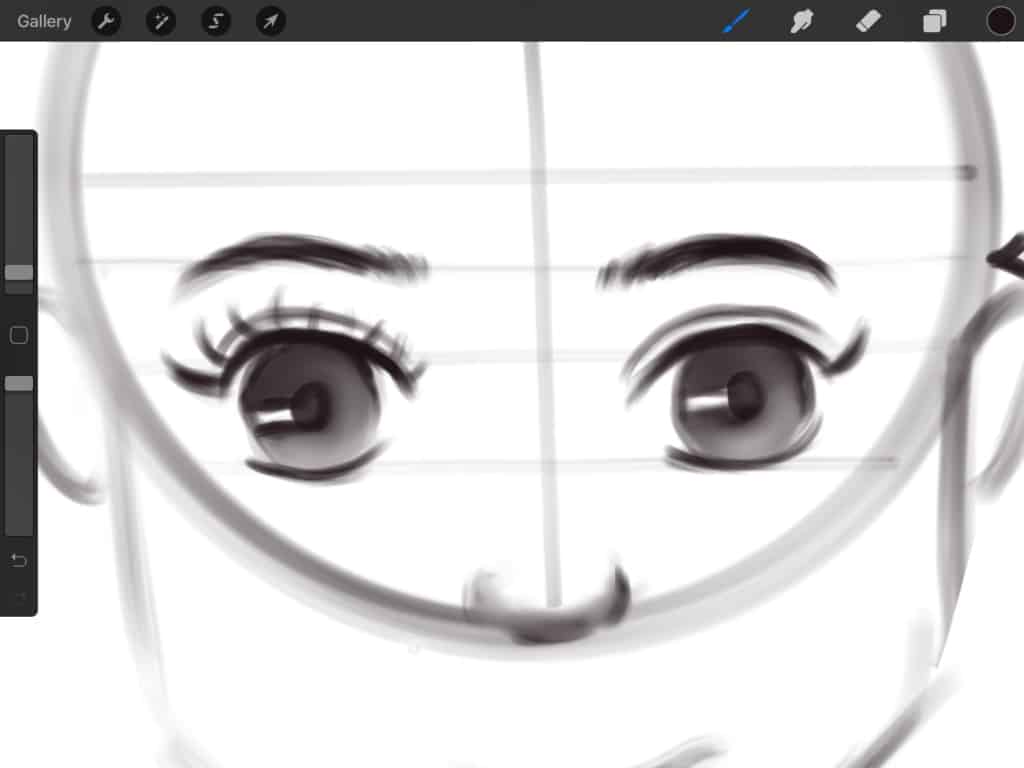
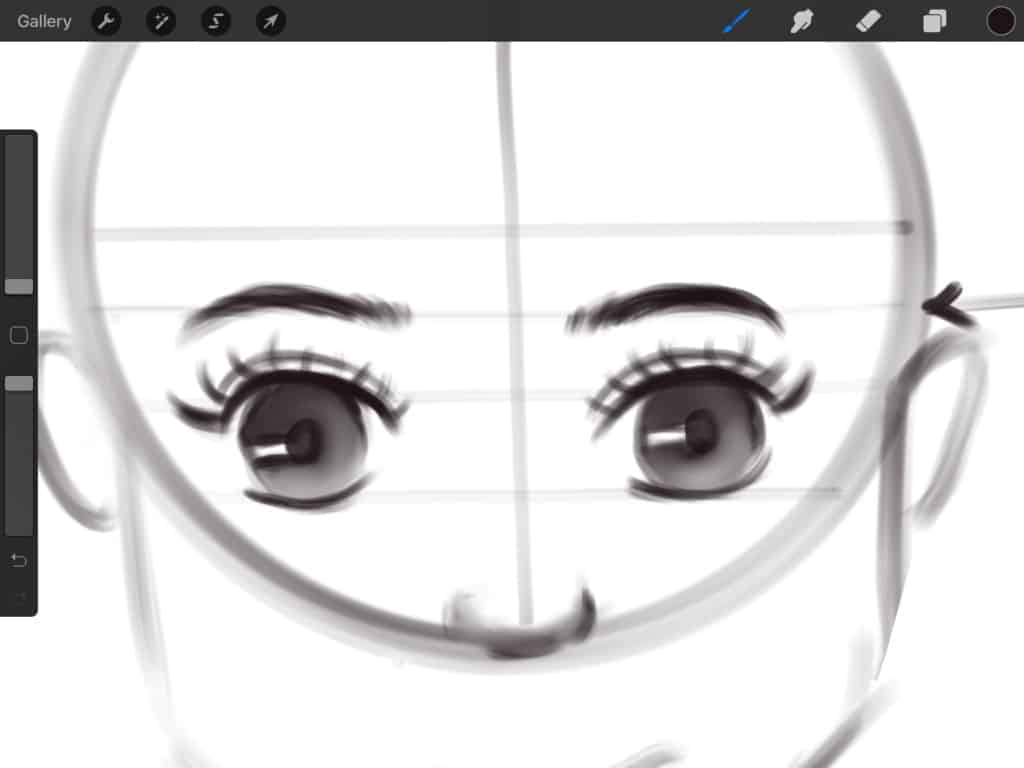
We are going to add lashes to the lower lash line the same way.
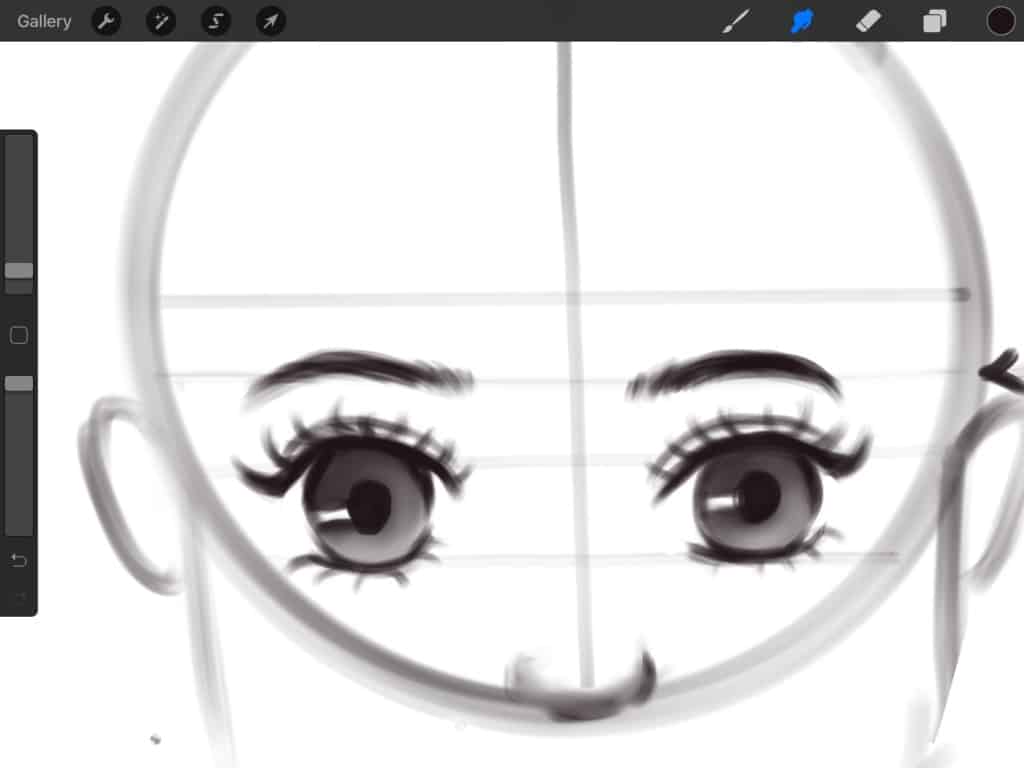
And that is pretty much it for drawing basic eyes.
Now, if the whole drawing eyes thing is still not working for you, don’t “cry your eyes out” just yet. Hehe. Here is a foolproof way to help you get better at drawing eyes or as a matter of fact anything. Remember long ago when you would trace over images and create new art? Well, not exactly “new”. However, it is a really good way you can learn how to draw eyes.
Download a reference picture of faces or particularly “eyes”. We will head over to our beloved Pinterest for that. Insert it into Procreate, lower the opacity for that layer and add a new layer on top of it. Start tracing the eyes on that new layer.
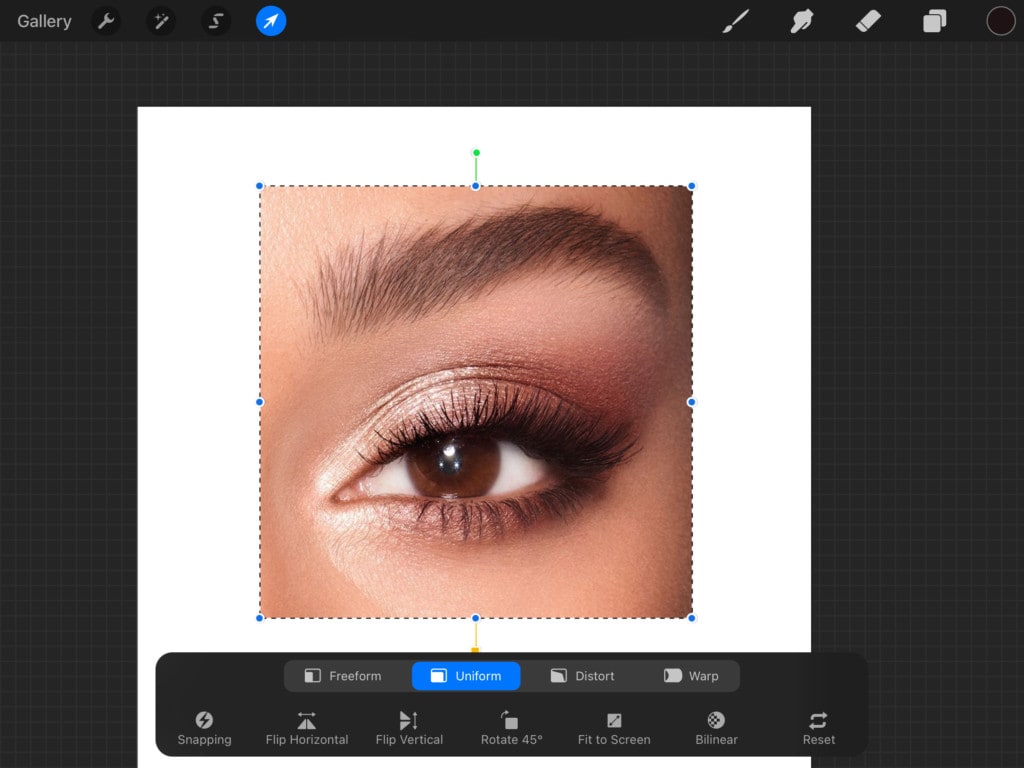

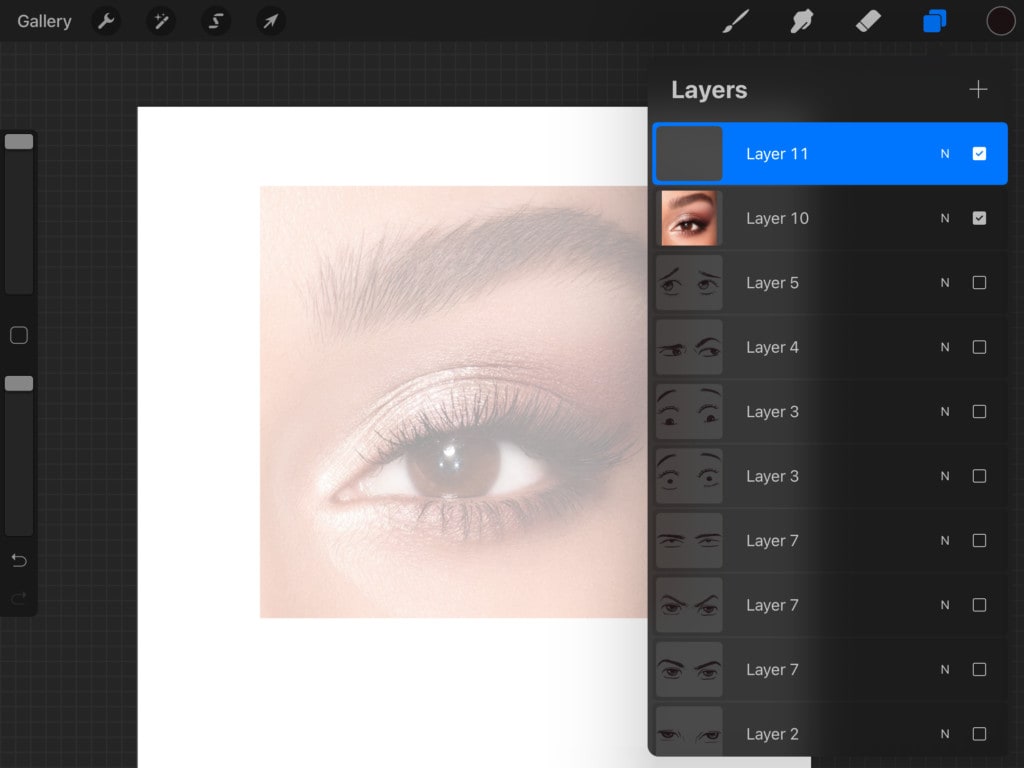

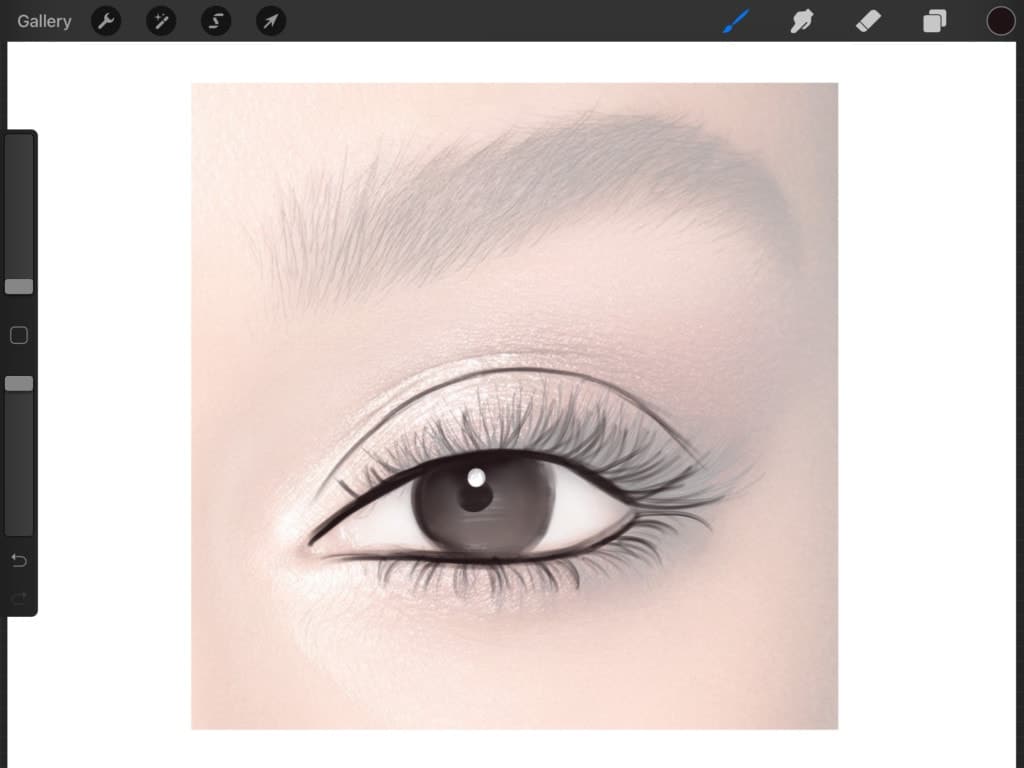

But that is cheating! We knew you were going to say that. However, we would like to point out that you are not claiming this art as yours. You are just using them to practice and improve. How would we even know how to draw eyes without having eyes ourselves and looking at people who have eyes?! So we want you to know that this is a step towards improving your art and gaining muscle memory, so by now your hand should have learned how to move in order to draw eyelashes for example.
In fact, we even like to do it with the stamps that we have on the “Brush Galaxy” website. Specifically, the “Manga Eyes 2” eye stamps brush set. We will choose a pair of eyes that we like and increase the brush size (so we get bigger eyes).
There we go, with a tap of a pencil and we have our eyes!


Like we mentioned above pick a stamp that inspires you, lower the layer opacity by pressing the “N” next to the layer name and then moving the “Opacity” slider, then create a new layer. Start tracing the lines on that new layer. It is like kindergarten all over again, isn’t it? LOL. But very effective we assure you!


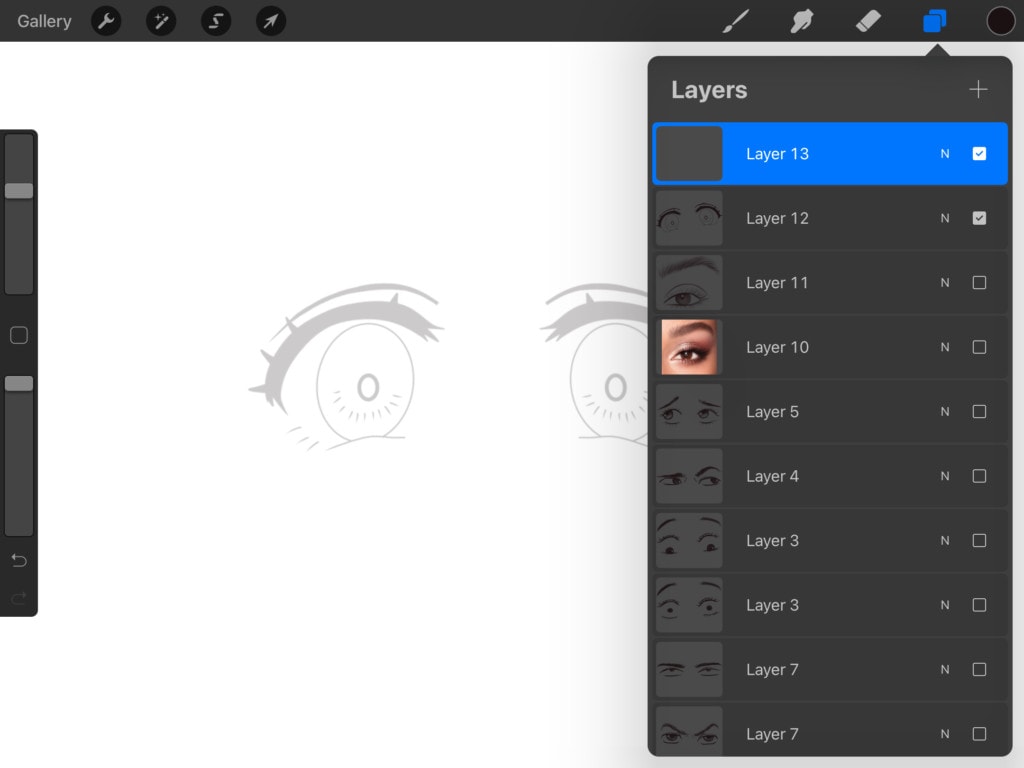
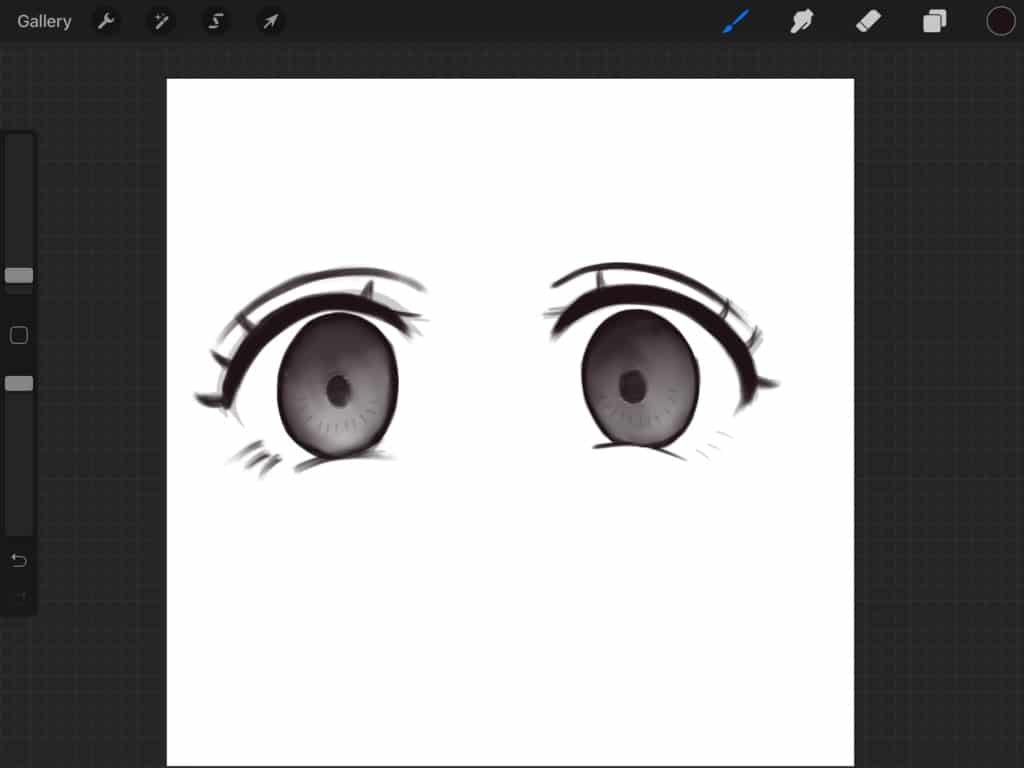

We added highlight using “studio pen” in white from the “Inking” brush set that comes with Procreate.
And lastly, If we wanted to add color we would create a new layer under the line art layer and start adding color to the already shaded iris. Note that the shading is a little transparent, so it will show the colors. And here is a before and after picture!


We would also like to demonstrate that if we would place the eyes that we just drew together on a colored face, we would leave out the white of the eyes. Put that in mind in order for the eyes not to look weird.

Cartoon/ Anime Eye Vs. Realistic Eyes
So what is the whole realistic vs anime eye thing you ask? This goes without saying but making the iris all big, makes your character look cute and as you make it smaller you lean a bit towards realism in a drawing. So, you find out what works for you and your style!

Tweaking eye details to convey different emotions
We also wanted to demonstrate how simple variations in the basics that we have just explained can help communicate certain expressions or feelings. For example, making the eye narrower and more elongated might be more suitable for bad-boy eyes. And moving the iris to the top is going to communicate that the person might be bored or have rolling eyes.

Not only that but simple adjustments in the placement of the iris help communicate a poker face look or a bad guy gazing into someone’s eye and threatening them.

Or if you made the iris very small and place it right in the middle it will help communicate that the character is shocked.

You can also place the pupil downwards to make the character look surprised.
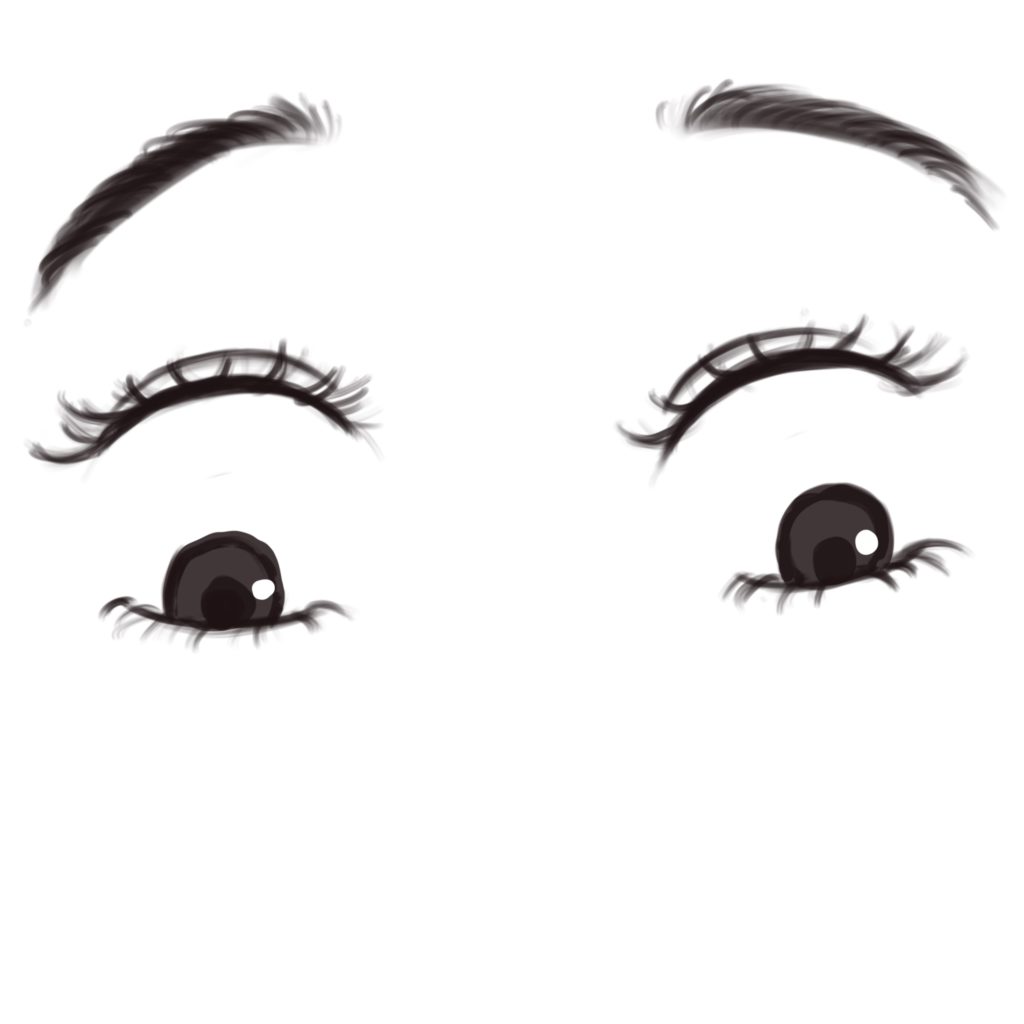
Not only that but you can convey if a character is a kind sweetheart or has an attitude by making lash lines and the eyebrows less or more angular. The fewer angles and sharp lines you have on lash lines the more cute and innocent your character is going to look. However, the more sharp lines you have on the lash lines the more your character will look as if they are a diva-like they have got an attitude, disgusted or maybe even dangerous.

You can also play around with eyebrows and mouths shapes to help -non verbally- say stuff about your character and what they are trying to say or how they feel. “W” shaped eyebrows, that are really close to the eyes, for example, will communicate that the character is angry.

Male eyes also tend to look more angular and a little bit more elongated than female eyes even if your guy character is supposed to look cute, his lash lines and eyebrows would still have some angles to them.
And that is it for our “eyes” tutorial! We hope this tutorial was helpful and that you were “all eyes and ears”. Hehe.
And for all of you who just can’t live without quality brushes, we prepared a ton of high-quality Procreate brushes in 12 categories that will help you excel on your next projects!


