
How To Add Grid in Procreate

If you’re looking to enhance your digital art in Procreate with some of the best Procreate brushes, adding a grid to your canvas can be a great way to plan your composition, maintain proportion, and ensure accuracy, especially for complex subjects or when aiming for symmetry.
Here’s a step-by-step guide on how to add a grid to your canvas in Procreate.
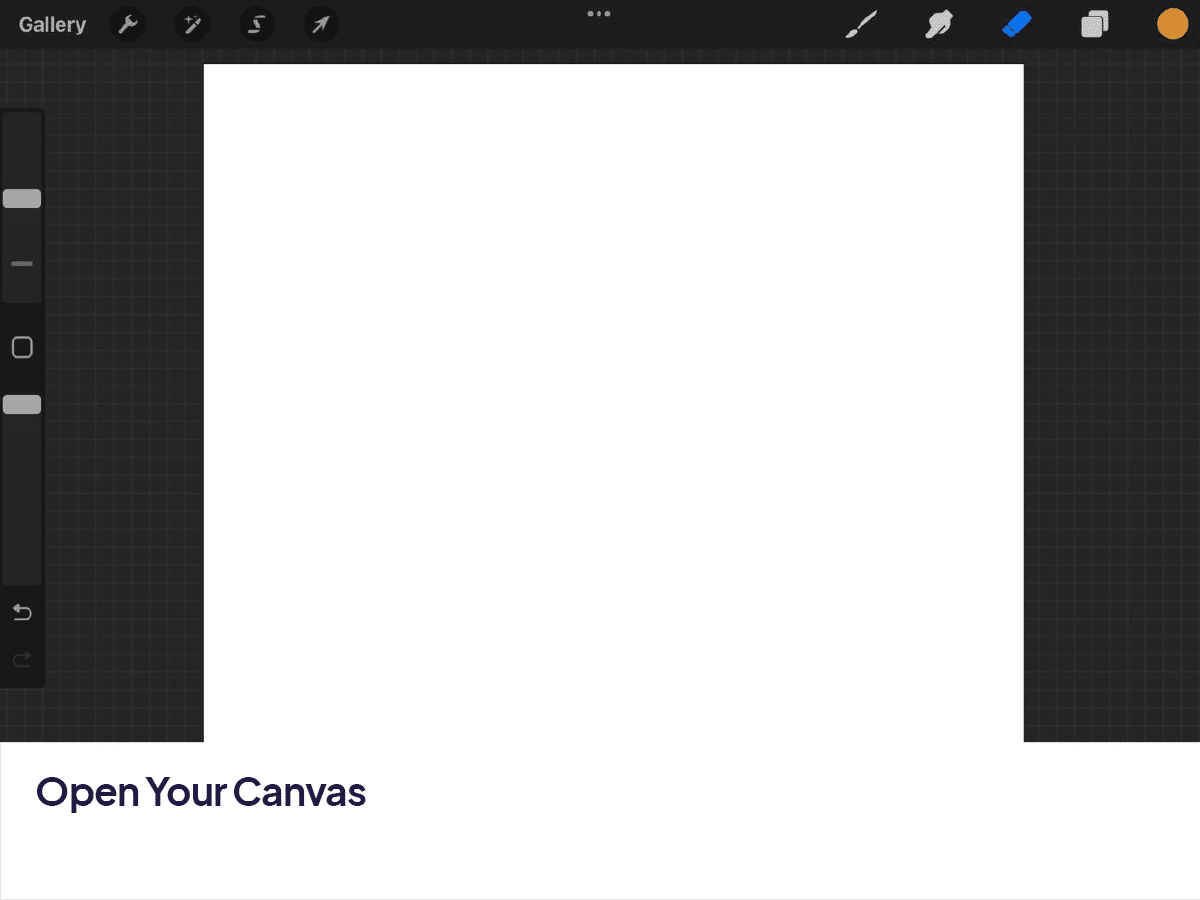
Open Your Canvas
Start by selecting or creating a new canvas where you want to add the grid.
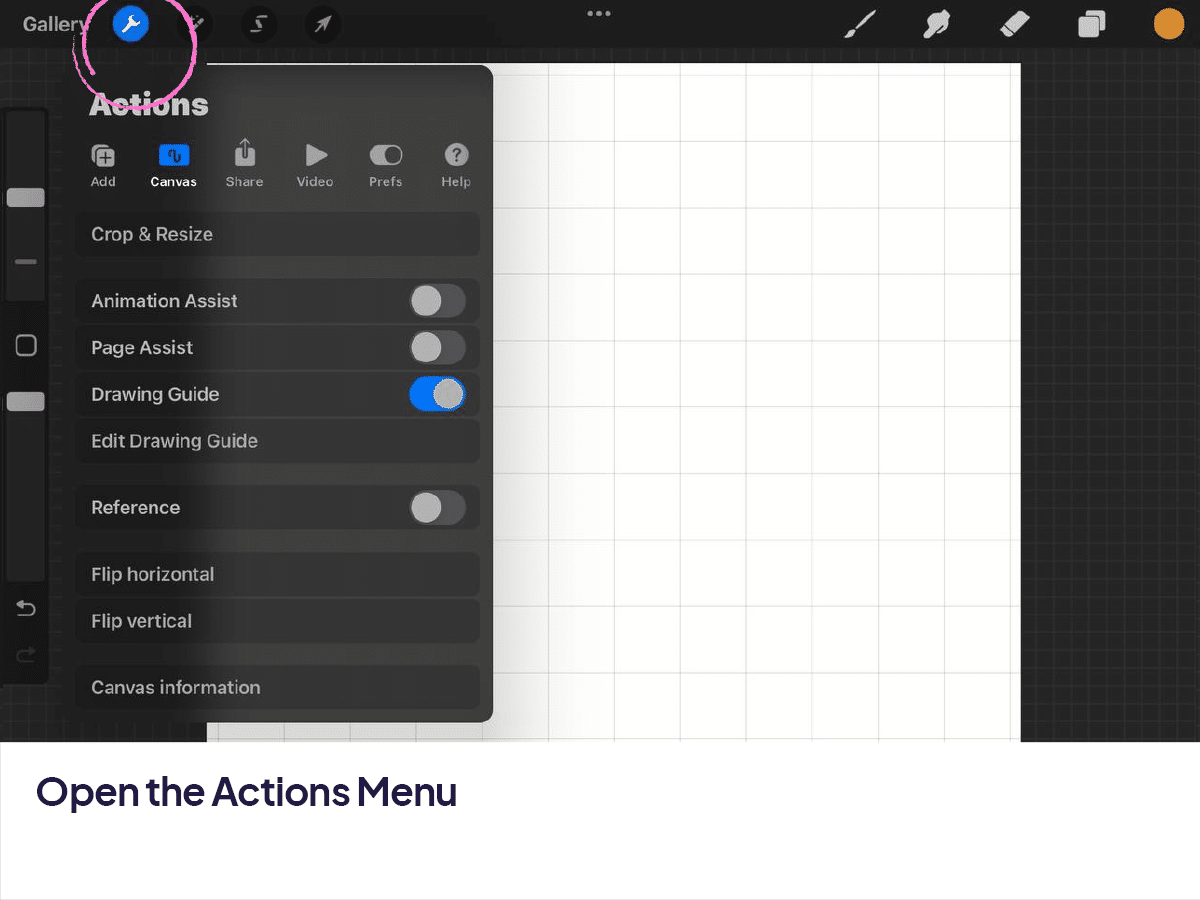
Access the Actions Menu
Tap on the wrench icon in the top-left corner to open the Actions menu.
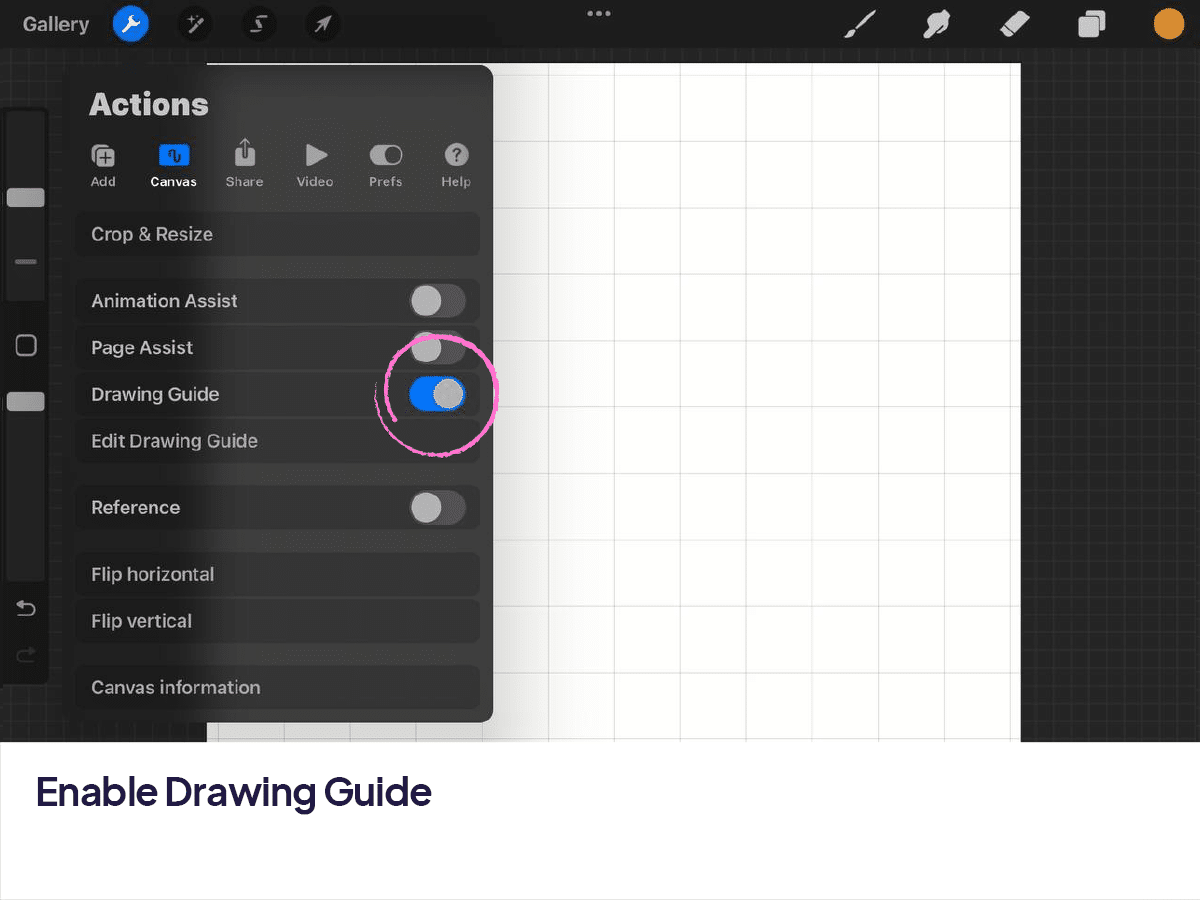
Enable Drawing Guide
Go to the “Canvas” tab within the Actions menu. Here, you’ll find an option called “Drawing Guide”. Toggle it on by tapping the switch next to it. Once enabled, a default grid will appear over your canvas.
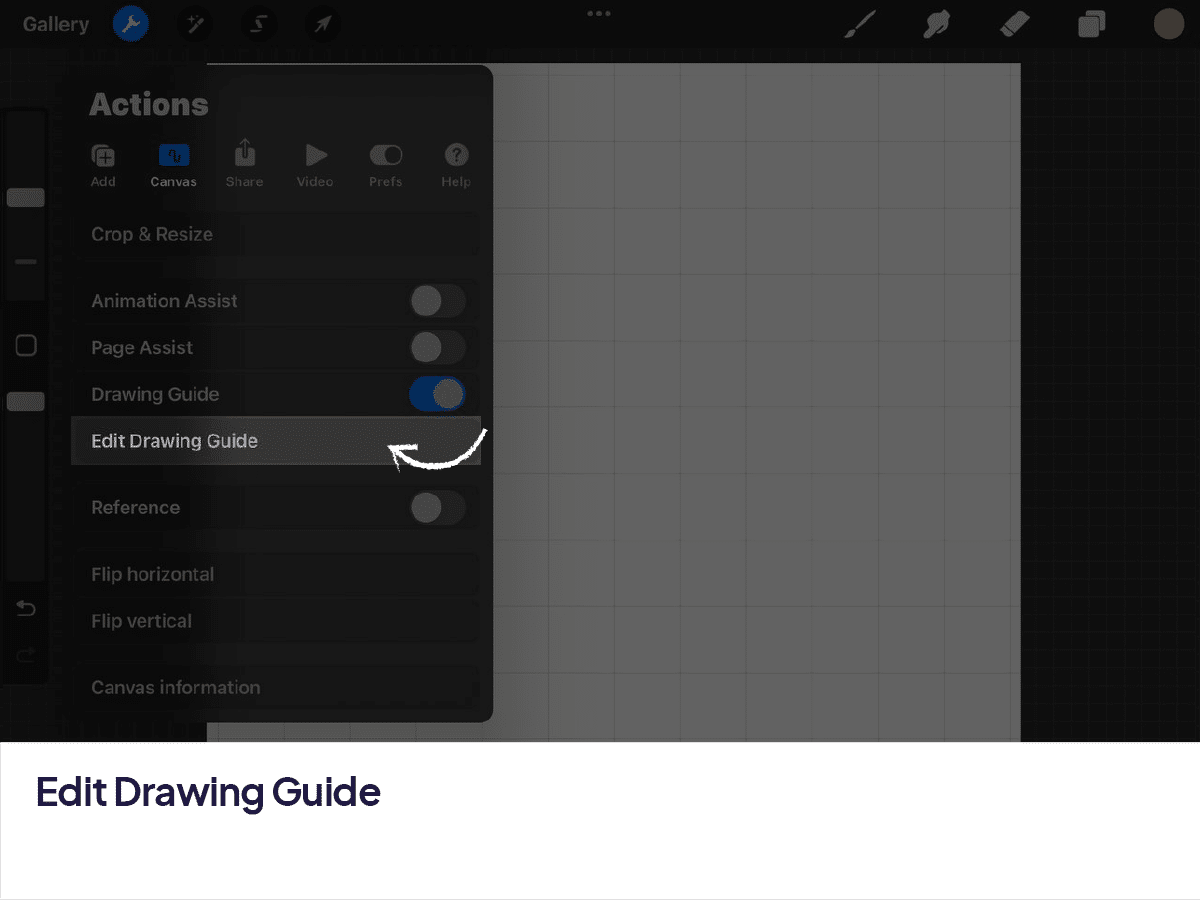
Edit Drawing Guide
To customize your grid, tap on “Edit Drawing Guide”. This will bring up the Drawing Guide settings where you can adjust various aspects of the grid.
Adjust Grid Settings
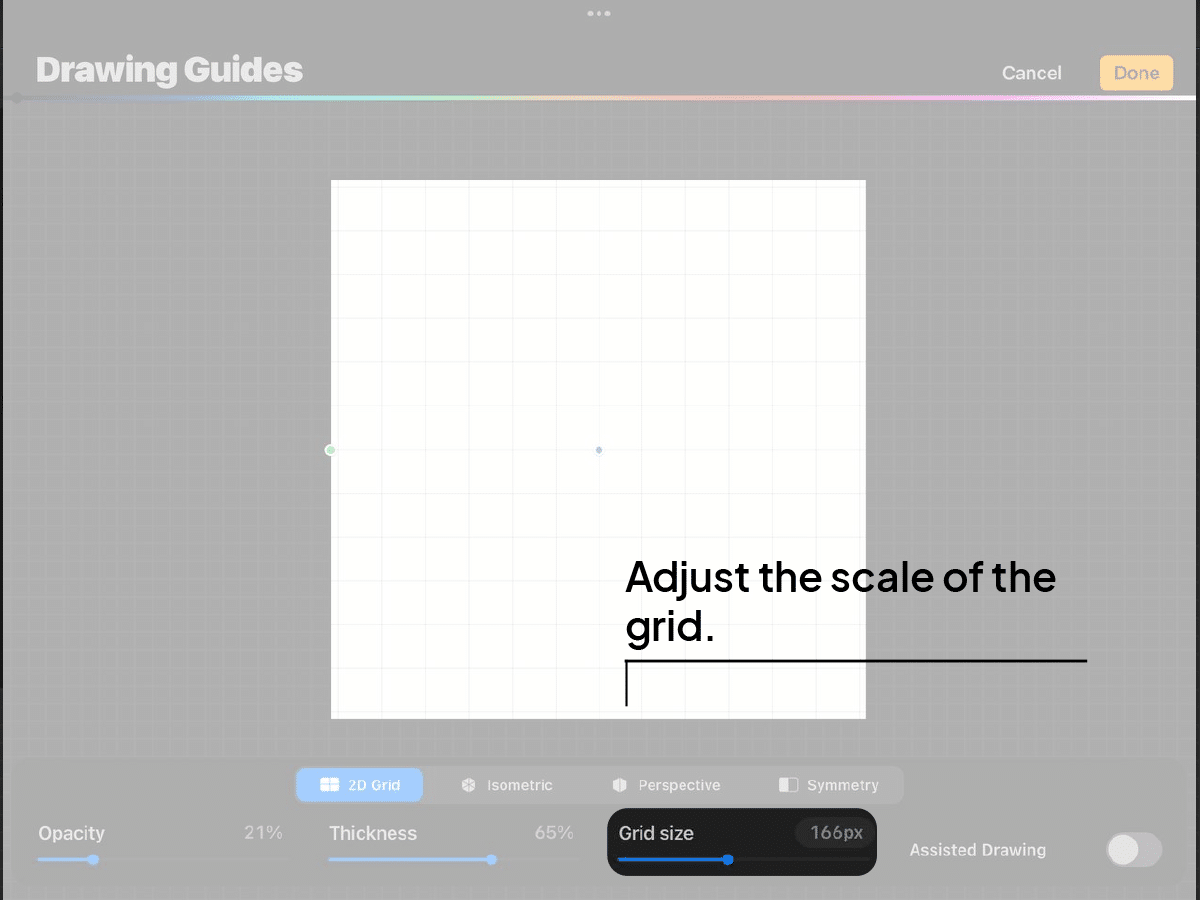
Grid Size:
You can change the size of the grid squares by dragging the slider left or right. Moving it to the right increases the size of the grid squares, while moving it to the left decreases them.
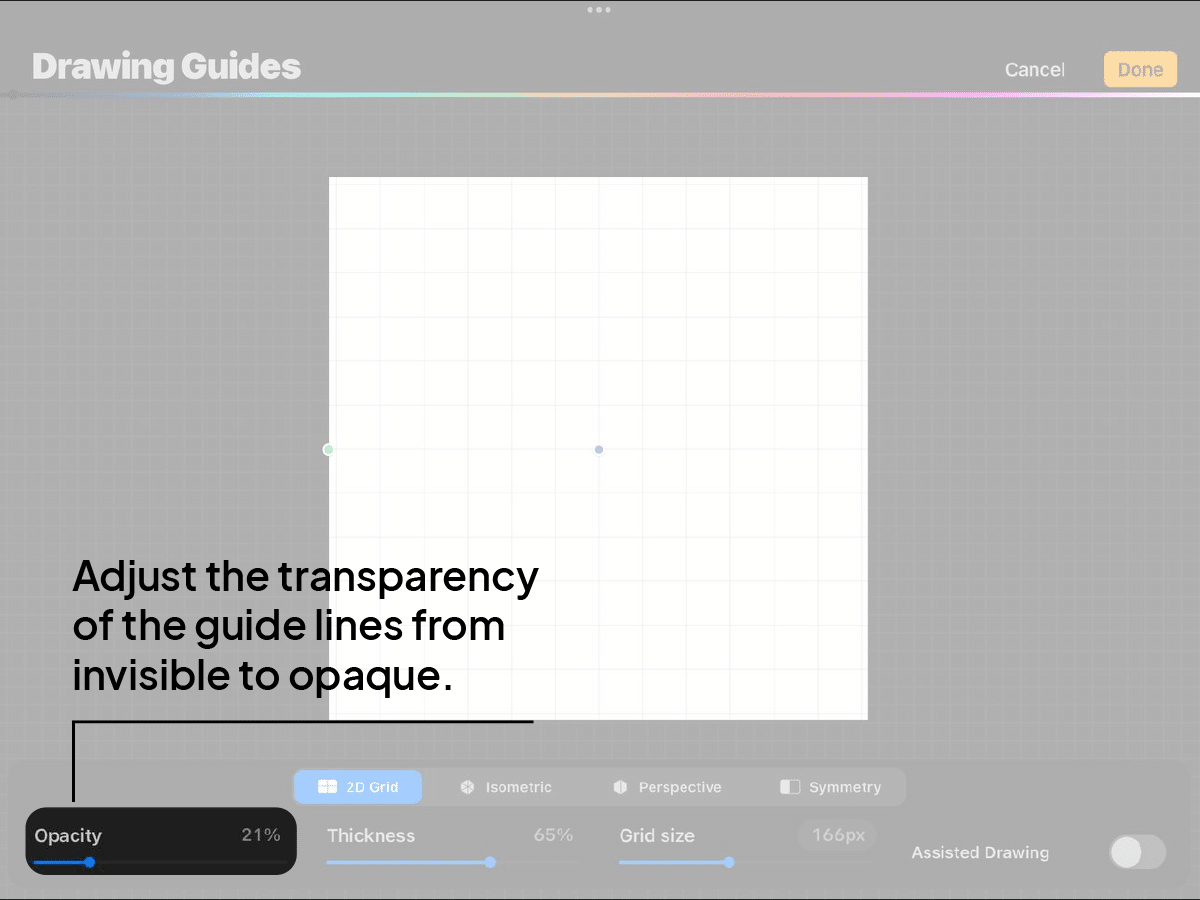
Opacity:
If you find the grid too distracting or too faint, adjust the slider to make the grid more or less visible according to your preference.
Color:
Tap on the color swatch to change the color of the grid lines. This can be helpful if you need the grid lines to stand out against a particular background color.

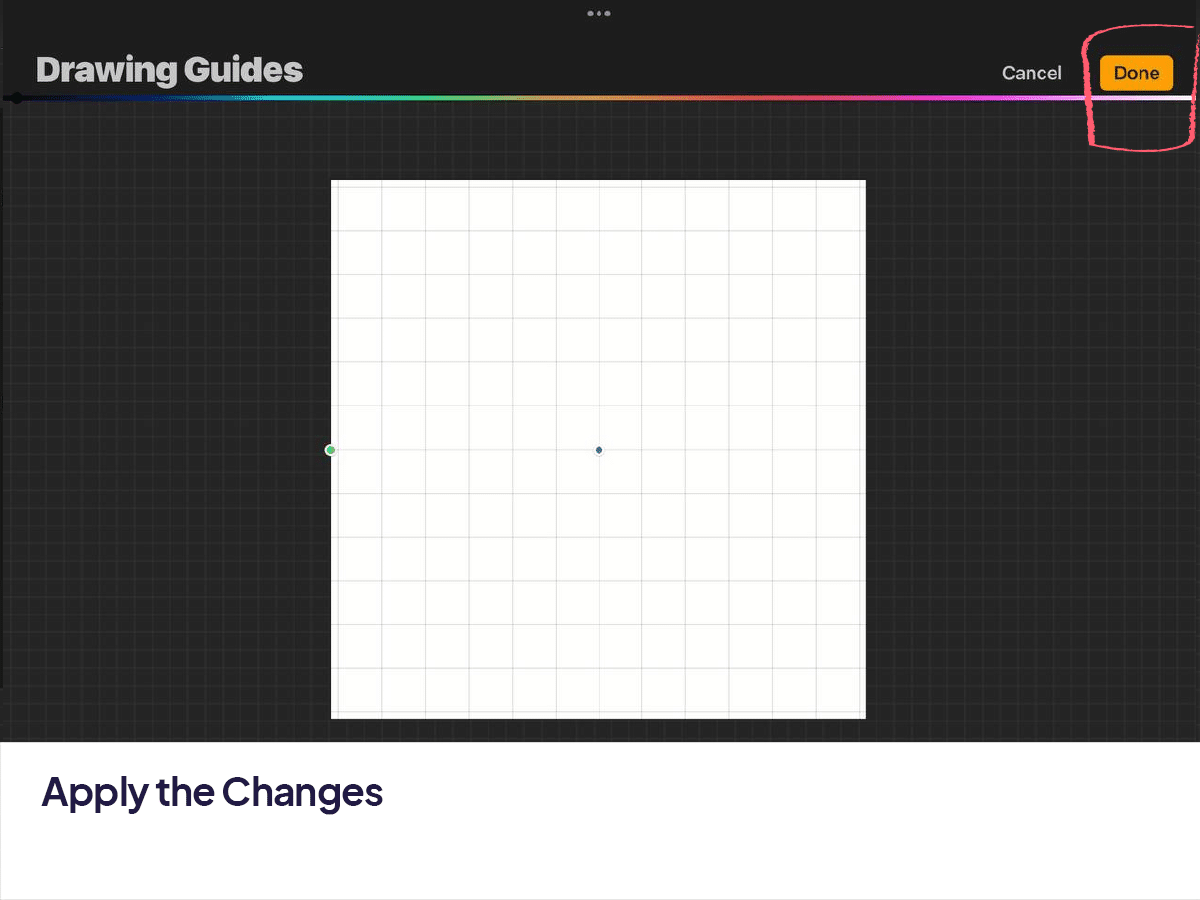
Apply the Changes
Once you’re happy with the adjustments, tap “Done” in the top-right corner of the screen. Your custom grid will be applied to the canvas.
Tips for Using Grids in Procreate
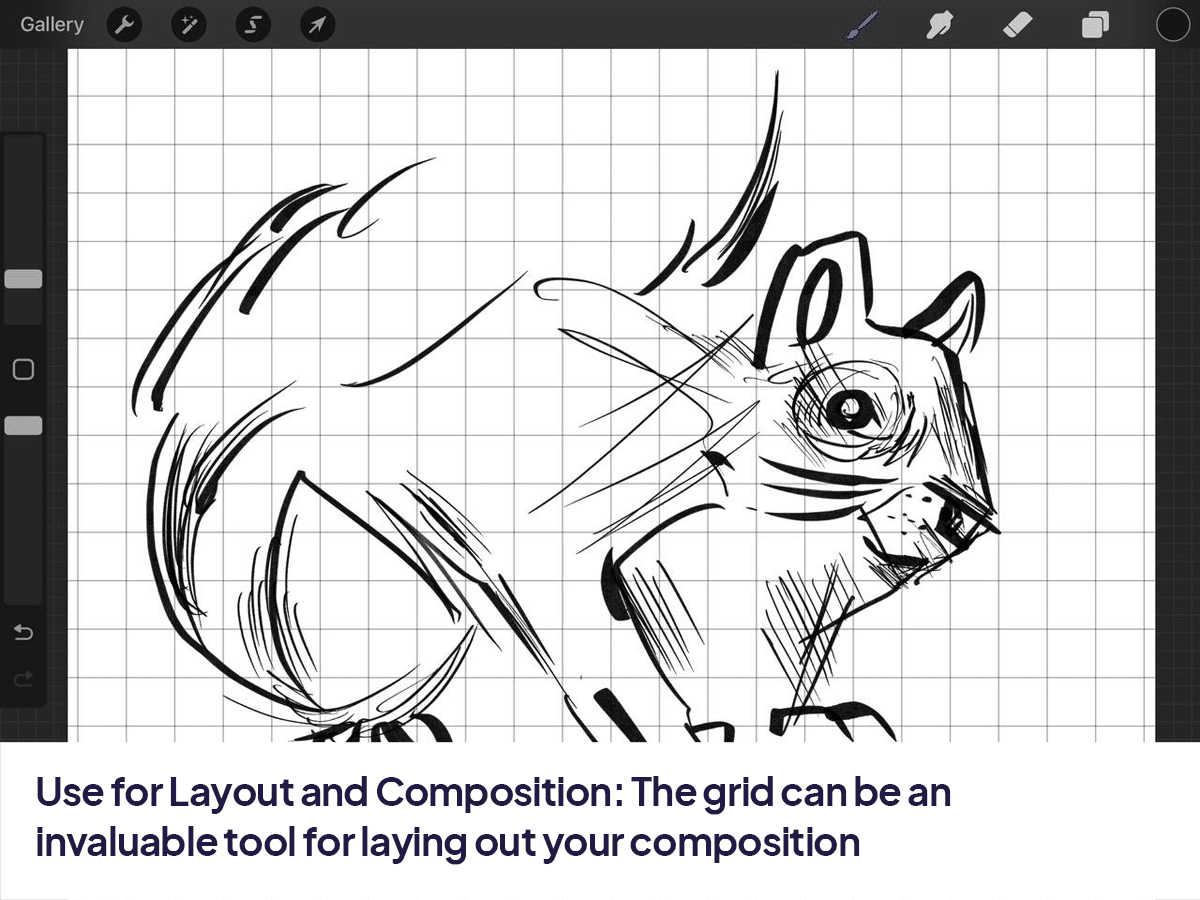
Use for Layout and Composition:
The grid can be an invaluable tool for laying out your composition, ensuring elements are proportionally spaced and aligned.
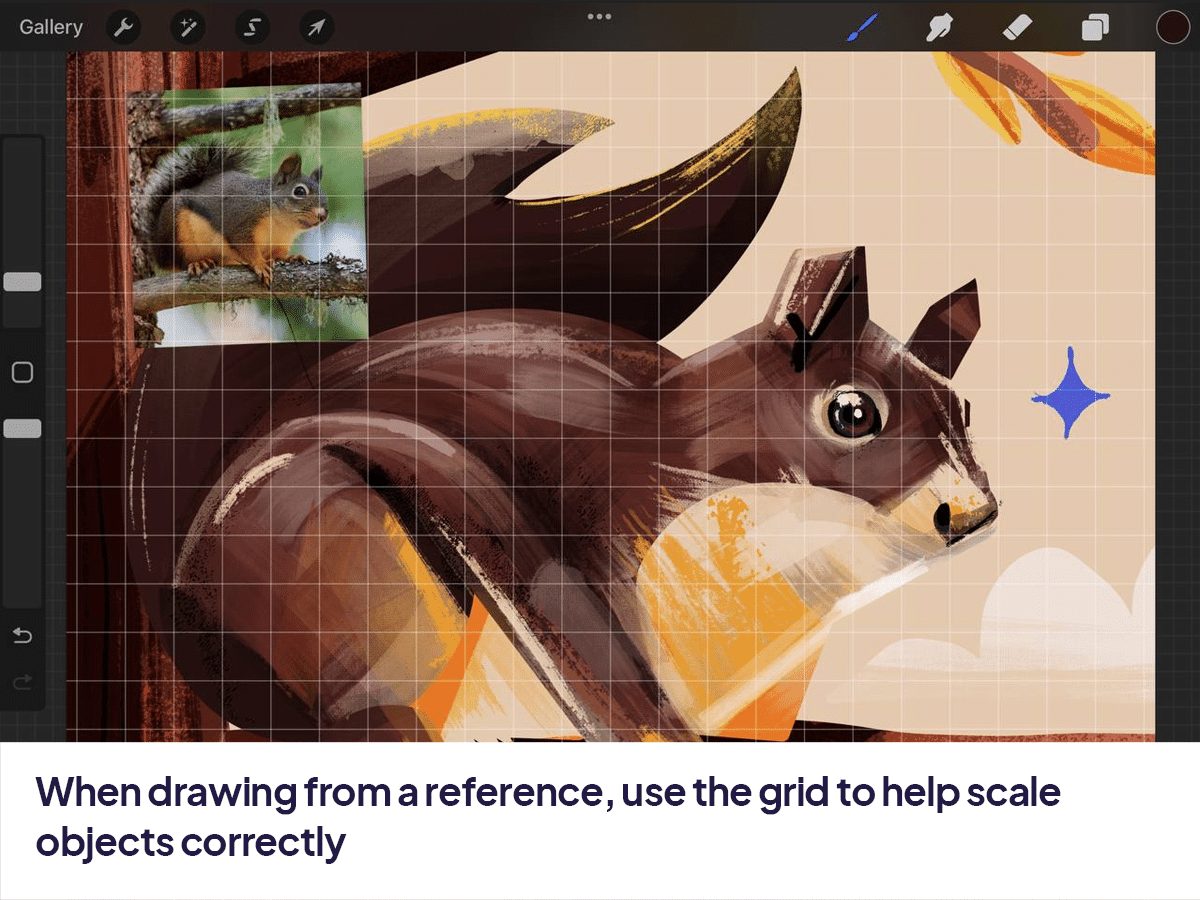
Assist in Scaling:
When drawing from a reference, use the grid to help scale objects correctly, breaking down complex subjects into manageable sections.
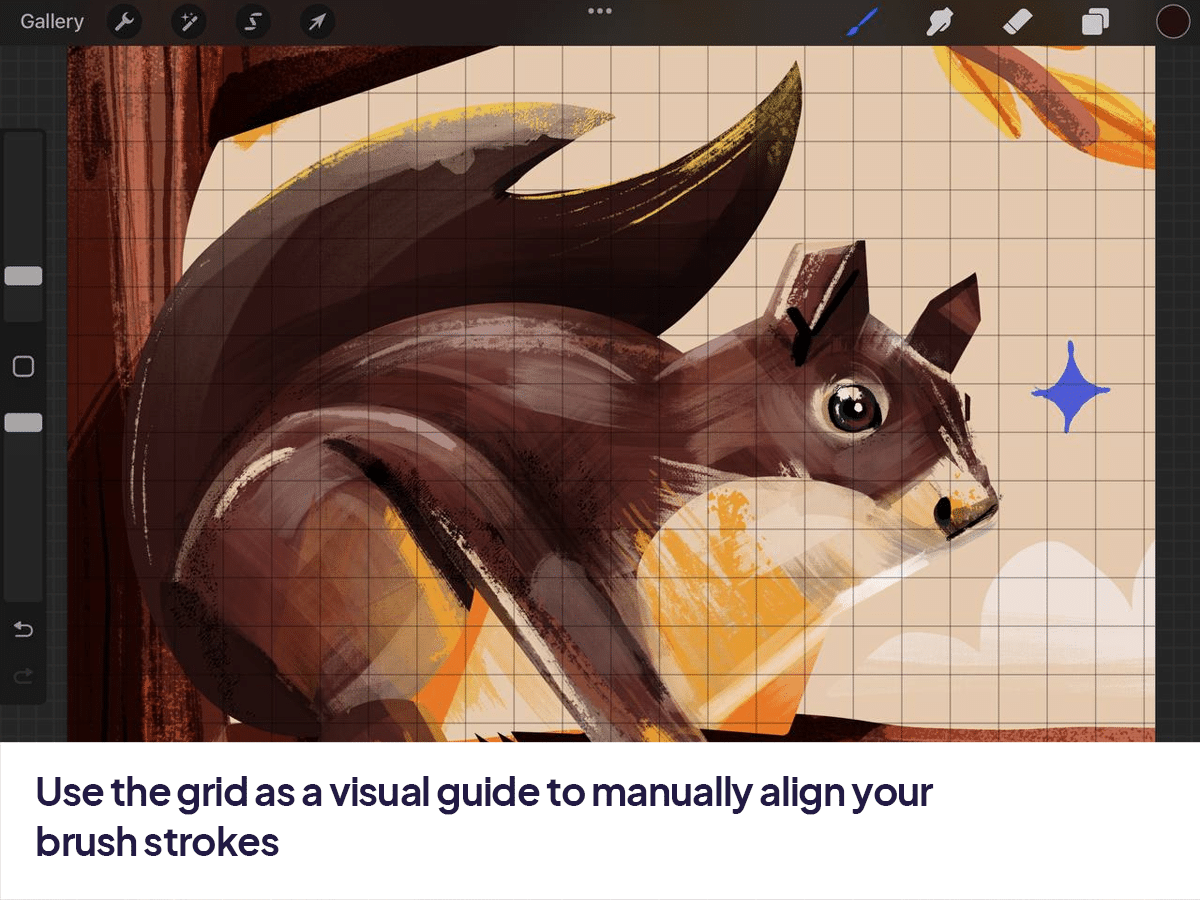
Snap to Grid:
While Procreate does not automatically snap brush strokes to the grid lines, you can use the grid as a visual guide to manually align your strokes.
Temporarily Hide the Grid:
If you need to review your artwork without the grid, you can quickly toggle the Drawing Guide on and off through the Actions menu without losing your grid settings.

Remember, the grid is there to serve as a guide and aid in your drawing process.
Don’t feel compelled to strictly adhere to it if doing so stifles your creativity. It’s a tool meant to enhance your art, not constrain it. Happy creating!


Share this article


