
Best Way To Draw Flowers in Procreate

Have you ever felt a little envious of bees? They get to hang around flowers all day, and here we are, trying to capture their delicate beauty on a digital canvas.
Well, today, you’re going to become the digital art world’s answer to a bee. I promise it’s easier than trying to keep a real plant alive – I’ve certainly had my share of plant funerals! Before we dive into the steps, make sure you have the right tools by exploring our Procreate flower brushes.
Setting the Scene
Open a new canvas in Procreate. I usually opt for a medium size – not too big, not too small, just like Goldilocks’ choice!
A neutral background color is your best bet. It allows the colors of your flowers to pop without overwhelming the eyes.
Picking Your Petal Pals
Decide on the type of flower you want to draw. Roses? Tulips? The sky’s the limit!
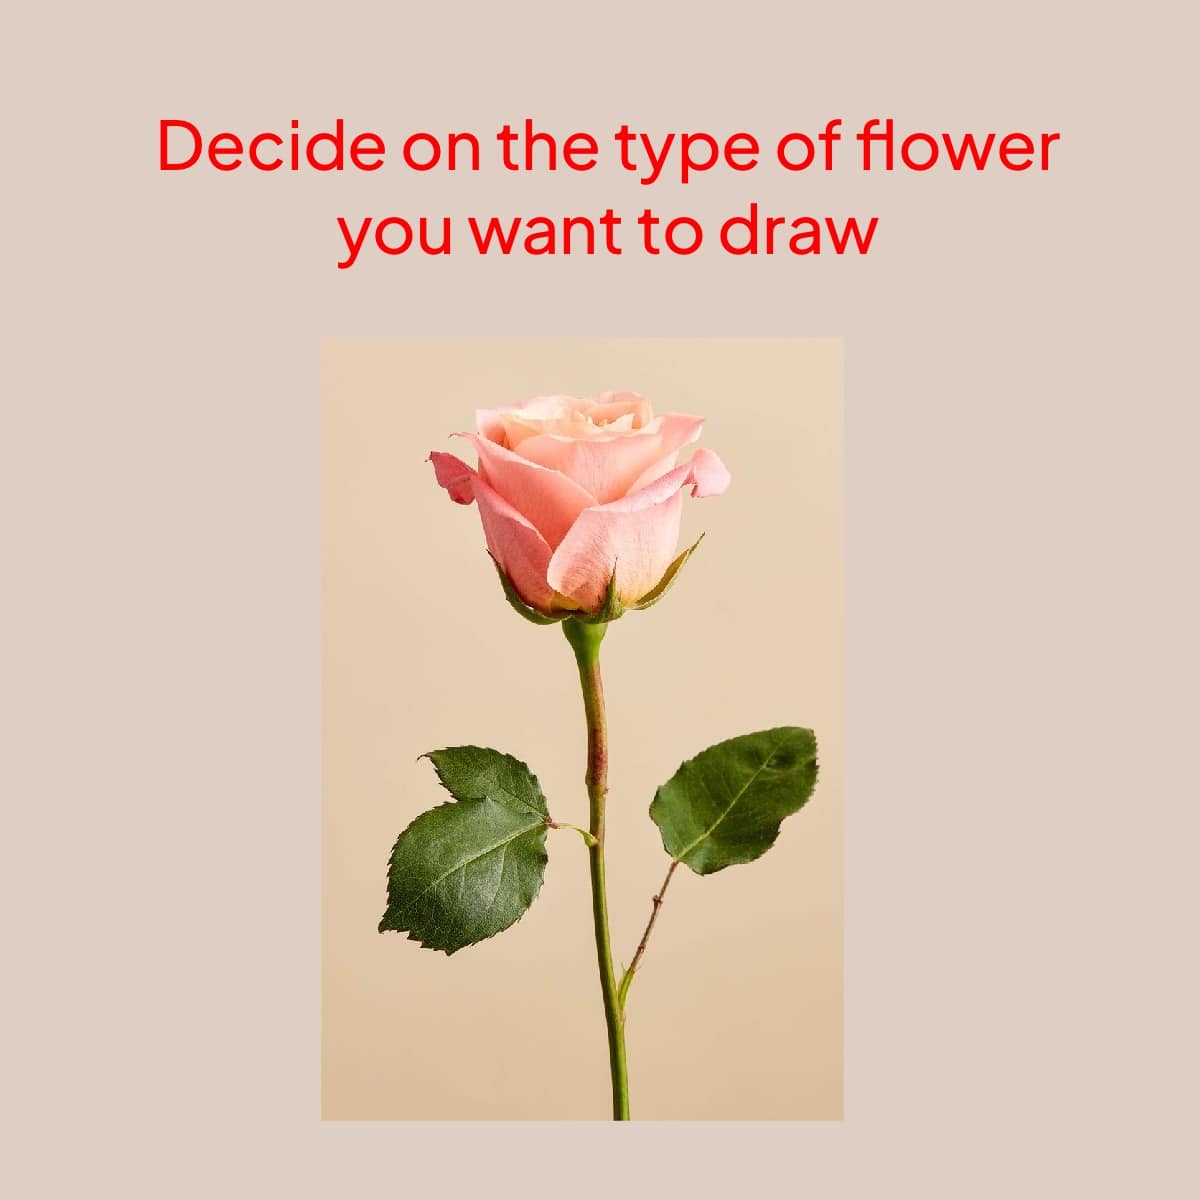
It’s always helpful to have a reference image. Nature’s designs are complex, and a visual guide can be a lifesaver.
Sketching Your Floral Framework
Start with basic shapes to form the structure of your flower. Circles for the center, ovals for petals – keep it simple.
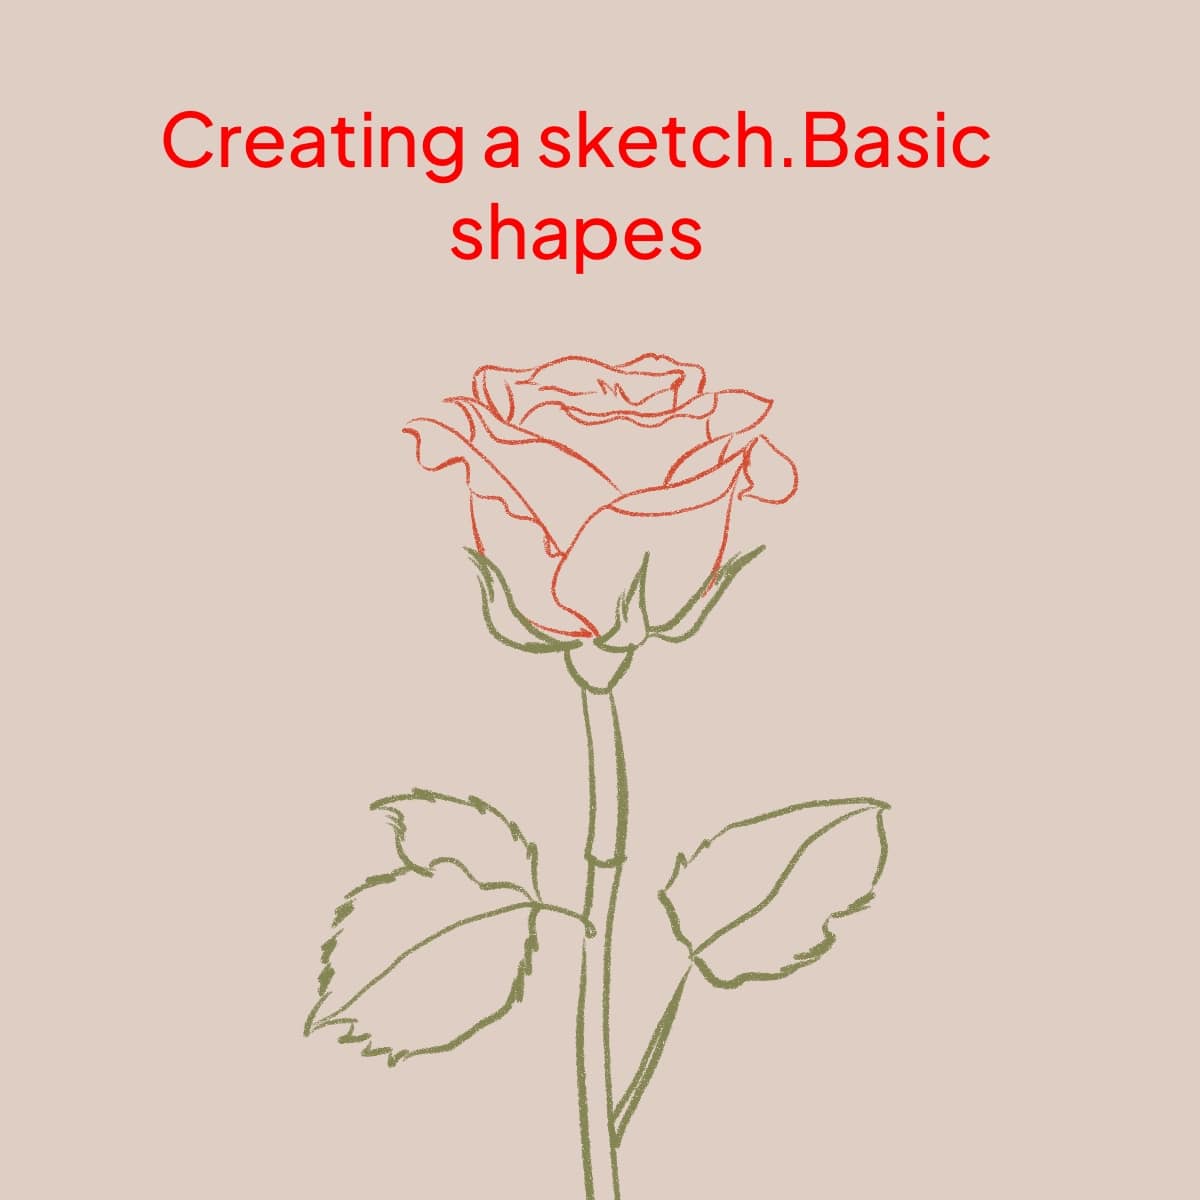
Don’t forget to add a stem and some leaves. They’re the supporting actors in your floral masterpiece.
Bringing in Colors and Textures
Choose colors that bring your flower to life. Think about how light affects color and try to incorporate some variations.
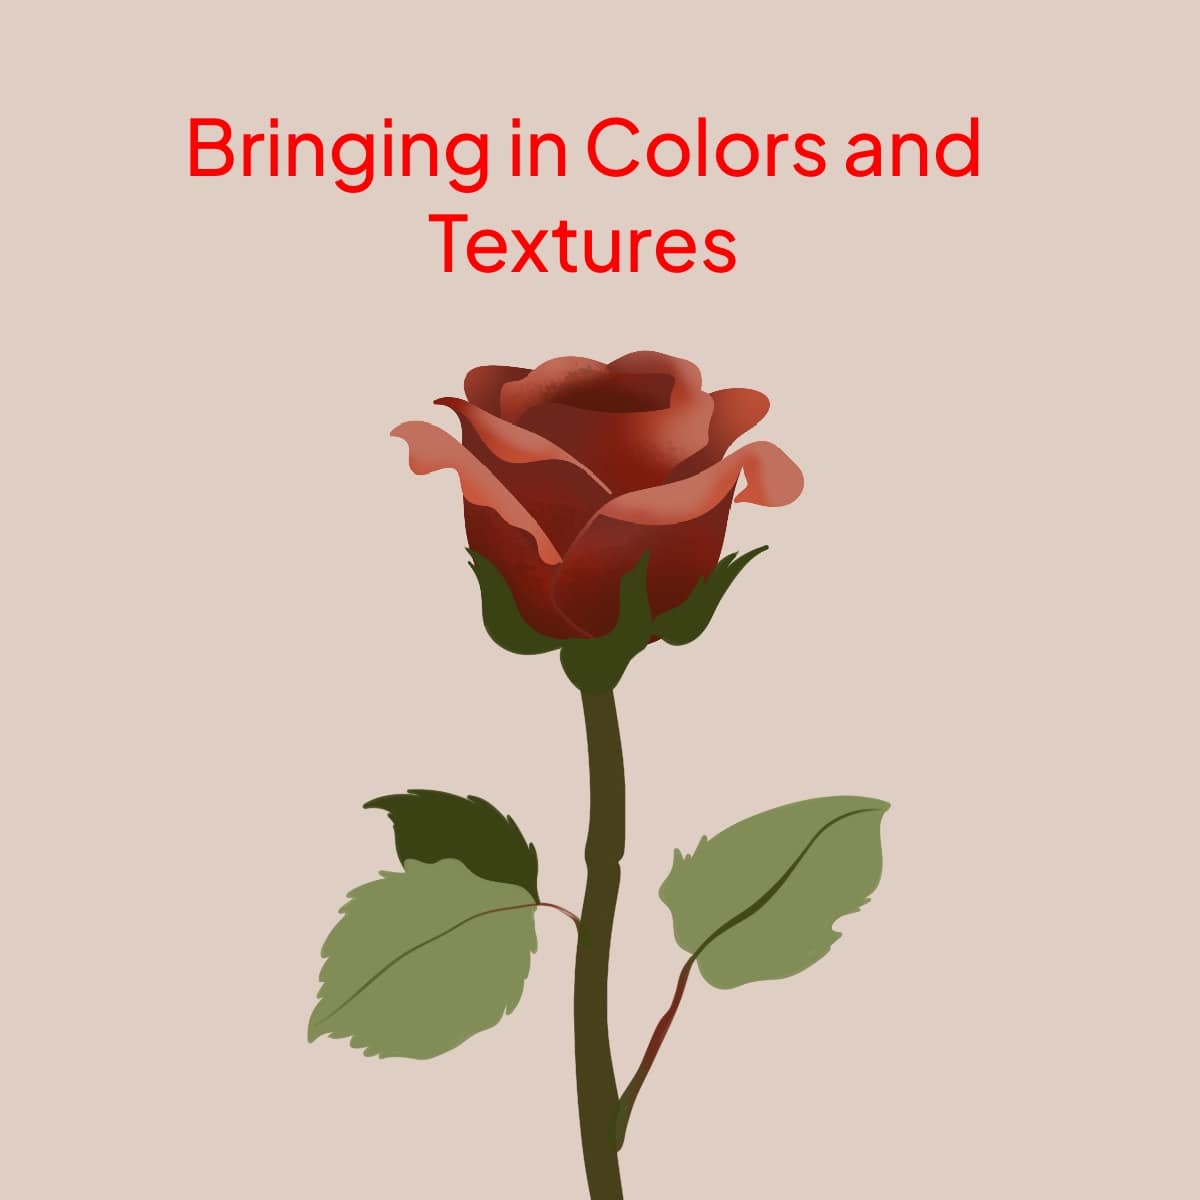
Procreate offers a variety of brushes. A textured brush can add realism to your petals and leaves.
Shading and Depth
Identify a light source and consistently add shadows and highlights according to it. This gives your flower depth and dimension.
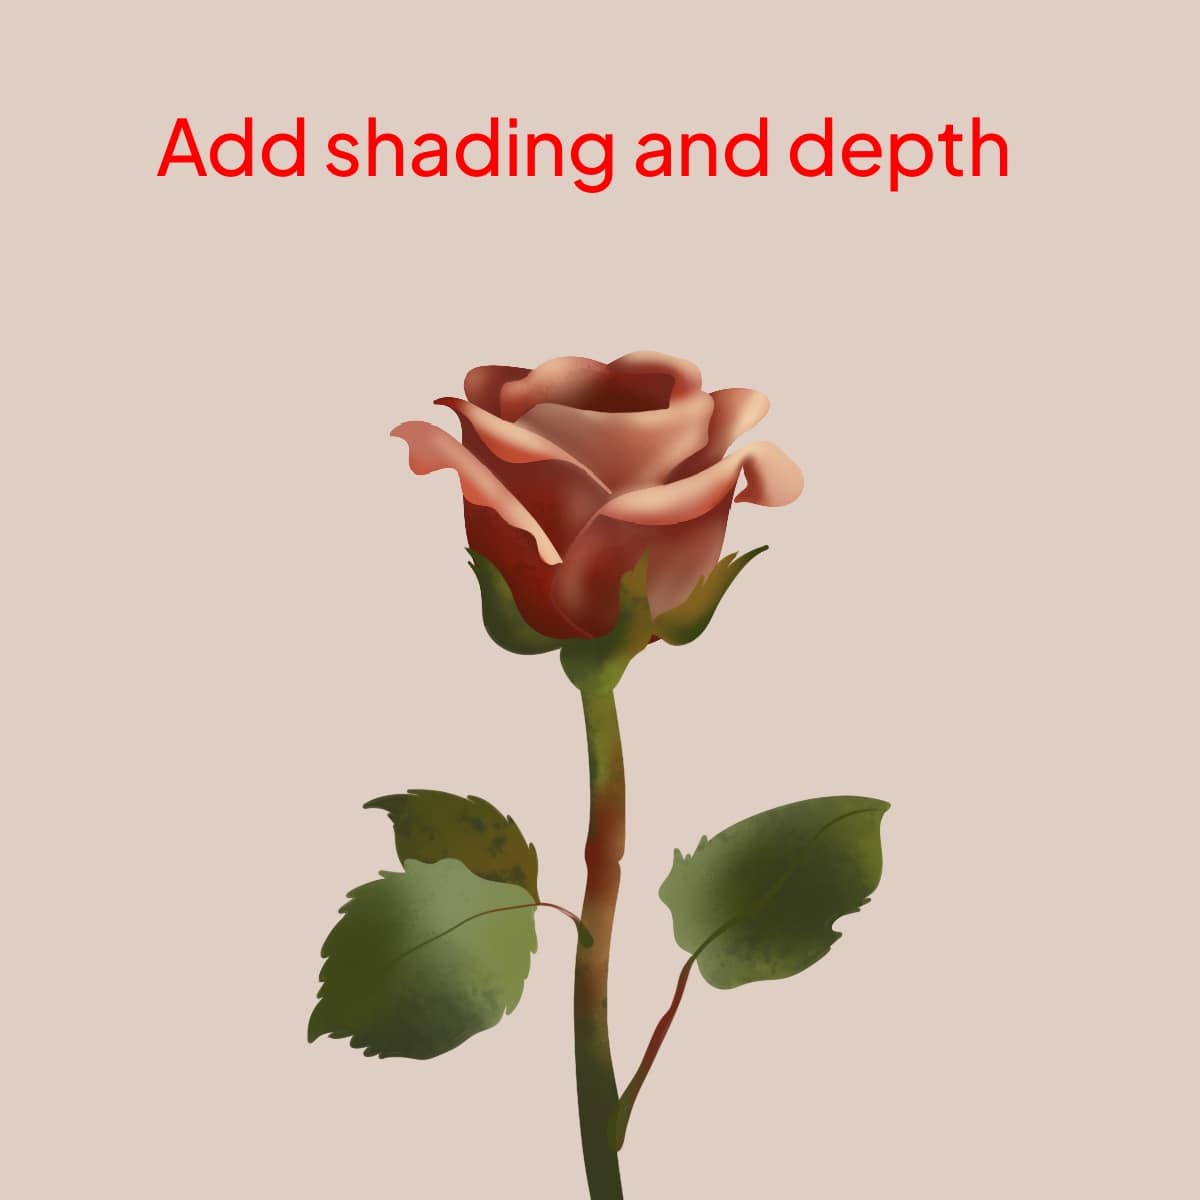
Use layers for different parts of your flower. This way, you can edit pieces individually without affecting the whole drawing.
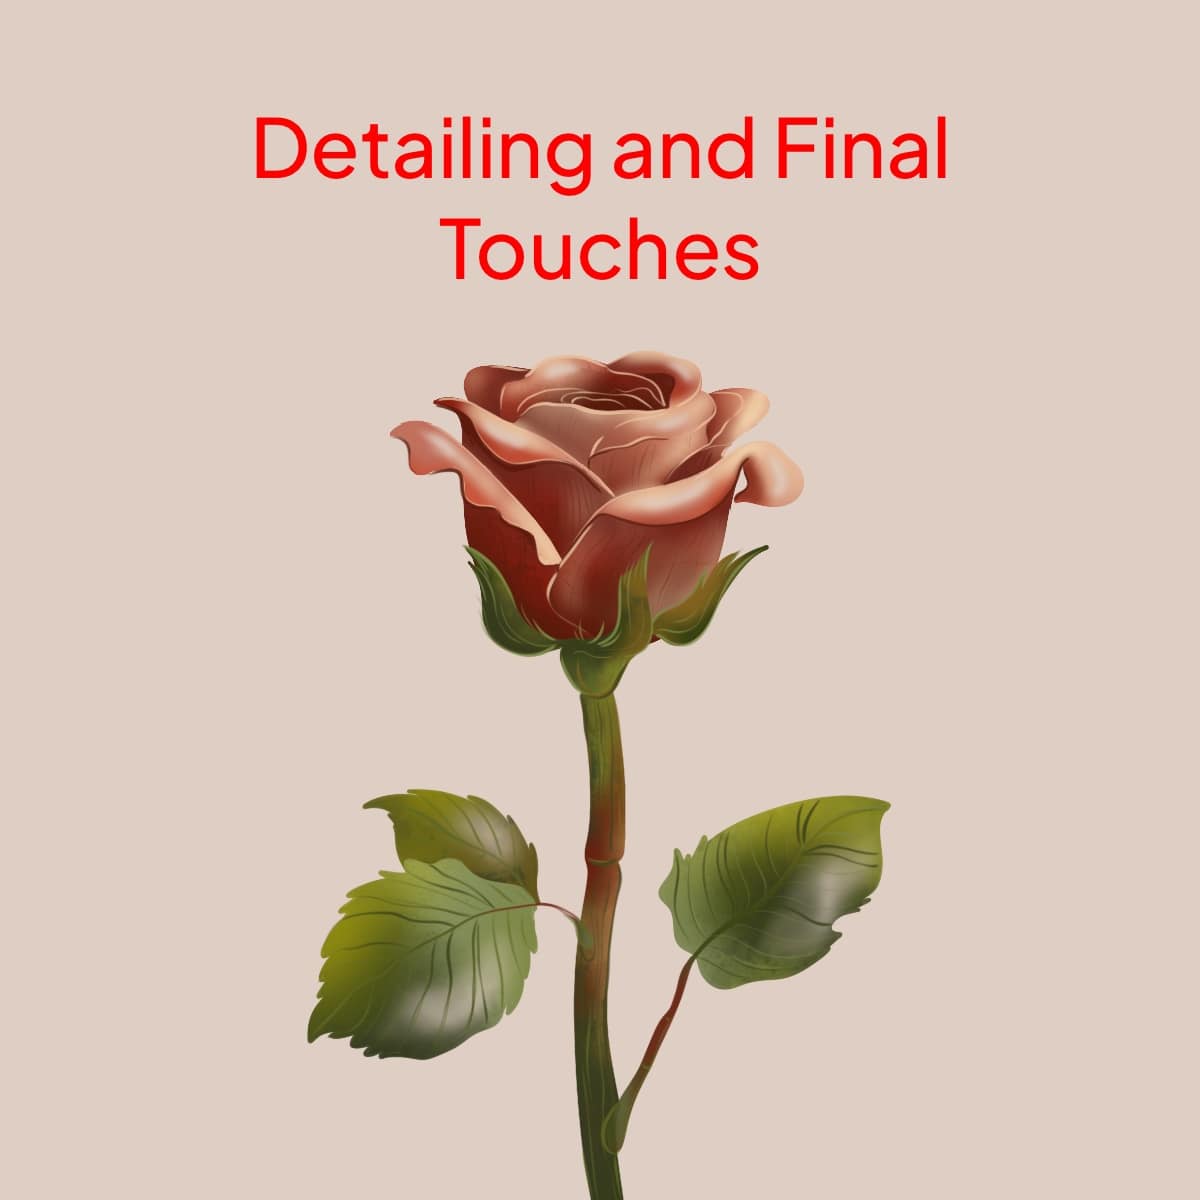
Detailing and Final Touches
Add fine lines for veins in the petals and leaves. It’s the little things that make a big difference.
Hope you liked the tutorial. Feel free to share your work with us, and let us know if you have any questions/suggestions. Happy creating!
Look at your flower as a whole. Make any necessary adjustments to ensure everything looks cohesive and balanced.


Share this article


