Best Way To Create Stamp Brush in Procreate
Have you ever thought about leaving your unique mark on the digital world? Well, creating a custom stamp brush in Procreate is like forging your own digital signature – only less legally binding and more fun!
Whether you’re branding your artwork or just adding a personal touch, I’m here to guide you through making your very own stamp brush. Let’s turn your creative ideas into a one-of-a-kind Procreate tool! Before diving in, explore our wide range of Procreate stamp brushes to get inspired or complement your custom creations.
What are Stamp Brushes?
Stamp brushes in Procreate are essentially custom brushes that apply a specific shape or pattern in a single tap. They’re incredibly useful for adding consistent motifs, logos, or signatures to your digital artwork.
Why Create Your Own?
The beauty of Procreate lies in its customization. By creating your own stamp brushes, you can:
- Personalize Your Work: Add a unique flair to your art.
- Improve Efficiency: Speed up your workflow by applying recurring elements quickly.
- Enhance Consistency: Maintain uniformity in your designs with ease.
So, without further ado, let’s create your own custom stamp brush!

Step 1: Ideation and Design
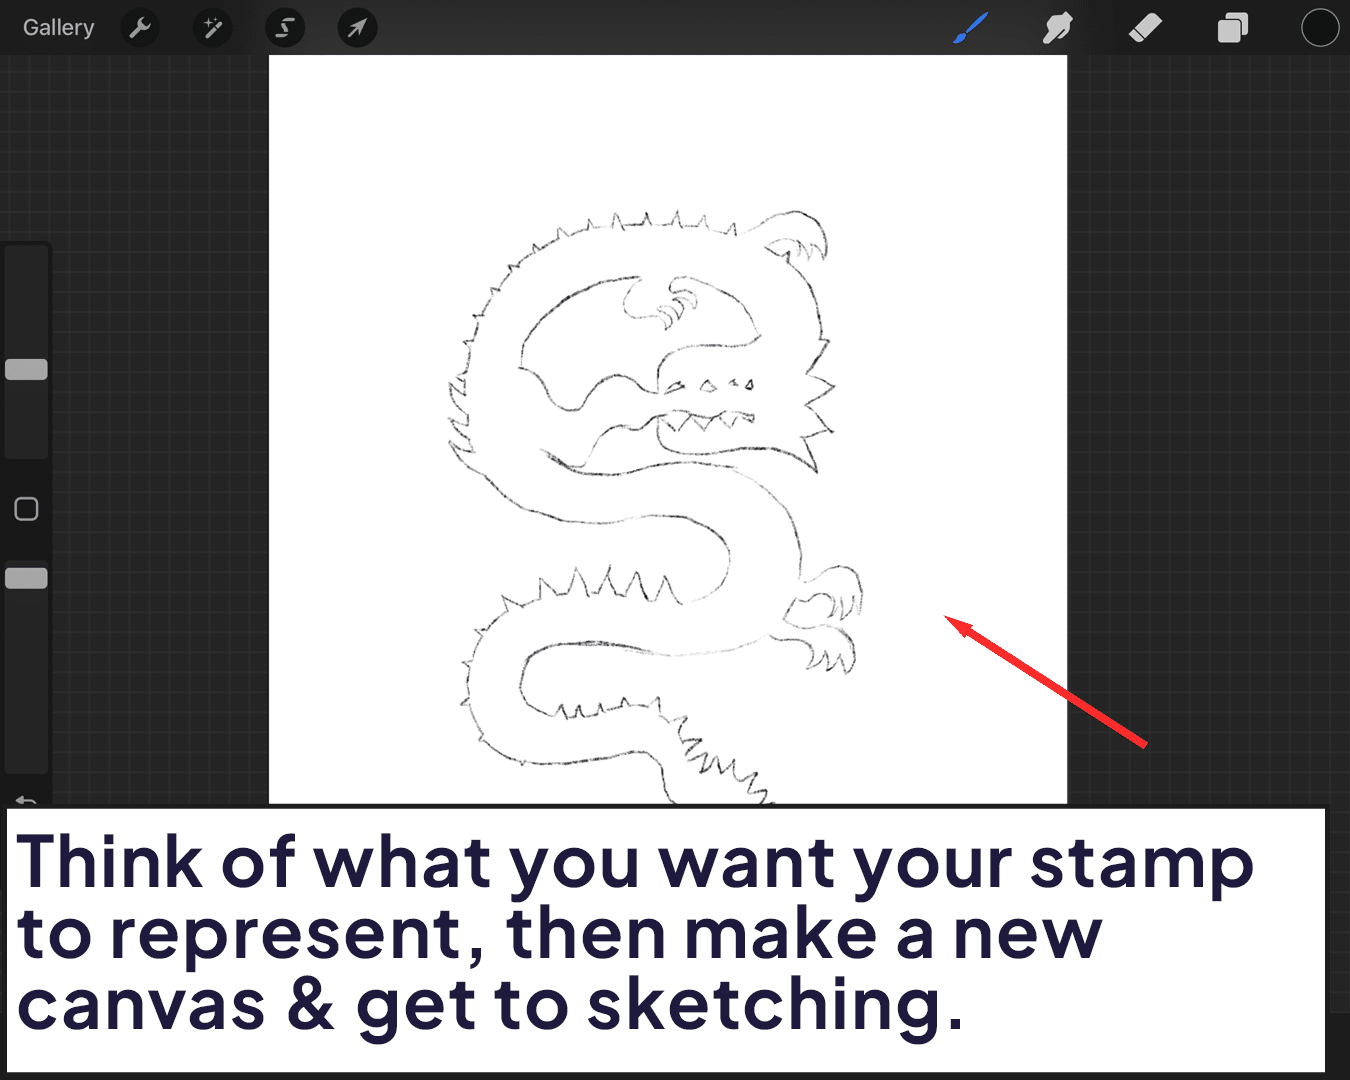
Conceptualize Your Stamp: Start by brainstorming what you want your stamp to represent. It could be anything from your signature to a favorite symbol.
Sketch It Out: Open a new canvas in Procreate and sketch your design. Remember, the clearer your sketch, the better your stamp will turn out.
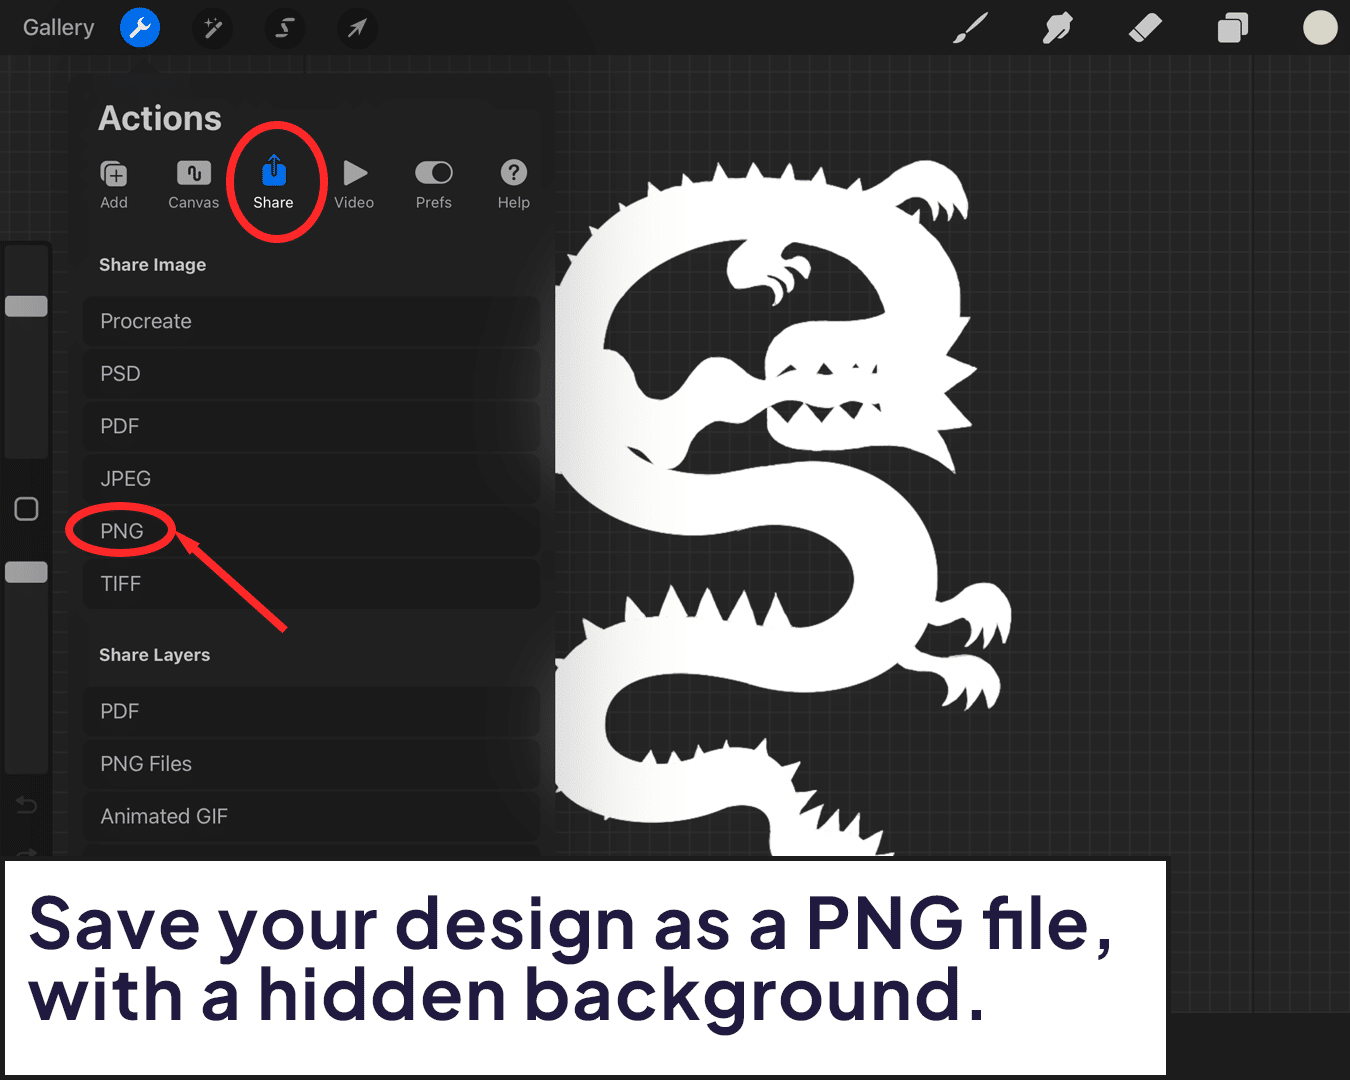
Step 2: Refining Your Design
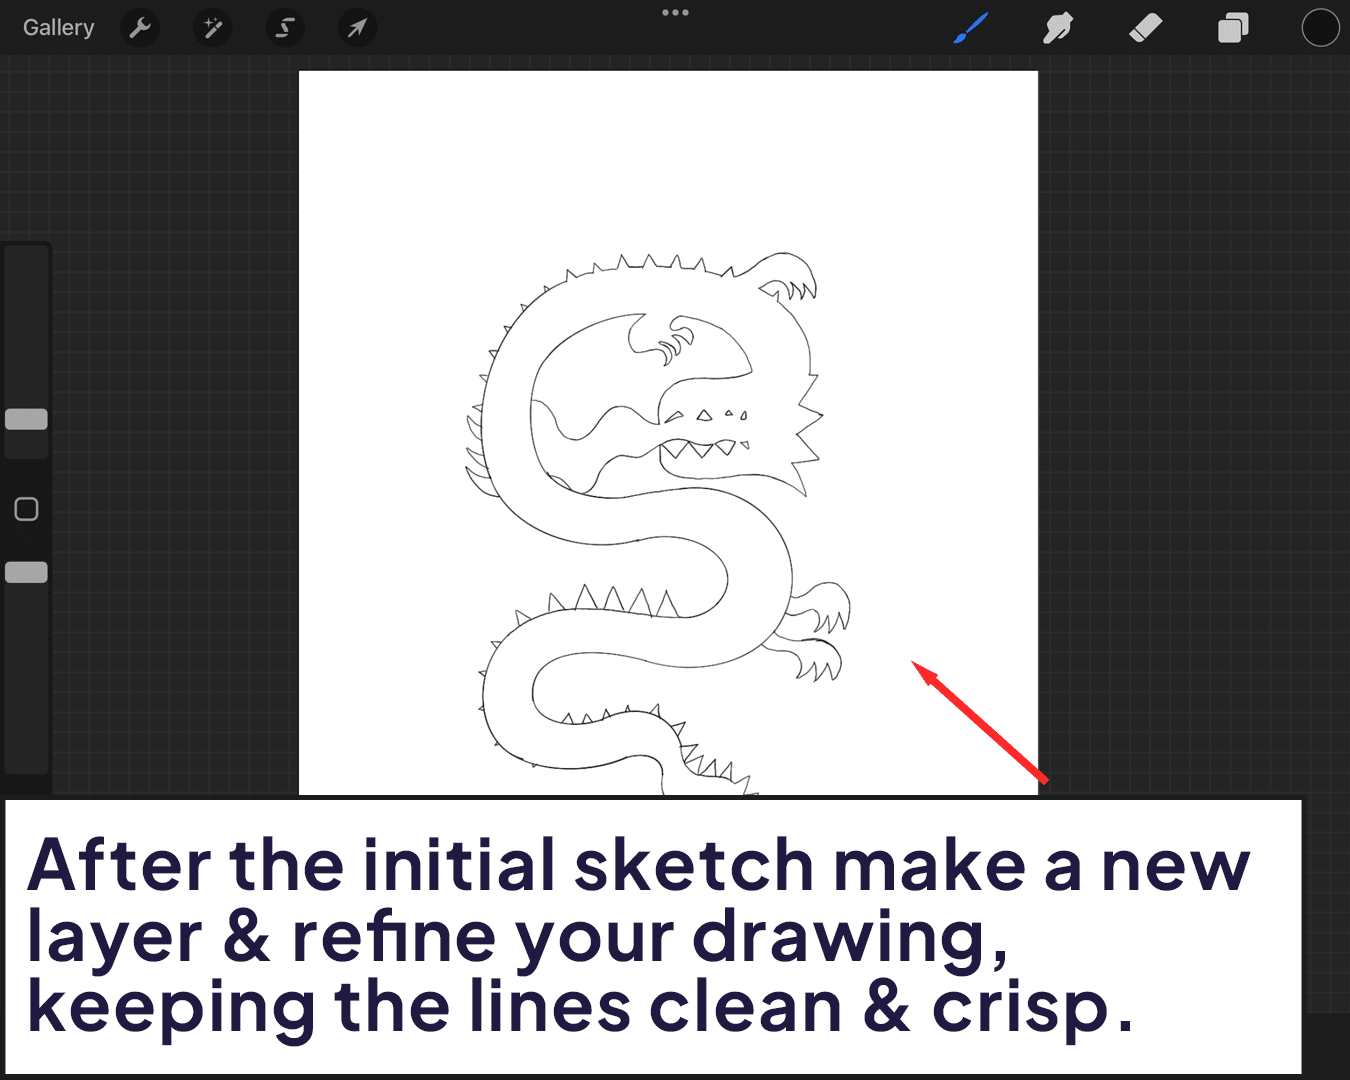
Fine-Tuning: Once you’re happy with your sketch, refine it. Use clean lines and make sure it’s exactly how you want your stamp to look.
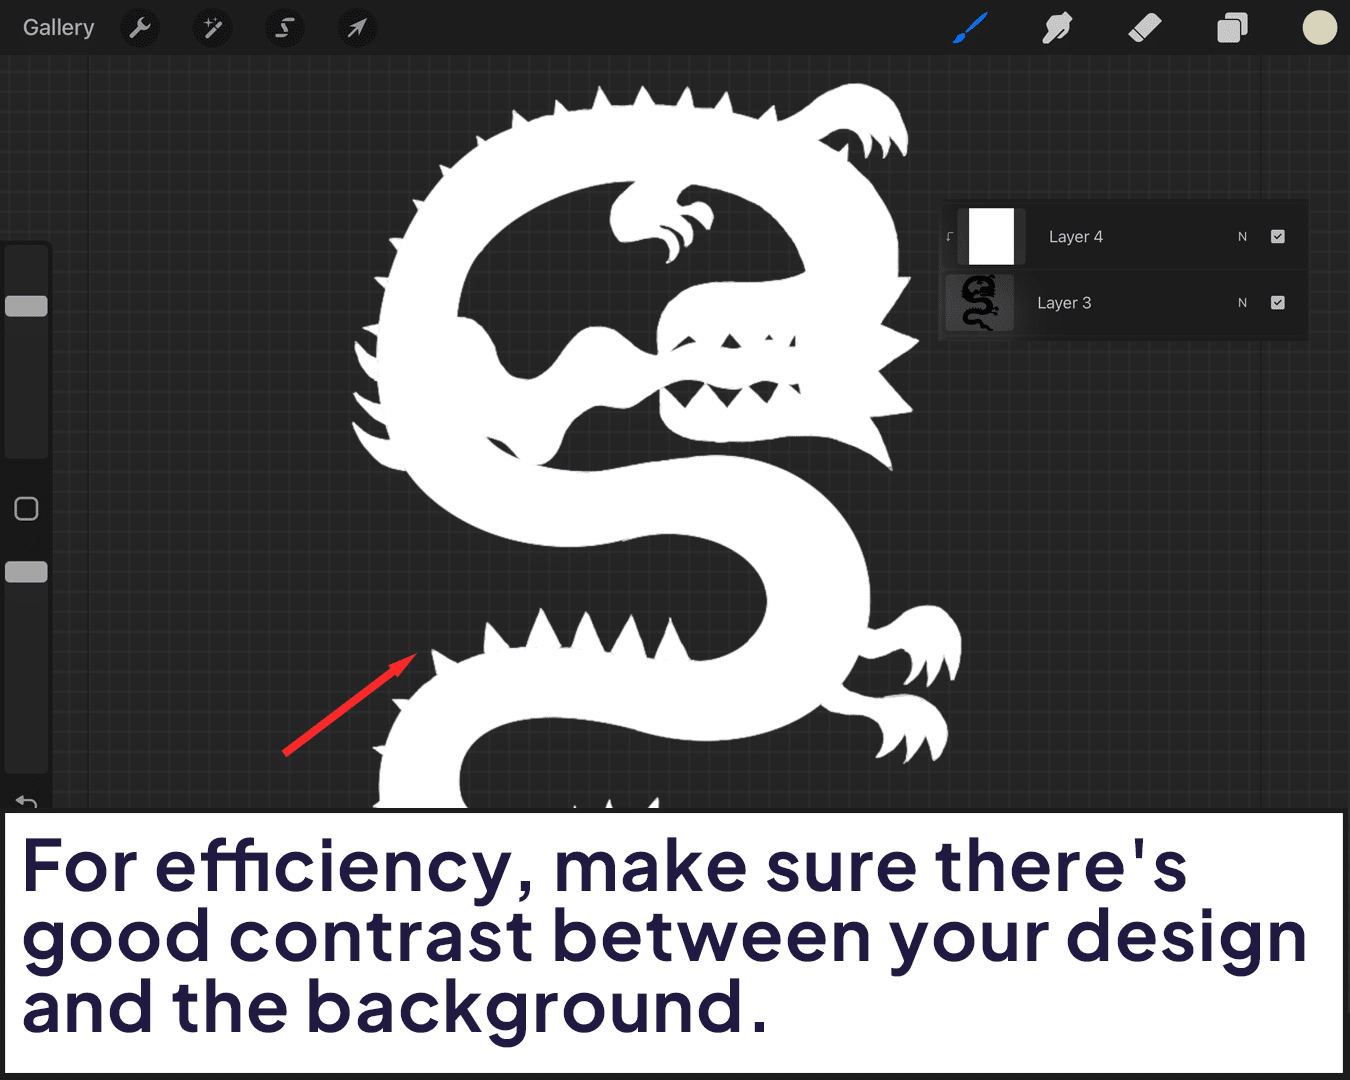
Contrast is Key: Ensure there’s good contrast between your design and the background. This will make your stamp more effective.
Step 3: Creating the Brush
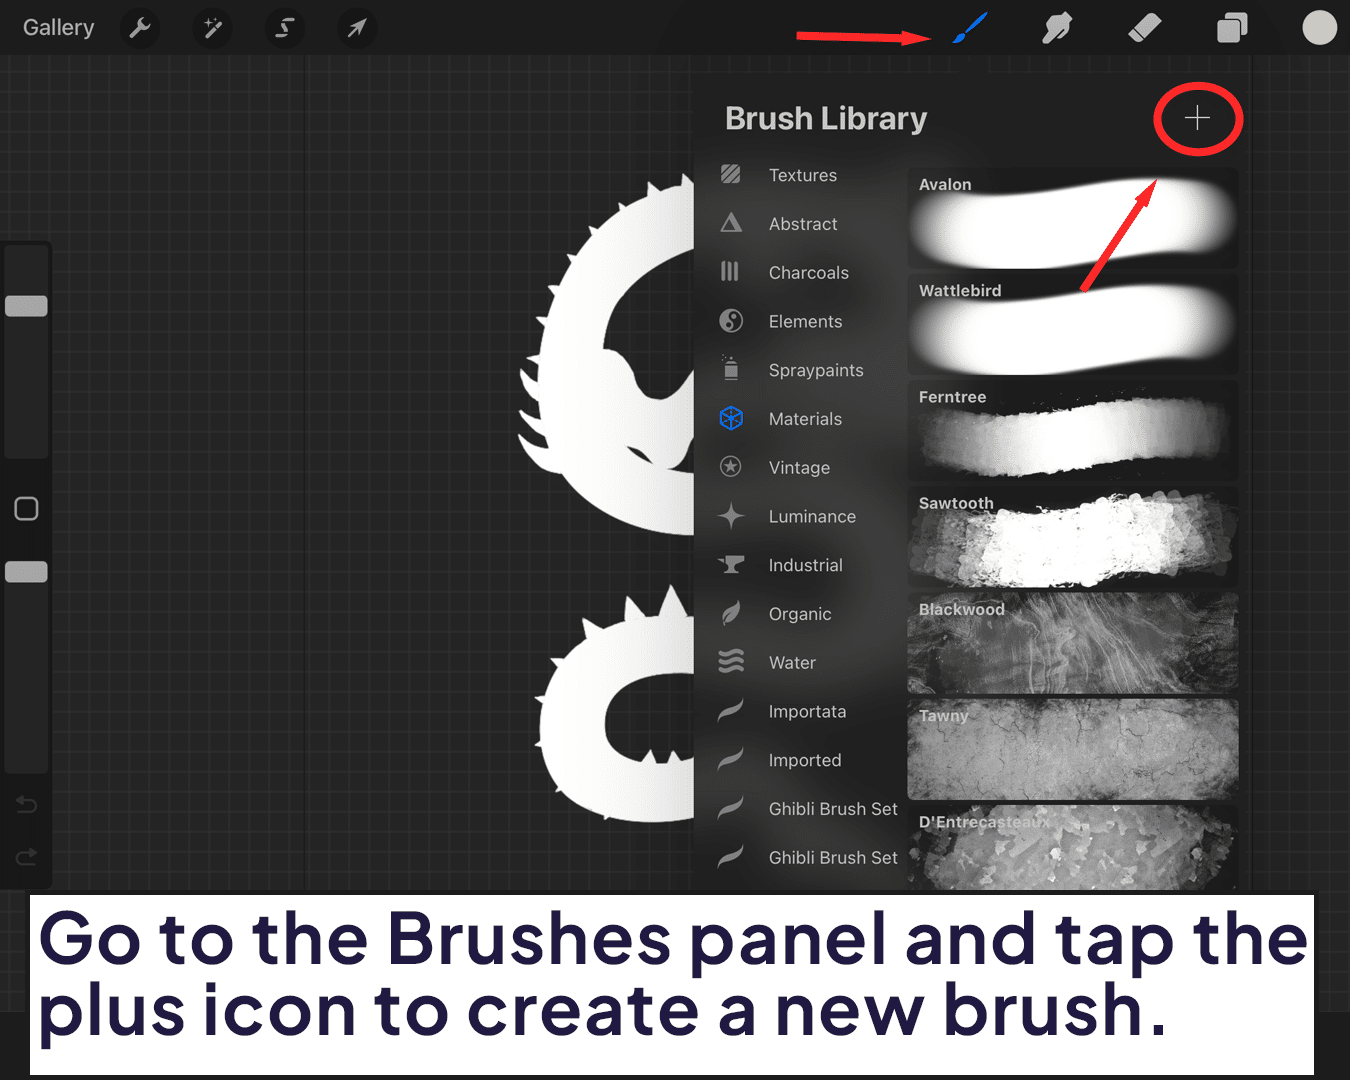
New Brush Time: Go to the Brushes panel and tap the plus icon to create a new brush.
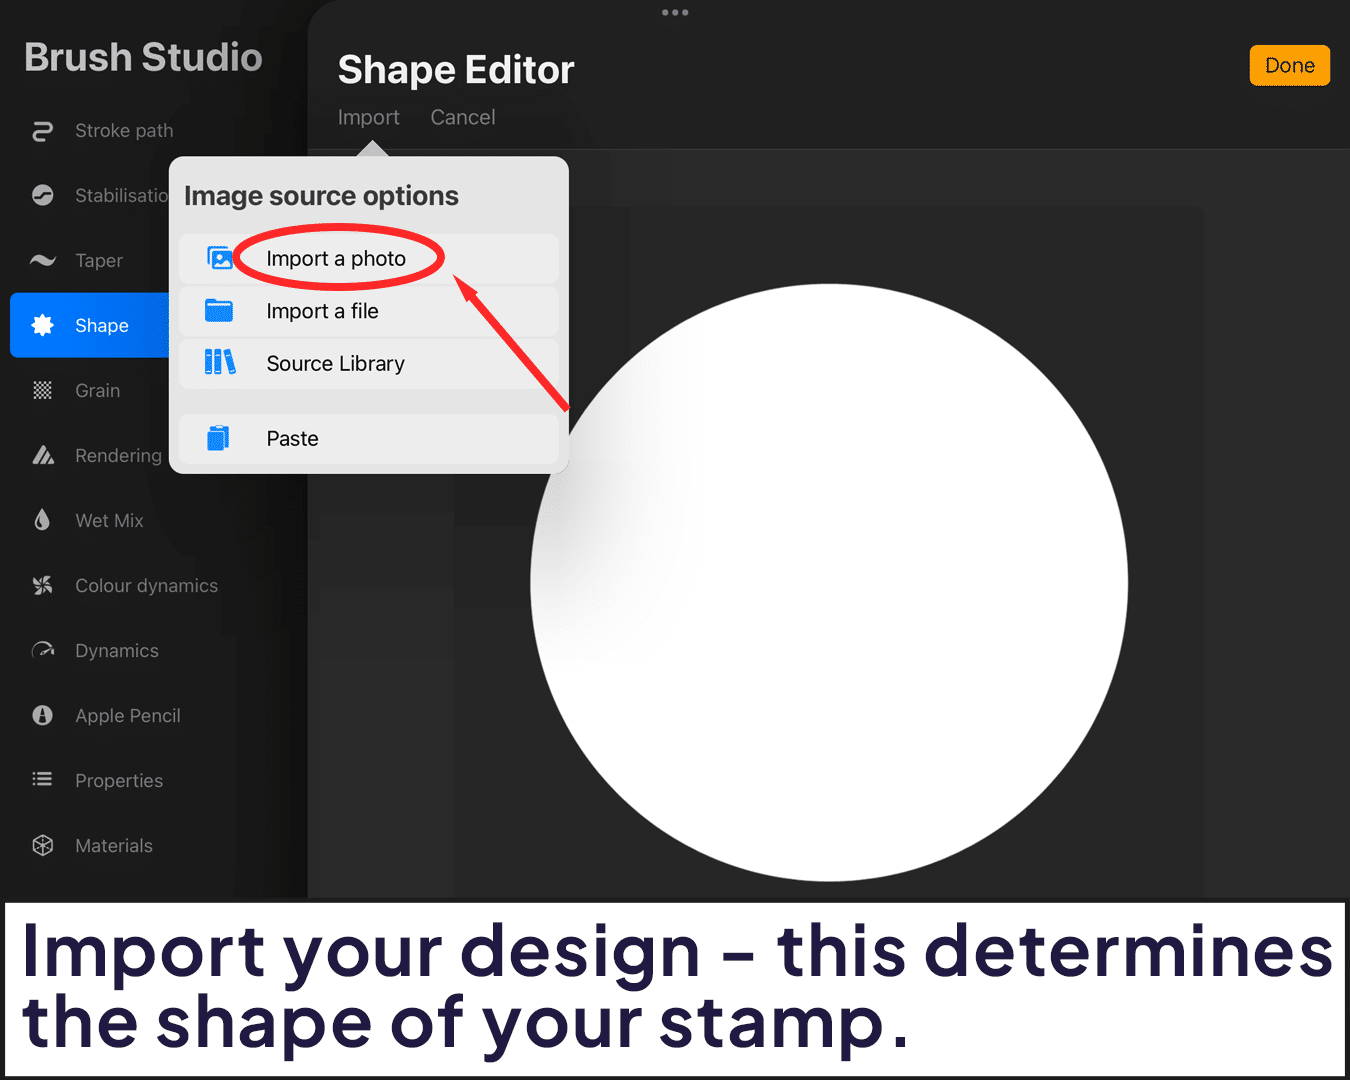
Shape Source: Import your design as the ‘Shape Source’. This determines the shape of your stamp.
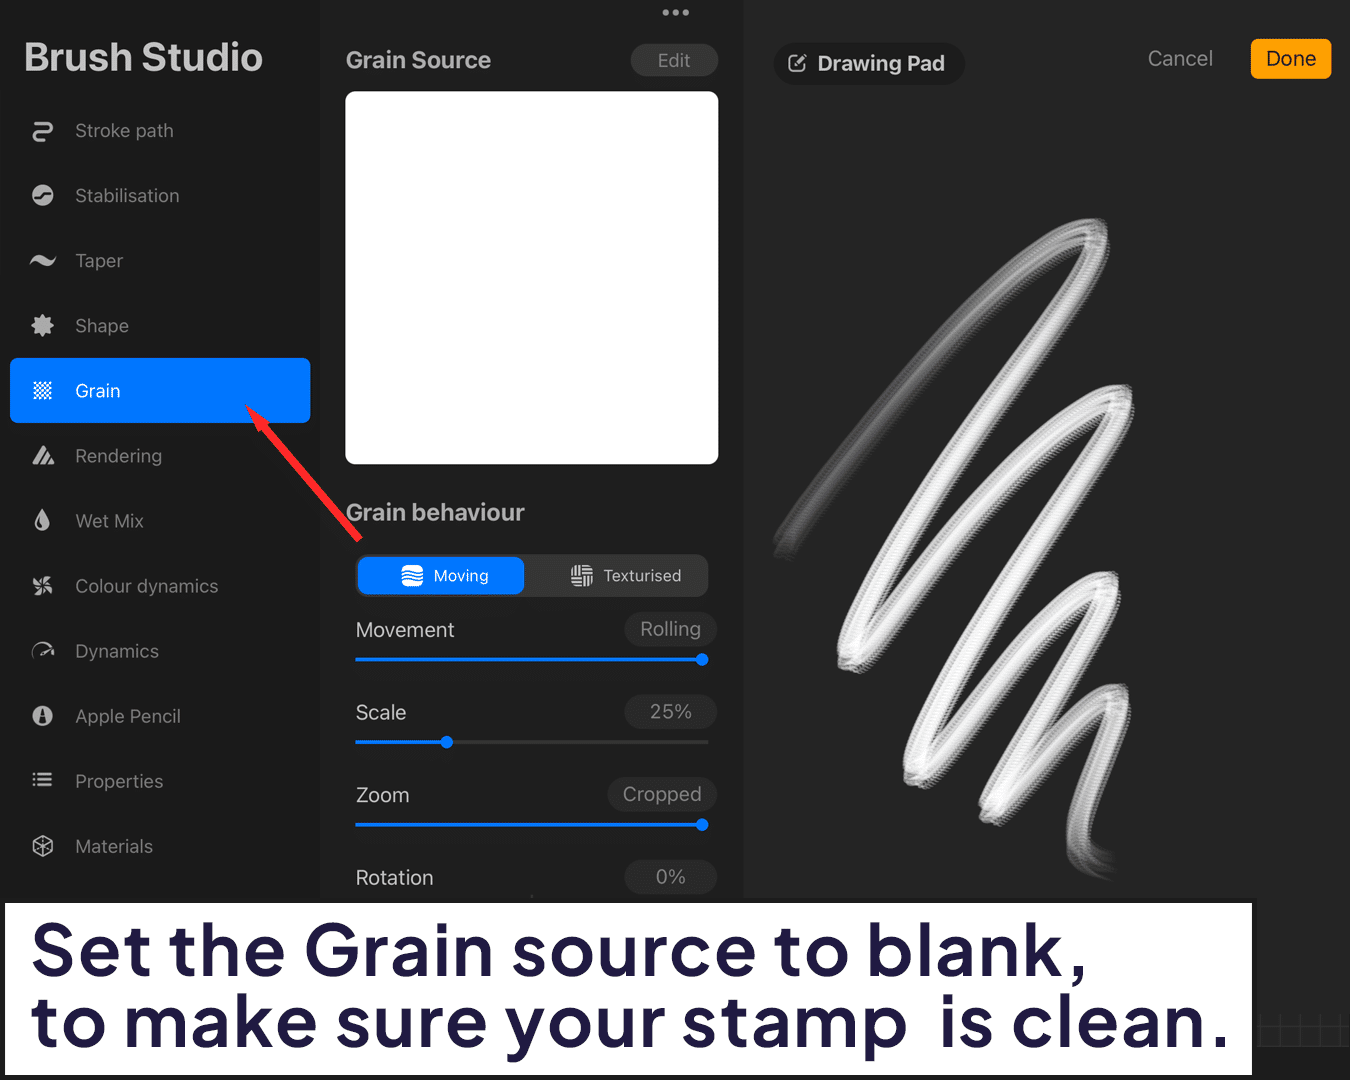
Grain Source: Set the ‘Grain Source’ to ‘Blank’. This ensures your stamp isn’t textured, keeping it crisp and clear.
Step 4: Adjusting Brush Settings
Spacing: Adjust the spacing to 0%. This makes sure your stamp doesn’t repeat when you press down.
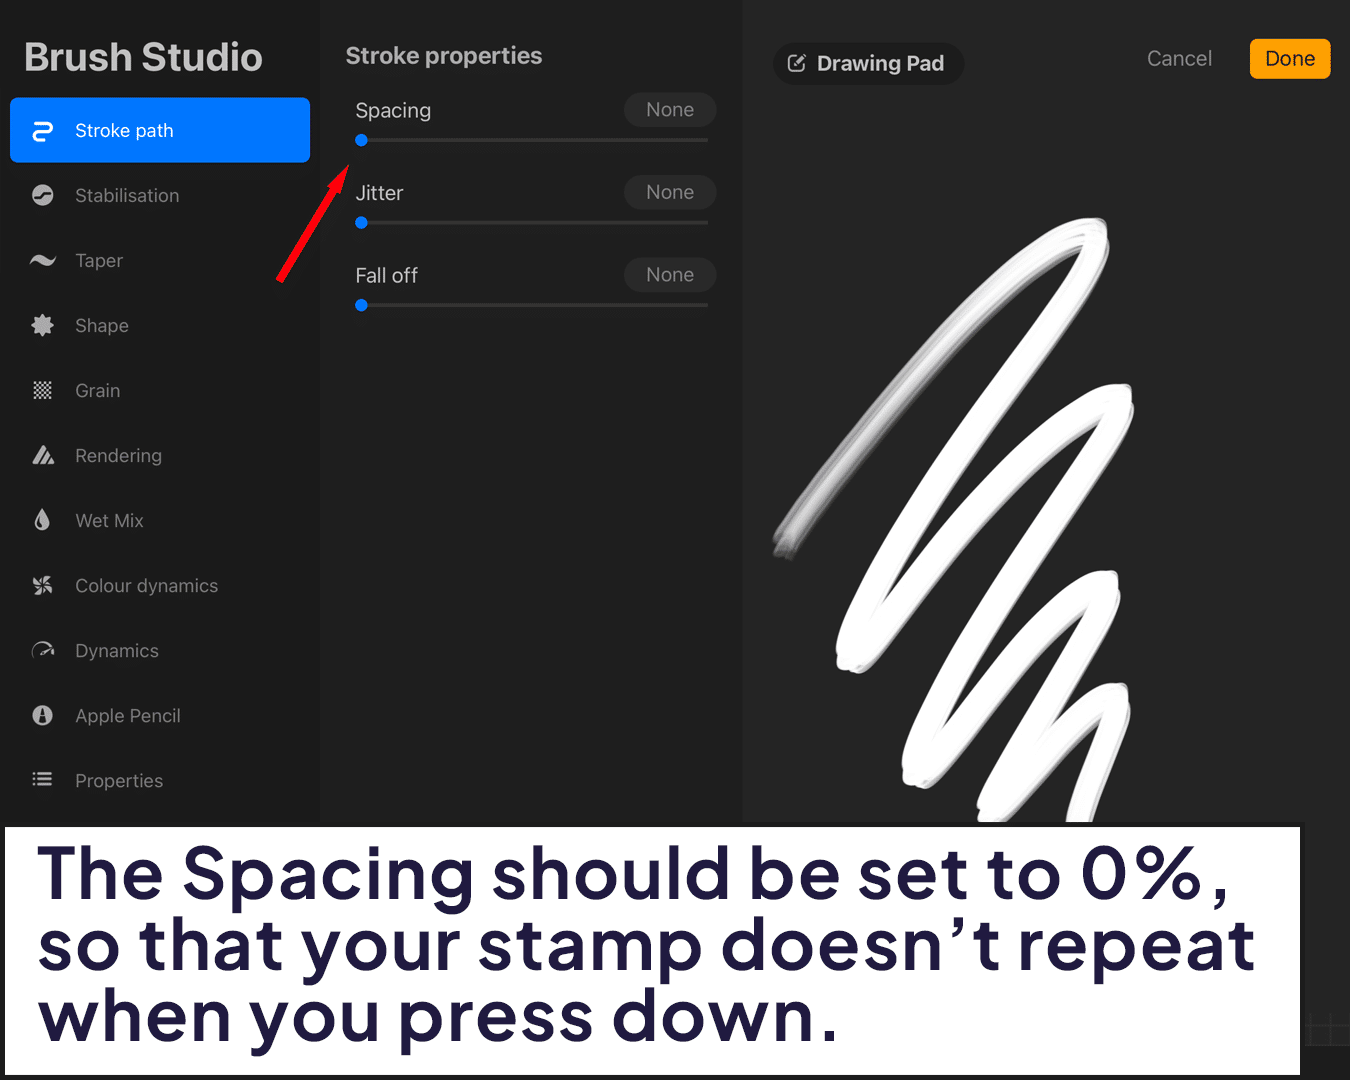
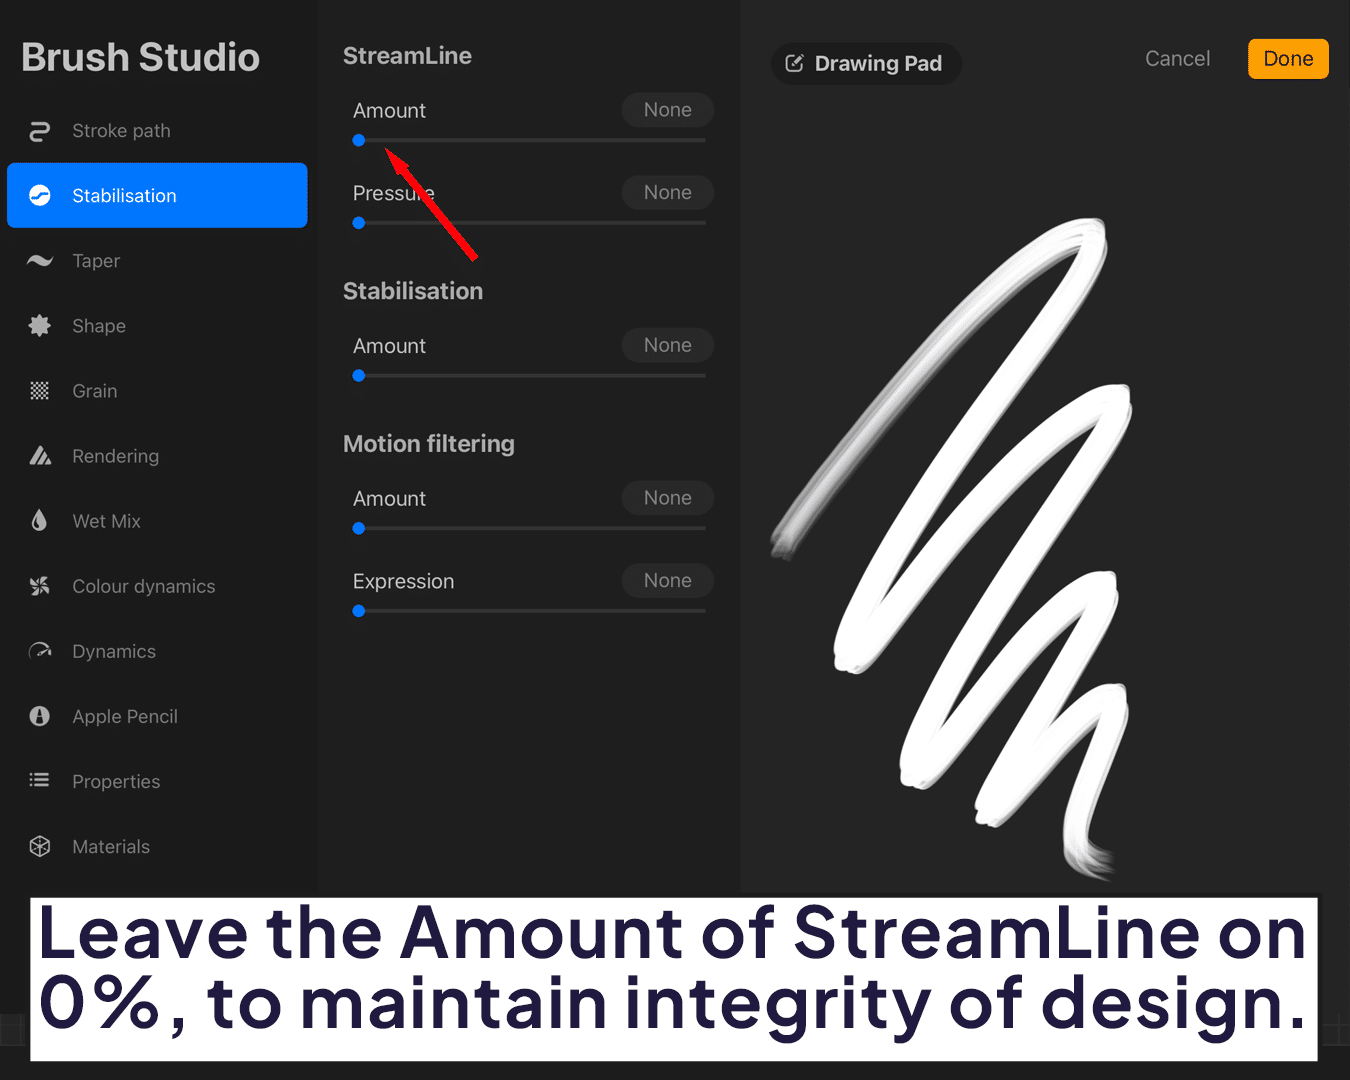
Streamline and Jitter: Set these to 0% as well to maintain the integrity of your design.
Step 5: Testing and Tweaking
Trial Run: Test your new stamp brush on a different canvas. Does it look like you envisioned?
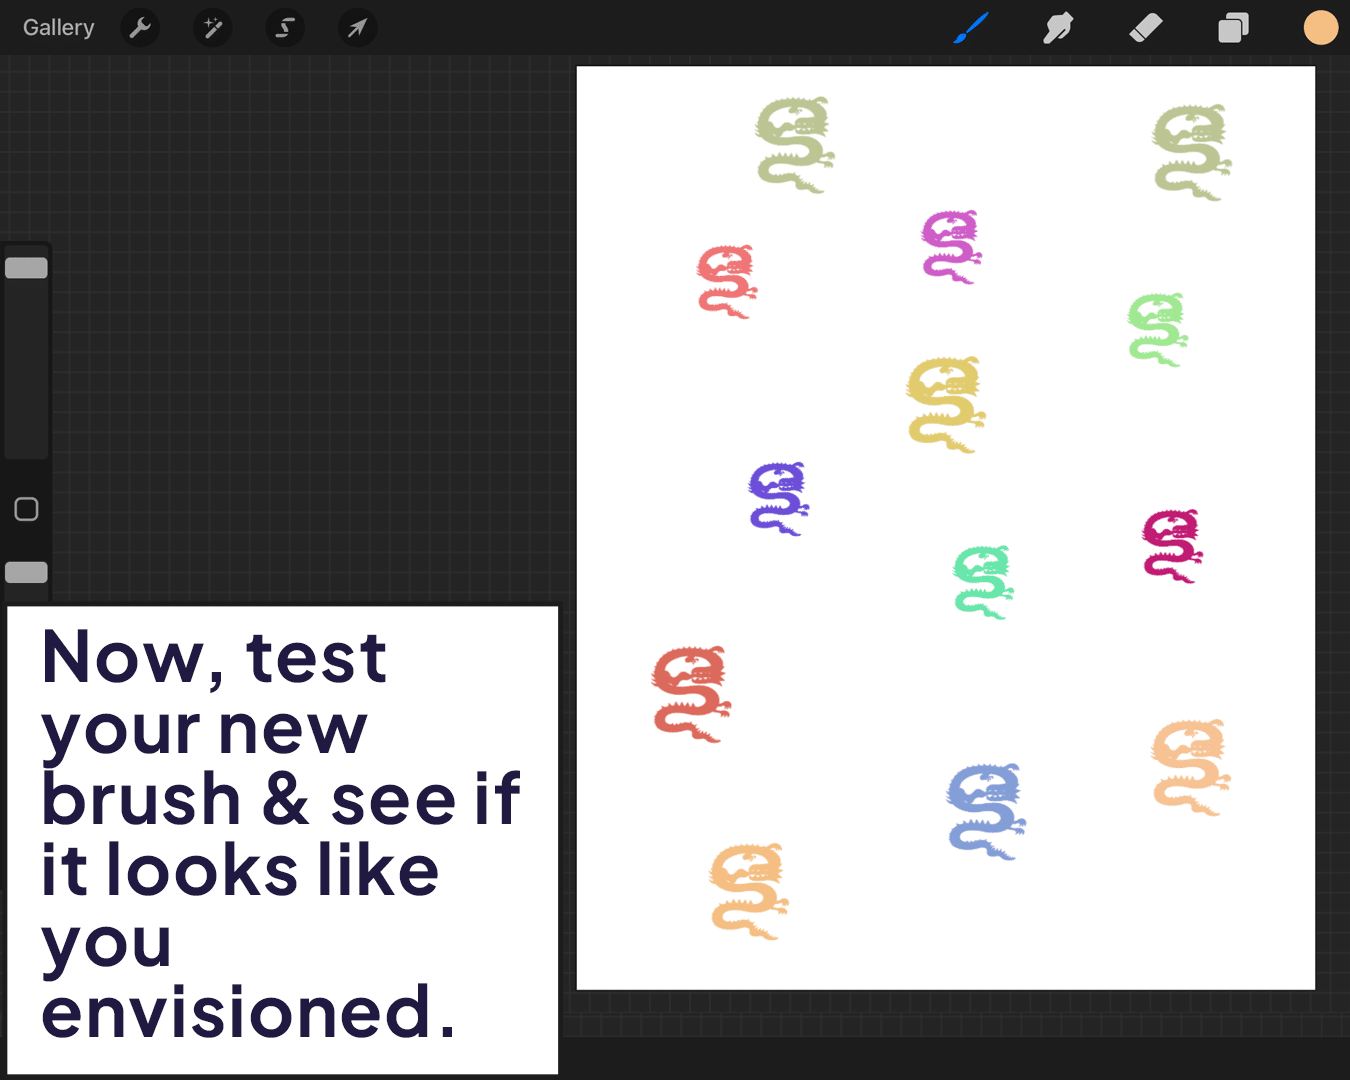
Adjust as Needed: If it’s not quite right, go back and tweak the settings. Sometimes the smallest adjustments make the biggest difference.
Step 6: Saving and Using Your Stamp
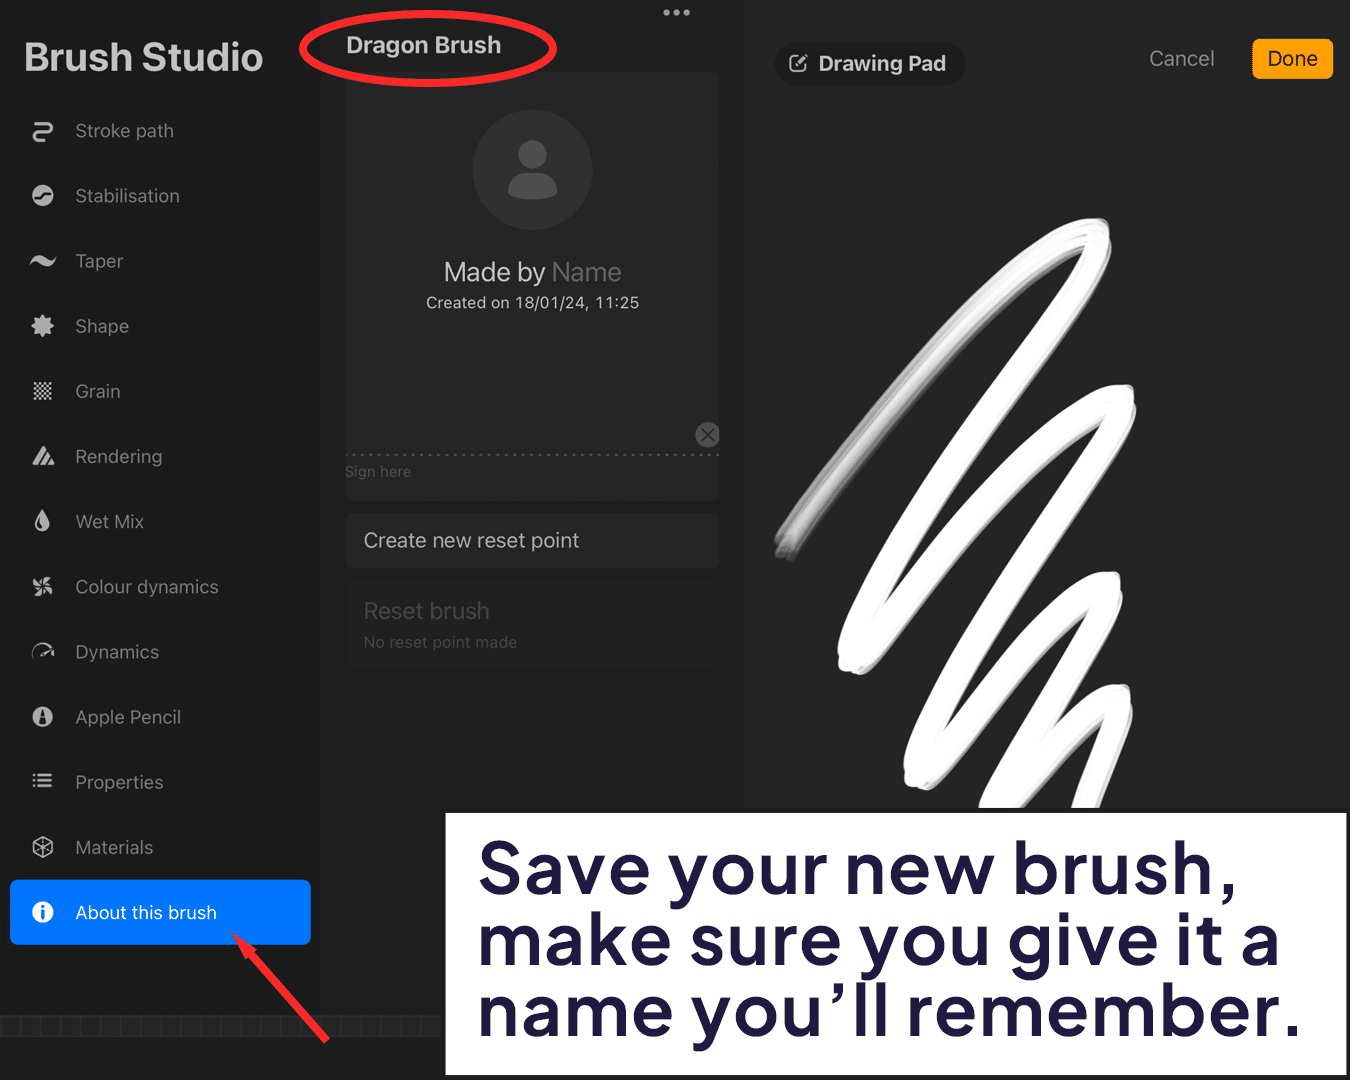
Save Your Brush: Once satisfied, don’t forget to save your brush. Give it a name that you’ll remember.
Application: Now, you can use your custom stamp to sign your artwork or add it as a unique element in your creations.
You’ve now ventured through the basics of creating a custom stamp brush in Procreate. With your custom stamp brush saved, it’s time to integrate it into your art projects.
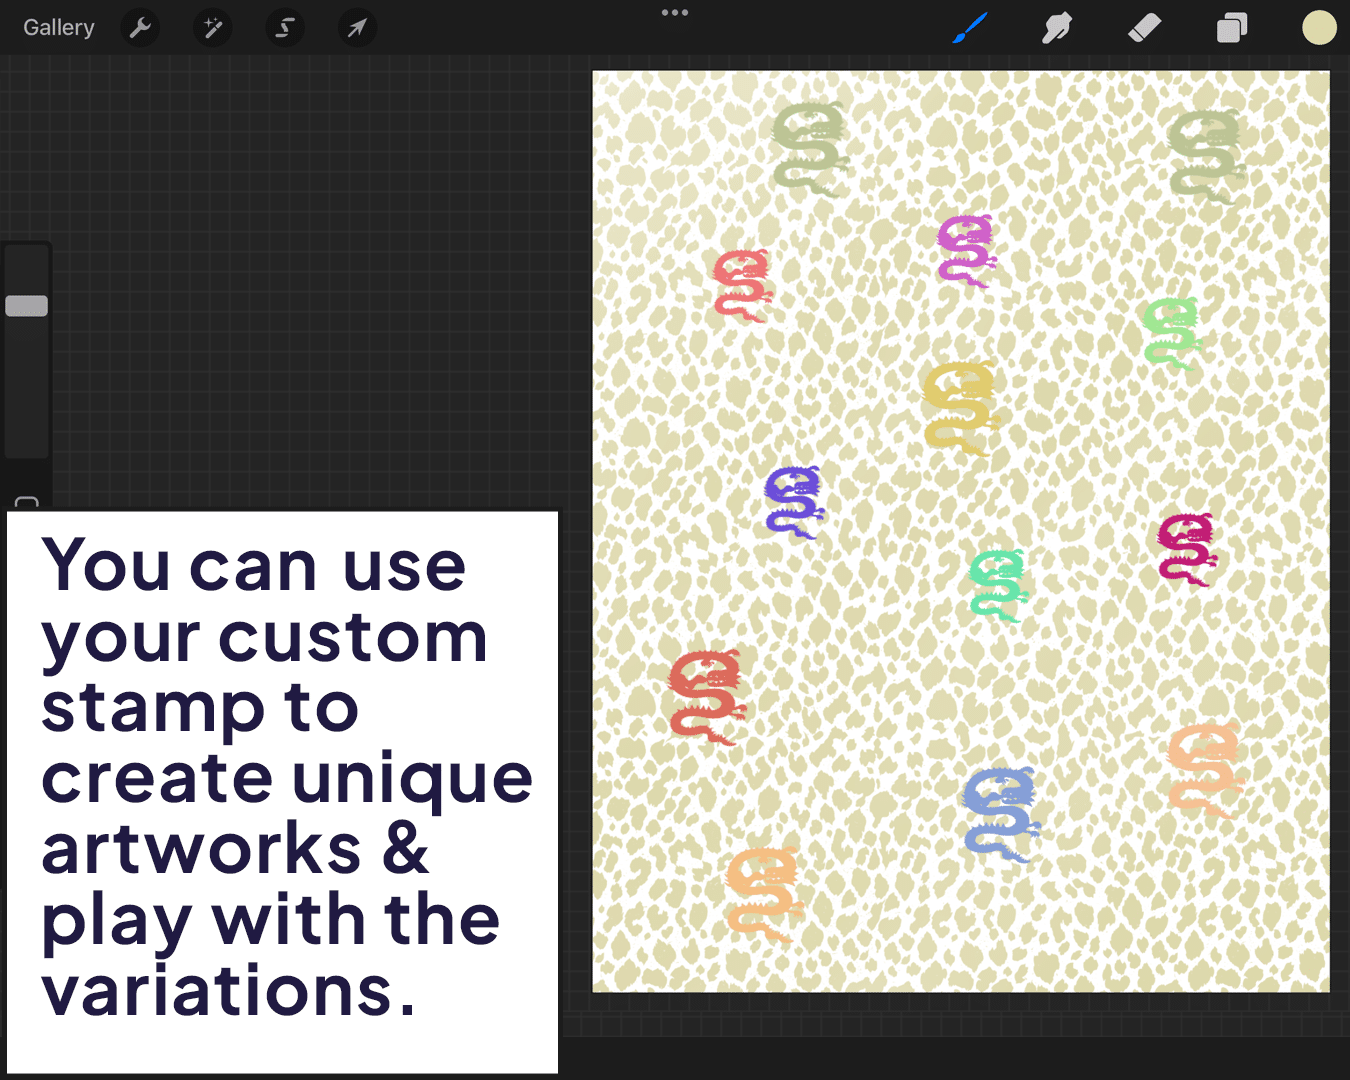
Creating a custom stamp brush in Procreate not only adds a personal touch to your artwork but also opens up a world of creative possibilities.


