How To Make Stickers In Procreate
How To Make Stickers in Procreate On The Ipad
Making stickers in Procreate is one of the most fun ways you can use the Procreate app to make money or maybe even start your own little online shop! Or even just make them for yourself if you want to!
So, in this blog post, we are going to show you how we make stickers in Procreate. It is going to be pretty fun and easy, so keep on reading!
We are going to show you how to tweak the stickers’ design whether you are:
- Cutting The Stickers by Hand Using A Handy Pair Of Scissors.
- Using A Cutting Machine.
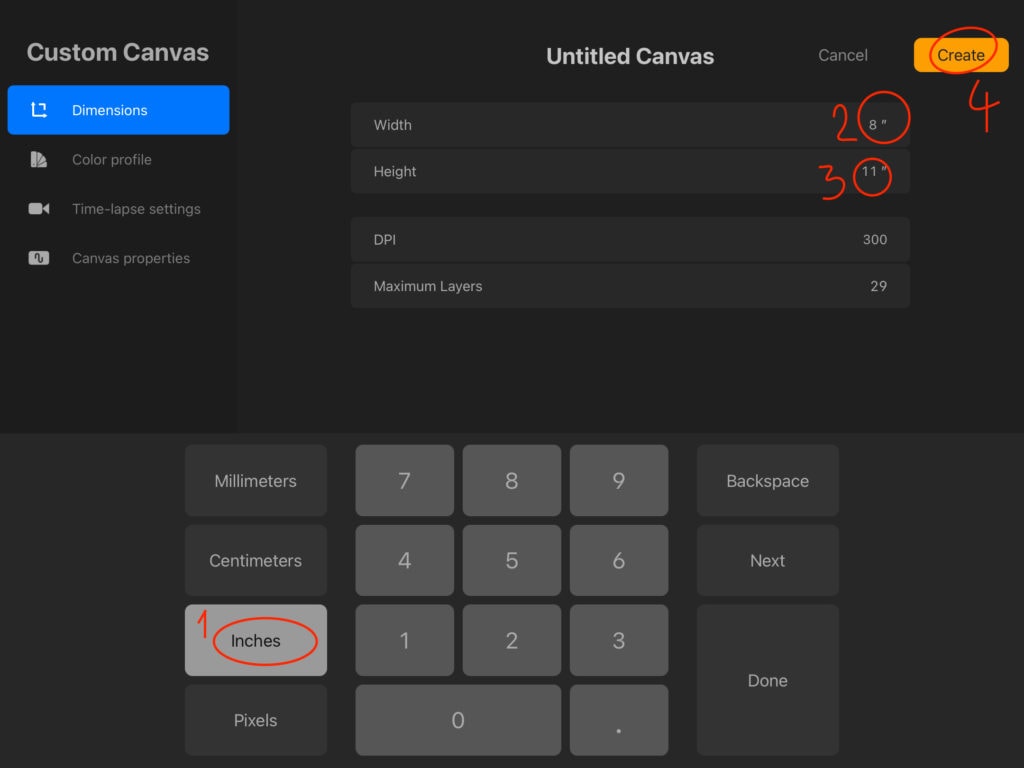
Start with a blank canvas of dimensions of an A4 paper since we will be printing it. We plan on printing two sticker sheets on one A4 page. Canvas dimensions should be as listed below.
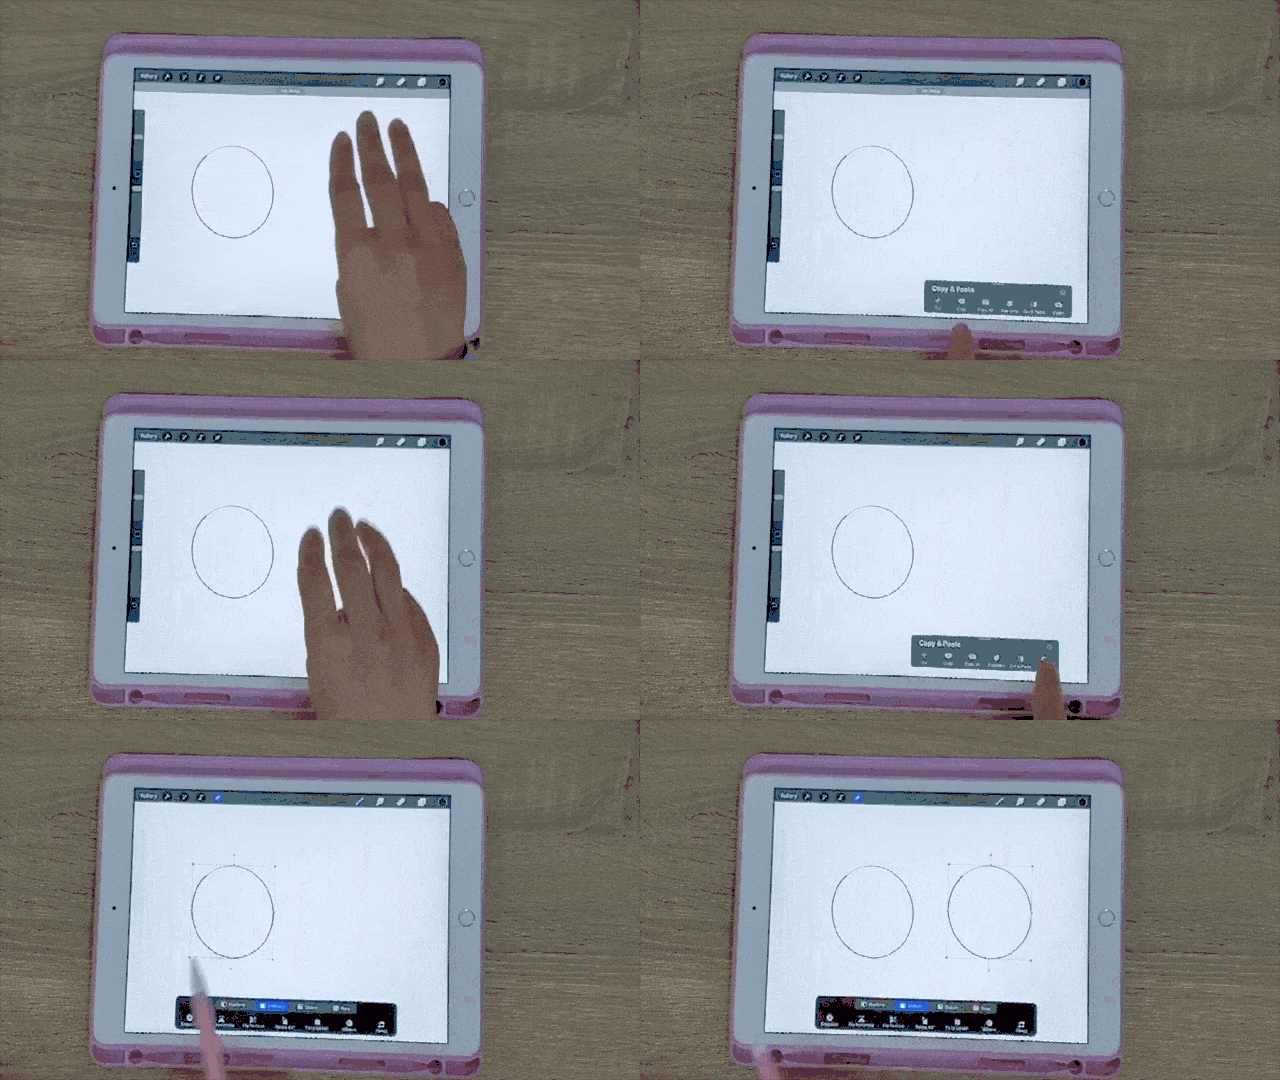
Now it is time we import our sticker sheet to that new A4 canvas. Swipe with three fingers to copy the layer where you have the sticker sheet that you created earlier. Then head over to the A4 blank canvas, swipe again, and paste.
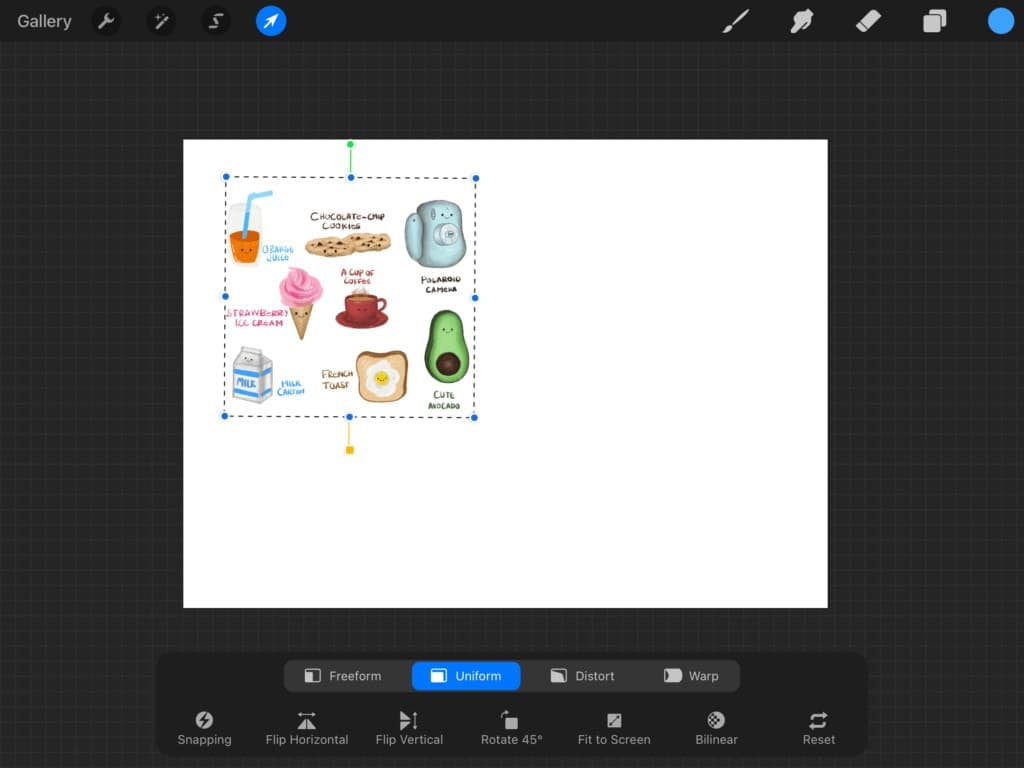
We are going to use the sticker sheet that we prepared previously. Feel free to use your pre-made artwotk.
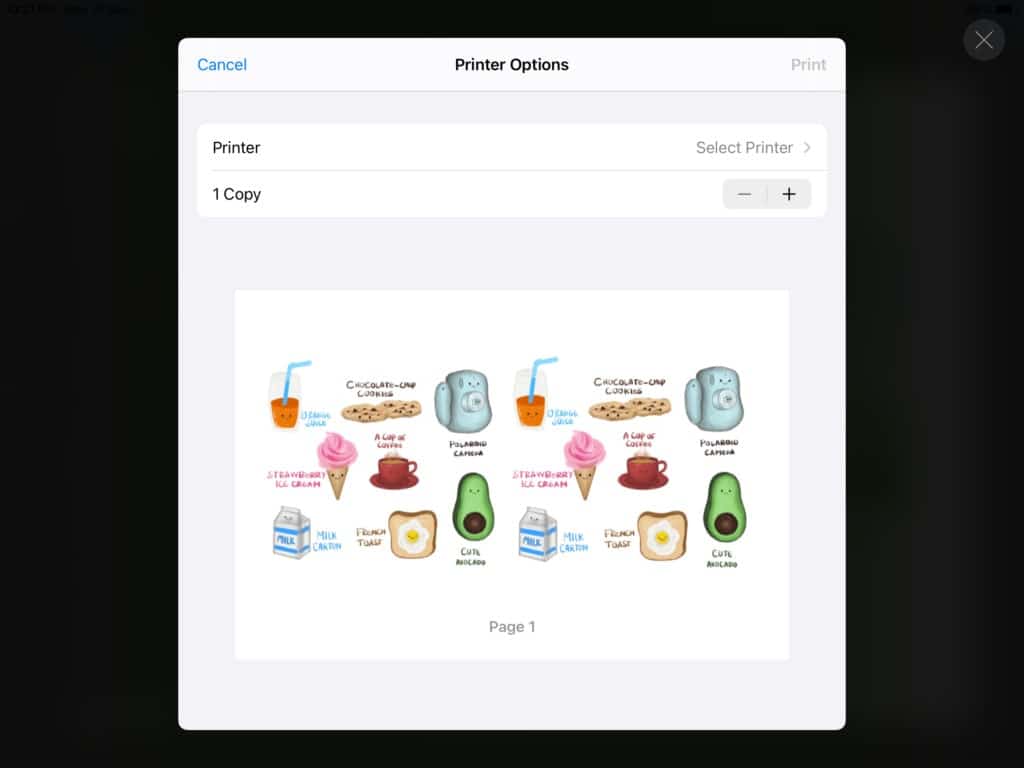
After importing your artwork, you are going to want to adjust your sticker sheet so that it fits only half of the A4 sheet since we want to print two sticker sheets per one A4 paper.
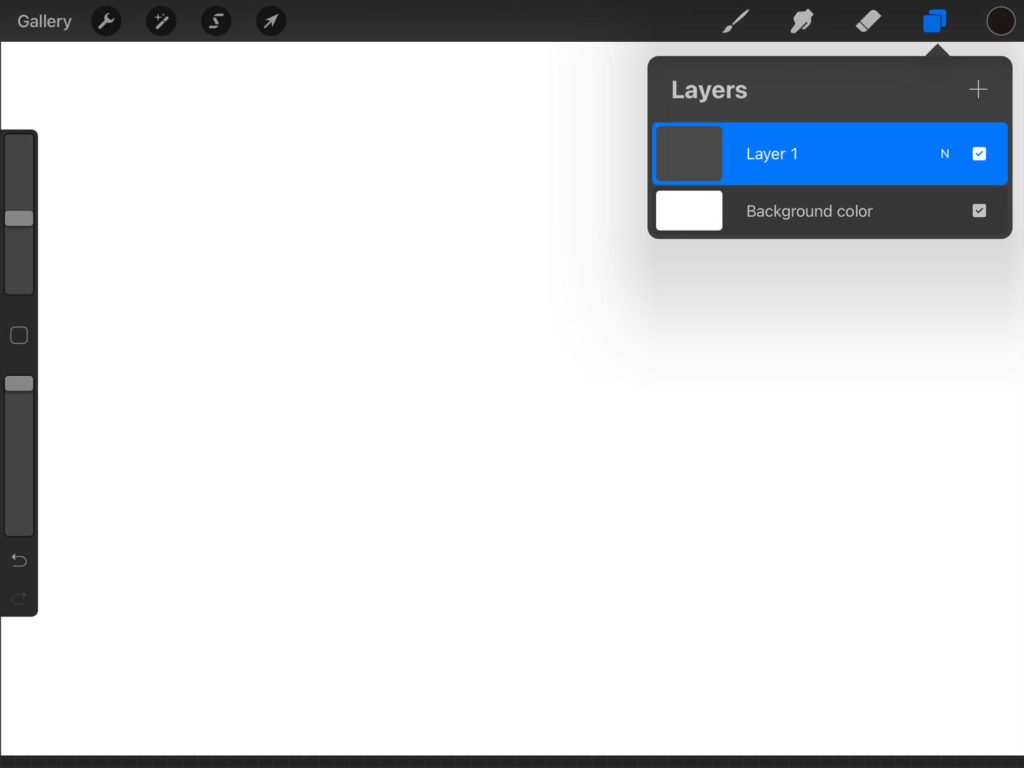
After that, go ahead to the “Layers” swipe the layer to the left, then select “Duplicate” to make another copy of your sticker layer.
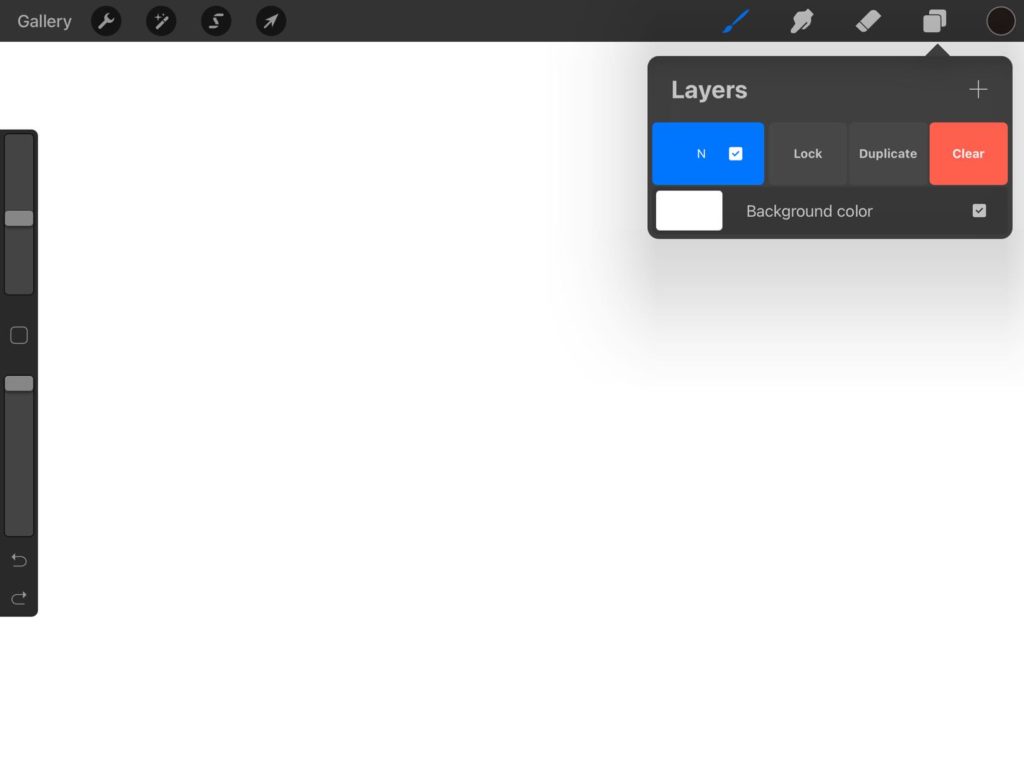
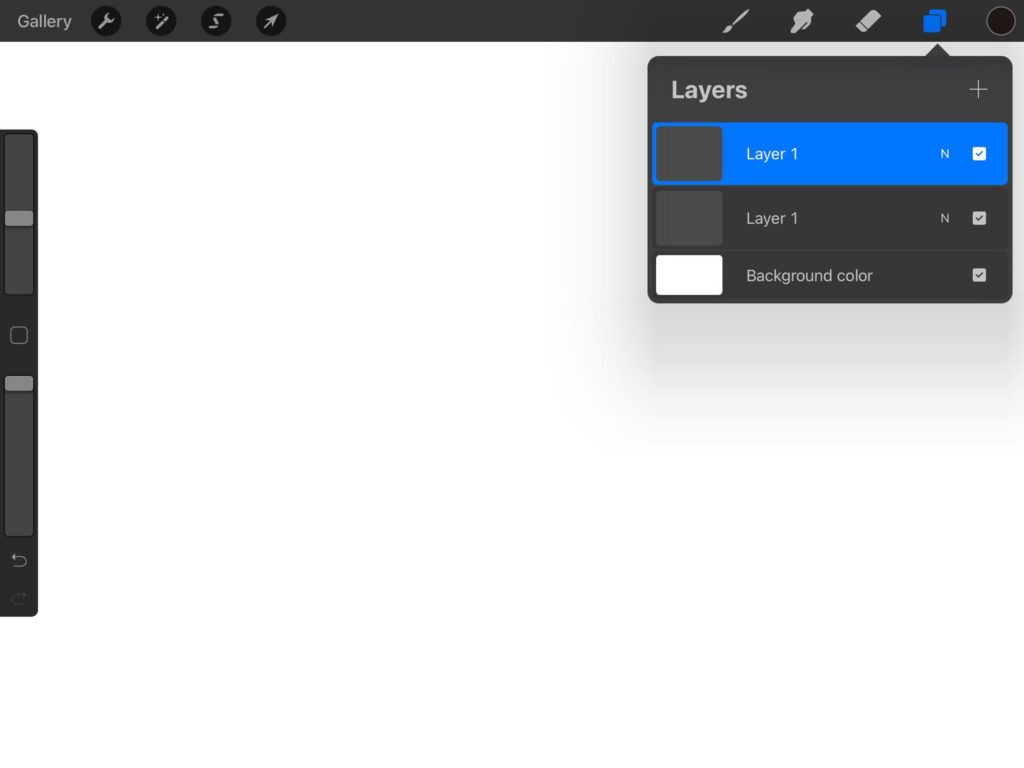
Select the new layer using the “Arrow” tool. Then move it to the other side of the canvas. Now we have two sticker sheets per page.
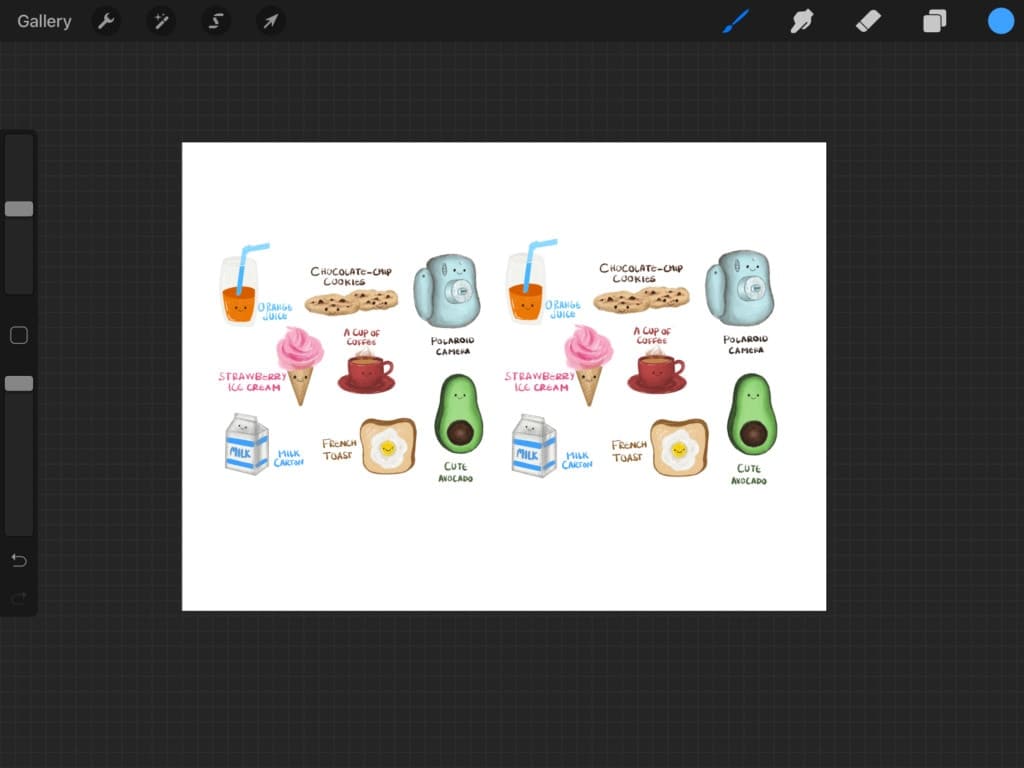
Now our stickers are almost ready!
Cutting By Hand
So, if you are going for cutting by hand, it is going to be pretty easy! What you will have to do is open up the “Actions” menu, choose “Share”, then select “JPEG“, then “Print“.
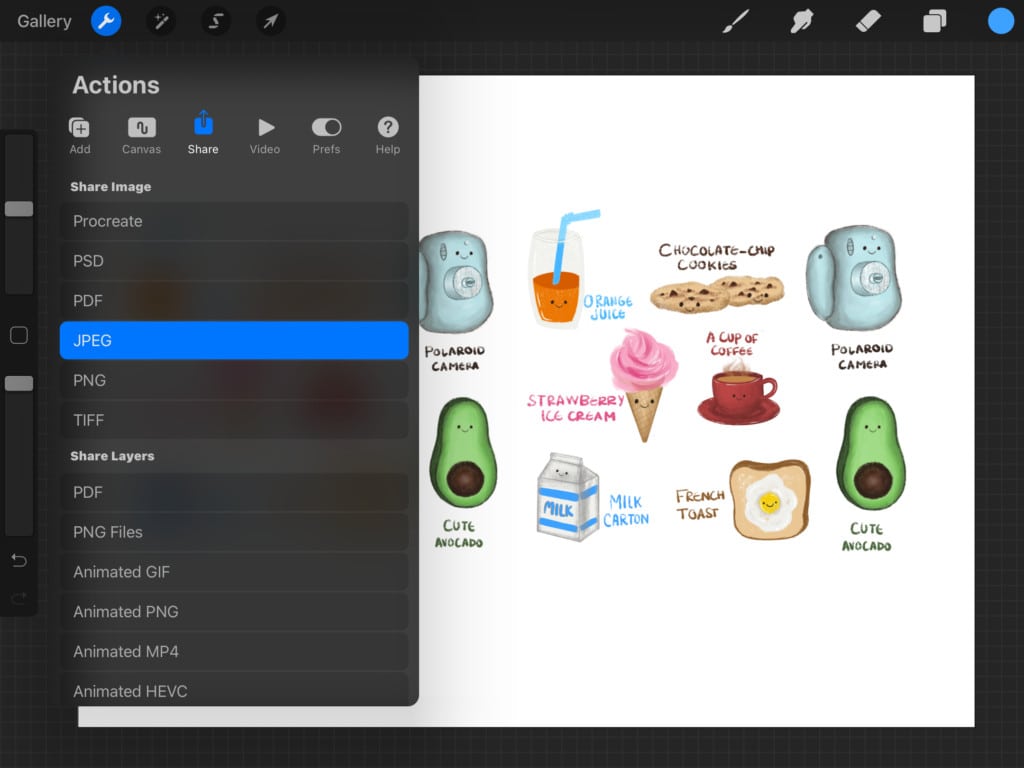
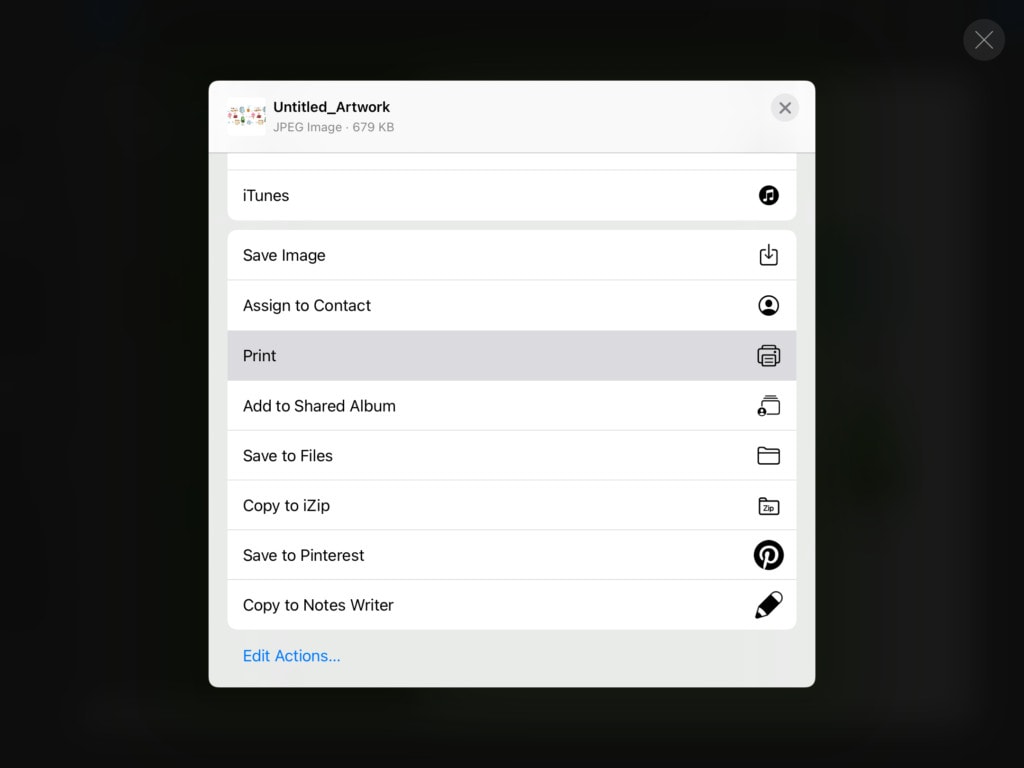
Select your printer and then viola! Click “Print“. You have to make sure -OF COURSE- that you have some A4 sticker sheets on hand for you to print on. Then go ahead and cut the stickers using a pair of scissors or an Exacto knife.
Cutting Using A Cutting Machine
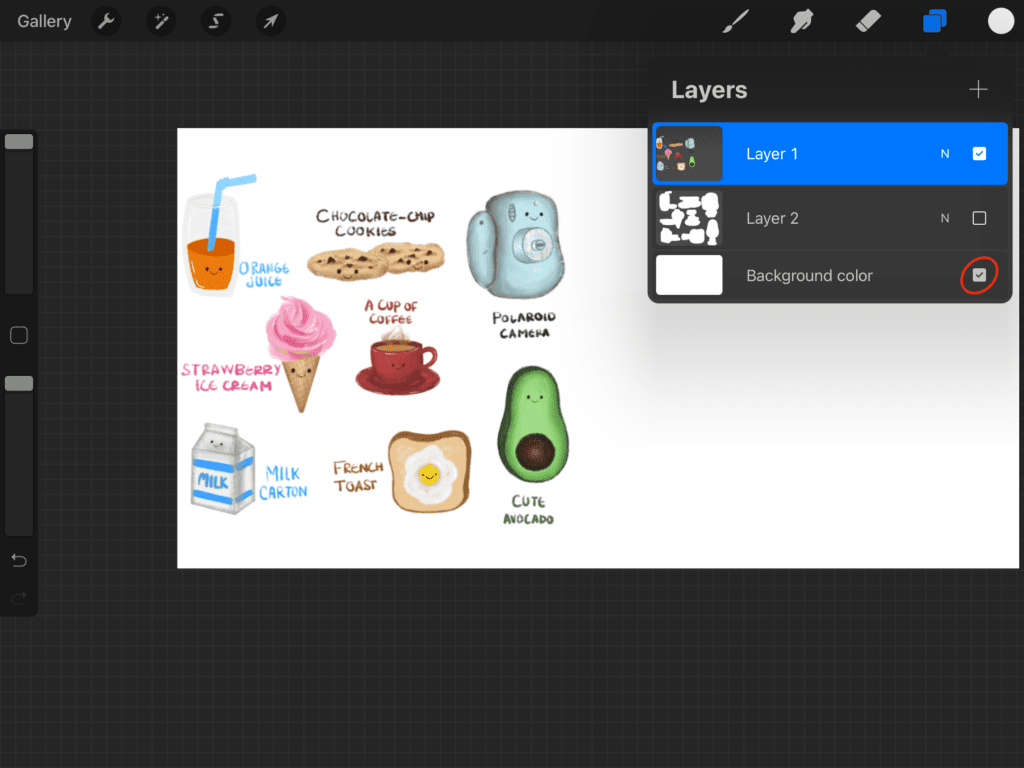
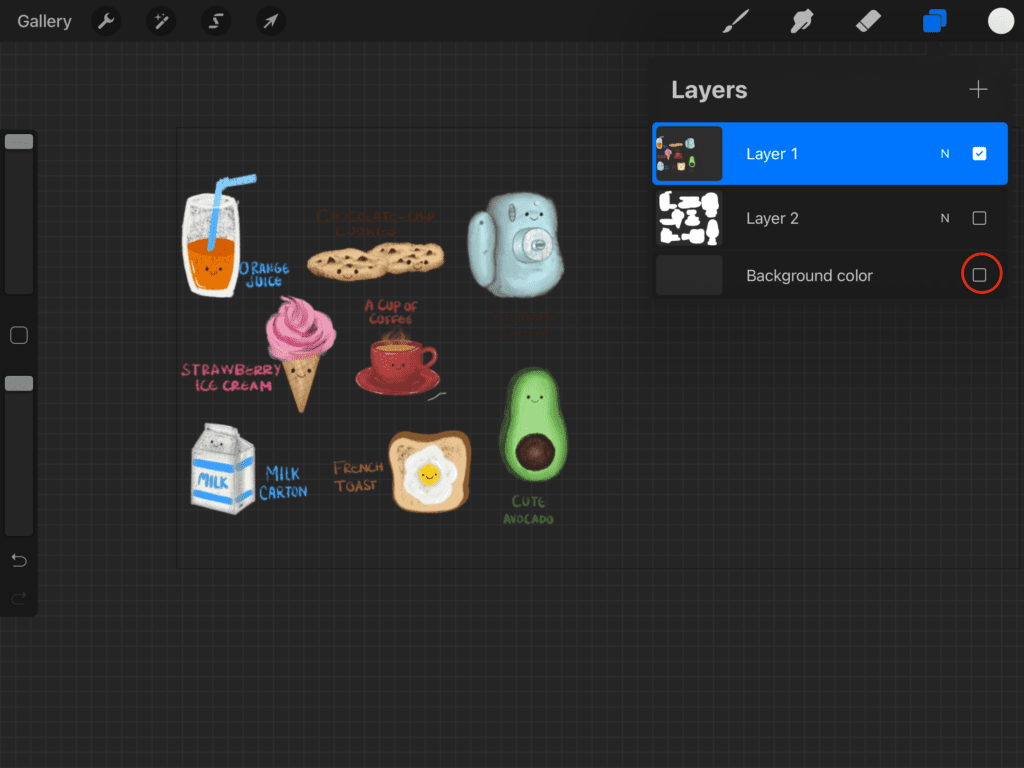
If you on the other hand were to use a cutting machine, things would be a little different. We are going to use the one sticker sheet that we have already designed on Procreate, then untoggle the background layer. You should have something that looks like this.
Then we will go ahead to the “Inking” brush set that came with Procreate, select the “Technical Pen” in the color white.
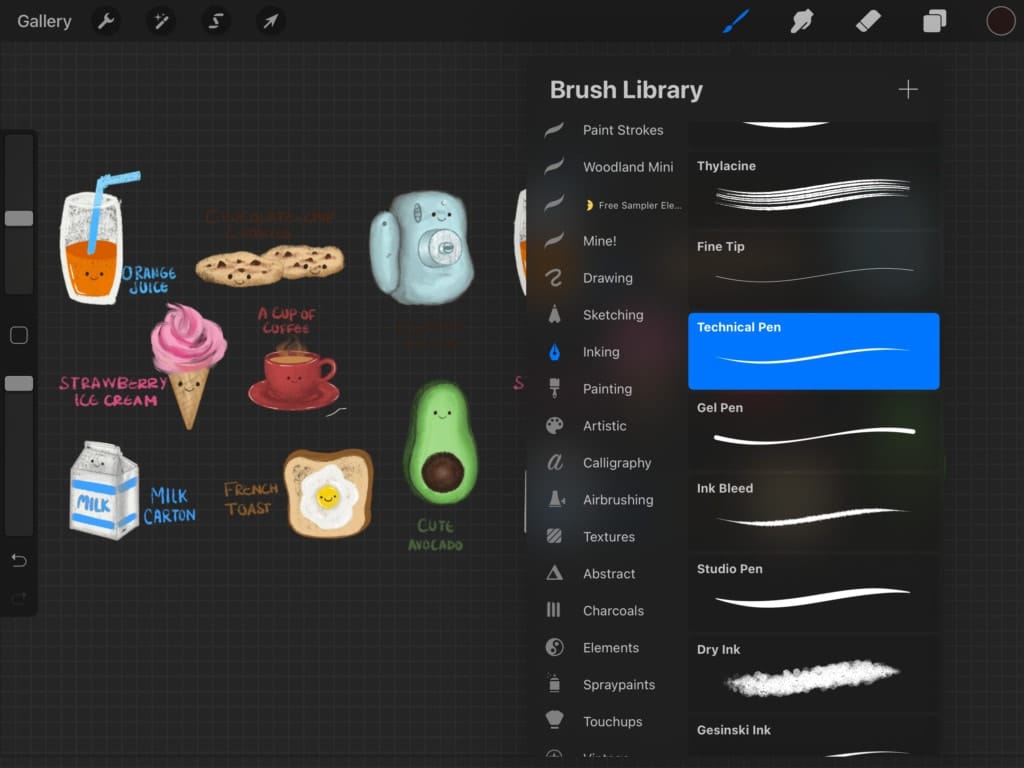
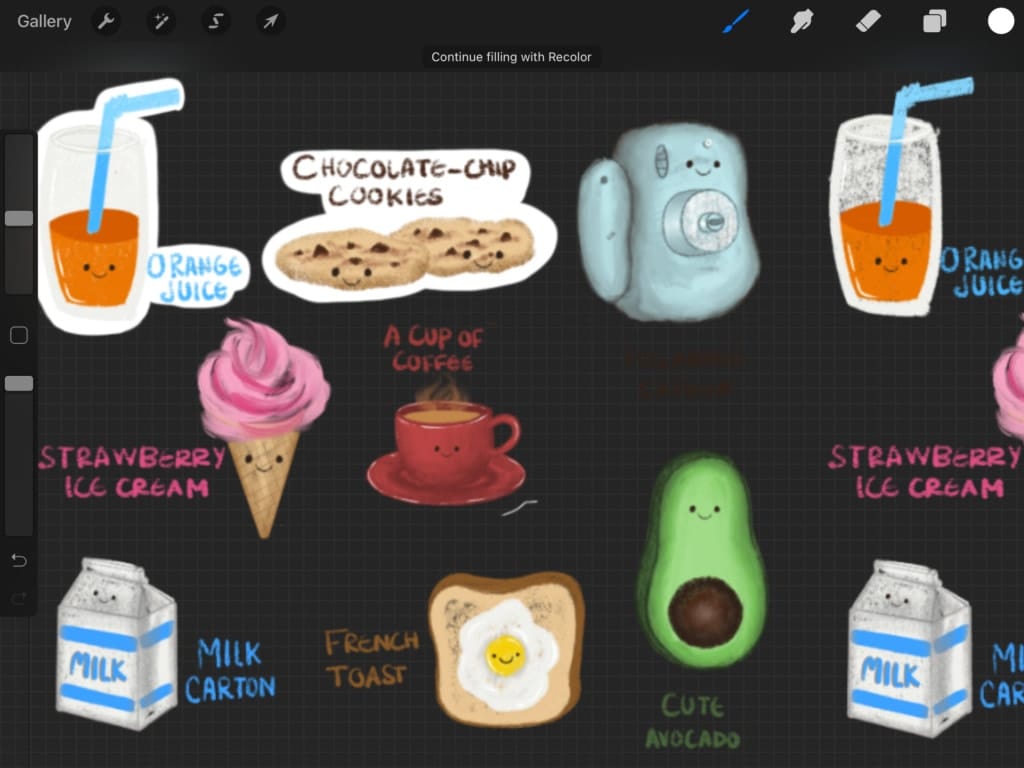
Create a new layer below the stickers layer. Then start creating a white border around each sticker.
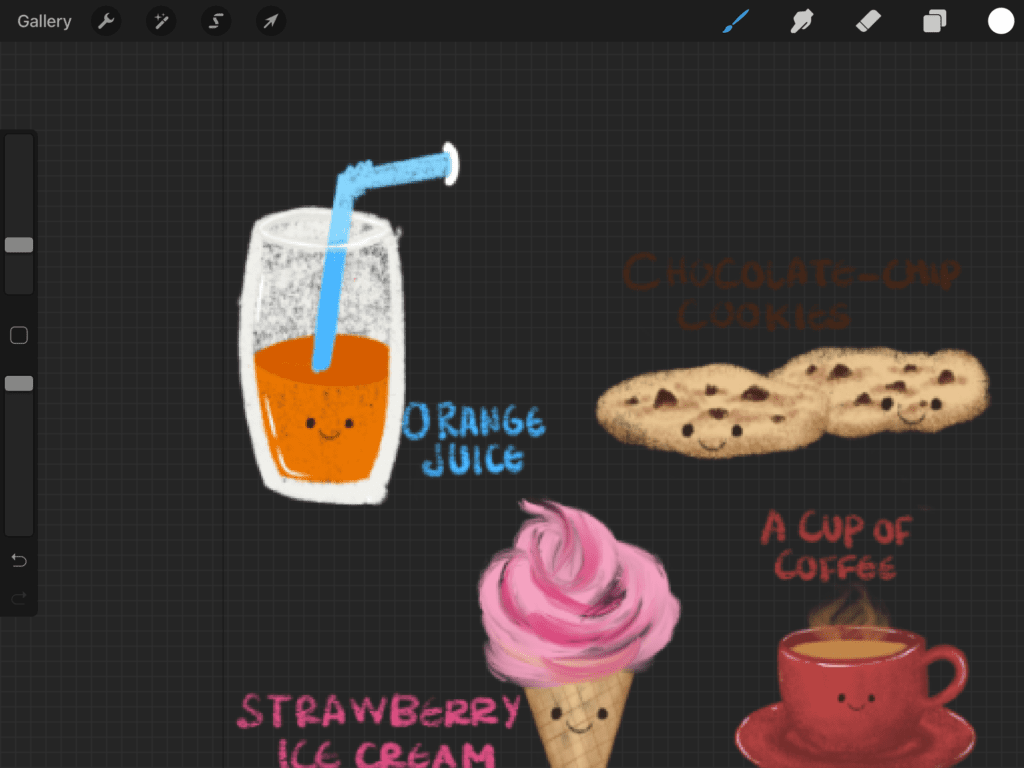
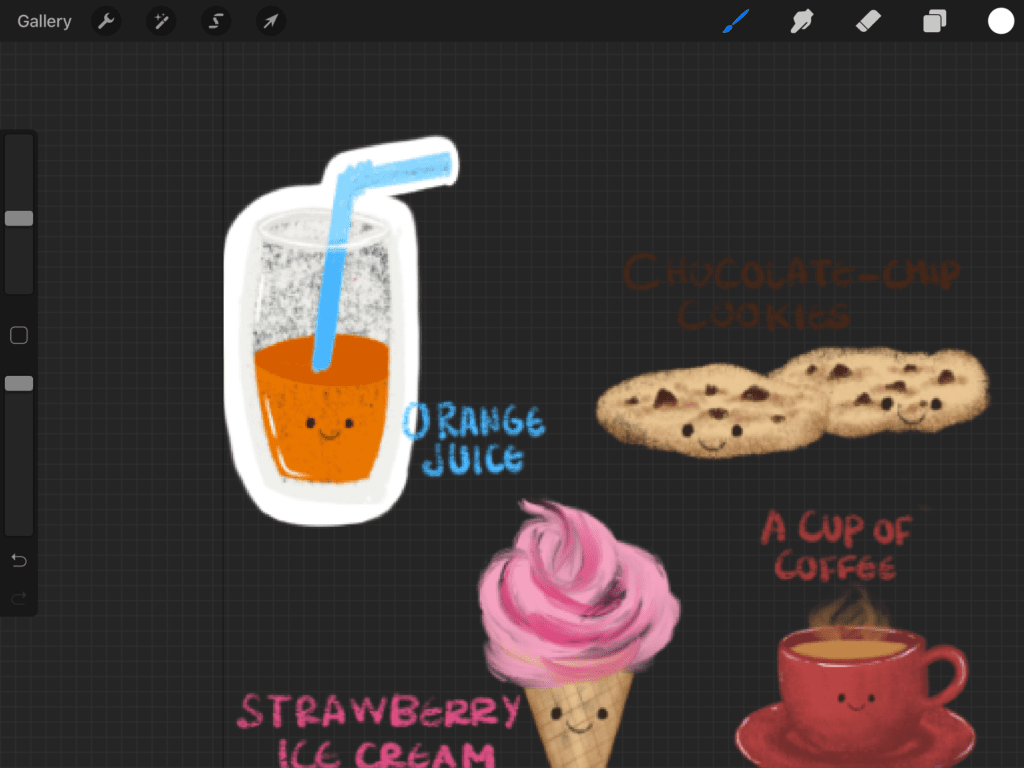
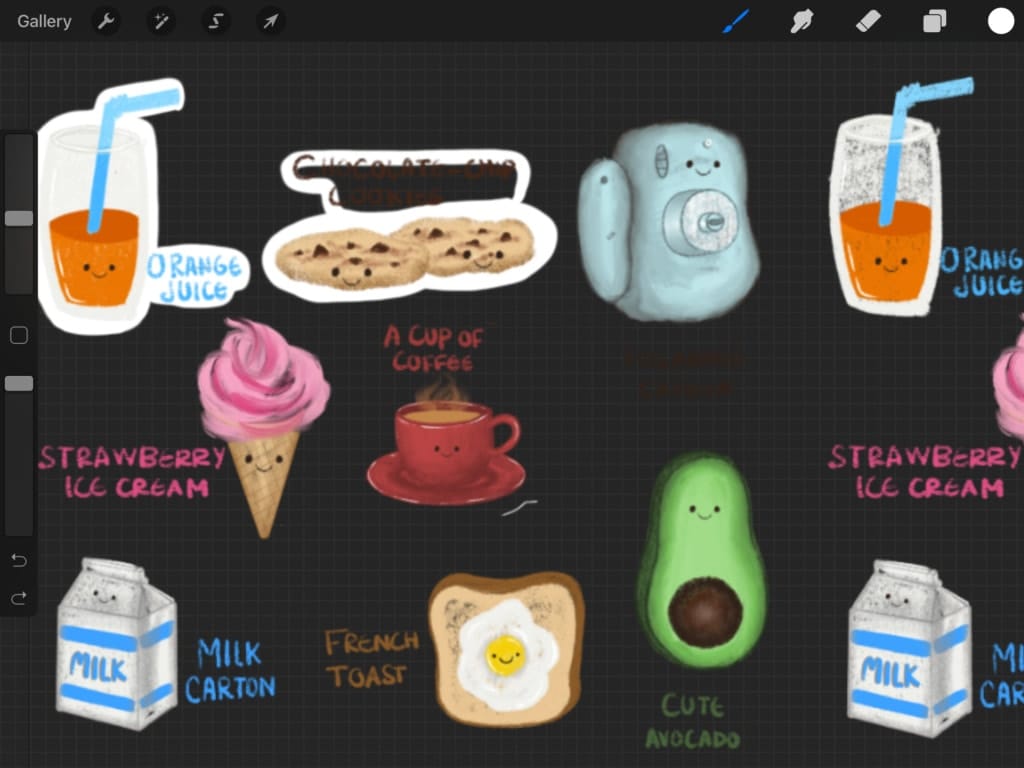
After you are done creating the borders, don’t forget to fill in the shape that you drew with white using color drop.
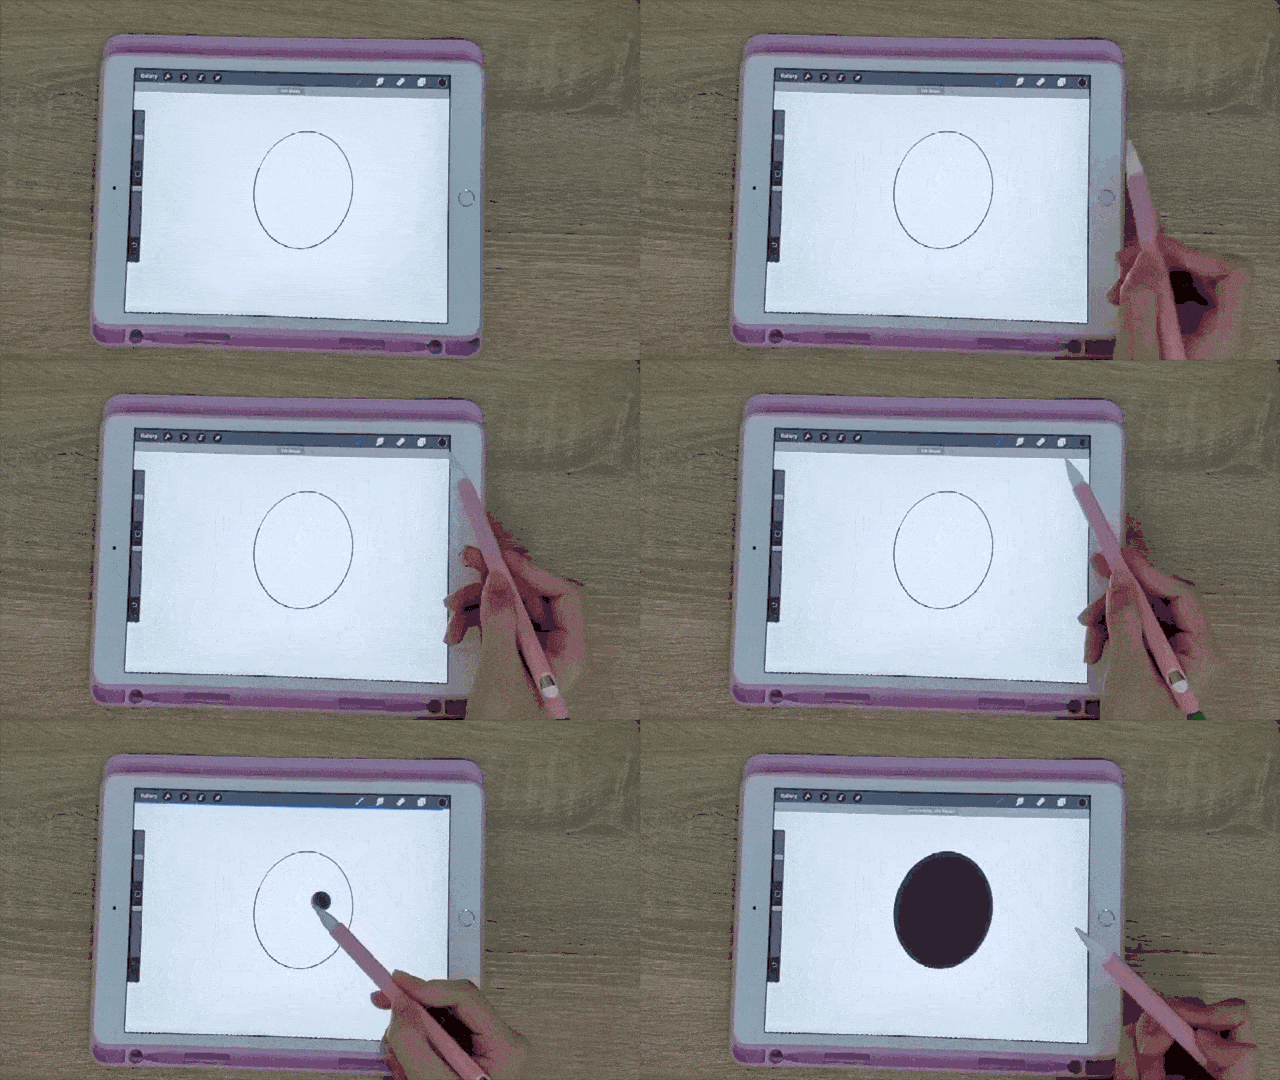
Then merge the white border layer to the stickers layer by pinching them together.
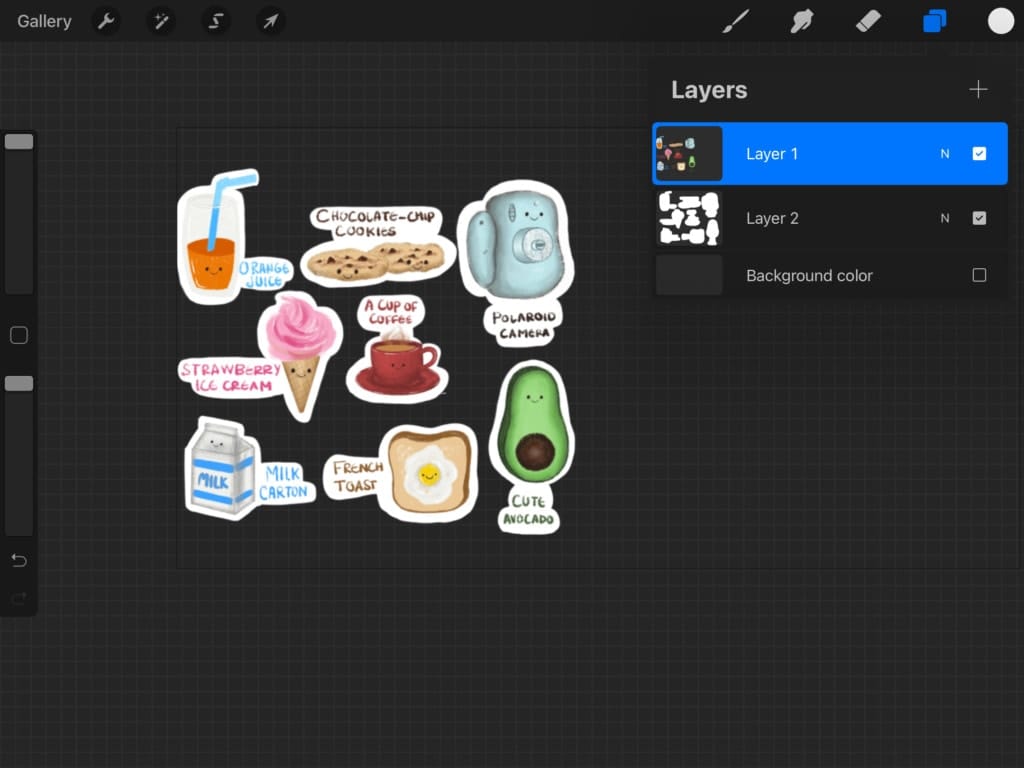
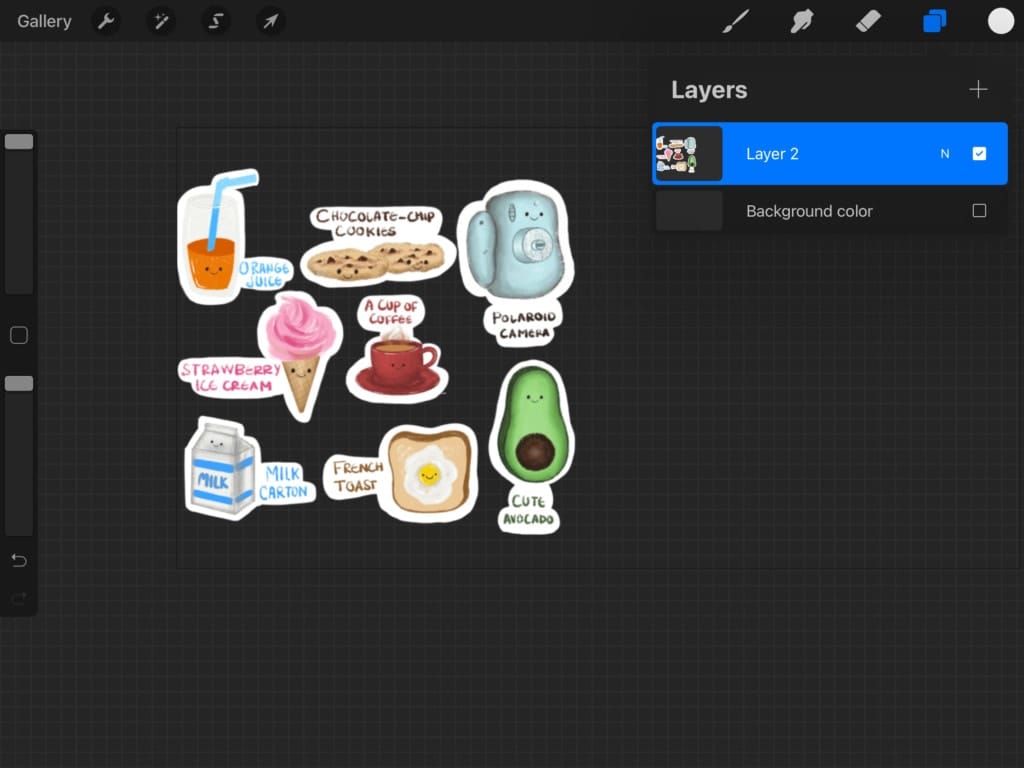

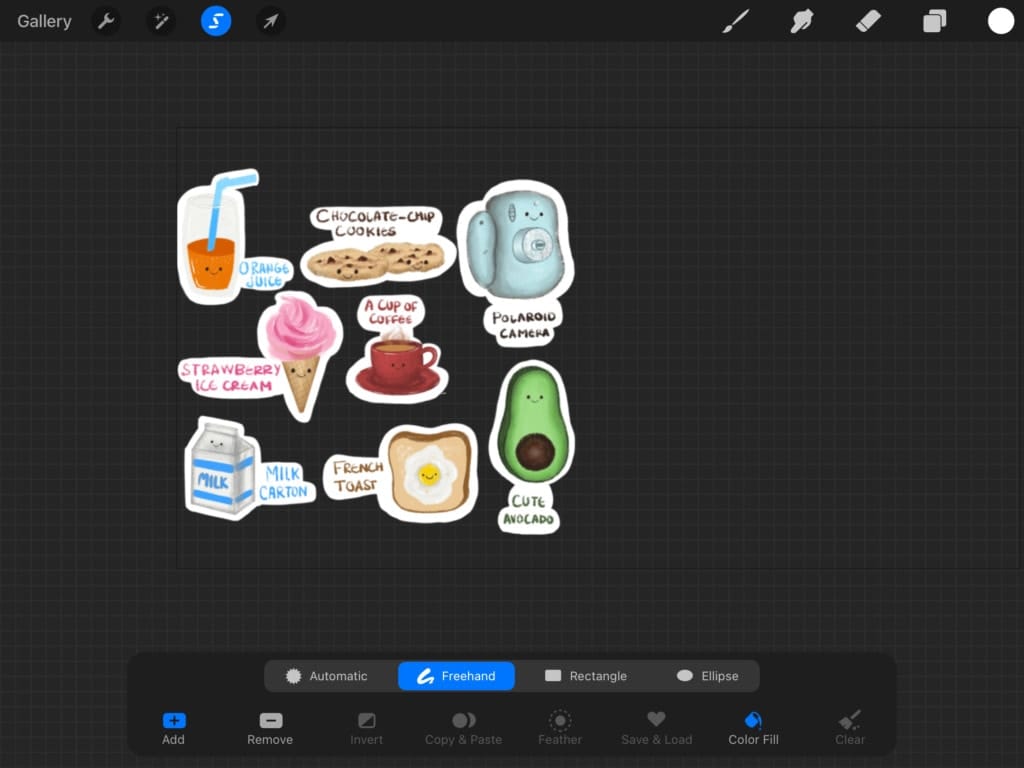
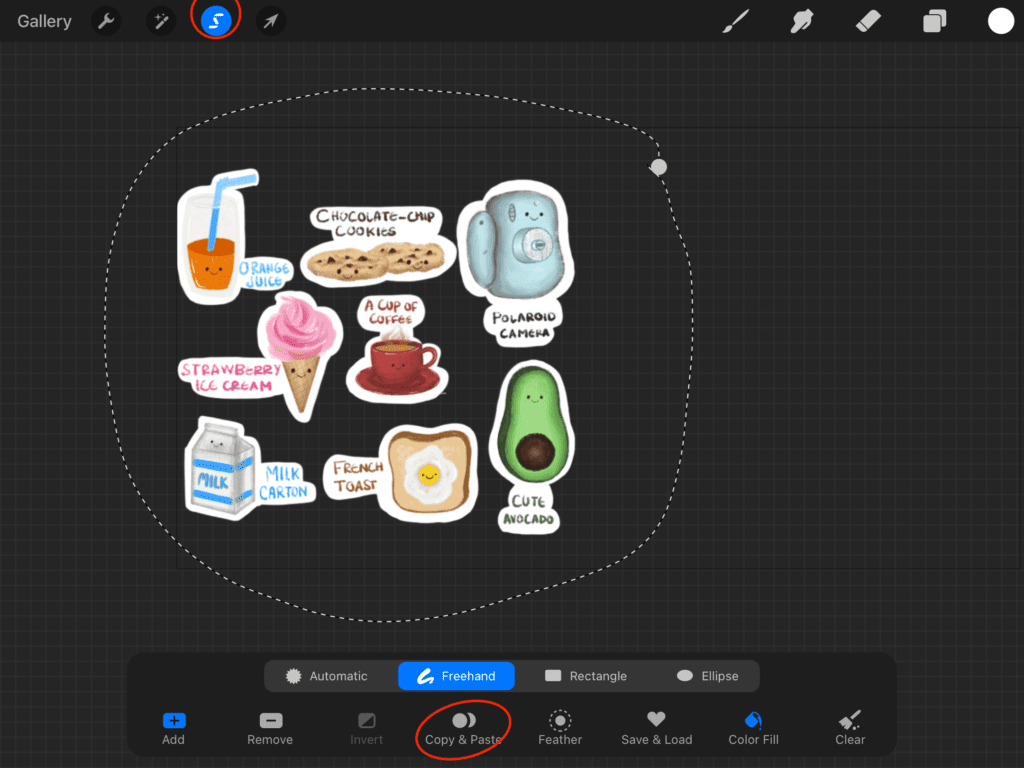
After we are done, we are going to make a copy of the stickers with their white border, by using the “Lasso” tool, selecting the stickers then selecting “Copy & Paste“.
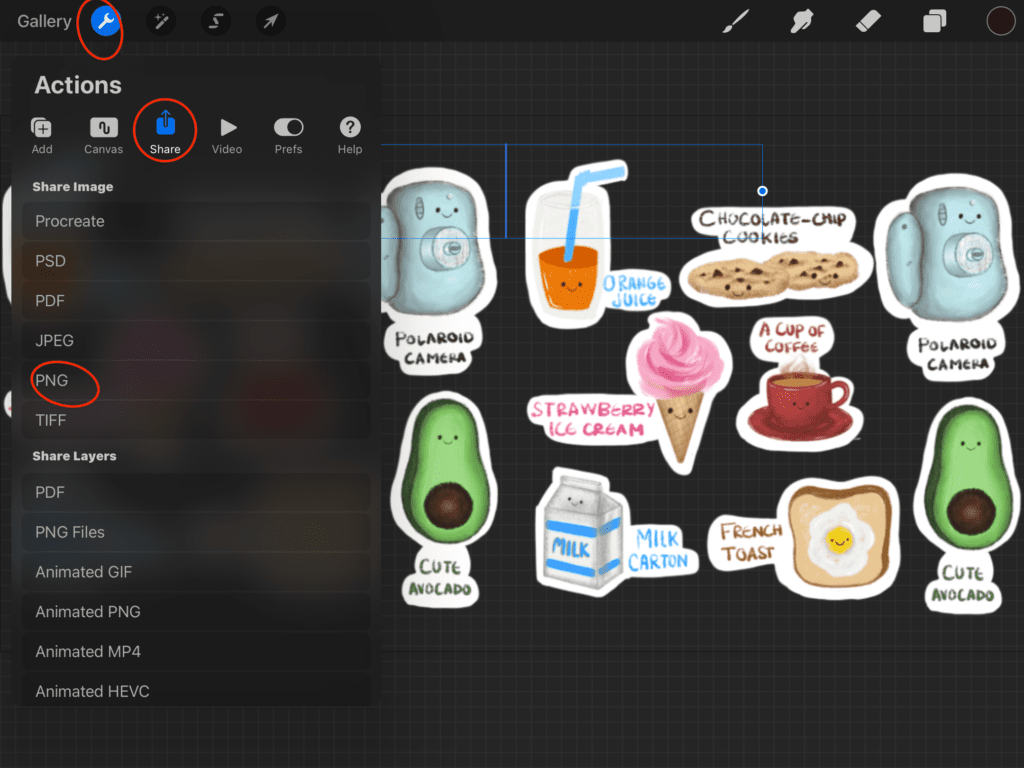
We are going to head over to the “Actions” menu, then “Share“. Select “PNG“. This will save our project BACKGROUNDLESS, LOL. Yeah, we know it is not a word, but you get the idea, hehe. It will save your project with no background. So that your cutting machine recognizes the lines and cuts around them.
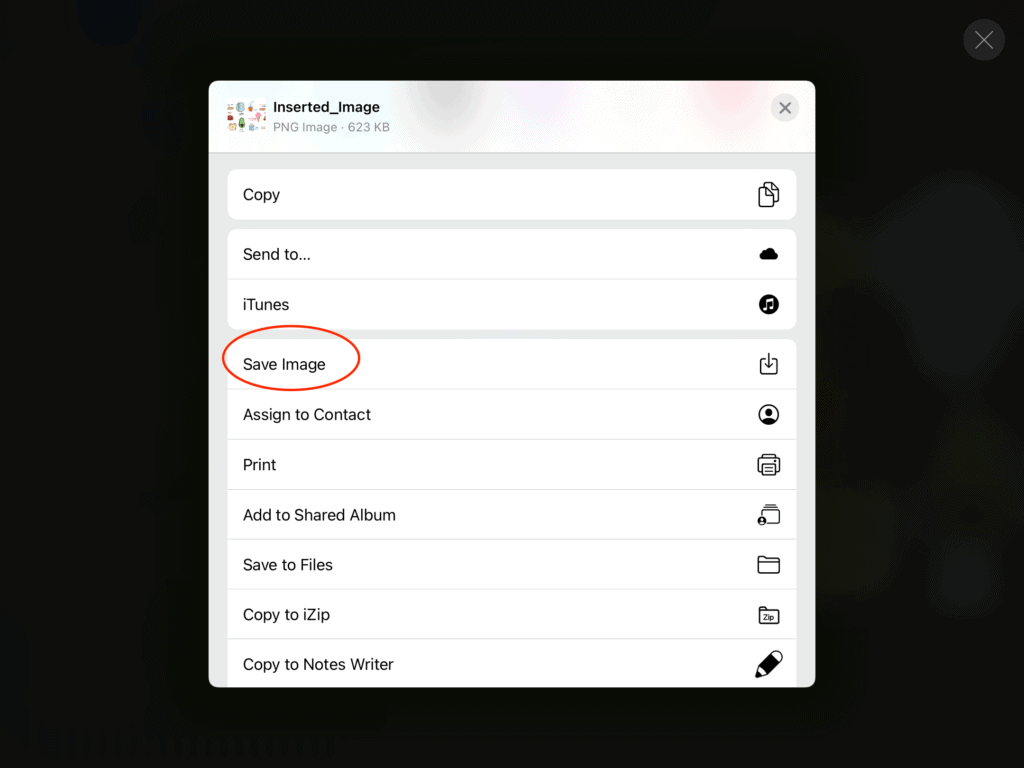
The next step would be to head over to your machine’s design software and set the proper settings for it to start cutting it out for you! Or if you are lucky enough you might have one of those machines that scans the stickers and then cuts them out without you doing any more work on design software!
And that is pretty much it for our tutorial! We hope you found it helpful!
And for all Procreate brush lovers, we prepared a collection of more than 50.000 brushes that can help you on your
way to becoming an excellent artist. Have fun and keep on creating!


